I was standing in the frozen foods aisle last Tuesday, staring at a pint of artisanal ice cream that cost more than my lunch for the whole week, when the cold air hit my face and suddenly I was seven years old at my Aunt Jo’s kitchen table. She had this old hand-crank ice cream maker that she’d drag out maybe twice a summer, and I can still feel the rough wooden handle digging into my palm as we took turns turning it. The salt and ice would pack around the canister, and the whole kitchen smelled like vanilla and something sweet I couldn’t name back then.
That memory came out of nowhere, honestly. I wasn’t even thinking about ice cream until I saw the price tag on that fancy pint. And it got me thinking — why was I about to spend all that money on something I could probably make myself? I mean, Aunt Jo made it look so simple, even if it did take forever with that crank. But what if there was a way to get that same creamy, rich texture without the elbow grease or the fancy equipment?
That’s how this easy no-churn salted caramel ice cream recipe was born in my kitchen. I wanted the deep, buttery sweetness of homemade caramel with that perfect salty bite, but I needed it to be something I could whip up on a Tuesday afternoon without a special machine or a trip to three different stores. Let me tell you, the first batch came out so good I actually did a little dance in my kitchen. Maybe you’ve been there — that moment when you take a bite and realize you’ve actually done it, you’ve recreated something that tastes like a memory.
This recipe has become our family’s go-to for hot summer days, movie nights, and honestly, any day that needs a little extra sweetness. It’s the kind of thing that makes you close your eyes after the first spoonful, and it costs a fraction of what you’d pay at the store.
Why You’ll Love This Recipe
Let me tell you why this easy no-churn salted caramel ice cream recipe has earned a permanent spot in our freezer. I’ve tested this about seven times to get it just right, and my family has been happy to volunteer as taste testers every single time.
- No Ice Cream Maker Needed — Seriously, you don’t need any fancy equipment. Just a mixing bowl and a whisk or hand mixer. This is the kind of recipe that makes you feel like a kitchen genius with almost no effort.
- Simple Pantry Ingredients — Heavy cream, sweetened condensed milk, sugar, butter, and salt. That’s it. You probably have most of these in your kitchen right now, which means you can make this whenever the craving hits.
- Perfect for Family Gatherings — This ice cream is always the star of the show at birthdays, barbecues, and holiday dinners. Kids love the sweetness, and adults go crazy for that salted caramel combo.
- Budget-Friendly — A homemade batch costs about the same as one fancy store-bought pint, but you get three times as much. For families watching their grocery budget, this is a game-changer.
- Unbelievably Creamy — The texture is so smooth and rich, people will think you spent hours on it. The secret is in how you whip the cream and fold in the caramel.
What makes this recipe different from all the other no-churn recipes out there? It’s the caramel, honestly. Most recipes use store-bought caramel sauce, which can be too sweet or have that weird artificial aftertaste. I’m showing you how to make a simple stovetop caramel that takes ten minutes and tastes like pure gold. And the salt — we’re using flaky sea salt right at the end, which gives you those little bursts of salty goodness in every bite.
This isn’t just another ice cream recipe. It’s the one that’ll have your family asking when you’re making it again before they’ve even finished their bowls. It’s comfort food at its finest — creamy, sweet, salty, and absolutely soul-satisfying.
What Ingredients You Will Need
This recipe uses simple, wholesome ingredients that work together to create a rich, creamy ice cream with deep caramel flavor. Most of these are pantry staples, and the ones that aren’t are easy to find at any grocery store.
For the Salted Caramel Sauce
- 1 cup (200g) granulated sugar — Regular white sugar works best here. Don’t use brown sugar, as it changes the flavor and texture of the caramel.
- 6 tablespoons (85g) unsalted butter, cut into cubes (I prefer Land O’Lakes for consistent quality)
- 1/2 cup (120ml) heavy cream, at room temperature (cold cream will cause the caramel to seize up)
- 1 teaspoon flaky sea salt, plus more for sprinkling (Maldon sea salt is my favorite for that perfect crunch)
- 1 teaspoon vanilla extract — Pure vanilla extract, not imitation. It makes a real difference in the final flavor.
For the Ice Cream Base
- 2 cups (480ml) heavy cream, cold (look for cream with at least 36% milk fat for the best texture)
- 1 can (14 ounces or 397g) sweetened condensed milk — This is what gives the ice cream its creamy texture without needing an ice cream maker. I recommend Eagle Brand or Borden.
- 1 teaspoon vanilla extract
- Pinch of salt — Just a tiny bit to balance the sweetness.
Ingredient Tips: When you’re buying heavy cream, check the date on the carton and give it a little shake — you want it to feel thick, not watery. For the sweetened condensed milk, make sure you’re getting the sweetened kind, not evaporated milk. They look similar but are very different! If you’re dairy-free, you can substitute canned coconut cream for the heavy cream and use a dairy-free sweetened condensed milk alternative, though the texture will be slightly different.
The flaky sea salt is worth seeking out for the topping. Regular table salt has a sharper, more chemical taste, while flaky salt gives you those nice little bursts of saltiness that make the caramel really shine. You can find it in most grocery stores near the fancy salts, or order it online.
Equipment Needed
The beauty of this easy no-churn salted caramel ice cream recipe is that you don’t need much. Here’s what you’ll need:
- Medium saucepan — For making the caramel. A light-colored pan is best so you can see the color of the sugar as it melts.
- Large mixing bowl — For whipping the cream. Make sure it’s big enough to hold everything without splashing.
- Hand mixer or stand mixer — You can whisk by hand, but your arm will get a workout. A hand mixer makes it much easier.
- Rubber spatula — For folding everything together gently.
- 9×5 inch loaf pan or similar container — For freezing the ice cream. A metal pan works best because it conducts cold more efficiently.
- Parchment paper or plastic wrap — To cover the surface of the ice cream and prevent freezer burn.
If you don’t have a hand mixer, you can use a whisk — it’ll just take a bit longer. And honestly, I’ve used a plastic food storage container instead of a loaf pan before, and it worked just fine. Don’t let a lack of fancy equipment stop you from making this.
Preparation Method
Let me walk you through this step by step. I’ve made this recipe so many times that I’ve got it down to a science, and I’m sharing all my little tricks along the way.
Step 1: Make the Salted Caramel Sauce
Start by making your caramel sauce. Place a medium saucepan over medium heat and add the granulated sugar. Stir it gently with a wooden spoon or heatproof spatula as it starts to melt. The sugar will clump up at first — don’t panic, that’s normal. Just keep stirring gently, and it will eventually turn into a smooth, amber-colored liquid. This takes about 6 to 8 minutes. Watch it carefully, because sugar can go from perfect to burnt in seconds. You’re looking for a deep amber color, like the color of a penny.
Once the sugar is fully melted and amber, remove the pan from the heat and add the cubed butter. The mixture will bubble up vigorously — don’t worry, that’s supposed to happen. Stir until the butter is fully melted and combined. Then slowly pour in the heavy cream while stirring constantly. Again, it will bubble up, so be careful. Stir until the sauce is smooth and all the cream is incorporated.
Stir in the vanilla extract and the flaky sea salt. Let the caramel cool in the pan for about 10 minutes, then transfer it to a heatproof bowl or jar. Let it cool completely to room temperature. You can speed this up by putting it in the fridge, but stir it every 10 minutes so it doesn’t get too thick.
Step 2: Whip the Cream
In a large mixing bowl, pour in the cold heavy cream. Using a hand mixer or stand mixer fitted with the whisk attachment, beat the cream on medium-high speed until stiff peaks form. This means when you lift the beaters, the cream stands up in peaks that don’t droop over. This usually takes about 3 to 4 minutes. Don’t over-whip it, or you’ll end up with butter! You want it thick and fluffy, not grainy.
Step 3: Combine the Base
In a separate small bowl, stir together the sweetened condensed milk, vanilla extract, and a pinch of salt. Give it a good mix until everything is combined. Now, gently fold about one-third of the whipped cream into the condensed milk mixture. This helps lighten the mixture so it’s easier to combine everything without deflating the cream. Once that’s incorporated, add the remaining whipped cream and fold gently with a rubber spatula until no white streaks remain. Be gentle here — you want to keep as much air in the mixture as possible for that creamy texture.
Step 4: Layer the Ice Cream
Take your loaf pan and spoon about one-third of the cream mixture into the bottom. Drizzle about one-third of your cooled caramel sauce over the top. Use a knife or skewer to swirl it gently — don’t overmix, or you’ll lose the swirl effect. Repeat with another layer of cream mixture, more caramel, and a final layer of cream mixture. Reserve a little caramel for drizzling on top before serving.
Step 5: Freeze
Cover the pan tightly with plastic wrap or parchment paper, pressing it directly onto the surface of the ice cream to prevent ice crystals from forming. Place it in the freezer for at least 6 hours, but overnight is best. The longer it freezes, the firmer and creamier it gets.
Cooking Tips & Techniques
I’ve learned a few things the hard way so you don’t have to. Here are my best tips for perfect no-churn ice cream every time.
Don’t rush the caramel. The first time I made this, I cranked up the heat to speed things up, and the sugar burned before it even melted properly. Low and slow is the way to go. Be patient, and keep an eye on the color. If you see smoke, you’ve gone too far.
Room temperature cream for the caramel. I made this mistake once — I poured cold cream into hot caramel, and it seized up into a hard, lumpy mess. Let your cream sit out for 15 minutes before adding it to the caramel. It makes a huge difference.
Whip the cream properly. Under-whipped cream will make your ice cream icy instead of creamy. Over-whipped cream will make it grainy. You want stiff peaks — the cream should hold its shape when you lift the beaters, but it should still look smooth and glossy.
Fold, don’t stir. When you’re combining the cream with the condensed milk, use a gentle folding motion. Stirring vigorously will deflate all the air you just whipped into the cream, and that air is what gives the ice cream its light, creamy texture.
Let it freeze long enough. I know it’s tempting to dig in after a few hours, but 6 hours is the minimum. Overnight is better. The ice cream needs time to set up properly, and the flavors need time to meld together.
Soften before scooping. When you’re ready to serve, let the ice cream sit at room temperature for about 5 to 10 minutes. This makes it much easier to scoop and gives you that perfect, creamy texture.
Variations & Adaptations
One of the best things about this recipe is how easy it is to change up. Here are some of my favorite variations.
Chocolate Salted Caramel Ice Cream: Add 1/4 cup of unsweetened cocoa powder to the sweetened condensed milk before combining with the whipped cream. The chocolate and caramel combo is absolutely divine.
Nutty Caramel Crunch: Fold in 1/2 cup of toasted pecans or walnuts along with the caramel swirl. The crunch adds a wonderful texture contrast.
Vegan Version: Substitute the heavy cream with full-fat coconut cream (chilled overnight and whipped) and use a dairy-free sweetened condensed coconut milk. The coconut flavor actually pairs beautifully with the salted caramel.
Less Sweet Version: If you prefer your desserts less sweet, use only 3/4 cup of sugar in the caramel sauce and add an extra pinch of salt to balance the sweetness.
Boozy Caramel: Add 2 tablespoons of bourbon or dark rum to the caramel sauce after it’s cooled. The alcohol keeps the ice cream a bit softer and adds a lovely warmth.
I once made a batch with crushed pretzels folded in, and it was incredible — that salty, crunchy, sweet combo is hard to beat. My kids called it “the best ice cream ever,” and honestly, they weren’t wrong.
Serving & Storage Suggestions
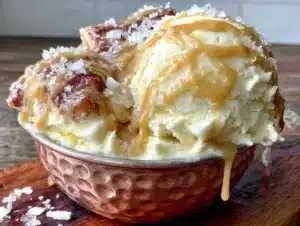
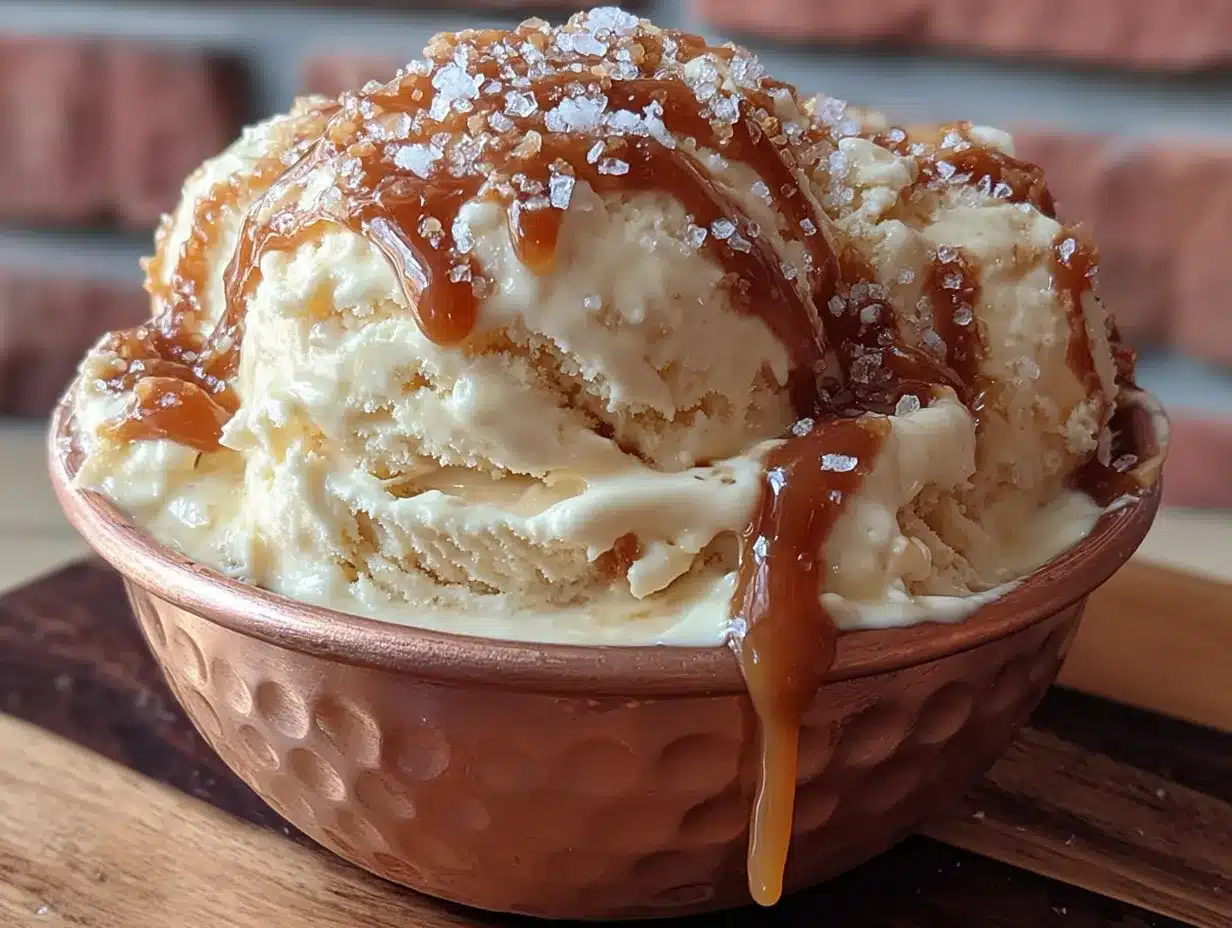
This easy no-churn salted caramel ice cream is best served slightly softened, about 5 to 10 minutes out of the freezer. Scoop it into bowls or cones, and drizzle with the reserved caramel sauce. A sprinkle of flaky sea salt on top right before serving makes it look gorgeous and adds that perfect salty finish.
For a real treat, serve it warm brownies or a slice of apple pie. The combination of warm, fudgy brownie and cold, creamy ice cream is absolutely unbeatable. You can also use it to make milkshakes or root beer floats — just blend a few scoops with a splash of milk.
Storage: Keep the ice cream in an airtight container in the freezer for up to 2 weeks. Press a piece of parchment paper or plastic wrap directly onto the surface before sealing the container to prevent ice crystals from forming. If you’re using a loaf pan, cover it tightly with plastic wrap and then foil.
Reheating: If the ice cream gets too hard, let it sit at room temperature for 10 to 15 minutes before scooping. You can also microwave it for 10 to 15 seconds to soften it up, but be careful not to melt it.
The flavors actually get better after a day or two in the freezer. The caramel swirl melds into the cream, and the saltiness becomes more pronounced. It’s one of those recipes that tastes even better the next day.
Nutritional Information & Benefits
Let’s be real — this is a treat, not a health food. But knowing what’s in it can help you enjoy it mindfully. Per serving (about 1/2 cup), here’s the approximate nutritional breakdown:
- Calories: 380
- Fat: 24g
- Saturated Fat: 15g
- Carbohydrates: 40g
- Sugar: 38g
- Protein: 4g
- Sodium: 220mg
The heavy cream provides calcium and vitamin A, while the salt in the caramel can help with electrolyte balance — if you’re eating it after a hot day, it’s actually not a bad choice! The sweetened condensed milk adds a good amount of calcium too. Of course, this is a dessert, so portion control is key. But honestly, a small scoop of this homemade ice cream is way more satisfying than a giant bowl of store-bought stuff, because the flavor is so rich and intense.
This recipe is vegetarian and can be made gluten-free easily — just double-check your vanilla extract and any add-ins. It’s not suitable for vegans unless you use the substitutions I mentioned earlier.
Conclusion
This easy no-churn salted caramel ice cream recipe has become a true family favorite in our house, and I have a feeling it will be in yours too. It’s everything I wanted when I stood in that frozen foods aisle — creamy, rich, perfectly sweet and salty, and made with simple ingredients I already had. Plus, it costs a fraction of what you’d pay for fancy store-bought ice cream, which means you can make it as often as you want without breaking the bank.
What I love most about this recipe is how it brings people together. There’s something special about scooping homemade ice cream for your family, watching their faces light up with that first bite. It’s a small moment, but it matters. And honestly, knowing that I made it myself, with my own two hands, makes it taste even better.
I’d love to hear how yours turns out! Did you try any of the variations? Did your kids ask for seconds before they finished their first bowl? Drop a comment below and let me know. And if you have your own twist on this recipe, please share it — I’m always looking for new ideas to try.
Go ahead, make a batch this weekend. Your family will thank you.
Frequently Asked Questions
Can I use store-bought caramel sauce instead of making my own?
You can, but the flavor won’t be quite as rich and deep. Homemade caramel has a nutty, buttery taste that store-bought sauces just can’t match. If you’re short on time, look for a high-quality caramel sauce without a lot of artificial ingredients.
Why did my ice cream turn out icy instead of creamy?
This usually happens when the cream isn’t whipped enough or when ice crystals form on the surface. Make sure you’re whipping the cream to stiff peaks, and always press plastic wrap directly onto the surface of the ice cream before freezing. Also, don’t let it sit in the freezer for more than 2 weeks.
Can I make this recipe without a hand mixer?
Absolutely! You can whisk the cream by hand, but it’ll take some elbow grease — about 5 to 8 minutes of vigorous whisking. A good trick is to chill the bowl and beaters in the freezer for 10 minutes before you start. It makes the cream whip up faster.
How long does this ice cream last in the freezer?
It’s best within the first 2 weeks. After that, it can start to develop ice crystals and lose its creamy texture. If you’re making it for a special occasion, I’d recommend making it no more than a week ahead.
Can I double this recipe?
Yes! Just double all the ingredients and use a larger container for freezing. A 9×13 inch baking dish works well. Just make sure you have enough room in your freezer and that you whip the cream in batches if your mixer bowl isn’t big enough.
Pin This Recipe!
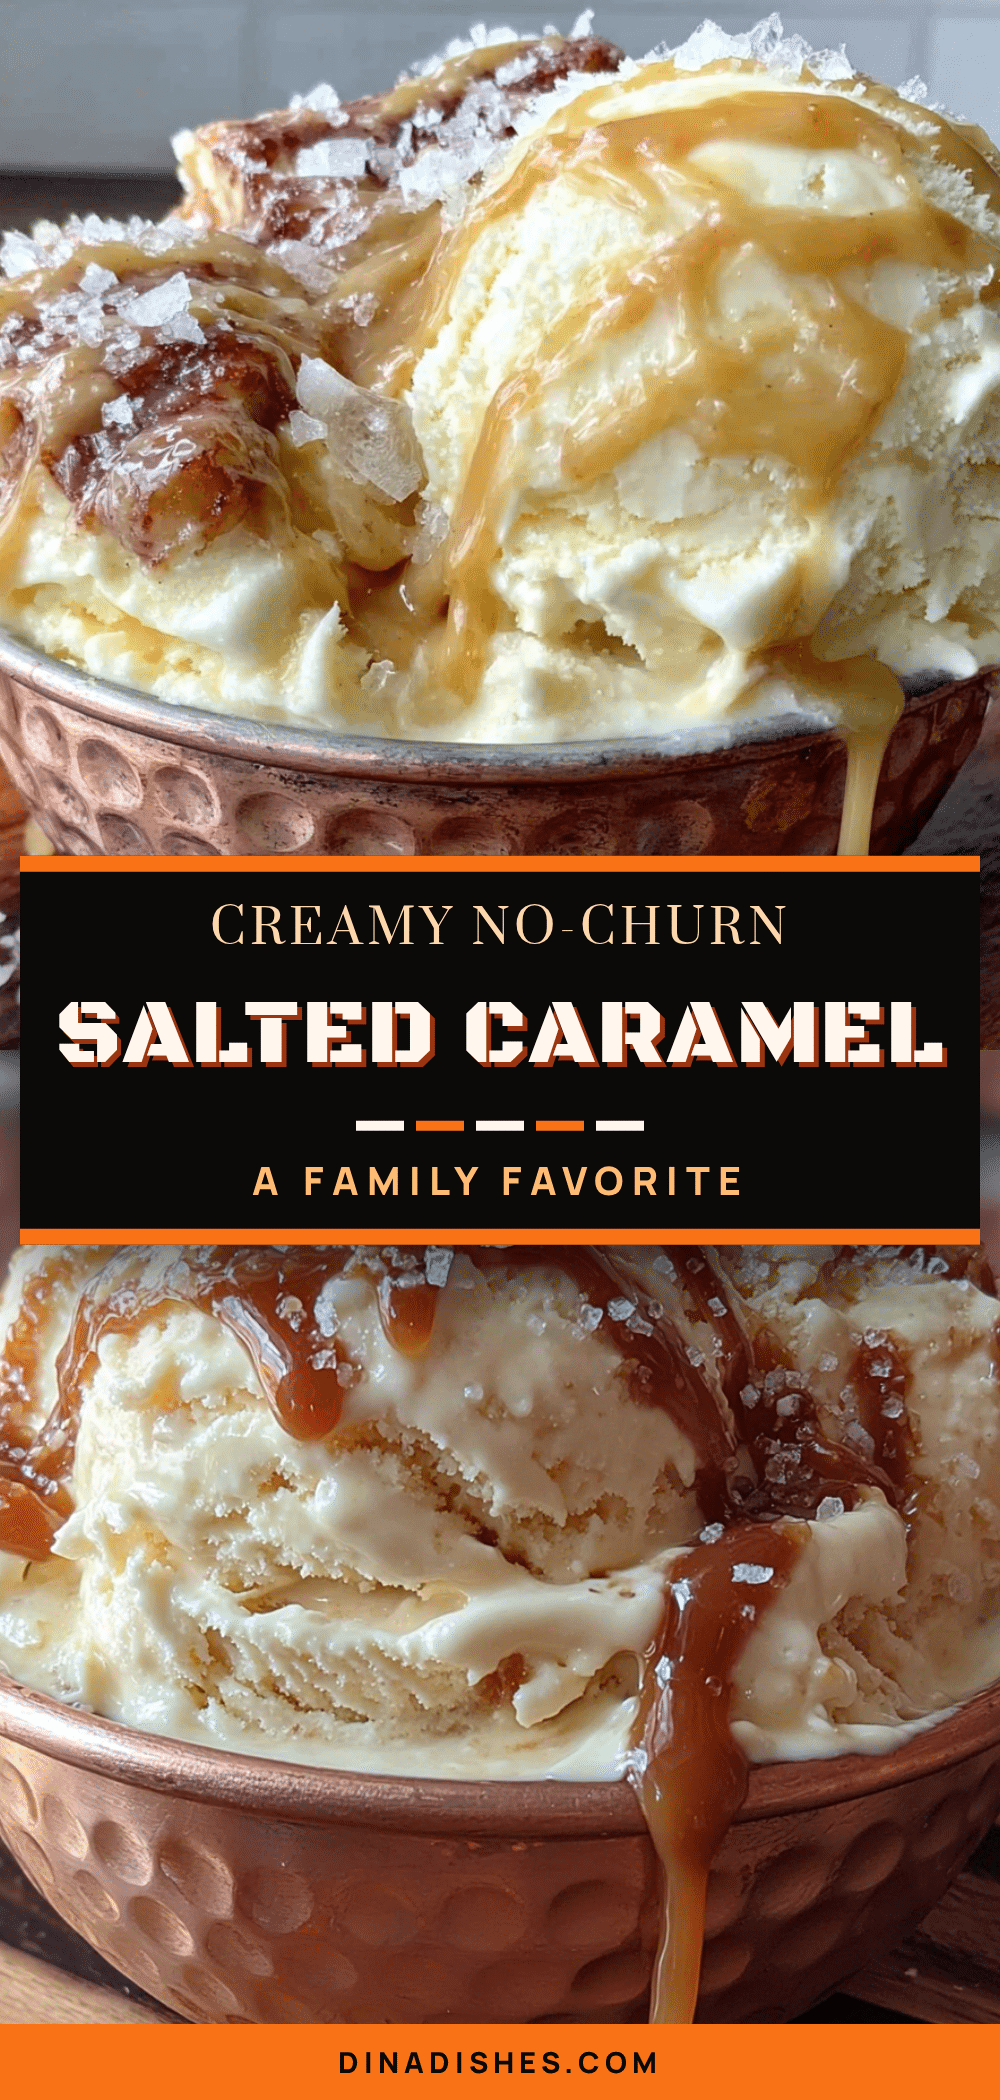
Easy No-Churn Salted Caramel Ice Cream Recipe

This easy no-churn salted caramel ice cream recipe delivers creamy, rich texture with deep caramel flavor and perfect salty bites, all without an ice cream maker. Made with simple pantry ingredients, it’s a budget-friendly treat that tastes like a memory.
- Prep Time: 20 minutes
- Cook Time: 10 minutes
- Total Time: 6 hours 30 minutes (including freezing time)
- Yield: 8 servings 1x
- Category: Dessert
- Cuisine: American
Ingredients
- 1 cup (200g) granulated sugar
- 6 tablespoons (85g) unsalted butter, cut into cubes
- 1/2 cup (120ml) heavy cream, at room temperature
- 1 teaspoon flaky sea salt, plus more for sprinkling
- 1 teaspoon vanilla extract
- 2 cups (480ml) heavy cream, cold
- 1 can (14 ounces or 397g) sweetened condensed milk
- 1 teaspoon vanilla extract
- Pinch of salt
Instructions
- Make the Salted Caramel Sauce: Place a medium saucepan over medium heat and add the granulated sugar. Stir gently with a wooden spoon or heatproof spatula as it starts to melt. The sugar will clump up at first; keep stirring gently until it turns into a smooth, amber-colored liquid (about 6 to 8 minutes). Watch carefully to avoid burning.
- Once the sugar is fully melted and amber, remove the pan from the heat and add the cubed butter. The mixture will bubble up vigorously; stir until the butter is fully melted and combined.
- Slowly pour in the heavy cream while stirring constantly. Stir until the sauce is smooth and all the cream is incorporated.
- Stir in the vanilla extract and the flaky sea salt. Let the caramel cool in the pan for about 10 minutes, then transfer to a heatproof bowl or jar. Let it cool completely to room temperature (you can speed this up in the fridge, stirring every 10 minutes).
- Whip the Cream: In a large mixing bowl, pour in the cold heavy cream. Using a hand mixer or stand mixer fitted with the whisk attachment, beat the cream on medium-high speed until stiff peaks form (about 3 to 4 minutes). Do not over-whip.
- Combine the Base: In a separate small bowl, stir together the sweetened condensed milk, vanilla extract, and a pinch of salt. Gently fold about one-third of the whipped cream into the condensed milk mixture to lighten it. Then add the remaining whipped cream and fold gently with a rubber spatula until no white streaks remain.
- Layer the Ice Cream: Take a 9×5 inch loaf pan and spoon about one-third of the cream mixture into the bottom. Drizzle about one-third of the cooled caramel sauce over the top. Use a knife or skewer to swirl gently. Repeat with another layer of cream mixture, more caramel, and a final layer of cream mixture. Reserve a little caramel for drizzling on top before serving.
- Freeze: Cover the pan tightly with plastic wrap or parchment paper, pressing it directly onto the surface of the ice cream to prevent ice crystals. Freeze for at least 6 hours, but overnight is best.
Notes
Don’t rush the caramel; low and slow is key. Use room temperature cream for the caramel to prevent seizing. Whip cream to stiff peaks but not over-whipped. Fold gently to keep air in the mixture. Freeze at least 6 hours, overnight is best. Let ice cream sit at room temperature for 5-10 minutes before scooping. Store in an airtight container for up to 2 weeks with plastic wrap pressed onto the surface.
Nutrition
- Serving Size: 1/2 cup
- Calories: 380
- Sugar: 38
- Sodium: 220
- Fat: 24
- Saturated Fat: 15
- Carbohydrates: 40
- Protein: 4
Keywords: no-churn ice cream, salted caramel, homemade ice cream, easy ice cream, no ice cream maker, summer dessert, caramel ice cream