It was 11:47 PM on a random Thursday in October, and I was absolutely, unreasonably determined to make a Halloween punch that didn’t suck. I had this vision—cauldrons, bubbling fog, something that would make my guests actually gasp when they walked in. But here’s the thing: I didn’t have a fancy fog machine or some pre-made dry ice kit from a party store. What I had was a bag of dry ice I’d picked up from the grocery store that afternoon (the guy at the counter looked at me like I was planning something suspicious), a plastic cauldron I found in the back of my closet from a costume party three years ago, and this wild idea that maybe, just maybe, I could pull off something spectacular without a manual.
Honestly, I was tired. It had been a long week of work, the house was still a mess, and I had twelve people coming over in less than 48 hours for our annual Halloween gathering. But there I was, standing in my kitchen at nearly midnight, surrounded by bottles of juice and soda, trying to figure out the perfect ratio that wouldn’t taste like a science experiment. And you know what? That late-night, slightly unhinged energy was exactly what this recipe needed. Something about the quiet house and the ticking clock made me stop overthinking and just go for it.
Let me tell you—when I finally got that fog rolling over the edge of the cauldron at 1 AM, I let out a little victory dance in my socks. The dry ice fog poured out like something from a haunted swamp, and I knew right then this was the punch that would steal the show. No fancy equipment, no complicated steps, just a little bravery and a willingness to look a bit ridiculous in your own kitchen at odd hours. And honestly? That’s how the best recipes are born.
Why You’ll Love This Recipe
Look, I’ve tested a lot of Halloween punches over the years. Some were too sweet, some were too complicated, and some just looked sad sitting in a bowl with a few floating ice cubes. This witches brew Halloween punch with dry ice fog is different. It’s the one that gets people pulling out their phones, the one that makes everyone ask for the recipe before they even take a sip.
- Visually Stunning: The dry ice fog creates that dramatic, spooky effect that makes your party feel like a movie set. Guests will literally stop and stare when they see it.
- Incredibly Easy: No fancy bartending skills needed. You’re basically mixing juices and soda—the magic happens with the dry ice, which does all the heavy lifting.
- Perfect for a Crowd: This recipe scales beautifully. Whether you’re hosting 10 people or 40, you can adjust the quantities without any fuss.
- Kid-Friendly Base: The punch itself is non-alcoholic, so everyone can enjoy it. Add a separate boozy option on the side for the adults if you want.
- Make-Ahead Friendly: You can mix everything the night before and just add the dry ice right before guests arrive. Less stress, more party.
What makes this recipe different from all those other Halloween punch recipes floating around? It’s the balance. I spent way too many late nights tweaking the ratios until I got that perfect sweet-tart flavor that doesn’t cloy. The combination of pineapple, orange, and a hint of lime creates a tropical undertone that feels unexpected and refreshing. Plus, the dry ice technique I’m sharing is foolproof—no burned fingers, no ruined punch, just pure foggy magic.
This isn’t just a drink. It’s a conversation starter. It’s the thing your friends will talk about long after the party’s over. And when you see that fog rolling across your table, you’ll feel like the coolest host on the block. Honestly, I still get a little thrill every time I make it.
What Ingredients You Will Need
This witches brew Halloween punch uses simple, everyday ingredients that you can find at any grocery store. The key is balancing the sweetness with a little acidity so the punch doesn’t taste like sugary juice. Here’s what you need:
For the Punch Base
- 64 ounces pineapple juice (I prefer Dole or a store brand—just make sure it’s 100% juice, not from concentrate if possible)
- 32 ounces orange juice (fresh-squeezed is lovely, but honestly, a good carton works perfectly here)
- 12 ounces frozen limeade concentrate, thawed (this is the secret ingredient that gives it that tangy kick)
- 2 liters lemon-lime soda (Sprite or 7-Up work great—chill it well before using)
- 2 cups cold water (helps dilute the concentrate without watering down the flavor)
For the Spooky Effect
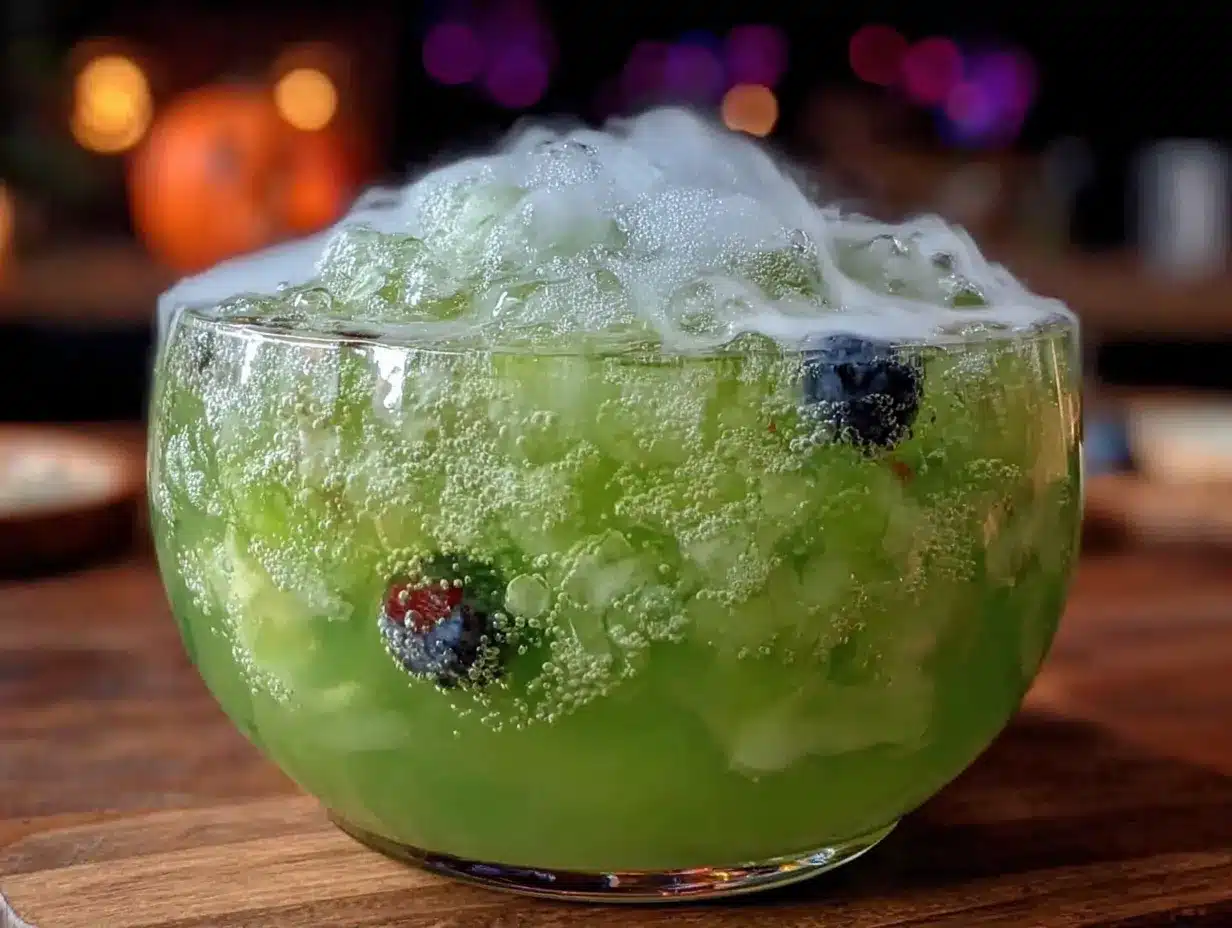
- 5-10 pounds food-grade dry ice (you can find this at most grocery stores or ice suppliers—call ahead to check availability)
- Plastic cauldron or large punch bowl (metal bowls can get too cold and crack, so stick with plastic or glass)
Optional Add-Ins for Presentation
- Frozen plastic spiders or eyeballs (adds a creepy touch—just make sure they’re clean and food-safe)
- Green or purple gel food coloring (a few drops transform the color into something truly witchy)
- Fresh mint leaves or edible flowers (for a touch of contrast against the dark punch)
- Dry ice safety gloves (regular kitchen tongs work too, but gloves give you more control)
A quick note on the dry ice: you absolutely must use food-grade dry ice, not the kind used for industrial purposes. Most grocery stores carry it, but call ahead because it sells out fast around Halloween. I learned this the hard way when I showed up at 5 PM on October 30th and they were completely sold out. Now I order mine two days in advance.
For the frozen limeade concentrate, I’ve tried making this with fresh lime juice, and it just doesn’t hit the same. The concentrate has a certain syrupy quality that balances the pineapple and orange juices perfectly. Trust me on this one—I spent three batches trying to make fresh lime work before giving in.
Equipment Needed
You don’t need a lot of fancy gear for this recipe, which is part of why I love it. Here’s what you’ll want to have on hand:
- Large plastic cauldron or punch bowl (at least 2-gallon capacity—the fog effect looks best when the bowl has a wide opening)
- Long-handled ladle (preferably plastic or stainless steel—avoid wooden ones as they can absorb odors)
- Kitchen tongs (for handling the dry ice safely—never touch it with bare hands)
- Thick oven mitts or insulated gloves (extra protection when moving the dry ice)
- Small hammer or mallet (for breaking larger dry ice blocks into manageable chunks)
- Large mixing pitcher (for combining the juices before pouring into the cauldron)
- Measuring cups (for accurate juice ratios)
I picked up my plastic cauldron at a party supply store for about $15, and it’s been worth every penny. If you don’t have one, a large glass punch bowl works beautifully too. Just avoid anything metal—dry ice can cause metal to become extremely cold and potentially crack or warp. I made that mistake my first year and ended up with a very sad, fog-less punch and a ruined bowl.
For the tongs, any standard kitchen tongs will work, but I prefer the ones with silicone grips because they give me better control when I’m dropping dry ice into the punch. And honestly, a small hammer from your toolbox is perfect for breaking up the dry ice—just wrap it in a clean kitchen towel first to prevent any debris from getting into the ice.
Preparation Method
Making this witches brew Halloween punch with dry ice fog is surprisingly straightforward. The key is to have everything ready before your guests arrive so you can do the dramatic dry ice reveal at the perfect moment. Here’s how I do it:
- Mix the juice base (up to 24 hours ahead): In your large mixing pitcher, combine the pineapple juice, orange juice, thawed limeade concentrate, and cold water. Stir until the concentrate is fully dissolved. Cover and refrigerate until you’re ready to serve. This step saves you so much stress on party day.
- Chill everything thoroughly: About 4 hours before serving, put the lemon-lime soda in the fridge. The colder everything is, the better the dry ice fog effect will be. Warm punch produces less dramatic fog, and nobody wants that.
- Prepare the dry ice (right before serving): Put on your insulated gloves or grab your tongs. Place the dry ice block on a clean surface, wrap it in a kitchen towel, and carefully break it into smaller chunks using the hammer. You want pieces about the size of a golf ball—small enough to handle but large enough to produce sustained fog.
- Assemble the punch (5 minutes before guests arrive): Pour the chilled juice mixture into your cauldron or punch bowl. Add the cold lemon-lime soda and stir gently. If you’re using food coloring, add it now—start with 3-4 drops and adjust until you get that eerie green or purple hue.
- Add the dry ice (right at serving time): Using your tongs, carefully place 3-4 chunks of dry ice into the punch. Do not—I repeat, do not—drop them in from a height. Gently lower them so the punch doesn’t splash. The fog will start rolling immediately.
- Maintain the fog effect: The dry ice will continue to produce fog for about 15-20 minutes. When the fog starts to thin out, add 2-3 more chunks. You’ll need to replenish throughout the party, which actually makes for a great interactive moment—guests love watching you add the ice.
- Serve with caution: Use the ladle to scoop punch into cups, being careful not to scoop up any dry ice chunks. The dry ice should remain at the bottom of the bowl. Make sure your guests know not to eat or drink the dry ice itself.
Important safety note: Never handle dry ice with bare hands. It can cause frostbite almost instantly. Always use tongs, gloves, or a thick towel. And never seal dry ice in an airtight container—the pressure buildup can cause an explosion. Keep the punch bowl uncovered so the fog can escape naturally.
I remember the first time I made this, I got so excited about the fog that I forgot to add the soda. The punch was flat and sad, and I had to quickly stir in the soda while trying to look like I meant to do that. Learn from my mistakes—double-check your steps before the big reveal!
Cooking Tips & Techniques
After making this witches brew Halloween punch for three years straight, I’ve picked up a few tricks that make the process smoother and the results more impressive. Here’s what I wish someone had told me:
Temperature is everything. The colder your punch base is, the better the dry ice fog will look. I chill my juice mixture for at least 12 hours before the party. If the punch is too warm, the dry ice sublimates too quickly and you get a short burst of fog instead of that slow, rolling effect that looks so spooky.
Don’t overthink the dry ice quantity. A common mistake is using too much dry ice, thinking more fog equals more drama. But too much dry ice can actually make the punch dangerously cold and cause the fog to come out in aggressive bursts. Start with 3-4 chunks and add more as needed. You want a gentle, continuous fog, not a smoke machine on overdrive.
Watch your bowl placement. Put the punch bowl on a sturdy table where guests can gather around it but won’t accidentally knock it over. The fog naturally sinks and spreads across the table, so make sure there’s enough surface area for the effect to shine. I once placed mine on a small side table, and the fog just pooled on the floor—totally wasted the visual impact.
Prep a dry ice station. Keep the remaining dry ice in a cooler (not airtight!) near the punch bowl. This way you can easily add more chunks without running back to the kitchen. I use a small styrofoam cooler with the lid slightly cracked—it keeps the dry ice cold and accessible.
Test the flavor balance. Before the party, taste the punch without the dry ice. It should be sweet but with a noticeable tang from the limeade. If it’s too sweet, add a splash more lime juice or a little sparkling water. If it’s too tart, a bit more pineapple juice will round it out. The dry ice doesn’t affect the flavor, so get the taste right first.
One year, I got so caught up in the fog effect that I forgot to taste the punch until guests had already filled their cups. It was way too sweet—like drinking liquid candy. I had to quickly mix up a batch of plain sparkling water and offer it as a “fog mixer” to dilute things. Now I always do a taste test before anyone arrives.
Variations & Adaptations
This witches brew Halloween punch is incredibly adaptable. Here are some of my favorite variations that I’ve tried over the years:
Boozy Adult Version
For an adults-only gathering, swap the lemon-lime soda for a bottle of chilled prosecco or sparkling wine. The bubbles work beautifully with the dry ice fog. Alternatively, add 2 cups of coconut rum or vodka to the juice base before chilling. The tropical notes in the rum complement the pineapple and orange flavors perfectly. Just be sure to label the punch bowl clearly so guests know what they’re getting.
Blood Orange Twist
Replace the orange juice with blood orange juice for a deeper, more sinister color. The dark red hue looks incredible when combined with green food coloring—it creates this murky, swamp-like effect that’s perfect for Halloween. The flavor is slightly less sweet and more complex, which I actually prefer.
Berry Witches Brew
Add 2 cups of mixed frozen berries (blueberries, raspberries, blackberries) to the punch base. The berries will slowly thaw and release their color, creating a creepy purple-red swirl effect. Plus, they look like floating eyeballs or mysterious swamp things—a fun visual surprise for guests.
Smokey Citrus Version
For a more sophisticated take, use grapefruit juice instead of orange juice and add a pinch of smoked paprika to the punch. The smokiness pairs unexpectedly well with the citrus and gives the punch a slightly savory edge that cuts through the sweetness. This version is especially good if you’re serving the punch alongside savory appetizers.
Dairy-Free Creamy Version
I know this sounds weird, but trust me—add a can of full-fat coconut milk to the juice base. The coconut milk gives the punch a creamy, almost potion-like texture that looks amazing when the dry ice fog rolls through it. The coconut flavor blends beautifully with the pineapple and lime. Just shake the can well before adding.
My personal favorite variation is the boozy coconut rum version. I made it for a friend’s Halloween party last year, and people were literally lining up for refills. The combination of coconut rum and pineapple juice tastes like a tropical vacation meets a haunted house—unexpected but absolutely perfect.
Serving & Storage Suggestions
This witches brew Halloween punch is designed to be served immediately after adding the dry ice, but there are a few things you can do ahead of time to make hosting easier.
Serve it cold and dramatic. The punch should be served well-chilled, with the dry ice fog rolling over the edges of the bowl. I like to place the cauldron on a black tablecloth with some fake cobwebs and battery-operated tea lights around it for extra atmosphere. The contrast between the dark table and the glowing fog is stunning.
What to serve alongside it. This punch pairs beautifully with savory appetizers like mini sliders, cheese boards, or spicy buffalo wings. The sweetness of the punch balances out salty and spicy foods. For a full Halloween spread, I usually serve it with my spicy pumpkin soup and some garlic parmesan knots—the combination is always a hit.
Storage tips. The juice base can be made up to 24 hours in advance and stored in the refrigerator. Do not add the dry ice until you’re ready to serve. Leftover punch (without dry ice) can be stored in an airtight container in the fridge for up to 3 days. The flavor actually gets better as the juices meld together.
Reheating? No need—this is a cold punch. But if you’ve stored leftover punch and want to serve it again, just pour it over regular ice cubes (not dry ice) and add a splash of fresh lemon-lime soda to revive the bubbles.
How flavors develop. The punch tastes best within the first 4 hours of mixing, as the carbonation from the soda is freshest. After that, it will still taste good but will be flatter. If you’re making it for a long party, consider keeping the soda separate and adding it in batches throughout the evening.
One thing I’ve learned: don’t try to save leftover dry ice for another party. It sublimates completely within 24 hours, even in a cooler. Just let it evaporate in a well-ventilated area and buy fresh for your next event.
Nutritional Information & Benefits
While this witches brew Halloween punch is definitely a treat rather than a health food, it does have some surprising nutritional perks thanks to the fruit juices. Here’s a rough breakdown per 8-ounce serving (without any alcohol additions):
- Calories: Approximately 120-150 calories per serving
- Carbohydrates: 30-35 grams (mostly natural sugars from fruit juice)
- Vitamin C: Excellent source—the pineapple and orange juices provide about 60% of your daily recommended intake
- Potassium: Good source, thanks to the orange and pineapple juices
- Folate: Present in moderate amounts from the citrus juices
The pineapple juice contains bromelain, an enzyme that can aid digestion—a nice bonus if you’re serving this alongside a heavy meal. The limeade concentrate adds a touch of antioxidants from the lime, though in smaller amounts than fresh lime juice.
Dietary considerations: This punch is naturally vegan, dairy-free, and gluten-free. It’s also nut-free and soy-free, making it safe for most common allergies. If you’re watching your sugar intake, you can use diet lemon-lime soda and reduce the amount of limeade concentrate, though this will change the flavor profile.
Potential allergens: There are no common allergens in this recipe, but always check your specific juice brands for any added ingredients or cross-contamination warnings.
I personally love that this punch feels indulgent without being overly heavy. It’s sweet enough to feel like a treat, but the citrus tang keeps it refreshing. And honestly, on Halloween night, a little sugar boost is part of the fun!
Conclusion
This witches brew Halloween punch with dry ice fog has become my go-to party trick, and I honestly can’t imagine hosting a Halloween gathering without it. There’s something magical about watching that fog roll across the table and hearing your guests gasp with delight. It’s the kind of recipe that makes you feel like a culinary wizard, even though it’s embarrassingly simple to pull off.
What I love most about this punch is how it brings people together. There’s a shared moment of wonder when everyone gathers around the cauldron, phones out, trying to capture the perfect fog shot. It turns a simple drink into an experience—and isn’t that what hosting is all about?
I’d love to hear how your witches brew turns out! Did you try any of the variations? Did your guests go wild for the fog effect? Drop a comment below and share your Halloween party photos—I’m always looking for new inspiration. And if you have any questions about working with dry ice or tweaking the flavors, just ask. I’m here to help you pull off the spookiest, most impressive punch your guests have ever seen.
Now go forth and brew some magic! Your Halloween party is about to get a whole lot more memorable.
Frequently Asked Questions
Is dry ice safe to use in drinks?
Yes, as long as you handle it properly. Never touch dry ice with bare skin—always use tongs or insulated gloves. Only use food-grade dry ice, and never let anyone consume the dry ice itself. The fog is safe to breathe, but the solid ice can cause frostbite or internal injury if swallowed.
How long does the dry ice fog effect last?
Each chunk of dry ice typically produces fog for 15-20 minutes. You’ll need to add fresh chunks throughout your party to maintain the effect. Plan on using about 5-10 pounds of dry ice for a 2-3 hour party, depending on how dramatic you want the fog to be.
Can I make this punch ahead of time?
Absolutely! Mix the juice base up to 24 hours in advance and keep it chilled in the refrigerator. Add the lemon-lime soda and dry ice right before serving. Do not add the dry ice ahead of time—it will sublimate completely and leave you with flat, fog-less punch.
What if I can’t find dry ice?
If dry ice isn’t available, you can still make a visually striking punch using regular ice cubes frozen with plastic spiders or eyeballs inside. The effect won’t be as dramatic, but the punch itself will still taste amazing. You can also use a fog machine placed behind the punch bowl for a similar visual effect.
Can I make this punch non-carbonated?
Yes, simply replace the lemon-lime soda with an equal amount of cold water or ginger ale. The punch will be less fizzy but still delicious. The dry ice fog effect works just as well with non-carbonated liquids, so you won’t lose any of the spooky visual impact.
Pin This Recipe!
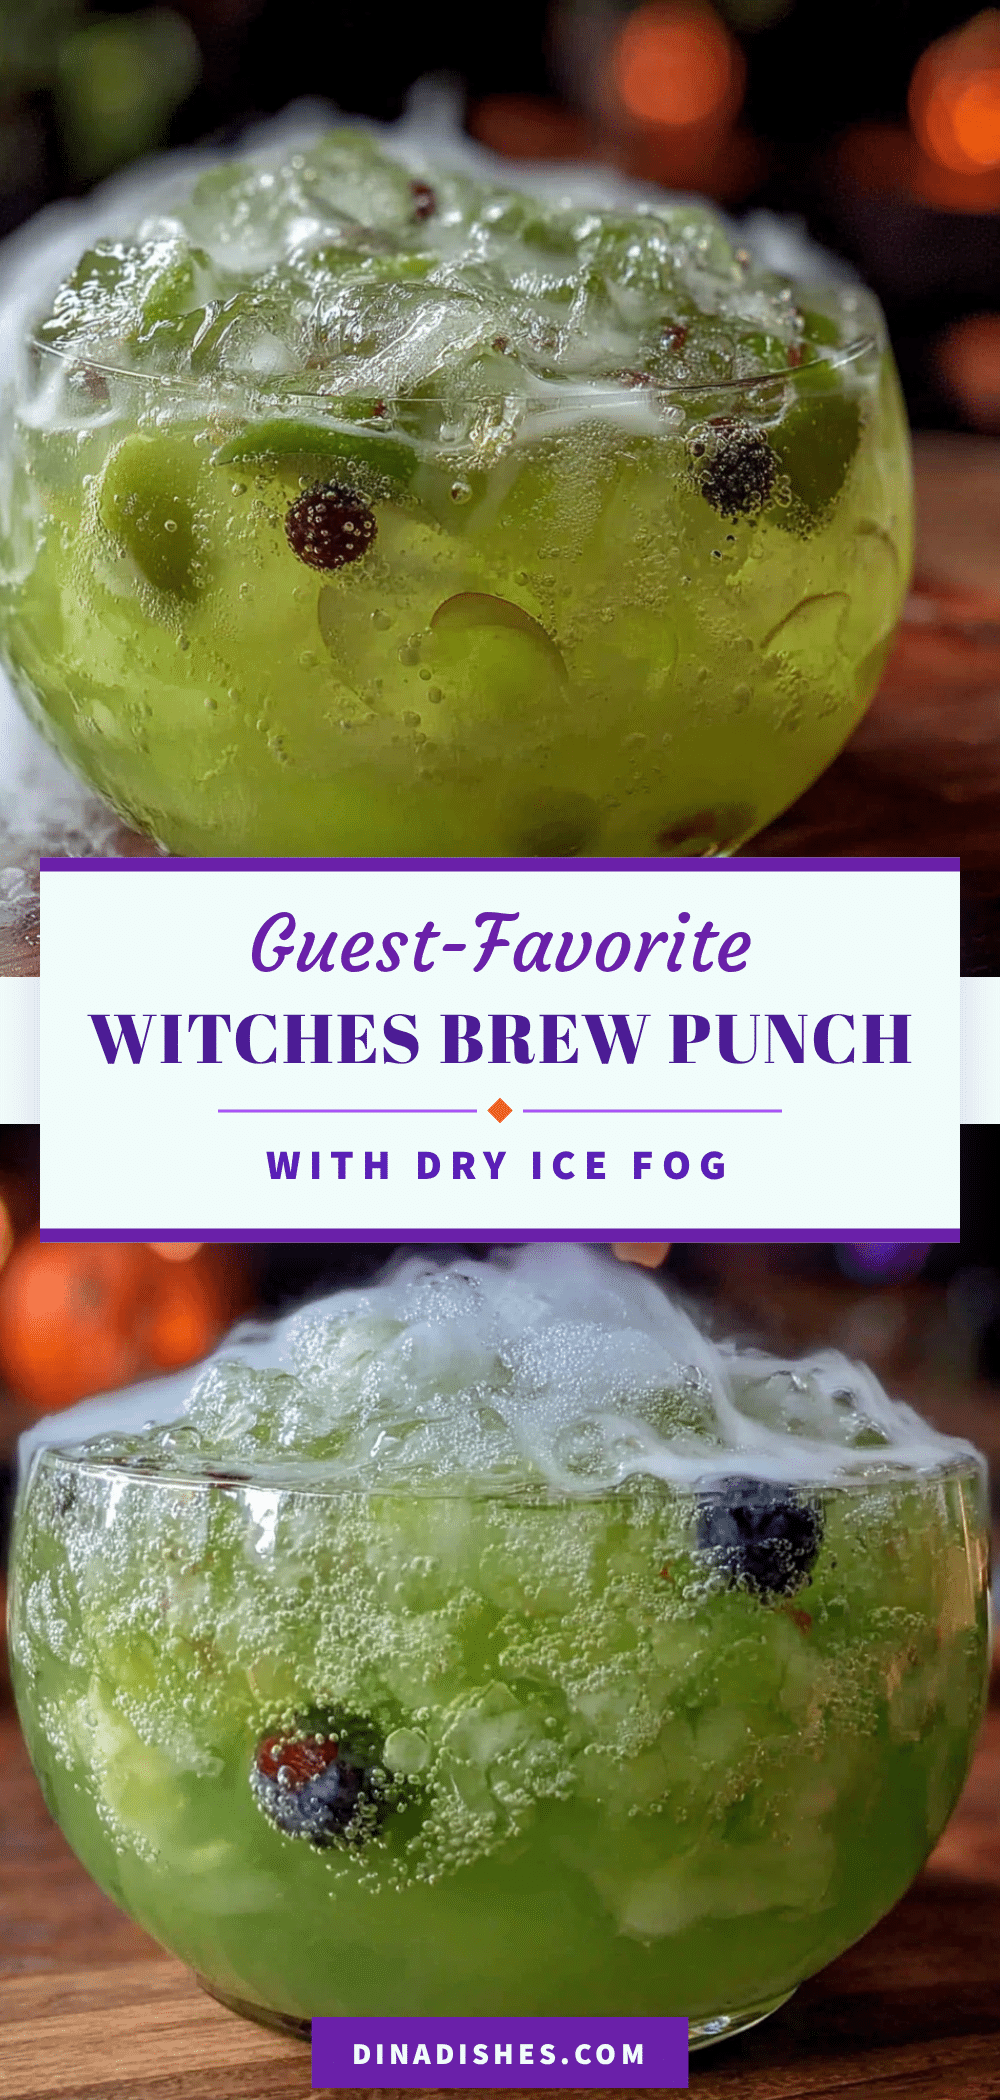
Witches Brew Halloween Punch with Dry Ice Fog
A spooky, visually stunning Halloween punch that creates dramatic dry ice fog. Made with pineapple juice, orange juice, limeade, and lemon-lime soda, this easy non-alcoholic punch is perfect for parties and guaranteed to impress guests.
- Prep Time: 15 minutes
- Cook Time: 0 minutes
- Total Time: 15 minutes
- Yield: 16 servings 1x
- Category: Beverage
- Cuisine: American
Ingredients
- 64 ounces pineapple juice (100% juice preferred)
- 32 ounces orange juice
- 12 ounces frozen limeade concentrate, thawed
- 2 liters lemon-lime soda (Sprite or 7-Up), well chilled
- 2 cups cold water
- 5–10 pounds food-grade dry ice
- Green or purple gel food coloring (optional)
- Frozen plastic spiders or eyeballs (optional)
- Fresh mint leaves or edible flowers (optional)
Instructions
- Mix the juice base (up to 24 hours ahead): In a large mixing pitcher, combine the pineapple juice, orange juice, thawed limeade concentrate, and cold water. Stir until the concentrate is fully dissolved. Cover and refrigerate until ready to serve.
- Chill everything thoroughly: About 4 hours before serving, put the lemon-lime soda in the fridge. The colder everything is, the better the dry ice fog effect will be.
- Prepare the dry ice (right before serving): Put on insulated gloves or grab tongs. Place the dry ice block on a clean surface, wrap it in a kitchen towel, and carefully break it into smaller chunks using a hammer. Aim for pieces about the size of a golf ball.
- Assemble the punch (5 minutes before guests arrive): Pour the chilled juice mixture into a large plastic cauldron or punch bowl. Add the cold lemon-lime soda and stir gently. If using food coloring, add 3-4 drops and adjust until you get the desired eerie hue.
- Add the dry ice (right at serving time): Using tongs, carefully place 3-4 chunks of dry ice into the punch. Gently lower them to avoid splashing. The fog will start rolling immediately.
- Maintain the fog effect: The dry ice will produce fog for about 15-20 minutes. When the fog starts to thin, add 2-3 more chunks. Replenish throughout the party as needed.
- Serve with caution: Use a ladle to scoop punch into cups, being careful not to scoop up any dry ice chunks. Make sure guests know not to eat or drink the dry ice itself.
Notes
Never handle dry ice with bare hands—it can cause frostbite. Always use tongs, gloves, or a thick towel. Never seal dry ice in an airtight container; keep the punch bowl uncovered. The punch base can be made up to 24 hours ahead. For a boozy version, swap lemon-lime soda for prosecco or add 2 cups of coconut rum or vodka.
Nutrition
- Serving Size: 8 ounces
- Calories: 135
- Sugar: 28
- Sodium: 25
- Fat: 0.2
- Carbohydrates: 33
- Fiber: 0.5
- Protein: 1
Keywords: Halloween punch, witches brew, dry ice punch, spooky drink, party punch, non-alcoholic punch, Halloween drink, dry ice fog