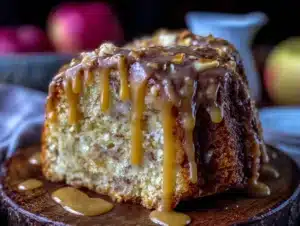
It was 10:47 PM on a random Tuesday, and I was hit with a very specific craving for something warm, spiced, and autumnal. I didn’t have any fresh apples for a pie, or even the energy for a complicated layer cake, but I had a half-gallon of apple cider in the fridge and a stick of butter that was begging to be browned. That’s when this whole thing started. I was already in my pajamas, honestly, and the idea of going to the store was out of the question. So, I started pulling things out of the pantry, thinking, ‘What’s the fastest way to make this happen?’
I grabbed a mixing bowl, a whisk, and started measuring. The plan wasn’t really a plan—it was more of a hopeful experiment. I wanted the deep, concentrated flavor of apple cider without having to reduce it on the stove for an hour. I figured a quick cake batter could handle the liquid, and the brown butter would do the heavy lifting for the flavor. I mean, brown butter makes everything taste like a warm hug, right? I remember cracking an egg and almost dropping the shell in, which is my signature move when I’m tired. It’s a tiny mess, but it’s real.
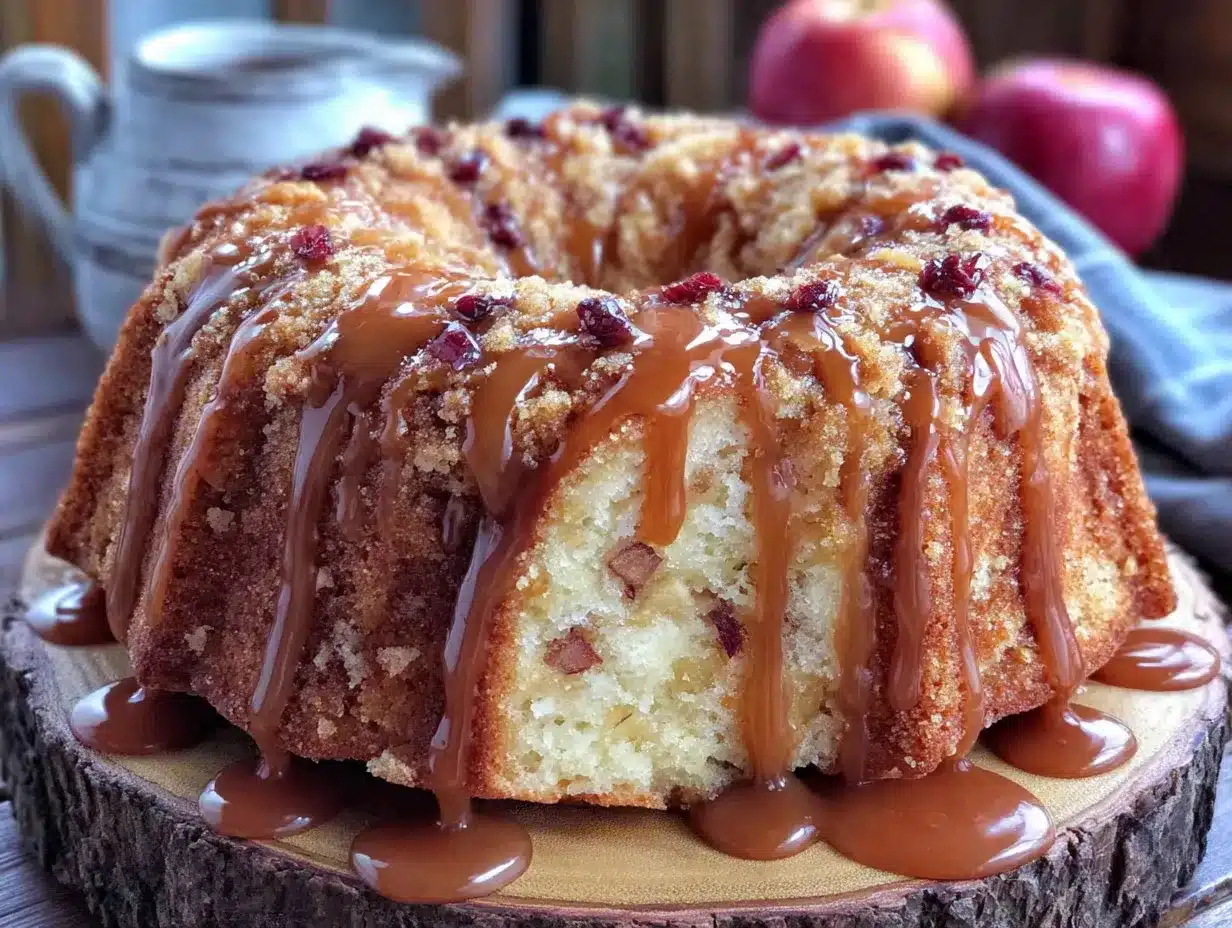
Thirty-five minutes later, I was pulling a beautifully golden, fragrant cake out of the oven. The kitchen smelled like a fall festival. I drizzled a simple brown butter glaze over the top while it was still warm, watching it melt into the cracks. That first bite was a revelation. It was moist, tender, and packed with apple flavor. It wasn’t just good for a late-night experiment; it was genuinely the best apple cake I’d ever made. Maybe you’ve been there, where a little bit of desperation and a whole lot of curiosity leads to something you keep making for years. This is that recipe for me.
Why You’ll Love This Recipe
Let me tell you why this cake has become a staple in my kitchen. It’s not just another dessert; it’s the solution to a few common problems, and it’s honestly foolproof. I’ve tested this more times than I can count, and it works every single time.
- Quick & Easy: From start to finish, this cake is on your table in under 45 minutes. The active prep time is maybe 10 minutes. It’s perfect for those weeknight cravings when you need a little comfort, fast.
- Simple Ingredients: You probably have 90% of these ingredients in your pantry right now. No trips to a specialty store for fancy flours or hard-to-find extracts. It’s all about accessibility.
- Perfect for Fall Gatherings: This cake is a showstopper for Thanksgiving, a cozy Sunday dinner, or a casual book club meeting. It’s impressive without being stressful.
- Crowd-Pleaser: I’ve brought this to potlucks and watched it disappear. Kids love the sweetness, and adults appreciate the sophisticated brown butter glaze. It’s a win-win.
- Unbelievably Delicious: The texture is incredibly moist and tender, thanks to the apple cider. The brown butter glaze adds a nutty, caramel-like richness that takes it over the top. It’s pure comfort.
What makes this recipe different from the rest is the technique. Instead of reducing the cider, we use it to create a super moist crumb. The brown butter isn’t just a garnish; it’s the secret weapon. It adds a depth of flavor that makes everyone ask, ‘What’s in this?’ It’s not just another apple cake—it’s your new favorite apple cake. This is the kind of recipe that makes you close your eyes after the first bite. It’s comfort food reimagined—faster, easier, but with the same soul-soothing satisfaction.
What Ingredients You Will Need
This recipe uses simple, wholesome ingredients to deliver bold flavor and satisfying texture without the fuss. Most of these are pantry staples, making it easy to whip up on a whim.
- All-Purpose Flour: The base of the cake. I recommend King Arthur Flour for consistent results. It provides the perfect structure. (You can substitute a 1:1 gluten-free flour blend if needed.)
- Granulated Sugar: Adds sweetness and helps create a tender crumb. It also aids in browning.
- Light Brown Sugar: Packed. This adds moisture and a subtle molasses flavor that pairs beautifully with the apple cider and brown butter.
- Baking Powder & Baking Soda: These are our leavening agents. They work together to give the cake lift and a soft texture. Make sure they are fresh for the best rise.
- Ground Cinnamon & Nutmeg: The classic fall spice duo. Cinnamon provides warmth, while nutmeg adds a slightly nutty, aromatic note. (Freshly grated nutmeg is a game-changer if you have it.)
- Salt: Just a pinch to balance the sweetness and enhance all the other flavors. I use fine sea salt.
- Apple Cider: The star of the show. Use unsweetened, unfiltered apple cider for the most robust flavor. Do not use apple juice, as it’s too thin and sweet.
- Vegetable Oil: This keeps the cake incredibly moist. It also ensures the cake stays tender for days. (You can use melted coconut oil or canola oil.)
- Large Eggs: They bind the ingredients together and add structure. Make sure they are at room temperature for the best emulsion.
- Vanilla Extract: Pure vanilla extract adds a warm, sweet fragrance that rounds out the apple and spice flavors. Avoid imitation vanilla for the best taste.
- Unsalted Butter: For the glaze. We’ll be browning this, so use a light-colored pan to see the color change easily. I prefer Kerrygold for its rich flavor.
- Powdered Sugar: Also for the glaze. It dissolves easily and creates a smooth, luscious texture without any graininess.
- Heavy Cream or Milk: To thin the glaze to the perfect drizzling consistency. Heavy cream makes it richer, but milk works perfectly fine.
Equipment Needed
You don’t need a professional bakery setup for this one. Here’s what you’ll need to get this cake from your kitchen to your plate.
- 9-inch Round Cake Pan: A standard metal or non-stick pan works best. I’ve used a dark non-stick pan, and it bakes a little faster, so keep an eye on it.
- Mixing Bowls: You’ll need one large bowl for the dry ingredients and another for the wet ingredients. I love my set of Pyrex glass bowls.
- Whisk: For combining the dry ingredients and mixing the wet ingredients. A good balloon whisk is your best friend here.
- Rubber Spatula: Essential for folding the wet and dry ingredients together without overmixing. It also helps you get every last bit of batter into the pan.
- Light-Colored Saucepan: This is crucial for browning the butter. A light-colored pan lets you see the butter change from yellow to golden brown without burning it.
- Cooling Rack: A wire rack allows air to circulate around the cake, preventing the bottom from getting soggy.
- Measuring Cups and Spoons: For accurate measurements. I cannot stress this enough—baking is a science.
Preparation Method
Let’s get baking. Follow these steps, and you’ll have a beautiful, fragrant cake in no time. I’ve included all the little tips I’ve learned along the way.
- Preheat and Prep: Preheat your oven to 350°F (175°C). Grease your 9-inch round cake pan thoroughly with butter or non-stick spray. For extra insurance, line the bottom with a circle of parchment paper. This guarantees the cake will come out cleanly.
- Brown the Butter: In your light-colored saucepan, melt 1/2 cup (1 stick / 113g) of unsalted butter over medium heat. Once melted, it will start to foam. Swirl the pan gently. After a few minutes, you’ll see brown specks forming at the bottom of the pan. It will smell wonderfully nutty. The second it turns a golden amber color, remove it from the heat and pour it into a heat-safe bowl to stop the cooking process. Set it aside to cool slightly while you make the cake. (Don’t walk away from this—it can go from perfect to burnt in seconds!)
- Whisk Dry Ingredients: In a large bowl, whisk together 1 1/2 cups (190g) all-purpose flour, 1/2 cup (100g) granulated sugar, 1/2 cup (100g) packed light brown sugar, 1 1/2 teaspoons baking powder, 1/2 teaspoon baking soda, 1 teaspoon ground cinnamon, 1/4 teaspoon ground nutmeg, and 1/4 teaspoon salt. Whisk until everything is evenly distributed.
- Mix Wet Ingredients: In a separate bowl or a large liquid measuring cup, whisk together 3/4 cup (180ml) apple cider, 1/3 cup (80ml) vegetable oil, 2 large eggs (room temperature), and 1 teaspoon vanilla extract. Whisk until the eggs are fully incorporated and the mixture is smooth.
- Combine the Batter: Pour the wet ingredients into the bowl with the dry ingredients. Use your rubber spatula to fold everything together gently. Mix until just combined—a few small lumps are perfectly fine. Do not overmix, or the cake will be tough. The batter will be quite thin, but that’s correct.
- Bake the Cake: Pour the batter into your prepared cake pan. Give the pan a gentle tap on the counter to release any air bubbles. Bake for 30-35 minutes, or until a toothpick inserted into the center comes out clean or with a few moist crumbs. The top should be golden brown and spring back when lightly touched.
- Cool the Cake: Place the pan on a wire rack and let the cake cool in the pan for about 10 minutes. Then, run a knife around the edge to loosen it, and invert the cake onto the rack to cool completely. It’s important the cake is mostly cool before you add the glaze, or it will all soak in.
- Make the Glaze: While the cake is cooling, make the glaze. In a medium bowl, whisk together the cooled brown butter, 1 cup (120g) powdered sugar, 2-3 tablespoons of heavy cream (or milk), and a pinch of salt. Whisk until smooth and pourable. If it’s too thick, add a splash more cream. If it’s too thin, add a little more powdered sugar.
- Glaze and Serve: Once the cake is completely cool, place it on your serving plate. Drizzle the brown butter glaze over the top, letting it cascade down the sides. Let the glaze set for about 10 minutes before slicing. Serve and enjoy!
Cooking Tips & Techniques
Here are a few things I’ve learned the hard way so you don’t have to. These little tricks make all the difference.
- Don’t Overmix the Batter: I know I said it, but it bears repeating. Overmixing develops the gluten in the flour, which will make your cake dense and rubbery. Fold until you don’t see any more streaks of flour, and then stop. Lumps are your friends here.
- Room Temperature Eggs: Cold eggs can seize up the batter, making it lumpy and harder to mix. To bring them to room temperature quickly, place them in a bowl of warm water for 5-10 minutes before you start.
- Watch the Butter Closely: Browning butter is a very fast process. Once you see the brown specks, it’s done. Pour it out of the hot pan immediately. If you leave it in the pan, the residual heat will continue to cook it, and you’ll end up with burnt butter. I’ve definitely had to start over because I got distracted.
- Use Unfiltered Apple Cider: For the best flavor, use the kind of apple cider that’s cloudy and a bit opaque. The unfiltered stuff has more apple solids, which translates to a stronger, more authentic apple taste in the cake.
- Test for Doneness: Ovens can be finicky. Start checking your cake at the 28-minute mark. If the toothpick comes out with wet batter, give it more time. If it comes out with a few moist crumbs, it’s perfect.
Variations & Adaptations
This recipe is a fantastic base for experimentation. Here are a few ways I’ve made it my own over the years.
- Add Some Texture: Fold in 1/2 cup of chopped pecans or walnuts into the batter before baking. The crunch is a lovely contrast to the soft, tender crumb. I did this for a Thanksgiving potluck, and it was a huge hit.
- Spice it Up: For a more complex spice profile, add 1/4 teaspoon of ground ginger and a pinch of ground cloves to the dry ingredients. It gives the cake a chai-like warmth that’s perfect for a cold evening.
- Make it a Loaf: You can easily bake this batter in a 9×5-inch loaf pan. Just increase the baking time to 45-55 minutes. Check for doneness with a toothpick. The loaf version is perfect for slicing and toasting.
- Dairy-Free Adaptation: For the cake, use a neutral-flavored oil like avocado or canola. For the glaze, substitute the butter with a high-quality vegan butter (like Miyoko’s) and use a dairy-free milk like oat or almond. It works beautifully.
- Apple Cider Caramel: Instead of the glaze, make a quick caramel sauce. In a saucepan, melt 1/4 cup of butter with 1/2 cup of brown sugar and 1/4 cup of apple cider. Simmer for 2-3 minutes until slightly thickened. Drizzle over the warm cake. It’s dangerously good.
Serving & Storage Suggestions
This cake is wonderful in so many ways. Here’s how to get the most out of it.
- Serving Temperature: This cake is delicious at room temperature, but it’s absolutely divine when served slightly warm. If you’re having it the next day, pop a slice in the microwave for 10-15 seconds.
- Presentation: A simple dusting of powdered sugar and a few fresh apple slices on the side makes for a beautiful, rustic presentation. For a fancier look, add a dollop of lightly sweetened whipped cream or a scoop of vanilla ice cream.
- Complementary Dishes: This cake pairs beautifully with a cup of hot coffee, a chai latte, or a glass of cold milk. It’s also a fantastic sidekick to a scoop of salted caramel ice cream.
- Storage: Store any leftover cake in an airtight container at room temperature for up to 3 days. The glaze will stay soft and luscious. For longer storage, you can refrigerate it for up to a week.
- Freezing: This cake freezes like a dream. Wrap the unglazed cake tightly in plastic wrap, then a layer of aluminum foil. Freeze for up to 3 months. When you’re ready to serve, thaw it in the refrigerator overnight, bring it to room temperature, and then glaze it fresh. The flavors actually meld together beautifully after freezing.
Nutritional Information & Benefits
While this is definitely a treat, it’s made with some ingredients that offer a few benefits. Here’s a quick look.
- Estimated Nutritional Values (per slice, assuming 8 slices): Calories: 380, Fat: 18g, Carbohydrates: 52g, Protein: 4g, Fiber: 1g, Sugar: 35g. (These are estimates and can vary based on specific brands and substitutions.)
- Health Benefits of Key Ingredients: Apple cider contains antioxidants and polyphenols. Cinnamon is known for its anti-inflammatory properties. Using oil instead of butter in the cake keeps it moist with less saturated fat.
- Dietary Considerations: This recipe can easily be made dairy-free (see variations above). It is nut-free as written, making it a safe option for many. It is not gluten-free or low-carb in its standard form.
- Potential Allergens: This recipe contains wheat (gluten), dairy (butter, cream), and eggs. Please check your specific ingredient labels if you have severe allergies.
- My Personal Perspective: I believe in balance. This cake is a celebration of simple, delicious ingredients. It’s not a health food, but it’s made with real food, and that counts for something. Enjoy a slice, savor every bite, and don’t feel a bit guilty about it.
Conclusion
This Quick Apple Cider Cake with Brown Butter Glaze is more than just a recipe; it’s a little moment of joy that you can create in under an hour. It’s the kind of cake that makes a regular Tuesday night feel special. I love it because it’s forgiving, it’s fast, and it always, always delivers on flavor. The smell alone is worth the effort.
I really hope you give this a try. Don’t be afraid to make it your own—add some nuts, play with the spices, or double the glaze (I won’t judge!). When you make it, I’d love to hear how it turned out. Leave a comment below and let me know if you added your own twist. Did you use a different spice? Did you make it into muffins? Share your experience! Happy baking, friends. Go make something delicious.
Frequently Asked Questions
Can I use apple juice instead of apple cider?
I wouldn’t recommend it. Apple juice is thinner and much sweeter, lacking the concentrated, tangy flavor that apple cider provides. The cake will be less flavorful and might have a different texture. Stick with the unfiltered cider for the best results.
My brown butter burned. Can I still use it?
If it’s just a little dark, you might be okay, but if it smells acrid or burnt, it’s best to start over. Burnt butter will give the glaze a bitter taste that will ruin the cake. It’s a small setback, but worth it for a good final product.
Can I make this cake in a different pan?
Absolutely! You can bake this in a 9×5-inch loaf pan (bake for 45-55 minutes) or even as 12-14 cupcakes (bake for 18-22 minutes). Just keep an eye on the baking time, as it will vary. A toothpick test is your best friend.
Why is my cake dense?
This is almost always a result of overmixing the batter. Once you add the wet ingredients to the dry, mix only until they are just combined. A few lumps are fine. Overmixing develops gluten, which makes the cake tough and dense.
Can I freeze the cake with the glaze on it?
I recommend freezing the cake without the glaze. The glaze can become watery or sticky after thawing. It’s much better to freeze the unglazed cake, then make the fresh glaze right before you plan to serve it. It takes only a few minutes and makes a huge difference.
Pin This Recipe!
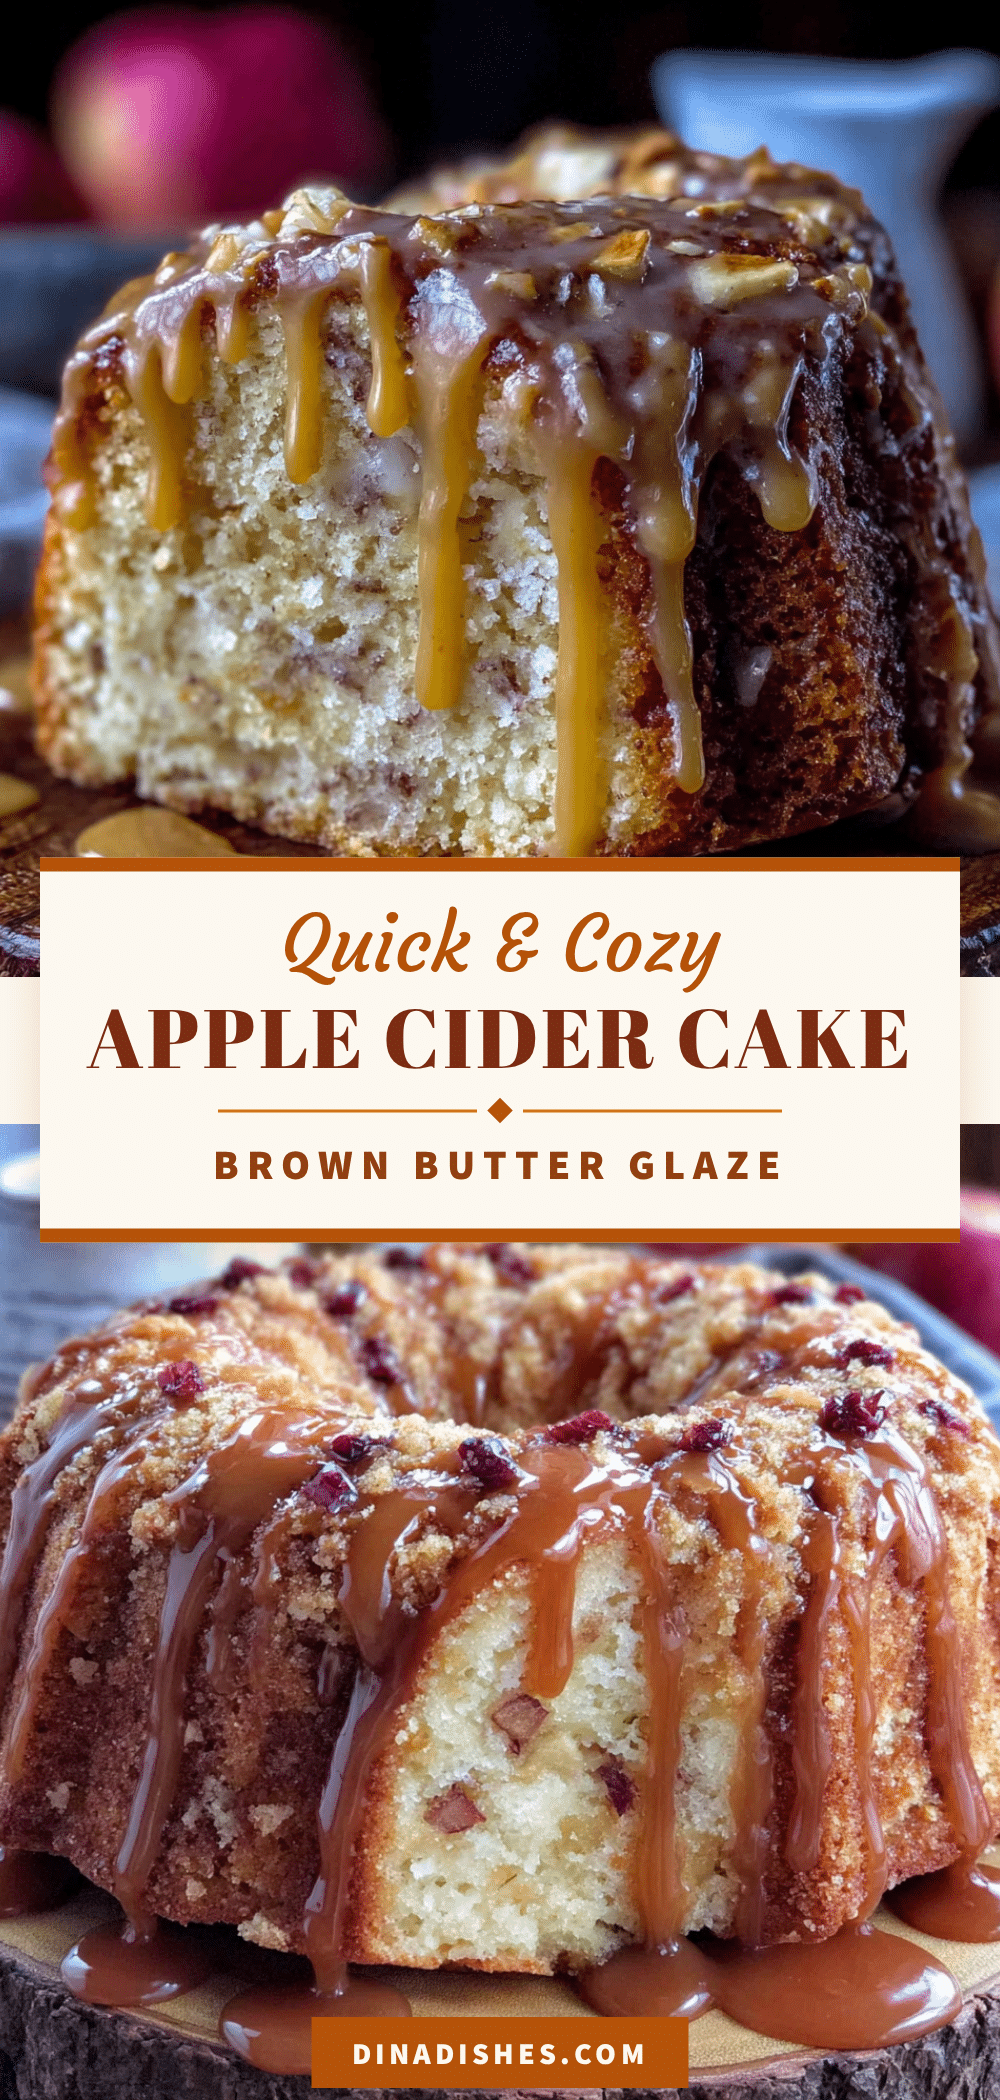
Quick Apple Cider Cake with Easy Brown Butter Glaze
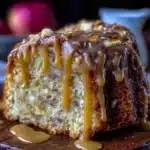
A moist, tender apple cider cake topped with a nutty brown butter glaze. This quick and easy recipe is perfect for fall gatherings and weeknight cravings, delivering deep apple flavor without the fuss.
- Prep Time: 10 minutes
- Cook Time: 30-35 minutes
- Total Time: 45 minutes
- Yield: 8 servings 1x
- Category: Dessert
- Cuisine: American
Ingredients
- 1 1/2 cups (190g) all-purpose flour
- 1/2 cup (100g) granulated sugar
- 1/2 cup (100g) packed light brown sugar
- 1 1/2 teaspoons baking powder
- 1/2 teaspoon baking soda
- 1 teaspoon ground cinnamon
- 1/4 teaspoon ground nutmeg
- 1/4 teaspoon salt
- 3/4 cup (180ml) apple cider (unsweetened, unfiltered)
- 1/3 cup (80ml) vegetable oil
- 2 large eggs (room temperature)
- 1 teaspoon vanilla extract
- 1/2 cup (1 stick / 113g) unsalted butter (for glaze)
- 1 cup (120g) powdered sugar (for glaze)
- 2–3 tablespoons heavy cream or milk (for glaze)
- Pinch of salt (for glaze)
Instructions
- Preheat your oven to 350°F (175°C). Grease a 9-inch round cake pan thoroughly with butter or non-stick spray. For extra insurance, line the bottom with a circle of parchment paper.
- In a light-colored saucepan, melt 1/2 cup (1 stick / 113g) of unsalted butter over medium heat. Once melted, it will start to foam. Swirl the pan gently. After a few minutes, you’ll see brown specks forming at the bottom of the pan. The second it turns a golden amber color, remove it from the heat and pour it into a heat-safe bowl to stop the cooking process. Set it aside to cool slightly.
- In a large bowl, whisk together 1 1/2 cups (190g) all-purpose flour, 1/2 cup (100g) granulated sugar, 1/2 cup (100g) packed light brown sugar, 1 1/2 teaspoons baking powder, 1/2 teaspoon baking soda, 1 teaspoon ground cinnamon, 1/4 teaspoon ground nutmeg, and 1/4 teaspoon salt until evenly distributed.
- In a separate bowl or large liquid measuring cup, whisk together 3/4 cup (180ml) apple cider, 1/3 cup (80ml) vegetable oil, 2 large eggs (room temperature), and 1 teaspoon vanilla extract until smooth.
- Pour the wet ingredients into the bowl with the dry ingredients. Use a rubber spatula to fold everything together gently until just combined. A few small lumps are fine. Do not overmix.
- Pour the batter into the prepared cake pan. Give the pan a gentle tap on the counter to release any air bubbles. Bake for 30-35 minutes, or until a toothpick inserted into the center comes out clean or with a few moist crumbs.
- Place the pan on a wire rack and let the cake cool in the pan for about 10 minutes. Then, run a knife around the edge to loosen it, and invert the cake onto the rack to cool completely.
- While the cake is cooling, make the glaze. In a medium bowl, whisk together the cooled brown butter, 1 cup (120g) powdered sugar, 2-3 tablespoons of heavy cream (or milk), and a pinch of salt until smooth and pourable. Adjust consistency as needed.
- Once the cake is completely cool, place it on a serving plate. Drizzle the brown butter glaze over the top, letting it cascade down the sides. Let the glaze set for about 10 minutes before slicing and serving.
Notes
Do not overmix the batter to avoid a dense cake. Use room temperature eggs for better emulsion. Watch the butter closely when browning to prevent burning. Use unfiltered apple cider for the best flavor. The cake can be stored in an airtight container at room temperature for up to 3 days, or frozen unglazed for up to 3 months.
Nutrition
- Serving Size: 1 slice
- Calories: 380
- Sugar: 35
- Sodium: 280
- Fat: 18
- Saturated Fat: 8
- Carbohydrates: 52
- Fiber: 1
- Protein: 4
Keywords: apple cider cake, brown butter glaze, fall dessert, quick cake, easy apple cake, autumn baking