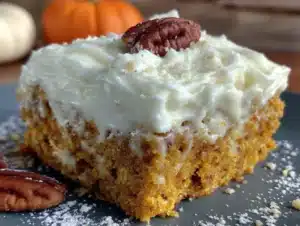
I had sworn off pumpkin bars for years. Honestly, I thought they were a cop-out—a way to use up half a can of pumpkin without committing to an actual pie. Too dense, too sweet, too… sandy. Then last October, my sister showed up at my door with a plastic container and said, “Just try one.” I took a bite while standing over the kitchen sink, fully prepared to smile and nod. Instead, I finished the whole bar, looked at my hands, and said, “Wait, can I have another?” She just laughed. That container was gone before she left the driveway.
What got me—and what I think gets everyone—is the texture. These pumpkin bars are not heavy. They’re not dense. They’re this perfect middle ground between a cake and a blondie, with a crumb that’s soft but not mushy. And the cream cheese frosting? It’s thick enough to hold a swirl but light enough that you don’t feel like you’re eating a tub of frosting with a spoon. Maybe you’ve been there—stuck with a pumpkin dessert that sounded good on paper but landed flat on the plate. I know I was. But these bars changed my mind, and they might just change yours too.
The funny thing is, I didn’t even want to make them at first. I was in the middle of testing a completely different recipe—some complicated layered thing that was falling apart on me. My kitchen looked like a flour bomb had gone off. But my sister insisted, and I’m so glad she did. Because now, every time fall rolls around, this is the recipe I reach for. It’s the one that makes people close their eyes after the first bite. And honestly? That’s the kind of recipe worth keeping.
Why You’ll Love This Recipe
Let me tell you why these pumpkin bars have earned a permanent spot in my fall baking rotation. I’ve tested this recipe at least a dozen times—with different ovens, different brands of pumpkin, even different types of cream cheese. Each time, the result was the same: a pan that was empty by the end of the day.
- Quick & Easy: From start to finish, you’re looking at about 45 minutes. That includes cooling time. Yes, really. The batter comes together in one bowl, and the frosting whips up while the bars cool.
- Simple Ingredients: You probably have most of these in your pantry right now. No weird extracts, no obscure flours. Just butter, sugar, eggs, pumpkin, flour, and spices. The cream cheese frosting uses four ingredients you can find at any grocery store.
- Perfect for Family Gatherings: These bars travel well, they don’t need to be served warm, and they feed a crowd. I’ve brought them to potlucks, school bake sales, and Thanksgiving dinners. They disappear fast.
- Crowd-Pleaser: Kids love them because they’re sweet and soft. Adults love them because they taste like fall without being too heavy. I’ve seen picky eaters go back for thirds.
- Unbelievably Delicious: The secret is the ratio of pumpkin to butter. Most recipes use too much pumpkin, which makes the bars gummy. This version uses just enough for moisture and flavor without sacrificing that tender crumb.
What makes this recipe different from the rest? It’s the method. Instead of creaming the butter and sugar together, you melt the butter first. This simple change creates a denser, fudgier texture—closer to a brownie than a cake. And the frosting? I use a block of cream cheese, not the spreadable kind. It makes a world of difference in thickness and tang. This isn’t just another pumpkin bar recipe. It’s the one that made me change my mind about pumpkin bars entirely.
What Ingredients You Will Need
This recipe uses simple, wholesome ingredients that work together to create something truly special. Most of these are pantry staples, so you might not even need to make a trip to the store.
For the Pumpkin Bars
- 1 cup (226g) unsalted butter, melted and slightly cooled (I use Kerrygold for the rich flavor, but any good butter works)
- 1 cup (200g) granulated sugar
- 1 cup (220g) packed light brown sugar (dark brown works too, but light gives a milder flavor)
- 2 large eggs, room temperature (cold eggs can seize the melted butter)
- 1 teaspoon vanilla extract (real vanilla, not imitation—trust me on this)
- 1 can (15 oz) pumpkin puree (not pumpkin pie filling—check the label)
- 2 cups (250g) all-purpose flour (spooned and leveled, not scooped)
- 1 teaspoon baking powder
- 1 teaspoon baking soda
- 1/2 teaspoon salt
- 2 teaspoons ground cinnamon
- 1 teaspoon ground ginger
- 1/2 teaspoon ground nutmeg
- 1/4 teaspoon ground cloves
For the Cream Cheese Frosting
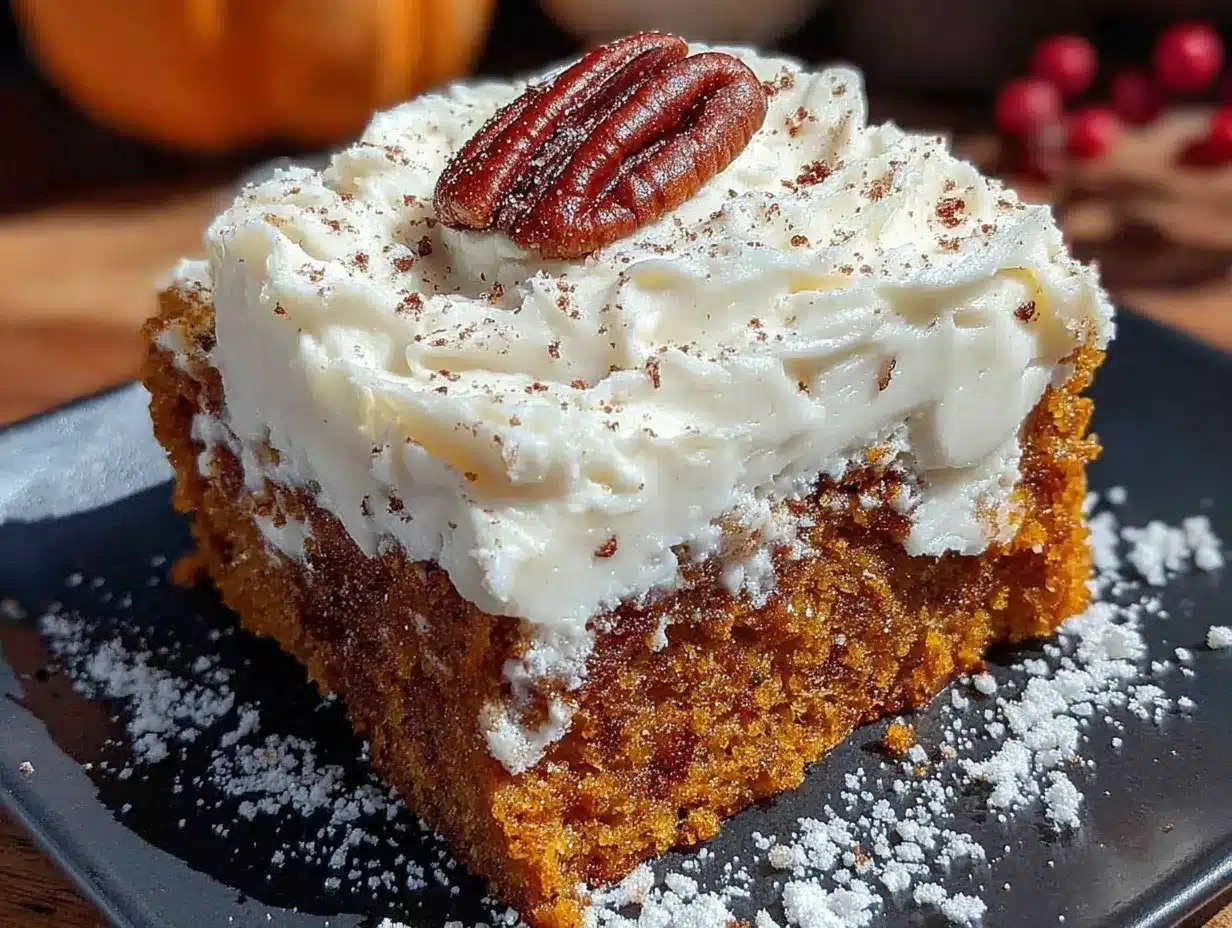
- 8 oz (226g) block cream cheese, softened (Philadelphia is my go-to—the block, not the tub)
- 1/2 cup (113g) unsalted butter, softened
- 3 cups (360g) powdered sugar, sifted (sifting prevents lumps—I learned this the hard way)
- 1 teaspoon vanilla extract
- Pinch of salt (to balance the sweetness)
Ingredient Tips: For the pumpkin puree, I recommend Libby’s. It’s consistently thick and not watery. Some store brands can be runny, which will make your bars soggy. If you’re using a different brand, pat the pumpkin with a paper towel to remove excess moisture. For the cream cheese, make sure it’s at room temperature. Cold cream cheese will leave lumps in your frosting that are impossible to get out. I usually set mine on the counter an hour before I start baking.
Equipment Needed
You don’t need a fancy kitchen to make these bars. Here’s what you’ll need:
- 9×13-inch baking pan (metal or glass both work, but metal gives a nicer edge)
- Parchment paper (for easy lifting—I use the pre-cut sheets for convenience)
- Large mixing bowl
- Medium mixing bowl
- Whisk
- Rubber spatula
- Electric hand mixer or stand mixer (for the frosting—you can do it by hand, but your arm will thank you for the mixer)
- Cooling rack
- Offset spatula (for spreading the frosting evenly—a butter knife works in a pinch)
Budget-Friendly Tip: If you don’t have a 9×13 pan, you can use a 10×15 jelly roll pan. The bars will be thinner and bake faster, so check them at 15 minutes. I’ve also used an 8×8 pan for thicker bars, but you’ll need to bake them longer—about 30-35 minutes. Just keep an eye on them.
Preparation Method
Let’s get baking. I’ve broken this down into clear steps with time estimates and sensory cues so you know exactly what to look for.
Step 1: Preheat and Prep (5 minutes)
Preheat your oven to 350°F (175°C). Line a 9×13-inch baking pan with parchment paper, leaving an overhang on two sides. This creates handles for lifting the bars out later. Spray the parchment lightly with non-stick spray. I forgot to do this once and spent twenty minutes chiseling bars out of the pan. Don’t be like me.
Step 2: Mix the Wet Ingredients (5 minutes)
In a large bowl, whisk together the melted butter, granulated sugar, and brown sugar until smooth. The mixture should look like wet sand—grainy but combined. Add the eggs one at a time, whisking well after each addition. Stir in the vanilla and pumpkin puree. The batter will look a bit separated at this point. That’s normal. Don’t panic.
Step 3: Combine the Dry Ingredients (3 minutes)
In a medium bowl, whisk together the flour, baking powder, baking soda, salt, cinnamon, ginger, nutmeg, and cloves. Whisking aerates the flour and distributes the spices evenly. If you skip this step, you might end up with a pocket of pure clove in one bar. Speaking from experience.
Step 4: Combine Wet and Dry (3 minutes)
Add the dry ingredients to the wet ingredients in three additions, folding gently with a rubber spatula after each addition. Do not overmix. Stop as soon as you no longer see streaks of flour. The batter will be thick and slightly sticky—like a soft cookie dough. It should smell warm and spicy, like autumn in a bowl.
Step 5: Bake (20-25 minutes)
Pour the batter into the prepared pan and spread it evenly with the spatula. Bake for 20-25 minutes, or until a toothpick inserted in the center comes out with a few moist crumbs. The edges should be golden brown and pulling away from the pan slightly. The center will look set but not dry. If the toothpick comes out wet with batter, give it another 2-3 minutes. Let the bars cool in the pan on a wire rack for 15 minutes, then lift them out using the parchment overhang and let them cool completely. This takes about an hour. Don’t rush it—warm bars will melt the frosting into a puddle.
Step 6: Make the Frosting (10 minutes)
While the bars cool, make the frosting. In a large bowl, beat the softened cream cheese and butter together with an electric mixer until smooth and creamy—about 2 minutes. Scrape down the sides of the bowl. Add the sifted powdered sugar, vanilla, and salt. Beat on low speed until combined, then increase to medium-high and beat for 2-3 minutes until light and fluffy. The frosting should be thick enough to hold a peak but spreadable. If it’s too thick, add a tablespoon of milk. If it’s too thin, add more powdered sugar.
Step 7: Frost and Cut (10 minutes)
Once the bars are completely cool, spread the frosting evenly over the top using an offset spatula. For clean cuts, chill the frosted bars in the refrigerator for 30 minutes before slicing. Use a sharp knife and wipe it clean between cuts. You’ll get 24 neat squares this way.
Cooking Tips & Techniques
Here are some things I’ve learned the hard way so you don’t have to.
Don’t overmix the batter. I know I said this already, but it’s worth repeating. Overmixing develops gluten, which makes the bars tough and chewy instead of tender. Fold just until the flour disappears. A few lumps are fine—they’ll bake out.
Use room temperature eggs. Cold eggs can cause the melted butter to seize up, creating a lumpy batter. If you forgot to take them out of the fridge, place them in a bowl of warm water for 5 minutes. It works every time.
Check your baking powder and soda. If your bars don’t rise properly, your leavening agents might be expired. To test, drop a teaspoon of baking soda into vinegar—it should fizz vigorously. For baking powder, drop it into hot water. If it doesn’t bubble, toss it and buy fresh.
Let the bars cool completely. I know you’re impatient. I am too. But warm bars + cream cheese frosting = a mess. The frosting will slide right off and turn into a sweet puddle. Trust the process. Let them cool for a full hour.
Use a block of cream cheese. The spreadable kind in a tub has added water and stabilizers that prevent it from whipping up properly. A block of full-fat cream cheese gives you a thick, stable frosting that holds its shape.
Variations & Adaptations
This recipe is flexible. Here are some ways to make it your own.
Gluten-Free Version: Substitute the all-purpose flour with a 1:1 gluten-free baking flour blend. I’ve used Bob’s Red Mill and King Arthur, and both worked perfectly. The texture is slightly more delicate, so handle the bars gently.
Dairy-Free Version: Use vegan butter sticks (not margarine) and a dairy-free cream cheese alternative. Miyoko’s and Kite Hill both make excellent options. The frosting will be slightly softer, so chill the bars longer before slicing.
Spice It Up: Add 1/4 teaspoon of cardamom or allspice for a more complex flavor profile. I once added a pinch of cayenne pepper for a subtle heat, and it was surprisingly good—like a pumpkin chai latte in bar form.
Add Mix-Ins: Fold in 1/2 cup of chocolate chips, chopped pecans, or dried cranberries before baking. Chocolate chips pair especially well with the cream cheese frosting—it’s like a pumpkin chocolate chip cookie in bar form.
Pumpkin Chocolate Chip Version: For a fun twist, fold 1 cup of semi-sweet chocolate chips into the batter and skip the frosting. Dust the cooled bars with powdered sugar instead. This version is less sweet and perfect for breakfast (no judgment here).
Serving & Storage Suggestions
These bars are best served at room temperature. The texture is soft and tender, and the frosting is creamy but firm. If you’ve chilled them, let them sit on the counter for 15 minutes before serving.
Presentation: For a pretty finish, dust the frosted bars with a pinch of cinnamon or pumpkin pie spice. You can also drizzle a little caramel sauce over the top for extra decadence. Cut them into 24 squares for a standard serving, or 16 larger squares if you’re feeling generous.
What to Serve With: A cup of hot coffee or spiced chai is perfect alongside these bars. They also pair beautifully with a scoop of vanilla ice cream or a dollop of whipped cream. For a fall-themed dessert board, arrange the bars on a platter with apple slices, candied pecans, and a bowl of warm caramel for dipping.
Storage: Store the bars in an airtight container in the refrigerator for up to 5 days. The frosting stays firm and creamy when chilled. I like to layer them with parchment paper between each layer to prevent sticking.
Freezing: These bars freeze beautifully. Freeze the unfrosted bars in a single layer on a baking sheet, then wrap them tightly in plastic wrap and foil. They’ll keep for up to 3 months. Thaw overnight in the refrigerator, then frost and serve. You can also freeze the frosted bars, but the texture of the frosting will be slightly softer after thawing.
Reheating: If you prefer warm bars, microwave a single serving for 10-15 seconds. The frosting will soften but won’t melt completely. I actually prefer them cold out of the fridge—the frosting gets fudgy and the bars are extra dense.
Nutritional Information & Benefits
Here’s the nutritional breakdown for one bar (based on 24 servings):
| Nutrient | Amount |
|---|---|
| Calories | 245 |
| Total Fat | 13g |
| Saturated Fat | 8g |
| Cholesterol | 55mg |
| Sodium | 180mg |
| Total Carbohydrates | 31g |
| Dietary Fiber | 1g |
| Sugars | 22g |
| Protein | 3g |
Health Highlights: Pumpkin is packed with vitamin A (in the form of beta-carotene), which supports eye health and immune function. It’s also a good source of fiber, which helps with digestion. The cream cheese frosting adds calcium and a bit of protein, though let’s be honest—we’re here for the taste. If you’re looking to lighten things up, you can reduce the sugar by 1/4 cup in the bars and use a low-fat cream cheese in the frosting. The texture will be slightly different, but still delicious.
Dietary Considerations: This recipe contains gluten, dairy, and eggs. For a gluten-free version, see the variations section above. For a dairy-free version, use vegan butter and dairy-free cream cheese. This recipe is not suitable for a vegan diet unless you also use an egg substitute like flax eggs.
Conclusion
These pumpkin bars with cream cheese frosting are the kind of recipe that makes you look forward to fall all year. They’re simple enough for a weekday baking project but impressive enough for a holiday dessert table. The texture is soft and tender, the spices are warm and comforting, and the frosting is the perfect finishing touch—creamy, tangy, and not too sweet.
I love this recipe because it’s forgiving. You can make mistakes—overmix a little, forget to sift the powdered sugar—and it still turns out great. It’s the kind of recipe that builds confidence in the kitchen. And honestly, watching someone take their first bite and close their eyes? That never gets old.
Now I want to hear from you. Did you make these bars? Did you add any twists? Drop a comment below and let me know how they turned out. And if you’re looking for another fall favorite, try my pumpkin chocolate chip cookies—they’re just as easy and just as good. Happy baking!
Frequently Asked Questions
Can I use pumpkin pie filling instead of pumpkin puree?
No, please don’t. Pumpkin pie filling is pre-sweetened and spiced, which will throw off the sugar and spice balance in the recipe. Stick with 100% pure pumpkin puree. If you accidentally bought pie filling, save it for making a no-bake pie or mix it into oatmeal.
Why did my bars turn out dense and heavy?
This usually happens for one of two reasons: overmixing the batter or using too much pumpkin. Overmixing develops gluten, which makes the bars tough. Too much pumpkin adds excess moisture, which weighs them down. Make sure you’re using a full 15-ounce can of pumpkin, not a larger one, and fold the dry ingredients in gently.
Can I make these bars ahead of time?
Absolutely. You can bake the bars a day ahead and store them unfrosted at room temperature. Frost them the day you plan to serve them. You can also freeze the unfrosted bars for up to 3 months. Just thaw, frost, and serve.
How do I get clean cuts on the bars?
Chill the frosted bars in the refrigerator for at least 30 minutes before slicing. Use a sharp knife and wipe it clean between each cut with a damp paper towel. This prevents the frosting from smearing and gives you neat, professional-looking squares.
Can I use a different frosting?
Sure. A simple vanilla glaze (powdered sugar, milk, and vanilla) works well if you want something lighter. Brown butter frosting is also amazing with these bars—it adds a nutty depth that complements the pumpkin beautifully. For a dairy-free option, try a coconut cream frosting.
Pin This Recipe!
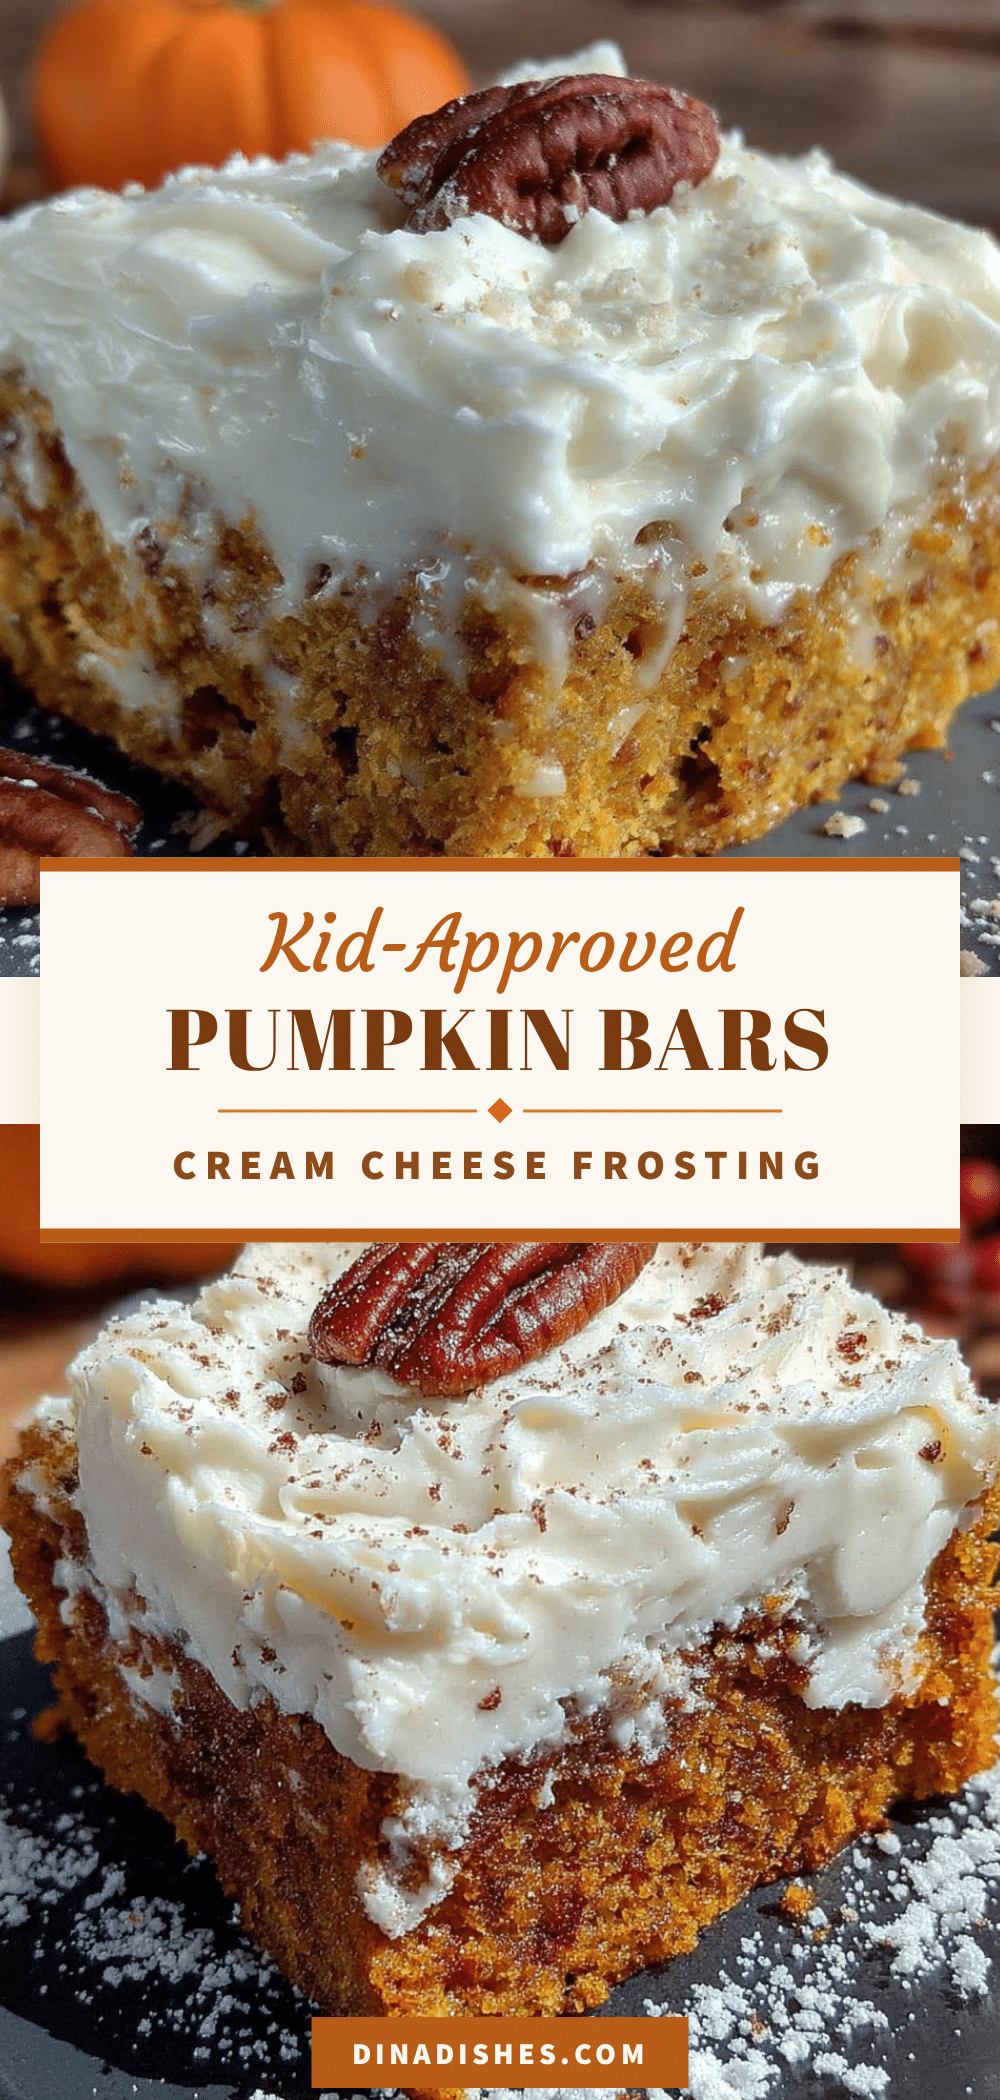
Best Easy Pumpkin Bars with Cream Cheese Frosting
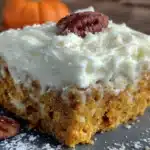
These pumpkin bars are soft, tender, and perfectly spiced, topped with a creamy, tangy cream cheese frosting. They’re quick to make, use simple ingredients, and are a crowd-pleasing fall dessert.
- Prep Time: 15 minutes
- Cook Time: 25 minutes
- Total Time: 1 hour 40 minutes (includes cooling and chilling)
- Yield: 24 servings 1x
- Category: Dessert
- Cuisine: American
Ingredients
- 1 cup (226g) unsalted butter, melted and slightly cooled
- 1 cup (200g) granulated sugar
- 1 cup (220g) packed light brown sugar
- 2 large eggs, room temperature
- 1 teaspoon vanilla extract
- 1 can (15 oz) pumpkin puree (not pumpkin pie filling)
- 2 cups (250g) all-purpose flour, spooned and leveled
- 1 teaspoon baking powder
- 1 teaspoon baking soda
- 1/2 teaspoon salt
- 2 teaspoons ground cinnamon
- 1 teaspoon ground ginger
- 1/2 teaspoon ground nutmeg
- 1/4 teaspoon ground cloves
- 8 oz (226g) block cream cheese, softened
- 1/2 cup (113g) unsalted butter, softened
- 3 cups (360g) powdered sugar, sifted
- 1 teaspoon vanilla extract
- Pinch of salt
Instructions
- Preheat oven to 350°F (175°C). Line a 9×13-inch baking pan with parchment paper, leaving an overhang on two sides. Spray lightly with non-stick spray.
- In a large bowl, whisk together melted butter, granulated sugar, and brown sugar until smooth. Add eggs one at a time, whisking well after each. Stir in vanilla and pumpkin puree.
- In a medium bowl, whisk together flour, baking powder, baking soda, salt, cinnamon, ginger, nutmeg, and cloves.
- Add dry ingredients to wet ingredients in three additions, folding gently with a rubber spatula until just combined. Do not overmix.
- Pour batter into prepared pan and spread evenly. Bake for 20-25 minutes, until a toothpick inserted in center comes out with a few moist crumbs. Cool in pan on a wire rack for 15 minutes, then lift out using parchment and cool completely (about 1 hour).
- For frosting: In a large bowl, beat softened cream cheese and butter with an electric mixer until smooth and creamy, about 2 minutes. Add sifted powdered sugar, vanilla, and salt. Beat on low until combined, then on medium-high for 2-3 minutes until light and fluffy.
- Once bars are completely cool, spread frosting evenly over top. Chill for 30 minutes before slicing into 24 squares. Wipe knife clean between cuts.
Notes
Use room temperature eggs to prevent butter from seizing. For clean cuts, chill frosted bars for 30 minutes before slicing. Store in an airtight container in the refrigerator for up to 5 days. Bars can be frozen unfrosted for up to 3 months.
Nutrition
- Serving Size: 1 bar
- Calories: 245
- Sugar: 22
- Sodium: 180
- Fat: 13
- Saturated Fat: 8
- Carbohydrates: 31
- Fiber: 1
- Protein: 3
Keywords: pumpkin bars, cream cheese frosting, fall dessert, easy pumpkin recipe, pumpkin bars with cream cheese frosting