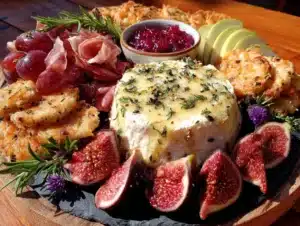
This was supposed to be a proper, sit-down dinner. I had the menu planned for weeks—a roasted chicken with all the trimmings, a fancy side dish, the whole nine yards. I’d invited my closest friends over for a pre-Thanksgiving get-together, and I was determined to impress. But then, life happened. The day of, I realized I’d forgotten to defrost the chicken. The oven was acting up, and honestly, I was already overwhelmed with work. I stared at the fridge, feeling that familiar panic rise. I had a beautiful assortment of seasonal fruits, a block of brie, some salami, and a bag of mixed nuts. That’s when it hit me. What came out of that moment of pure kitchen chaos was nothing like the plan—and better. I just started piling things onto a large wooden board. Apples, pears, figs, a drizzle of honey, some sharp cheddar. My friends walked in, saw the spread, and let me tell you, the reaction was pure joy. They didn’t miss the chicken at all. Honestly, they preferred this. It was the most relaxed, fun, and delicious gathering we’d ever had. That night, the Fall’s Best Friendsgiving Charcuterie Board with Seasonal Fruits was born, and it’s been my go-to ever since. Maybe you’ve been there—the moment when the plan falls apart and something better takes its place. This board is that happy accident I keep coming back to.
Why You’ll Love This Recipe
This isn’t just another cheese board. This is the centerpiece of your Friendsgiving, designed to be stress-free and absolutely stunning. I’ve tested this combination of flavors countless times, and it’s the one that always gets the most compliments. It’s the kind of spread that makes people gather around and just start talking.
- Quick & Easy: Forget spending hours in the kitchen. This board comes together in under 20 minutes, leaving you more time to actually enjoy your company.
- Simple Ingredients: You don’t need to hunt down exotic cheeses. Everything you need is at your local grocery store, especially during the fall season.
- Perfect for Friendsgiving: It’s the ideal way to kick off a casual get-together. It’s shareable, interactive, and feels special without the pressure of a formal dinner.
- Crowd-Pleaser: Honestly, everyone loves a good grazing board. From the sweet figs to the salty prosciutto, there’s something for every palate.
- Unbelievably Delicious: The combination of creamy brie, tangy blue cheese, crisp apples, and a drizzle of honey is next-level. It’s a flavor party in your mouth.
What makes this board different is the focus on seasonal, peak-of-the-season fruit. Instead of just grapes, we’re using honeycrisp apples, ripe pears, and fresh figs. It’s a small shift that makes a huge difference. This isn’t just another version of a charcuterie board—it’s your best version for the fall. It’s comfort food reimagined as a beautiful, shareable experience.
What Ingredients You Will Need
This recipe uses simple, beautiful ingredients to create a board that tastes as good as it looks. We’re focusing on what’s in season right now, which makes everything taste more vibrant.
- For the Cheeses:
- 8 oz Brie cheese (I recommend a double or triple cream for extra richness)
- 6 oz Sharp cheddar cheese (a good quality block, sliced into thin wedges)
- 4 oz Blue cheese (like Gorgonzola or Roquefort, for a tangy kick)
- 4 oz Goat cheese log (adds a creamy, tangy element; use plain or a honey variety)
- For the Meats:
- 4 oz Prosciutto (thinly sliced, folded into ribbons)
- 4 oz Salami (like Genoa or soppressata, sliced into rounds)
- 4 oz Capicola (or your favorite spicy dry-cured ham)
- For the Seasonal Fruits:
- 2 large Honeycrisp apples (sliced thin, tossed in lemon juice to prevent browning)
- 2 large Bosc pears (sliced, same lemon juice trick)
- 6-8 fresh figs (halved lengthwise; they are at their peak right now)
- 1 cup pomegranate seeds (for little bursts of tartness and color)
- For the Accompaniments:
- 1/2 cup mixed nuts (candied pecans or spiced almonds are fantastic)
- 1/4 cup honey (a good local honey adds a floral sweetness)
- 1/4 cup fig jam or apple butter (for spreading on bread or cheese)
- 1 baguette (sliced and lightly toasted, or use crackers)
- 1/2 cup marinated olives (optional, but adds a briny contrast)
When selecting your fruit, look for apples that are firm and crisp. Pears should give slightly at the stem. Figs should be plump and soft to the touch. For a gluten-free option, swap the baguette for your favorite gluten-free crackers or sliced cucumber rounds.
Equipment Needed
You don’t need a lot of fancy tools for this, which is part of the beauty. Here’s what you’ll want to have on hand:
- A Large Wooden Board or Slate Platter: This is your canvas. A 12×16 inch board works well for a crowd. I’ve used a simple cutting board in a pinch, and it works fine.
- Small Bowls: For the honey, fig jam, and olives. Ramekins or small ceramic bowls are perfect.
- A Sharp Knife: For slicing the cheese and fruit. A good chef’s knife is your best friend here.
- Cheese Knives or Spreaders: If you have them, they look nice. Otherwise, butter knives work just as well.
- Paring Knife: For halving figs and seeding the pomegranate (if you buy a whole one).
I once used a large baking sheet covered in parchment paper when I was out of town. It looked rustic and worked perfectly. Don’t overthink the equipment—use what you have.
Preparation Method
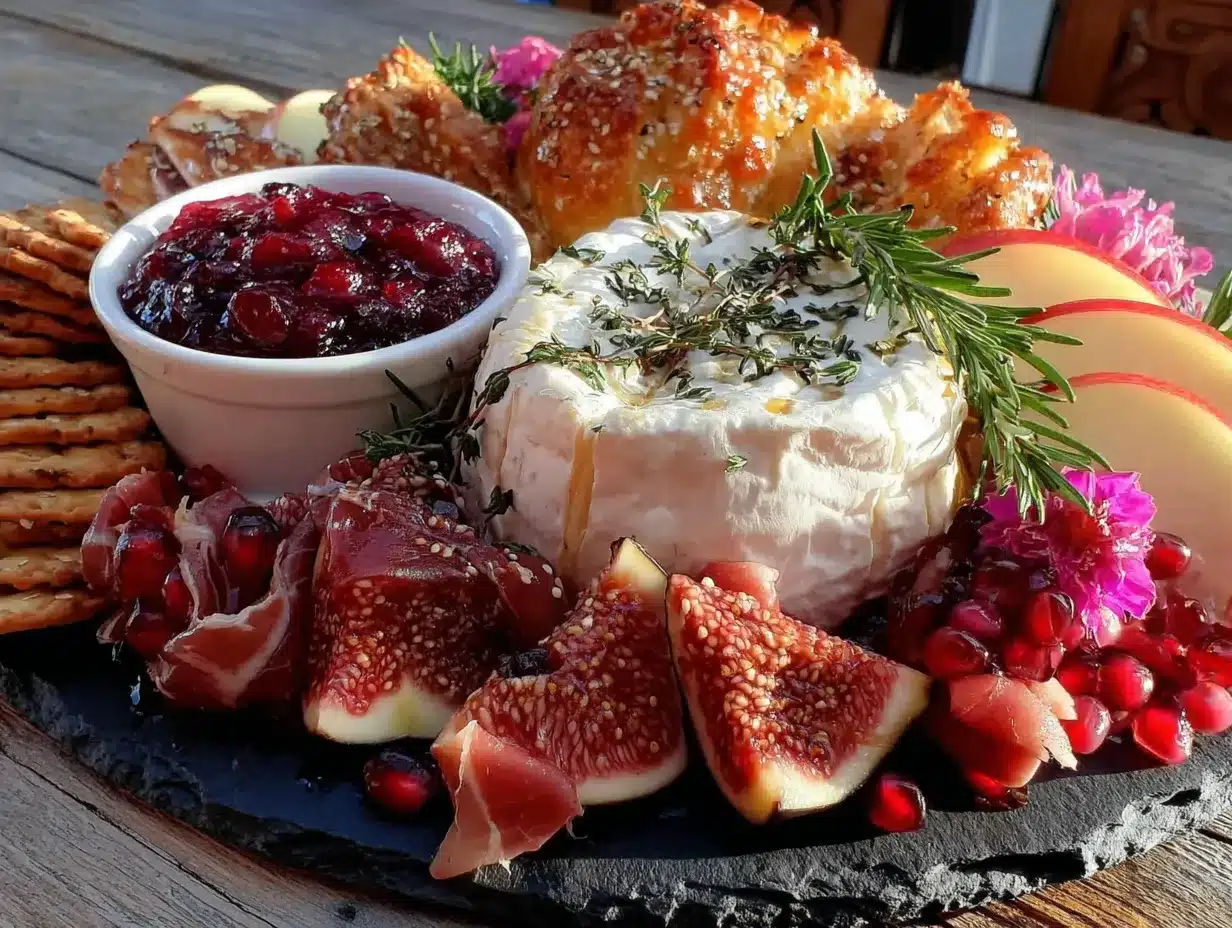
This is where the magic happens. The key is to create visual interest and make it easy for people to grab what they want. Follow these steps, and you’ll have a board that looks like it came from a magazine.
- Prepare Your Board: Start with your clean, dry board. Place your small bowls for the jam, honey, and olives first. I like to put them in the corners or along the edges to anchor the board. This gives you a structure to work around.
- Place the Cheeses: Unwrap your cheeses and place them around the board, leaving some space between them. For the brie, leave it whole or cut a small wedge out to show the inside. Slice the cheddar into thin triangles and fan them out. Crumble the blue cheese into a small pile. Slice the goat cheese log into rounds and place them in a row. This creates different textures and shapes.
- Add the Meats: Now for the protein. Fold the prosciutto slices into loose ribbons or rosettes and place them near the brie. Fan out the salami slices in a line. Roll up the capicola slices and place them next to the cheddar. This adds height and dimension to the board.
- Arrange the Fruit: This is the star of the show. Fan out the apple and pear slices in a cascading pattern. I like to place them near the cheddar and blue cheese because the flavors pair beautifully. Scatter the halved figs around the board, tucking them in between the meats and cheeses. Sprinkle the pomegranate seeds over the top for a pop of color.
- Fill the Gaps: Now, fill in the empty spaces with your nuts, olives, and any other small items. This makes the board look full and abundant. Don’t be afraid to pile things up a bit.
- Add the Bread/Crackers: Place your sliced baguette or crackers in a few different spots around the board. I like to put a small stack near each cheese so people don’t have to reach too far.
- Drizzle and Garnish: Finally, drizzle the honey over the brie and the figs. You can also add a few sprigs of fresh rosemary or thyme for a gorgeous, aromatic touch. It’s not necessary, but it looks incredible.
- Serve Immediately: This board is best enjoyed at room temperature. Let the cheeses sit out for about 20 minutes before your guests arrive to take the chill off. Then, just watch it disappear.
One tip: if your apples start to brown, it’s fine. They still taste great. I’ve forgotten the lemon juice before, and nobody noticed. Don’t stress over perfection.
Cooking Tips & Techniques
Over the years, I’ve learned a few things that make building a charcuterie board so much easier. Here are my best tips for getting it right every time.
- Room Temperature is Key: Cheese is at its best when it’s not cold. Take it out of the fridge 30 minutes before you start building the board. The flavors will be much more pronounced.
- Balance Flavors: You want a mix of creamy (brie), sharp (cheddar), tangy (blue cheese), and funky (goat cheese). The same goes for the meats—salty prosciutto, savory salami, and spicy capicola. It’s all about contrast.
- Think About Texture: Combine soft cheeses with crunchy nuts, crisp apples, and chewy dried fruit. This keeps every bite interesting.
- Don’t Overcrowd: It’s tempting to pile everything on, but leave a little space between items. It makes the board look more intentional and easier to navigate. I’ve made the mistake of overloading, and it just looks messy.
- Prep Ahead: You can slice the cheese and fruit a few hours in advance. Just cover them with plastic wrap and keep them in the fridge. Assemble the board right before guests arrive. This takes all the pressure off.
I once forgot the honey entirely. The board was still a hit, but I missed that sweet finish. Now, I always double-check my list.
Variations & Adaptations
This board is incredibly flexible. Here are a few ways to make it your own based on what you have or who you’re serving.
- Dietary Adaptations: For a vegetarian version, skip the meat and add more cheese or roasted vegetables like bell peppers and artichoke hearts. For a vegan board, use your favorite plant-based cheeses and add more fruits and nuts. It’s still beautiful and satisfying.
- Seasonal Swaps: In the fall, we use apples, pears, and figs. In the winter, swap in clementines, pomegranates, and dried apricots. In the summer, use fresh peaches, berries, and melon. The structure stays the same, but the flavors change with the season.
- Spicy Twist: If you like heat, add some spicy chorizo or soppressata. A drizzle of hot honey over the goat cheese is a game-changer. It adds a kick that cuts through the richness.
- Sweet Tooth Edition: Add some dark chocolate squares, dried cranberries, or a dollop of mascarpone cheese. It turns the board into a dessert course. I’ve done this for a post-dinner gathering, and it was a huge hit.
My personal favorite variation is adding a small bowl of roasted butternut squash cubes. The sweetness and soft texture are incredible with the sharp cheddar. It’s a little extra work, but so worth it.
Serving & Storage Suggestions
This board is best served at room temperature, so let it sit out for about 20 minutes before your guests dig in. It’s perfect as an appetizer for a Friendsgiving dinner, or it can be the main event for a casual gathering.
For presentation, I like to place the board in the center of a table and let everyone help themselves. It encourages conversation and makes the meal feel more interactive. Pair it with a crisp white wine like Sauvignon Blanc or a light red like Pinot Noir. A sparkling apple cider is also a fantastic non-alcoholic option.
If you have leftovers (which is rare!), store the components separately. Wrap the cheeses tightly in wax paper or plastic wrap and keep them in the fridge. The meats should be stored in an airtight container. The fruit will last for a day or two, but it’s best eaten fresh. Don’t try to store the assembled board—it will get soggy and sad.
For reheating, you don’t really need to. Just let the cheese come back to room temperature before serving again. The flavors actually get better after a day in the fridge, especially the blue cheese.
Nutritional Information & Benefits
This board is a balanced mix of protein, healthy fats, and fiber. Here’s a rough estimate per serving (assuming 8 servings):
- Calories: Approximately 400-500 per serving
- Protein: 18-22g
- Fat: 28-35g
- Carbohydrates: 25-30g
- Fiber: 5-7g
The seasonal fruits are packed with antioxidants and vitamins. Apples are great for heart health, and pears are a good source of fiber. The nuts provide healthy fats and protein, keeping you full and satisfied. Cheese offers calcium, but it’s also high in saturated fat, so enjoy in moderation.
This board can easily be made gluten-free by choosing the right crackers or skipping the bread. It’s also naturally low in added sugar, aside from the honey. It’s a great option for a crowd with different dietary needs.
Conclusion
This Fall’s Best Friendsgiving Charcuterie Board with Seasonal Fruits is more than just a recipe—it’s a reminder that the best moments often come from the unexpected. It’s about gathering the people you love around a table full of beautiful, delicious food without the stress. I love how this board brings everyone together, how it sparks conversation, and how it lets the seasonal flavors shine.
I encourage you to make this board your own. Swap in your favorite cheese, add a new fruit, or try a different honey. The beauty of a charcuterie board is that there are no rules. I’d love to hear how yours turns out! Leave a comment below and tell me what you added. And if you loved it, share this post with a friend who needs a little Friendsgiving inspiration. Happy grazing, friends!
Frequently Asked Questions
Can I make this charcuterie board ahead of time?
Yes! You can prep all the ingredients a few hours in advance. Slice the cheese and fruit, and store them separately in the fridge. Assemble the board right before your guests arrive for the freshest look.
What if I can’t find fresh figs?
No problem! You can substitute dried figs, dried apricots, or even fresh grapes. The key is to have a sweet, soft fruit to balance the salty meats and cheese.
How do I keep the apples from turning brown?
Toss the apple slices in a little lemon juice or lime juice. It slows down the browning process and adds a nice touch of acidity. You can also use a fruit freshener product if you have one.
What’s the best way to arrange the board?
Start with the bowls for dips and jams. Then place the cheeses, followed by the meats. Fill in the gaps with fruit, nuts, and crackers. This creates a balanced, visually appealing layout.
Can I use a different type of honey?
Absolutely! Any honey will work, but a local or wildflower honey adds a unique floral note. Hot honey is also fantastic for a spicy-sweet kick.
Pin This Recipe!
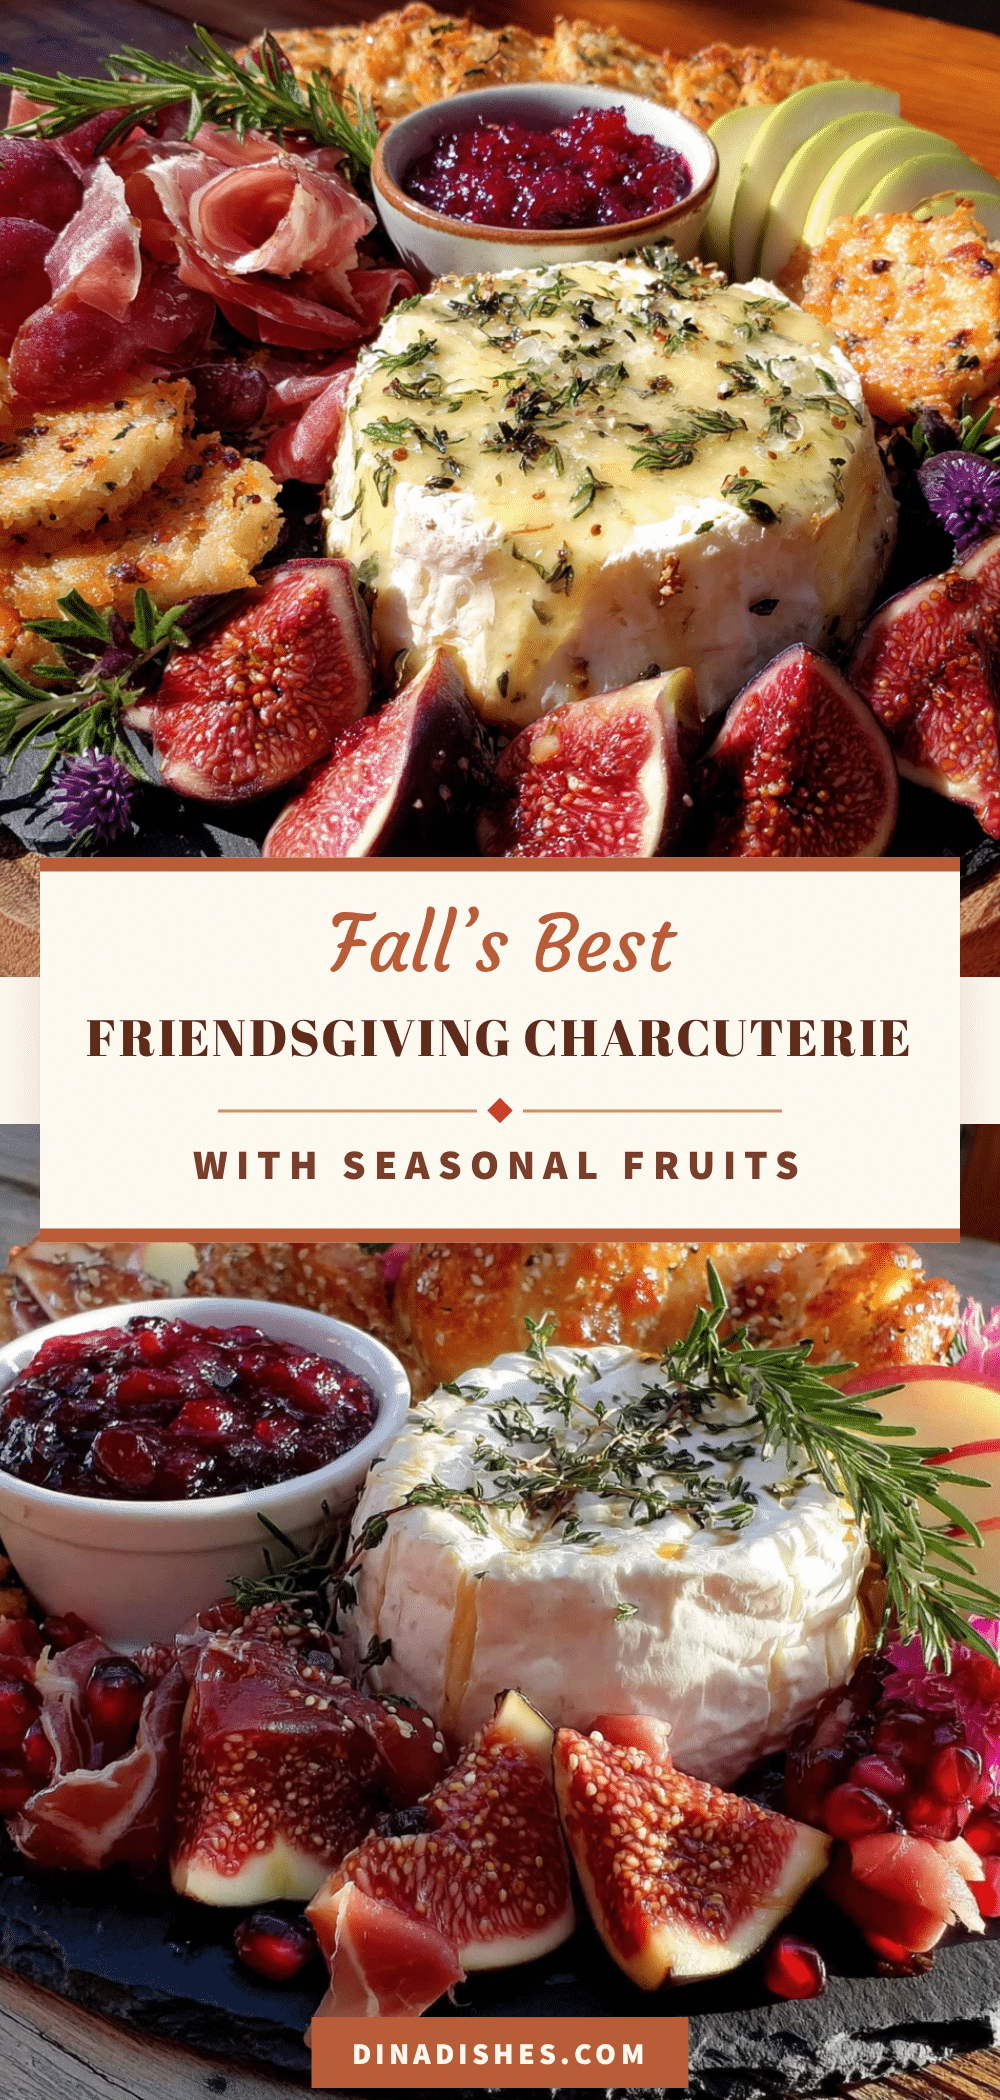
Fall’s Best Friendsgiving Charcuterie Board with Seasonal Fruits
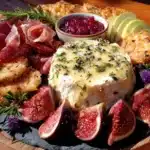
A stunning and stress-free charcuterie board featuring seasonal fruits, creamy cheeses, and savory meats, perfect for a casual Friendsgiving gathering. This board comes together in under 20 minutes and is a crowd-pleaser.
- Prep Time: 20 minutes
- Cook Time: 0 minutes
- Total Time: 20 minutes
- Yield: 8 servings 1x
- Category: Appetizer
- Cuisine: American
Ingredients
- 8 oz Brie cheese (double or triple cream)
- 6 oz Sharp cheddar cheese, sliced into thin wedges
- 4 oz Blue cheese (like Gorgonzola or Roquefort)
- 4 oz Goat cheese log (plain or honey variety)
- 4 oz Prosciutto, thinly sliced
- 4 oz Salami (Genoa or soppressata), sliced into rounds
- 4 oz Capicola (or spicy dry-cured ham)
- 2 large Honeycrisp apples, sliced thin and tossed in lemon juice
- 2 large Bosc pears, sliced and tossed in lemon juice
- 6–8 fresh figs, halved lengthwise
- 1 cup pomegranate seeds
- 1/2 cup mixed nuts (candied pecans or spiced almonds)
- 1/4 cup honey
- 1/4 cup fig jam or apple butter
- 1 baguette, sliced and lightly toasted (or crackers)
- 1/2 cup marinated olives (optional)
Instructions
- Prepare your board: Place small bowls for jam, honey, and olives in the corners or along the edges.
- Place the cheeses: Unwrap cheeses and place them around the board, leaving space. Leave brie whole or cut a small wedge. Slice cheddar into thin triangles and fan out. Crumble blue cheese into a pile. Slice goat cheese log into rounds and place in a row.
- Add the meats: Fold prosciutto into loose ribbons or rosettes and place near brie. Fan out salami slices in a line. Roll up capicola slices and place near cheddar.
- Arrange the fruit: Fan out apple and pear slices in a cascading pattern near cheddar and blue cheese. Scatter halved figs around the board. Sprinkle pomegranate seeds over the top.
- Fill the gaps: Add nuts, olives, and other small items in empty spaces.
- Add the bread/crackers: Place sliced baguette or crackers in a few spots around the board, near each cheese.
- Drizzle and garnish: Drizzle honey over brie and figs. Add fresh rosemary or thyme sprigs if desired.
- Serve immediately: Let cheeses sit out for 20 minutes before serving for best flavor.
Notes
For a vegetarian version, skip the meat and add more cheese or roasted vegetables. For a vegan board, use plant-based cheeses and add more fruits and nuts. Seasonal swaps: in winter use clementines, pomegranates, dried apricots; in summer use peaches, berries, melon. To keep apples from browning, toss in lemon juice. Prep ingredients a few hours ahead and assemble just before serving.
Nutrition
- Serving Size: 1 serving (approxima
- Calories: 450
- Sugar: 18
- Sodium: 800
- Fat: 31
- Saturated Fat: 14
- Carbohydrates: 28
- Fiber: 6
- Protein: 20
Keywords: charcuterie board, Friendsgiving, fall, seasonal fruits, cheese board, appetizer, easy, no-cook