It was 11:47 PM on a rainy Tuesday in early December, and I had an unreasonable craving for a peppermint mocha. Not the kind you get from the drive-thru, but the real deal—the kind that tastes like Christmas in a mug. The problem? I didn’t have any fancy syrup, and the store was closed. But I had sugar, cocoa powder, peppermint extract, and a stubbornness that only kicks in when you’re too tired to make good decisions.
So I stood there in my pajamas, staring at the pantry like it owed me something. I grabbed a saucepan, started throwing things in, and honestly? I was half-expecting disaster. The first batch was a little thin. The second one? I got distracted by a cat video and nearly burned it. But the third attempt—that was it. That was the syrup that made me close my eyes after that first sip. It was rich, chocolatey, with just enough peppermint to feel festive without tasting like toothpaste.
I poured it into a mason jar, made myself a mug of coffee at midnight, and sat on the couch listening to the rain. And I thought, this is what homemade Christmas feels like. Maybe you’ve been there—wanting something cozy but not wanting to put on real pants to get it. This syrup is for those nights. It’s for the mornings when you need a little extra magic in your mug, and for the afternoons when you want to gift a little warmth to someone you love. Let me tell you, this easy homemade peppermint mocha syrup changed my whole holiday coffee game.
Why You’ll Love This Recipe
I’ve tested this syrup more times than I care to admit. I mean, I’ve made it with white sugar, brown sugar, coconut sugar, and even honey (don’t recommend that one—it gets weird). I’ve adjusted the peppermint ratio until my kitchen smelled like a candy cane factory. So trust me when I say this version is the one.
- Quick & Easy: Comes together in under 15 minutes. No candy thermometers, no complicated steps. Just stir, simmer, and pour.
- Simple Ingredients: You probably have everything in your pantry already. Sugar, cocoa powder, water, vanilla, and peppermint extract. That’s it.
- Perfect for Christmas: This syrup turns any cup of coffee into a holiday treat. It’s also amazing in hot chocolate, lattes, and even drizzled over pancakes.
- Crowd-Pleaser: I’ve brought jars of this to holiday parties and watched people go from skeptical to asking for the recipe in under five minutes. Kids love it. Adults love it. Even my neighbor who “doesn’t do sweet coffee” asked for a second mug.
- Unbelievably Delicious: The flavor is deep and chocolatey, with a cool peppermint finish that doesn’t overpower. It’s balanced, smooth, and tastes way more expensive than it is.
What makes this recipe different from the store-bought stuff? It’s not loaded with preservatives or high-fructose corn syrup. You control the sweetness and the peppermint intensity. Plus, it costs a fraction of what you’d pay for those little bottles at the supermarket. This isn’t just another syrup recipe—it’s the one I make every single December, and the one friends now request as a holiday gift. It’s comfort in a bottle, honestly.
What Ingredients You Will Need
This recipe uses simple, wholesome ingredients that come together to create a syrup that’s rich, festive, and utterly addictive. Most of these are pantry staples, so you might not even need a grocery run.
- Granulated sugar (1 cup / 200g): This is the base of the syrup. Regular white sugar works best for a clean, sweet flavor. You can use organic cane sugar if you prefer. (I’ve tried brown sugar—it adds a slight molasses note that’s actually pretty good in a pinch.)
- Unsweetened cocoa powder (½ cup / 40g): Use a good quality cocoa powder for the best flavor. I personally recommend Ghirardelli or Hershey’s Special Dark. Dutch-process cocoa gives a smoother, less acidic chocolate taste. Natural cocoa works too, but the flavor will be slightly different.
- Water (1 cup / 240ml): Just tap water or filtered water. This helps dissolve the sugar and cocoa into a smooth syrup.
- Vanilla extract (1 teaspoon): Pure vanilla extract is best. Imitation vanilla works in a pinch, but the flavor won’t be as rich. (I always use Nielsen-Massey Madagascar vanilla—it’s worth the splurge for holiday recipes.)
- Peppermint extract (½ to 1 teaspoon): This is where the magic happens. Start with ½ teaspoon, taste, and add more if you want a stronger peppermint kick. I like mine bold, so I usually go for ¾ teaspoon. Be careful—peppermint extract is potent, and too much can make it taste like mouthwash. I recommend McCormick or Simply Organic brand.
- Pinch of salt: A tiny pinch of fine sea salt enhances the chocolate flavor and balances the sweetness. Don’t skip it—it makes a difference.
Optional add-ins: A tablespoon of unsalted butter stirred in at the end gives the syrup a silky, luxurious texture. Some people add a drop of food coloring for that classic pink-and-brown peppermint mocha look, but I prefer to keep it natural.
Substitution guidance: For a refined sugar-free version, use coconut sugar or monk fruit sweetener. The texture will be slightly grainier, and the flavor will be a little different, but it still works. For a dairy-free option, skip the butter or use a vegan butter substitute. This syrup is naturally gluten-free and vegan as written (without the butter).
Equipment Needed
You don’t need any fancy gadgets for this recipe. Here’s what you’ll need:
- Small saucepan: A 1.5 to 2-quart saucepan is perfect. I use my trusty Calphalon non-stick pan—it’s easy to clean and heats evenly. Avoid using a pan that’s too large, or the syrup will spread out too thin and cook unevenly.
- Whisk: A wire whisk is essential for getting the cocoa powder to dissolve smoothly. A fork works in a pinch, but you’ll have lumps. Trust me, I’ve tried.
- Measuring cups and spoons: You’ll need a liquid measuring cup for the water and dry measuring cups for the sugar and cocoa. Precision matters here—too much cocoa and the syrup gets bitter.
- Glass jar or bottle: A 16-ounce mason jar or a swing-top bottle works great for storing the syrup. Make sure it’s clean and completely dry before pouring. (I learned this the hard way—a wet jar can cause mold.)
- Fine-mesh strainer (optional): If you want an ultra-smooth syrup with no graininess, strain it through a fine-mesh sieve before bottling. I only do this if I’m gifting the syrup.
- Funnel (optional): A small funnel makes pouring into jars way less messy. I have a set of stainless steel funnels from Amazon that cost like $8 and they’re perfect for this.
Budget-friendly tip: Don’t have a whisk? Use a fork. Don’t have a funnel? Roll a piece of parchment paper into a cone shape. I’ve done both, and they work fine.
Preparation Method
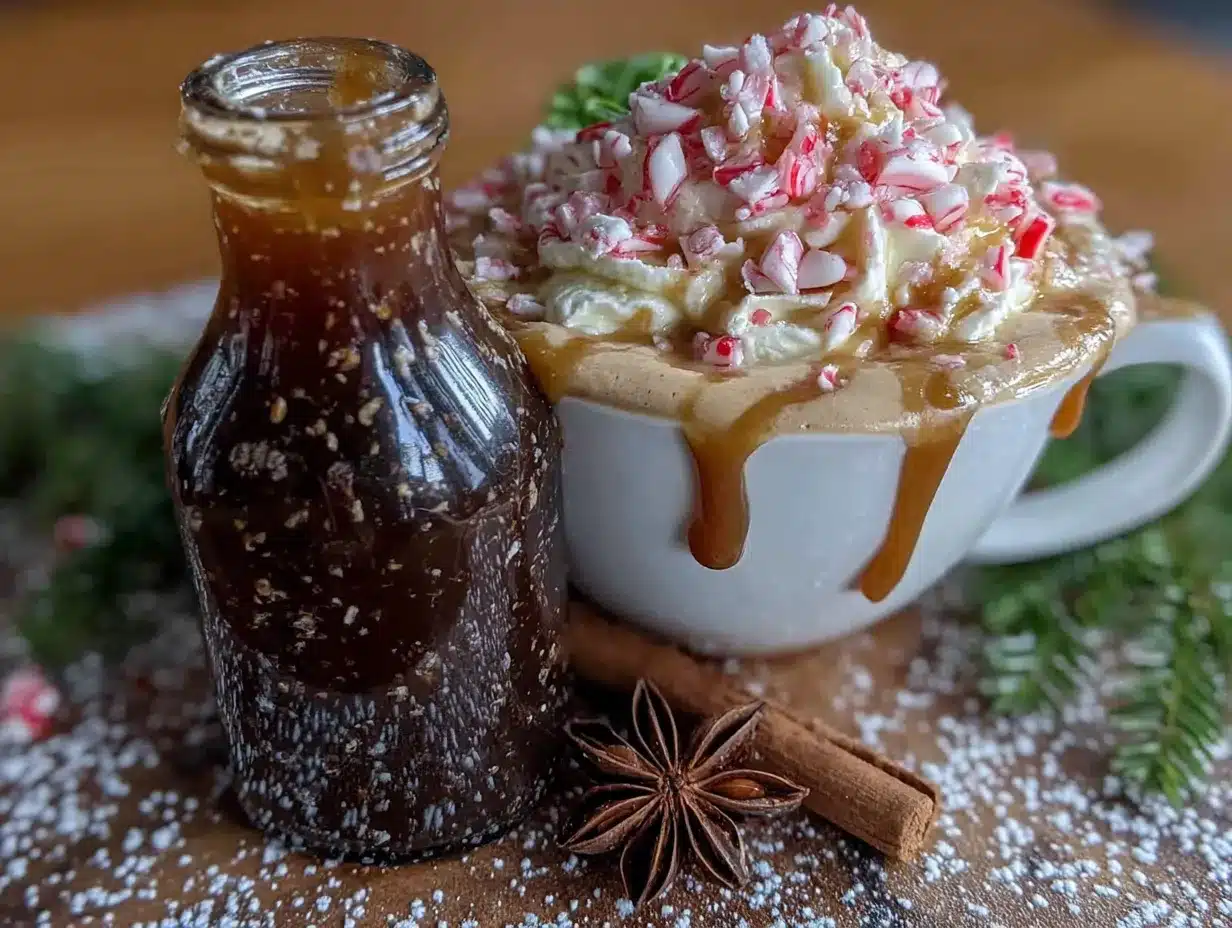
This syrup comes together in about 15 minutes. Here’s how to do it, step by step.
- Combine the dry ingredients: In your small saucepan, whisk together the sugar, cocoa powder, and salt. Make sure there are no lumps. I usually use a fork first to break up any cocoa clumps, then switch to a whisk. (Pro tip: sifting the cocoa powder beforehand prevents lumps, but I’m usually too impatient for that.)
- Add the water: Pour in the water and whisk until the mixture is smooth. It will look dark and a little grainy at first—that’s normal. Keep whisking until you don’t see any dry patches.
- Heat it up: Place the saucepan over medium heat. Bring the mixture to a gentle simmer, not a rolling boil. You’ll see small bubbles around the edges. Stir occasionally with your whisk. This takes about 3-4 minutes.
- Simmer and thicken: Once it’s simmering, reduce the heat to low. Let it cook for 5-7 minutes, stirring every minute or so. The syrup will thicken slightly as it cooks. It should coat the back of a spoon but still be pourable. Don’t walk away—I once got distracted by a phone call and ended up with a burnt, bitter mess. Set a timer if you have to.
- Remove from heat: Take the saucepan off the burner. Let it cool for 2-3 minutes. This is important—adding the extracts to a piping hot mixture can cause them to evaporate and lose flavor.
- Add the extracts: Stir in the vanilla extract and peppermint extract. Start with ½ teaspoon of peppermint. Taste it. If you want a stronger mint flavor, add another ¼ teaspoon. I like mine bold, so I usually go for ¾ teaspoon total. Remember, the flavor will intensify slightly as it cools.
- Optional: Add butter: If you’re using butter for extra richness, stir it in now until it’s fully melted and incorporated. This gives the syrup a beautiful silky mouthfeel.
- Cool and bottle: Let the syrup cool in the saucepan for about 10 minutes. Then pour it into your clean glass jar or bottle using a funnel. Don’t seal the jar while it’s still hot—it can create a vacuum seal that’s hard to open later. Let it cool completely at room temperature (about 1 hour) before putting the lid on.
- Refrigerate: Store the syrup in the refrigerator. It will thicken slightly when cold, but it will still be pourable. If it gets too thick, just microwave it for 10-15 seconds or let it sit at room temperature for a few minutes.
Sensory cue: When it’s done, the syrup should smell like a chocolate peppermint patty. It should be dark, glossy, and smooth. If it looks grainy, you might have under-whisked the cocoa. If it’s too thick, you cooked it too long—add a tablespoon of hot water and whisk to thin it out.
Cooking Tips & Techniques
I’ve made this syrup at least a dozen times, and I’ve made every mistake in the book. Here’s what I’ve learned so you don’t have to.
Don’t boil it vigorously. A gentle simmer is all you need. Boiling can cause the sugar to crystallize and make the syrup grainy. If you see big bubbles, turn the heat down immediately.
Watch the clock. The difference between perfect syrup and burnt syrup is about 90 seconds. I once left it on the stove while I answered the door for a package delivery. By the time I got back, it had a scorched smell that ruined the whole batch. Set a timer. Seriously.
Taste as you go. Peppermint extract is sneaky. What seems like a little can quickly become a lot. Always start with less, then add more. You can’t take peppermint out once it’s in there. (I learned this when I made a batch that tasted like a candy cane exploded in my coffee. Not pleasant.)
Use room temperature ingredients. The water should be room temperature or cool. If you use hot water, the sugar dissolves too quickly and can cause crystallization. I know it sounds fussy, but it makes a difference.
Double the batch. This syrup keeps for up to 3 weeks in the fridge, so I always make a double batch. It’s the same amount of effort, and you’ll thank yourself when you run out mid-December. I usually make a triple batch and give jars as gifts.
Keep it smooth. If you notice any graininess after cooking, strain the syrup through a fine-mesh sieve into your jar. This catches any undissolved sugar or cocoa particles. I only do this when I’m gifting it, but for personal use, I don’t bother—the graininess is barely noticeable.
Variations & Adaptations
This syrup is super versatile. Here are some ways to switch it up.
White Chocolate Peppermint Syrup: Swap the cocoa powder for ½ cup of white chocolate chips. Add them after you remove the pan from heat and stir until melted. This makes a creamy, sweet syrup that’s perfect for white chocolate mochas. I made this for a friend who doesn’t like dark chocolate, and she drank three cups in one afternoon.
Spiced Peppermint Mocha Syrup: Add ½ teaspoon of cinnamon and a pinch of nutmeg along with the dry ingredients. This gives the syrup a cozy, chai-like warmth that pairs beautifully with the peppermint. I made this version for Thanksgiving morning, and it was a huge hit.
Sugar-Free Version: Use 1 cup of monk fruit sweetener or allulose instead of sugar. The texture will be slightly thinner, and the flavor won’t be quite as rich, but it still hits the spot. I’ve tested this with erythritol, and it crystallized into a gritty mess—avoid that one.
Extra Chocolatey Version: Use ¾ cup of cocoa powder instead of ½ cup. You’ll need to increase the water by 2 tablespoons to keep the syrup pourable. This makes an intensely chocolate syrup that’s almost fudge-like. Perfect for those days when you need maximum chocolate.
Dairy-Free Version: Skip the butter or use a high-quality vegan butter. The syrup will be a little less silky, but still delicious. I use Miyoko’s vegan butter and it works perfectly.
Personal variation I love: I sometimes add a shot of espresso to the syrup while it’s cooling for an extra coffee kick. It makes the syrup a little thinner, but the flavor is incredible. I call it my “double mocha” syrup, and it’s dangerous because I can’t stop drinking it.
Serving & Storage Suggestions
This syrup is best served warm, stirred into your favorite coffee. Here’s how I use it:
For a classic peppermint mocha: Brew a strong cup of coffee or espresso. Add 2-3 tablespoons of syrup (adjust to taste). Top with steamed milk or frothed oat milk. Garnish with whipped cream and crushed candy canes if you’re feeling fancy. I do this every Sunday morning in December—it’s my little ritual.
For iced coffee: Stir the syrup into a small amount of hot coffee to dissolve it, then pour over ice and add cold milk. The syrup thickens when cold, so dissolving it first prevents it from sinking to the bottom.
Other uses: Drizzle it over pancakes, waffles, or French toast. Stir it into hot chocolate. Use it as a topping for ice cream or brownies. I even used it as a glaze for a chocolate cake once, and it was amazing. Honestly, I’ve put it on vanilla ice cream with crushed pretzels, and it was the best dessert I’ve had in months.
Storage: Store the syrup in an airtight glass jar in the refrigerator for up to 3 weeks. The flavor actually gets better after a day or two as the ingredients meld together. I’ve kept it for a month without issues, but the peppermint flavor starts to fade after week three.
Reheating: If the syrup thickens too much in the fridge, microwave it in 10-second bursts, stirring between each, until it’s pourable again. Or let the jar sit in a bowl of warm water for a few minutes. Don’t microwave it in a sealed jar—that’s a disaster waiting to happen.
Freezing: You can freeze this syrup in ice cube trays for up to 3 months. Pop out a cube and thaw it in the fridge or microwave when you need a single serving. I do this so I always have peppermint mocha syrup on hand, even in July.
Nutritional Information & Benefits
Here’s the honest truth—this is a treat, not a health food. But it’s made with real ingredients, and that counts for something.
Per 2-tablespoon serving (approximate):
- Calories: 70
- Carbohydrates: 17g
- Sugar: 16g
- Fat: 0.5g
- Sodium: 10mg
Health highlights: Cocoa powder is rich in antioxidants called flavonoids, which can help reduce inflammation and support heart health. Peppermint has natural digestive benefits and can help soothe an upset stomach. Vanilla extract has a calming effect—seriously, the scent alone can reduce anxiety. So while this syrup isn’t low-calorie, it does have some redeeming qualities.
Dietary considerations: This syrup is naturally gluten-free, dairy-free (if you skip the butter), and vegan (same). It contains no nuts, eggs, or soy. The sugar-free version works for low-carb and keto diets if you use monk fruit or allulose.
Potential allergens: None of the main ingredients are common allergens, but always check your peppermint extract—some brands use alcohol that may be derived from corn or grains.
My personal take: I believe in balance. I eat mostly whole foods, but December is for indulgence. This syrup lets me enjoy a festive treat without artificial junk. And honestly, making it from scratch feels better than buying a bottle with ingredients I can’t pronounce.
Conclusion
This easy homemade peppermint mocha syrup is everything I want in a Christmas recipe—simple, cozy, and full of flavor. It turns an ordinary cup of coffee into something special, and it makes the whole kitchen smell like a holiday bakery. I’ve made it for myself, for friends, and for holiday parties, and it never fails to bring a smile to someone’s face.
I love that I can control the sweetness and the peppermint strength. I love that it costs pennies to make. And I really love that I can have a peppermint mocha in my pajamas at 11 PM without leaving the house. You can customize this syrup however you like—add more cocoa, less peppermint, a dash of cinnamon. Make it your own. That’s the beauty of homemade.
If you make this syrup, I’d love to hear about it. Leave a comment below and tell me how you used it—did you make a mocha, a hot chocolate, or something totally unexpected? Share your photos and tag me on social media. And if you have a favorite variation, please share it. We’re all here for the same thing: good coffee and a little bit of Christmas magic.
Now go make yourself a cup. You deserve it.
Frequently Asked Questions
Can I use this syrup in cold drinks?
Absolutely. For iced coffee or cold brew, stir the syrup into a small amount of hot water or hot coffee first to dissolve it, then pour over ice. If you add it straight to cold liquid, it can be a little thick and sink to the bottom. I’ve done it both ways, and dissolving it first gives a much better result.
How long does homemade peppermint mocha syrup last?
Stored in an airtight glass jar in the refrigerator, it stays fresh for up to 3 weeks. The flavor is best within the first two weeks. After that, the peppermint starts to fade. I’ve kept it for a month without any spoilage, but I can’t guarantee the flavor will be as vibrant. Always use a clean spoon to scoop it out to prevent contamination.
Can I double or triple this recipe?
Yes! This recipe scales beautifully. I usually make a triple batch at the beginning of December and give jars as gifts. Just make sure you use a large enough saucepan—the syrup can bubble up when it simmers, so leave plenty of room. A 3-quart pan works well for a double batch.
Why did my syrup turn out grainy?
Graininess usually happens when the sugar isn’t fully dissolved, or the cocoa powder wasn’t whisked in properly. Make sure you whisk thoroughly before heating, and let the syrup simmer long enough for the sugar to dissolve completely. If it’s already grainy, you can try straining it through a fine-mesh sieve. I’ve also fixed a grainy batch by adding a tablespoon of hot water and whisking vigorously—it worked about 80% of the time.
Can I use this syrup as a gift?
Absolutely! This is one of my favorite homemade gifts. Pour the cooled syrup into a clean glass bottle or mason jar, tie a ribbon around it, and attach a tag with instructions. I usually include a note that says “Add 2-3 tablespoons to your coffee for a peppermint mocha.” It’s inexpensive, thoughtful, and everyone loves it. I’ve given these to neighbors, coworkers, and teachers, and they always ask for more.
Pin This Recipe!
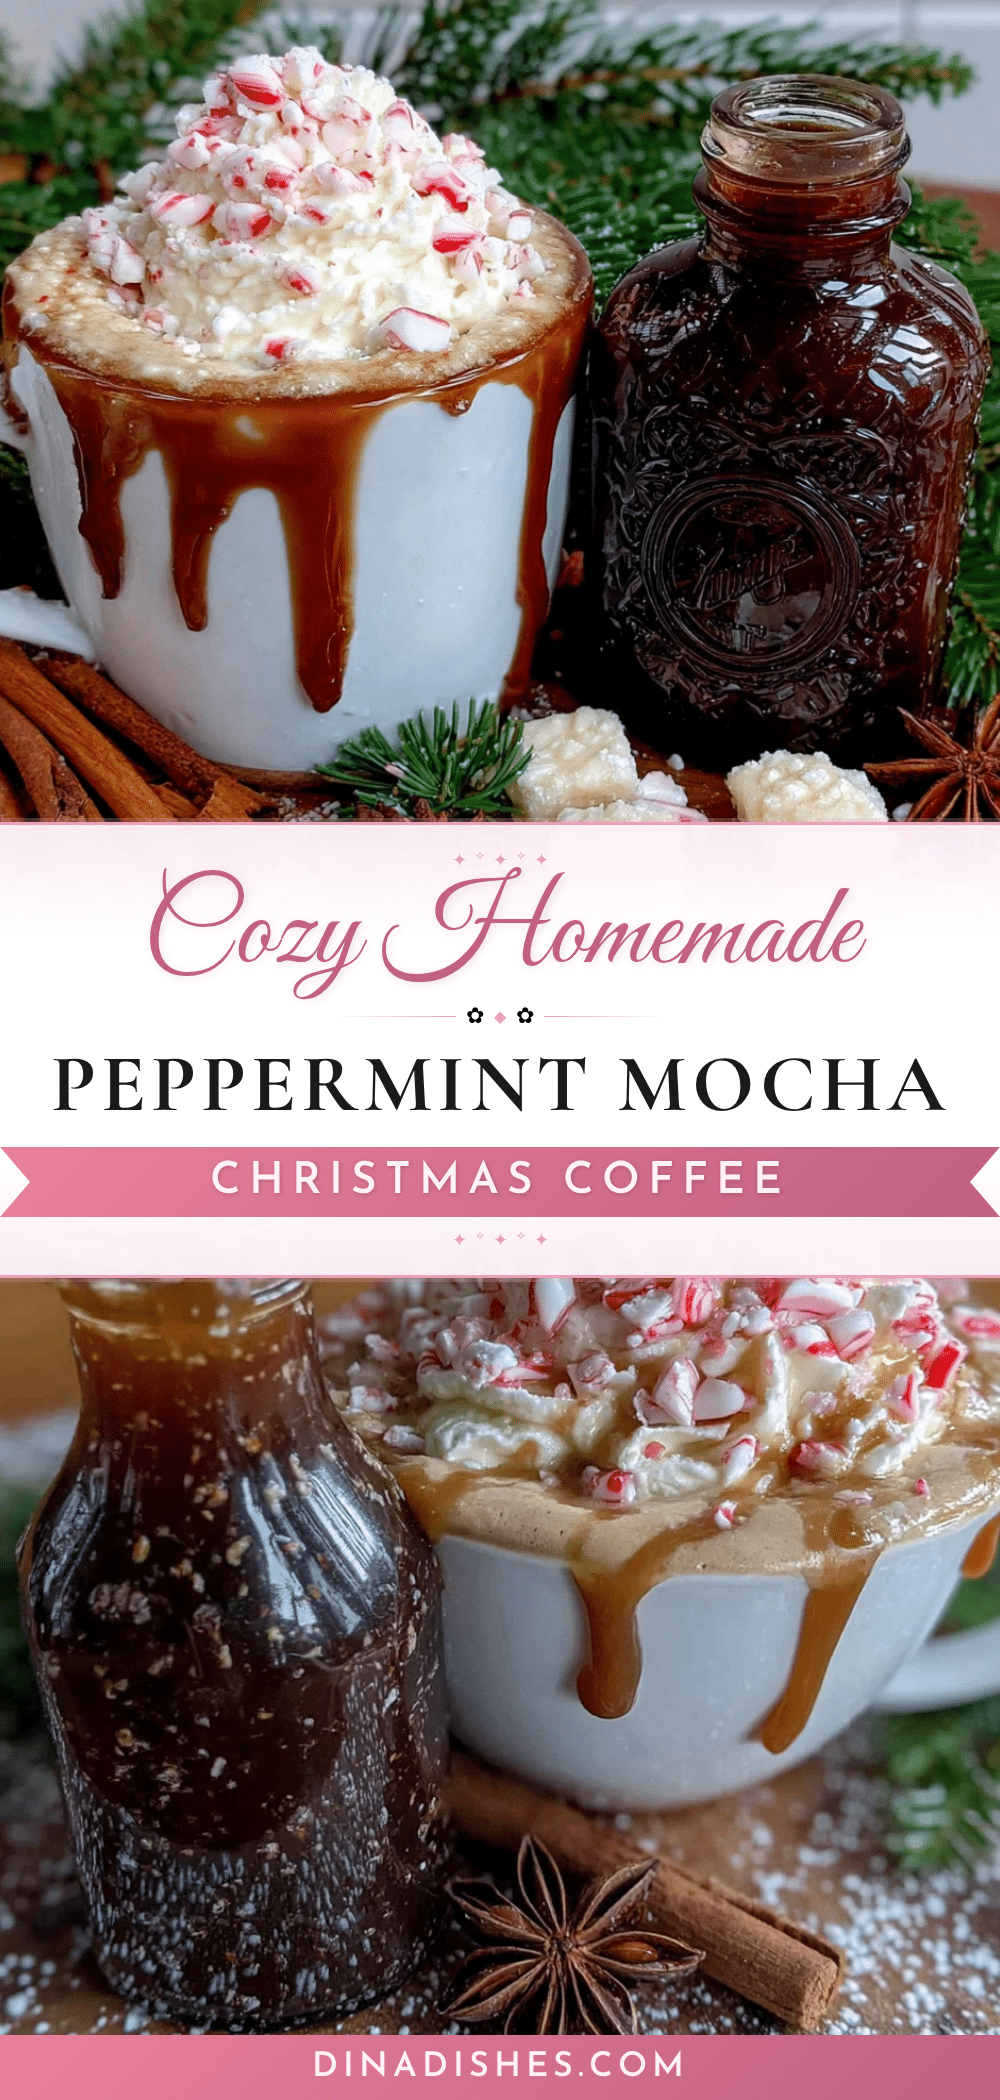
Easy Homemade Peppermint Mocha Syrup for Christmas
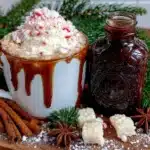
This easy homemade peppermint mocha syrup turns any cup of coffee into a holiday treat. Made with simple pantry ingredients, it’s quick to prepare and perfect for Christmas mornings or cozy evenings.
- Prep Time: 5 minutes
- Cook Time: 10 minutes
- Total Time: 15 minutes
- Yield: 16 servings (2 tablespoons per serving) 1x
- Category: Condiment
- Cuisine: American
Ingredients
- 1 cup (200g) granulated sugar
- ½ cup (40g) unsweetened cocoa powder
- 1 cup (240ml) water
- 1 teaspoon vanilla extract
- ½ to 1 teaspoon peppermint extract
- Pinch of fine sea salt
- 1 tablespoon unsalted butter (optional)
Instructions
- In a small saucepan, whisk together the sugar, cocoa powder, and salt until no lumps remain.
- Pour in the water and whisk until the mixture is smooth and free of dry patches.
- Place the saucepan over medium heat and bring to a gentle simmer (small bubbles around the edges). Stir occasionally with a whisk, about 3-4 minutes.
- Reduce heat to low and let simmer for 5-7 minutes, stirring every minute, until the syrup thickens slightly and coats the back of a spoon. Do not let it boil vigorously.
- Remove from heat and let cool for 2-3 minutes.
- Stir in the vanilla extract and peppermint extract. Start with ½ teaspoon peppermint, taste, and add more if desired (up to 1 teaspoon total).
- If using butter, stir it in until fully melted and incorporated.
- Let the syrup cool in the saucepan for about 10 minutes, then pour into a clean glass jar or bottle using a funnel. Do not seal while hot.
- Cool completely at room temperature (about 1 hour) before sealing. Store in the refrigerator for up to 3 weeks.
Notes
For a stronger peppermint flavor, use up to 1 teaspoon of peppermint extract. The syrup thickens when cold; microwave for 10-15 seconds to thin. Double or triple the batch for gifting. Avoid boiling vigorously to prevent graininess.
Nutrition
- Serving Size: 2 tablespoons
- Calories: 70
- Sugar: 16
- Sodium: 10
- Fat: 0.5
- Carbohydrates: 17
Keywords: peppermint mocha syrup, homemade syrup, Christmas syrup, coffee syrup, peppermint mocha, holiday recipe