I was standing in the produce section last Tuesday when a kid walked by with one of those tiny clementines, and the peel smell hit me—sharp and sweet and so specific—and suddenly I was seven years old at my Aunt Lena’s kitchen table. She’d set out a wooden cutting board covered in these little orange spheres, and I remember thinking they looked like tiny pumpkins. That was the first time I saw a pumpkin patch fruit tray, though we didn’t call it that back then. We just called it Tuesday.
Aunt Lena passed a few years ago, and honestly, I’d forgotten about that afternoon until the clementine smell brought it rushing back. I spent the next week trying to recreate that fruit tray. The first attempt? A disaster. The clementines rolled everywhere, the green pepper stems looked ridiculous, and I used grapes that were way too big. But the second time? That was it. That was the feeling I was chasing.
This pumpkin patch fruit tray with clementines isn’t fancy. It’s not complicated. But when you put it on the table—especially in October, when the light gets that golden afternoon slant—something happens. Kids stop what they’re doing. Adults smile without meaning to. It’s the kind of thing that makes people feel taken care of, even if they don’t say it. And honestly, that’s why I keep making it. Because some recipes aren’t about impressing anyone. They’re about recreating a moment you thought you’d lost.
Why You’ll Love This Recipe
Let me tell you why this pumpkin patch fruit tray with clementines has become my go-to for fall gatherings, Halloween parties, and honestly, random Tuesdays when I need a little joy.
- Quick & Easy: Comes together in under 15 minutes. No baking, no cooking, no stress. Perfect for last-minute school parties or when you realize guests are arriving in an hour.
- Simple Ingredients: You need exactly four things: clementines, green grapes, green bell peppers, and fresh parsley. That’s it. No specialty grocery trip required.
- Perfect for Fall Occasions: Great for Halloween parties, Thanksgiving appetizers, classroom celebrations, or just a fun after-school snack that makes kids smile.
- Crowd-Pleaser: I’ve brought this to three different events this month alone, and every single time, someone asks for the “recipe.” It’s that kind of thing.
- Unbelievably Adorable: The visual payoff for almost zero effort is honestly ridiculous. People lose their minds over these little clementine pumpkins.
What makes this pumpkin patch fruit tray different from other fruit platters is the presentation trick. By using the clementine segments as the pumpkin body and adding a simple green pepper stem, you transform ordinary fruit into something that looks like it came from an actual pumpkin patch. It’s not just another fruit tray—it’s a conversation starter.
This recipe is the kind that makes you close your eyes after the first bite. Not because the fruit tastes different—it’s still just clementines and grapes—but because of how it makes you feel. Like fall. Like childhood. Like someone put in effort, even though it took almost none.
What Ingredients You Will Need
This pumpkin patch fruit tray uses the simplest ingredients to create maximum visual impact. You probably already have most of these in your kitchen right now.
For the Pumpkin Patch Fruit Tray
- Clementines (8-10 medium-sized) — These are the star of the show. Look for clementines that are round and firm, with smooth skin. The rounder they are, the more they look like mini pumpkins. I prefer Cuties or Halos brand for consistent size.
- Green grapes (1-2 cups) — These become the “vines” and “leaves” crawling across your pumpkin patch. Look for seedless grapes that are firm and not too large. Red grapes work too, but green gives that authentic pumpkin patch feel.
- Green bell pepper (1 medium) — This becomes the pumpkin stems. You need a green pepper specifically—red or yellow won’t give the same pumpkin stem look. Look for one that’s firm with a thick stem end.
- Fresh parsley (small bunch) — This adds the “dirt” and “patch” texture to your tray. Curly parsley works best because it looks more like grass and leaves, but flat-leaf Italian parsley works too.
For the Serving Tray
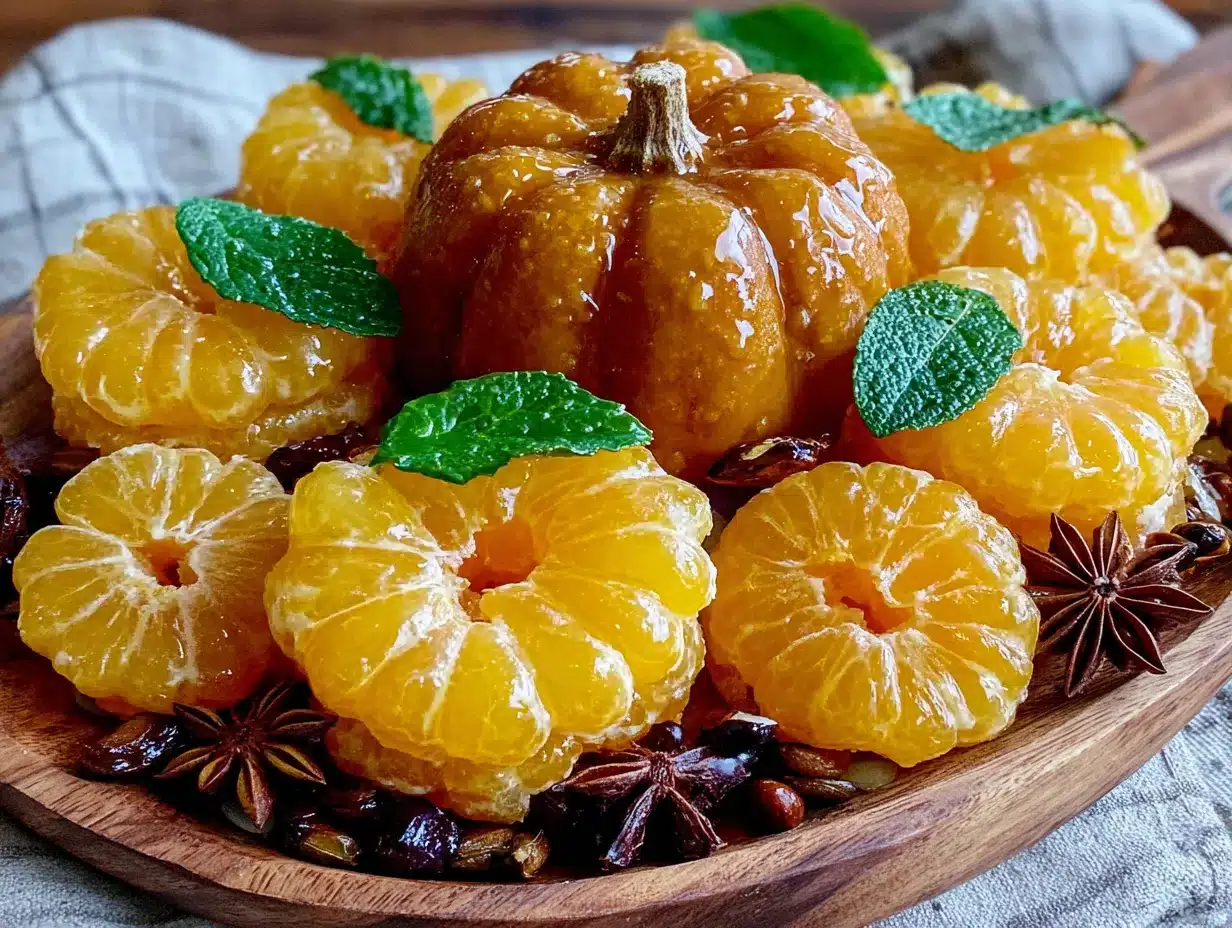
- Large serving platter or cutting board (12-16 inches) — A round or oval wooden board gives the best pumpkin patch aesthetic. A white platter works well too for contrast.
- Optional: Small pumpkin or gourd decorations — These aren’t necessary but add nice visual interest around the edges of your tray.
One thing I learned the hard way—don’t use navel oranges for this. They’re too big and don’t look like pumpkins at all. Stick with clementines or mandarins. Also, if you can’t find clementines, tangerines work in a pinch, but they’re usually a bit flatter and less pumpkin-shaped.
For the green pepper, I recommend buying one that’s still attached to a decent length of stem. That stem piece becomes the perfect pumpkin handle. If your pepper doesn’t have a stem, you can cut thin strips from the pepper itself—it just takes a little more effort.
Fresh parsley is non-negotiable for me. Dried parsley looks sad and doesn’t create that “patch” texture. A small bunch costs maybe a dollar and makes the whole tray look intentional rather than thrown together.
Equipment Needed
You don’t need much for this pumpkin patch fruit tray. That’s the beauty of it.
- Large serving platter or wooden cutting board (12-16 inches) — A round board gives the best pumpkin patch feel. I use a bamboo board I got at Target for $12. A white platter works too if that’s what you have.
- Sharp knife — For cutting the green pepper stems. A paring knife works best for precision.
- Cutting board — For prepping the pepper and parsley.
- Small bowl or ramekin — Optional, for holding extra grapes or parsley if you want to serve them on the side.
- Paper towels — For drying the clementines and grapes. Wet fruit doesn’t look as nice and can make the tray slippery.
If you don’t have a large platter, no worries. A baking sheet lined with parchment paper works perfectly. I’ve also used a pizza pan in a pinch. The key is having enough surface area to arrange everything without crowding.
One tip: avoid using metal trays if possible. The contrast isn’t as nice, and metal can sometimes react with the citrus and leave a taste. Wood or ceramic is ideal.
Preparation Method
Let me walk you through exactly how to make this pumpkin patch fruit tray with clementines. I’ve made this probably twenty times now, so I’ve figured out all the little tricks.
- Wash and dry all fruit thoroughly. This is important. Wet clementines don’t hold the pepper stems well, and wet grapes slide around. Pat everything dry with paper towels. Take your time here—it makes a difference.
- Prepare the green pepper stems. Cut the top off your green bell pepper, about half an inch down from the stem. You want a small piece that still has the stem attached. Then cut this piece into small “T” shapes—each about the size of a pumpkin stem. You’ll need one stem per clementine. If your pepper doesn’t have a stem, cut thin strips from the pepper itself, about an inch long and a quarter inch wide. Trim one end to look like a small stem.
- Score the clementines. Using your paring knife, gently score vertical lines on each clementine, about 1/8 inch deep. Start at the top and go almost to the bottom. Make 4-6 lines around each clementine, spaced evenly. This gives them that classic pumpkin ridge look. Be careful not to cut too deep—you don’t want to pierce the segments inside.
- Attach the stems. Take your green pepper stem pieces and gently press them into the top center of each clementine. The natural indentation at the top of the clementine usually holds the stem in place. If it’s loose, you can use a tiny dab of cream cheese or peanut butter as “glue.” I’ve also used a small piece of toothpick in a pinch.
- Prepare the parsley “patch.” Rinse the parsley and pat it completely dry. Pick the leaves off the stems—you want mostly leaves for this. Give them a rough chop so they’re in small, scattered pieces. This becomes your “dirt” and “grass” for the pumpkin patch.
- Arrange the tray. Start by scattering the chopped parsley across your serving platter. Don’t cover it completely—you want some bare spots that look like dirt paths in a pumpkin patch. Think of it as creating a landscape rather than covering everything.
- Place the clementine pumpkins. Arrange your clementines on the parsley bed. Group some together in clusters of 2-3, leave others alone. Real pumpkin patches aren’t perfectly spaced, so don’t overthink it. Place them at different angles—some standing up, some slightly tilted.
- Add the grape vines. Take your green grapes and arrange them in small clusters and “vines” that crawl between the clementines. Some grapes should look like they’re trailing through the parsley. A few grapes can be placed right next to the clementines, like they’re growing out of the same patch.
- Final touches. Step back and look at your tray. Add a few more parsley leaves where it looks bare. Adjust the grape placement. Add a small real pumpkin or gourd at the edge if you have one. Take a photo before anyone eats it—trust me.
The whole process takes about 15 minutes, maybe 20 if you’re being careful with the scoring. The first time I made this, I spent way too long trying to make every clementine perfect. Now I know that imperfect is better. A few slightly crooked stems, some uneven scoring—it makes it look more like a real pumpkin patch.
Cooking Tips & Techniques
After making this pumpkin patch fruit tray more times than I can count, here’s what I’ve learned.
The biggest mistake people make is overthinking it. I did this my first time. I measured the spacing between clementines. I tried to make every stem identical. I arranged the grapes in perfect rows. It looked terrible. Too perfect, if that makes sense. Pumpkin patches are messy and organic. Let yours be the same.
Choose your clementines carefully. Rounder is better. Flatter clementines don’t look like pumpkins. Also, check for any soft spots or blemishes—those will stand out once you’ve scored them. I once used a clementine with a bruise, and the scored lines made it look like the pumpkin had a scar. Actually, that one ended up being my favorite. So maybe don’t worry about it too much.
Score with confidence. The first few times I scored clementines, I barely made a mark because I was scared of cutting too deep. You need to go about 1/8 inch deep for the lines to show. If you cut too shallow, they disappear when you look at the clementine from a distance. Too deep, and you’ll break through to the segments. The sweet spot is somewhere in between. I ruined three clementines before I figured this out.
Prep everything before you start arranging. This is one of those recipes where mise en place really matters. Have all your stems cut, your parsley chopped, your grapes washed. Once you start arranging, you don’t want to stop and wash more grapes. I learned this the hard way when I ran out of parsley mid-arrangement and had to rinse more with wet hands.
For the best visual impact, use a dark surface. A dark wooden board or a black slate platter makes the green parsley and orange clementines pop. White works too, but dark is better. I found a dark bamboo board at HomeGoods for $8, and it’s become my dedicated pumpkin patch tray.
Make it ahead if needed. You can assemble the clementine pumpkins (scored with stems) up to 24 hours in advance. Store them in an airtight container in the fridge. Add the parsley and grapes just before serving. The parsley wilts after a few hours, so don’t assemble the whole tray too far ahead.
Variations & Adaptations
This pumpkin patch fruit tray with clementines is endlessly adaptable. Here are some variations I’ve tried.
Seasonal Variations
Fall Harvest Version: Add sliced apples and pears to the tray alongside the clementines. The white flesh of the apples contrasts beautifully with the orange pumpkins. Toss the apple slices in lemon juice to prevent browning. I did this for Thanksgiving last year, and it was a hit.
Dietary Adaptations
Low-Sugar Version: This recipe is naturally low in added sugar since it’s all fruit. If you’re watching sugar intake, just skip any optional dips or additions. The clementines and grapes are naturally sweet enough.
Allergen-Friendly: This recipe is naturally free of the top allergens—no dairy, no nuts, no gluten, no eggs, no soy. It’s safe for pretty much everyone. If you’re using the cream cheese trick to hold stems in place, swap it for a dairy-free cream cheese or a tiny dot of peanut butter (if nuts are allowed).
Presentation Variations
Individual Serving Version: Make mini pumpkin patches in small ramekins or mason jars. Layer parsley at the bottom, add one clementine pumpkin, and surround with a few grapes. Perfect for party favors or classroom treats.
Halloween Version: Add some small plastic spiders or spider rings crawling through the parsley. It’s a little silly, but kids absolutely love it. I did this for my niece’s Halloween party, and the spiders were the first thing to disappear.
Thanksgiving Version: Add some dried cranberries and small cinnamon sticks scattered through the parsley. The red cranberries look like little berries in the pumpkin patch, and the cinnamon adds a wonderful fall scent to the table.
Serving & Storage Suggestions
This pumpkin patch fruit tray is best served at room temperature. Cold fruit doesn’t release its aroma as well, and you want people to smell those clementines as they approach the table. Take the tray out of the fridge about 20 minutes before serving.
What to serve alongside: This tray pairs beautifully with a warm drink bar—think apple cider, hot chocolate, or spiced tea. For a party, set it next to a cheese board or a bowl of popcorn. The sweet fruit balances nicely with savory snacks.
Storage: If you have leftovers (unlikely, but possible), store the clementines and grapes separately from the parsley. The parsley will wilt and get slimy if left with the fruit overnight. Clementines keep at room temperature for several days. Grapes should be refrigerated. The green pepper stems can be stored in the fridge for up to a week.
Reheating? There’s no reheating needed for this recipe, but here’s a tip: if your clementines have been refrigerated and feel cold, let them sit at room temperature for 30 minutes before serving. They’ll taste sweeter and more aromatic.
How flavors develop: Honestly, this is a recipe that’s best eaten fresh. The visual impact is at its peak right after assembly. That said, the clementines actually get slightly sweeter after a day or two at room temperature. The grapes, however, will start to soften. So plan to eat this within 24 hours for the best experience.
Nutritional Information & Benefits
This pumpkin patch fruit tray is about as healthy as a dessert can get. It’s essentially just fruit, so you’re getting all the benefits without any of the guilt.
Estimated nutritional values per serving (based on 8 servings, assuming 1-2 clementines and a handful of grapes per person):
- Calories: 80-100
- Carbohydrates: 20-25g
- Fiber: 3-4g
- Vitamin C: 40-60% of daily value
- Potassium: 200-300mg
- Fat: 0g
- Protein: 1-2g
Health benefits: Clementines are packed with vitamin C, which supports immune function—perfect for cold and flu season. They also contain antioxidants that help fight inflammation. Grapes are rich in resveratrol, which is good for heart health. The parsley adds a small amount of vitamin K and iron, plus it helps freshen breath after all that citrus.
Dietary considerations: This recipe is naturally gluten-free, dairy-free, nut-free, egg-free, and soy-free. It’s also vegan and vegetarian. The only potential allergen is the fruit itself—some people with citrus allergies should avoid the clementines. For those watching sugar intake, the natural sugars in fruit are generally fine, but portion control is always wise.
My personal take: I love that this recipe makes healthy eating feel like a celebration. Kids don’t think twice about eating fruit when it’s presented like this. It’s a way to get more produce into your diet without feeling like you’re making an effort.
Conclusion
This pumpkin patch fruit tray with clementines has become my fall tradition. It’s the recipe I bring to every Halloween party, the snack I make when my nieces visit, the thing I put on the table when I want to make an ordinary Tuesday feel special.
What I love most about it is how little effort it takes to create something that looks like you spent hours. Fifteen minutes. Four ingredients. That’s all it takes to make a fruit tray that people will remember. And honestly, isn’t that the best kind of recipe? The one that makes you look like a hero without actually doing much work?
I hope you make this your own. Add your own touches. Use different fruits. Create your own version of a pumpkin patch. And when you do, I’d love to hear about it. Leave a comment below and tell me how it turned out, or share a photo on social media. There’s something special about knowing a recipe I love is being made in kitchens all over the place.
Go make your pumpkin patch. And don’t forget to take a picture before everyone digs in—trust me, you’ll want to remember this one.
Frequently Asked Questions
Can I make this pumpkin patch fruit tray ahead of time?
Yes, partially. You can score the clementines and attach the pepper stems up to 24 hours in advance. Store them in an airtight container in the fridge. Add the parsley and grapes just before serving for the best visual impact.
What other fruits can I use instead of clementines?
Mandarins and tangerines are the best substitutes. They’re similar in size and shape. Avoid navel oranges—they’re too big and don’t look like pumpkins. Small tangelos can work if you can find round ones.
How do I keep the pepper stems from falling off?
Most clementines have a natural indentation at the top that holds the stem. If yours doesn’t, use a tiny dab of cream cheese, peanut butter, or even a small piece of toothpick to secure it. Just make sure any “glue” is food-safe.
Can I use dried parsley instead of fresh?
I don’t recommend it. Dried parsley doesn’t have the same texture or color, and it looks sad on the tray. Fresh parsley is cheap and makes a huge difference in the visual appeal. If you absolutely can’t find fresh parsley, try fresh basil or mint leaves instead.
How many people does this pumpkin patch fruit tray serve?
With 8-10 clementines and 1-2 cups of grapes, this tray serves about 8-10 people as a snack or appetizer. For a party, I’d double the recipe. For a small family gathering, half the recipe works perfectly.
Pin This Recipe!
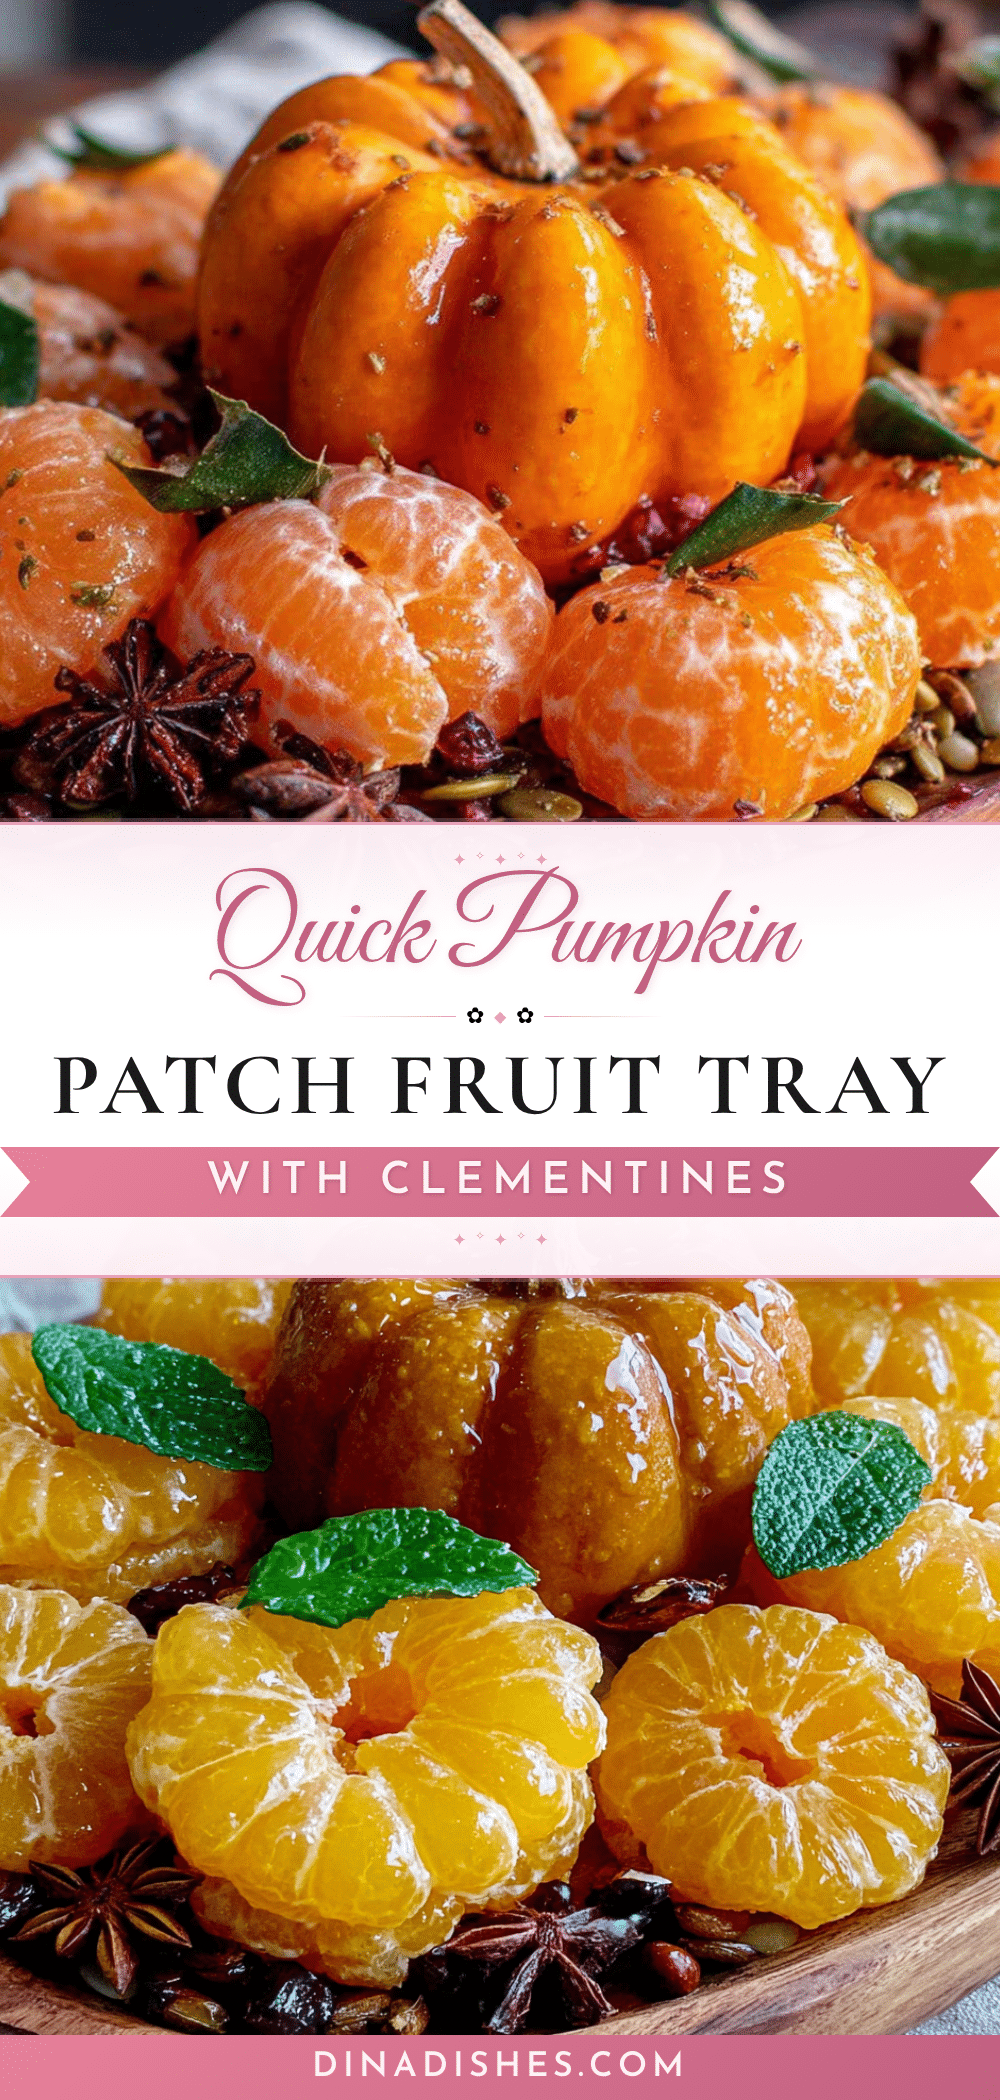
Easy Pumpkin Patch Fruit Tray with Clementines

A quick and adorable fall fruit tray featuring clementines transformed into mini pumpkins, arranged on a bed of parsley with grape vines. Perfect for Halloween parties, Thanksgiving, or a fun after-school snack.
- Prep Time: 15 minutes
- Cook Time: 0 minutes
- Total Time: 15 minutes
- Yield: 8-10 servings 1x
- Category: Appetizer
- Cuisine: American
Ingredients
- 8–10 medium clementines (e.g., Cuties or Halos)
- 1–2 cups green grapes (seedless)
- 1 medium green bell pepper (with stem attached if possible)
- 1 small bunch fresh curly parsley
Instructions
- Wash and dry all fruit thoroughly with paper towels.
- Cut the top off the green bell pepper about 1/2 inch down from the stem. Cut this piece into small ‘T’ shapes, each about the size of a pumpkin stem. You need one stem per clementine. If no stem, cut thin strips from the pepper itself, about 1 inch long and 1/4 inch wide, trimming one end to look like a stem.
- Using a paring knife, gently score 4-6 vertical lines on each clementine, about 1/8 inch deep, starting at the top and going almost to the bottom. This creates the pumpkin ridges.
- Press a green pepper stem piece into the top center of each clementine. If loose, secure with a tiny dab of cream cheese or peanut butter.
- Rinse the parsley, pat dry, pick leaves off stems, and roughly chop into small pieces.
- Scatter the chopped parsley across a large serving platter or wooden cutting board (12-16 inches), leaving some bare spots to resemble dirt paths.
- Arrange the clementine pumpkins on the parsley bed in clusters of 2-3 and individually, at different angles.
- Place green grapes in small clusters and ‘vines’ crawling between the clementines, some trailing through the parsley.
- Step back and adjust: add more parsley where bare, adjust grapes, and optionally add a small real pumpkin or gourd at the edge. Take a photo before serving.
Notes
Choose round clementines for the best pumpkin look. Score with confidence—about 1/8 inch deep. Imperfect stems and uneven scoring make it look more like a real pumpkin patch. Assemble clementine pumpkins up to 24 hours ahead; add parsley and grapes just before serving. Use a dark surface for best visual impact. Fresh parsley is non-negotiable for texture.
Nutrition
- Serving Size: 1-2 clementines and
- Calories: 80100
- Sugar: 1520
- Carbohydrates: 2025
- Fiber: 34
- Protein: 12
Keywords: pumpkin patch fruit tray, clementine pumpkins, fall fruit tray, Halloween fruit platter, easy fruit tray, kid-friendly snack, healthy Halloween snack