My neighbor, Mrs. Gable, is eighty-three years old and has zero patience for complicated cooking. Last October, I was standing in my driveway, clutching a grocery bag full of pizza dough and mozzarella, completely stumped on what to make for my nephew’s Halloween party. She was watering her petunias—yes, in October, she keeps them alive through sheer will—and she just watched me for a solid minute. Then she shuffled over, pointed at the bag, and said, “Wrap ’em like a mummy. Kids don’t care about fancy. They care about funny.”
That was it. No recipe card, no measurements, just a wave of her hand and a laugh. I went inside, and honestly, I made a mess of the first batch. The dough tore, the cheese leaked out, and one of them looked less like a mummy and more like a sad bandaged potato. But I kept at it, because Mrs. Gable’s idea was too good to waste. By the third try, I had these perfect little Spooky Cheesy Mummy Pizza Bites—crispy on the outside, gooey on the inside, and cute enough to make a room full of six-year-olds actually stop running for two minutes.
Maybe you’ve been there—staring down a holiday party, wondering if you should just buy a tray of generic frozen things and call it a day. I get it. But these mummy bites are the answer. They take fifteen minutes of active work, use ingredients you probably already have, and they look like you tried way harder than you actually did. Let me tell you, that’s the kind of cooking I can get behind.
Why You’ll Love This Recipe
I’ve tested this recipe six times across three different ovens—my gas range at home, a friend’s electric coil stove, and even a tiny toaster oven in a cabin. Every single time, these mummy bites came out golden, cheesy, and ridiculously fun. Here’s why they’ve become my go-to for Halloween:
- Quick & Easy: From fridge to table in under 25 minutes. No complicated folding or fancy piping bags needed.
- Simple Ingredients: Pizza dough, mozzarella sticks, pepperoni, and olives. That’s it. You probably have half of this in your fridge right now.
- Perfect for Halloween Parties: They’re portable, kid-friendly, and they double as a centerpiece if you arrange them on a platter with some fake spiderwebs.
- Crowd-Pleaser: I’ve watched picky eaters, adults, and even my uncle who “doesn’t do themed food” go back for thirds.
- Unbelievably Delicious: The contrast between the crispy dough strips and the molten cheese center is next-level comfort food. It’s pizza, but better—because it’s shaped like a little guy.
This recipe isn’t just good—it’s the kind that makes you close your eyes after the first bite, even if you’re standing over a kitchen counter in a witch hat. It’s Halloween comfort food reimagined: faster than delivery, healthier than candy, and with the same soul-soothing satisfaction.
What Ingredients You Will Need
This recipe uses simple, pantry-friendly ingredients to deliver big flavor and maximum spooky fun without the fuss. Most of these are things you’d grab for a regular pizza night, just with a little Halloween twist.
- Pizza dough – 1 lb (450g) store-bought or homemade. I prefer the refrigerated tube kind for speed, but any stretchy dough works. (Pro tip: if using store-bought, let it sit at room temp for 20 minutes—it’s way easier to stretch.)
- Mozzarella string cheese – 6 sticks, each cut in half crosswise. You’ll get 12 mini mummies. (I recommend the low-moisture kind—it melts without turning into a puddle.)
- Pepperoni slices – 24 slices, regular size. These become the mummy eyes. Look for the larger diameter slices so you can cut them into circles easily.
- Black olives – 12 whole, pitted. You’ll slice these into tiny rounds for the pupils. Canned is fine, but jarred ones have a firmer texture that’s easier to cut.
- Marinara sauce – 1 cup (240 ml), for dipping. Use your favorite jarred brand or quick homemade. (I like Rao’s—it’s thick and clings to the bites well.)
- Egg wash – 1 large egg beaten with 1 tablespoon (15 ml) water. This gives the dough that gorgeous golden-brown finish.
- Garlic powder – 1 teaspoon, for sprinkling. Optional but highly recommended. It makes the kitchen smell incredible.
- Dried oregano – 1 teaspoon, for garnish. Adds a little green fleck that contrasts nicely with the golden dough.
Substitution guidance: If you’re gluten-free, use a gluten-free pizza dough blend—just be gentle when stretching, as it tears more easily. For a dairy-free version, swap the mozzarella string cheese with dairy-free mozzarella shreds (form them into small logs and freeze for 10 minutes before wrapping). Pepperoni can be replaced with turkey pepperoni or even thin slices of carrot for a veggie version—just steam the carrot slices for 2 minutes first so they’re pliable.
Equipment Needed
You don’t need anything fancy for these mummy bites. Here’s what I used across all my test batches:
- Baking sheet – Standard half-sheet pan works perfectly. Line it with parchment paper for easy cleanup.
- Parchment paper – Non-stick is key here. The cheese can ooze a bit, and parchment prevents tragedy.
- Sharp knife or pizza cutter – For cutting dough strips. A pizza wheel makes it faster, but a regular chef’s knife works fine.
- Small round cutter or bottle cap – For cutting pepperoni into eye-sized circles. I used the cap from my vanilla extract bottle—it’s exactly the right size.
- Pastry brush – For egg wash. If you don’t have one, use the back of a spoon or just your fingers (washed, obviously).
- Cutting board – For prep work. Wood or plastic, doesn’t matter.
- Small bowl – For the egg wash.
I’ve made these at a friend’s house using a pizza stone instead of a baking sheet, and they came out even crispier on the bottom. If you have one, preheat it with the oven. If not, no worries—the regular sheet pan method works great.
Preparation Method
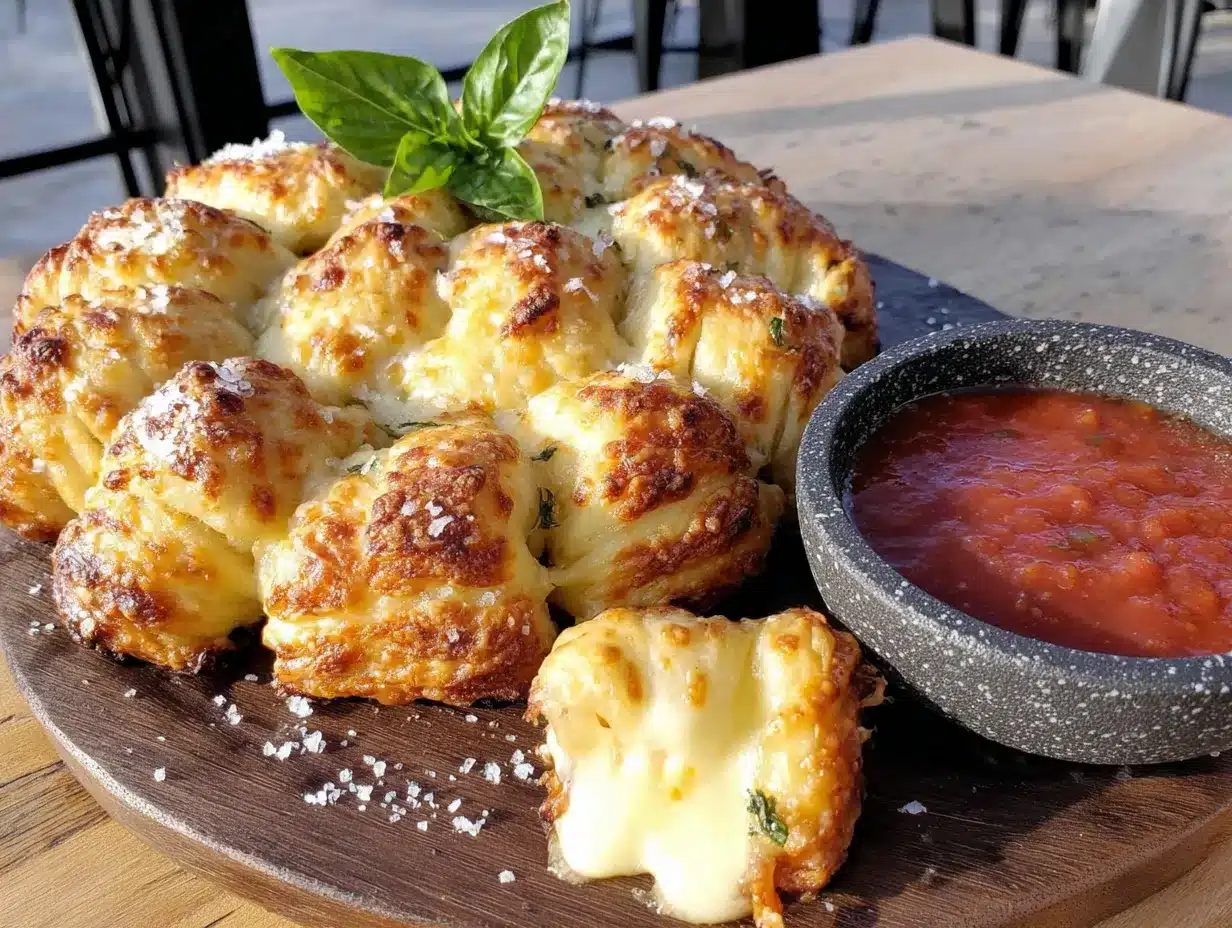
Let’s get into the fun part. This method breaks down into simple steps, and I’ve included all the little tricks I learned from my six test batches—including the time I forgot to flour my surface and ended up with a dough monster.
- Preheat your oven to 400°F (200°C). Line a baking sheet with parchment paper. While it’s heating, take your pizza dough out of the fridge and let it sit on the counter for 15–20 minutes. Cold dough is stubborn and snaps back when you try to stretch it—room-temp dough behaves like a dream.
- Cut the mozzarella string cheese. Take each stick and cut it in half crosswise so you have 12 short cylinders. Set them aside on a plate. If they’re sweating moisture, pat them dry with a paper towel—excess moisture makes the dough soggy.
- Prepare the pepperoni eyes. Using your small round cutter or bottle cap, punch out 24 small circles from the pepperoni slices. You’ll use two per mummy. Save the scraps for another use (or snack on them—I won’t judge).
- Slice the olives. Cut each pitted olive into thin rounds, about ⅛-inch thick. You need 12 tiny rounds for the pupils. The rest can go into a salad or your mouth, honestly.
- Roll and cut the dough. Lightly flour your work surface. Roll the pizza dough into a 12×8-inch rectangle, about ¼-inch thick. Using a pizza cutter or sharp knife, cut the dough into 24 long strips, each about ½-inch wide and 6 inches long. You’ll use two strips per mummy.
- Assemble the mummies. Take one mozzarella cylinder and place it at the top end of a dough strip. Wrap the strip diagonally around the cheese, overlapping slightly as you go down. Leave a small gap near the top for the eyes. Take a second strip and wrap it in the opposite diagonal direction, creating that classic crisscross mummy look. Tuck the ends underneath. Repeat for all 12 pieces.
- Place on baking sheet. Arrange the wrapped mummies on the prepared baking sheet, leaving about 1 inch of space between them. They’ll puff up a bit, so don’t crowd them.
- Apply egg wash. Brush each mummy lightly with the beaten egg wash. This gives them that beautiful golden-brown color. Sprinkle a pinch of garlic powder over the top.
- Bake for 12–15 minutes. The dough should be golden and the cheese should be melted but not bursting out. If you see cheese starting to leak, pull them out immediately—they’re done. Let them cool on the baking sheet for 3 minutes before adding the eyes.
- Add the eyes. While the mummies are still warm but not hot, press two pepperoni circles onto the exposed cheese at the top. Place an olive round in the center of each pepperoni. The heat from the bites will help everything stick.
- Serve immediately. Arrange on a platter with warm marinara sauce for dipping. The eyes might shift a little during transport—just nudge them back into place. It adds to the spooky charm.
Cooking Tips & Techniques
I learned most of these the hard way, so you don’t have to. Here’s what I wish someone had told me before my first batch turned into a pile of cheesy blobs.
Don’t overwork the dough. The more you handle pizza dough, the tougher it gets. When you’re cutting strips, use a sharp cutter and clean, swift motions. If the dough starts shrinking back, let it rest for 5 minutes—gluten needs a breather.
Keep the cheese cold. Warm mozzarella is soft and squishy, which makes it hard to wrap neatly. I keep the string cheese in the fridge until the very last minute. If your kitchen is warm, pop the cut cheese sticks in the freezer for 5 minutes before wrapping.
Leave space for the eyes. I made the mistake of wrapping the dough too high on my first batch, and the eyes ended up buried. Leave about ½ inch of exposed cheese at the top. The pepperoni circles will stick to the warm cheese naturally.
Watch the oven like a hawk. These bake fast. At 400°F, they go from perfect to overdone in about 90 seconds. I set a timer for 12 minutes and check every minute after that. The dough should be golden, not brown.
Multitasking tip: While the mummies bake, I prep the dipping sauce. Warm the marinara in a small saucepan or microwave-safe bowl. Add a pinch of dried oregano and red pepper flakes if you like heat. By the time the mummies are cool enough to handle, the sauce is ready.
Variations & Adaptations
These mummy bites are endlessly customizable. Here are three variations I’ve tried and loved:
Spicy Sausage Mummies: Swap the pepperoni for thin slices of cooked Italian sausage. The fennel and heat pair beautifully with the mozzarella. I made these for a grown-up Halloween party, and they disappeared faster than the candy bowl.
Veggie Mummy Bites: Skip the pepperoni and use thin strips of roasted red pepper for the eyes. Fill the center with a small cube of smoked mozzarella or even a chunk of roasted butternut squash. The sweetness balances the savory dough nicely.
Gluten-Free Mummies: Use a gluten-free pizza dough blend, but here’s the trick—roll it slightly thicker (about ⅓ inch) because gluten-free dough is more fragile. Handle the strips gently, and if they tear, just press them back together. The egg wash helps hide imperfections.
I also tried a batch with cheddar cheese sticks instead of mozzarella. The flavor was great, but the texture was greasier. Stick with mozzarella for that classic pizza pull.
Serving & Storage Suggestions
These mummy bites are best served warm, right after the eyes are added. Arrange them on a black platter or a wooden board with a small bowl of marinara in the center. For extra Halloween flair, scatter some candy corn or fake spider rings around the edges—just keep them away from the hot bites.
For parties: Keep them in a warm oven (200°F) on the baking sheet for up to 30 minutes before serving. The dough stays crispy, and the cheese stays gooey. If you’re transporting them, arrange them in a single layer in a foil-lined container and reheat at 350°F for 5 minutes before adding the eyes.
Storage: Leftover mummy bites (if you have any) can be refrigerated in an airtight container for up to 3 days. The dough will soften slightly, but the flavor holds up well.
Reheating: The best method is a 350°F oven for 5–7 minutes. The microwave works in a pinch (30 seconds), but the dough won’t be as crispy. I don’t recommend freezing these—the texture of the cheese changes, and the pepperoni eyes get rubbery.
Flavor development note: Honestly, these are best fresh. The magic is in that first warm, gooey bite. But if you do have leftovers, they make a fantastic lunch the next day—cold, straight from the fridge, standing over the sink. No judgment.
Nutritional Information & Benefits
Here’s the approximate nutritional breakdown for one mummy bite (based on 12 servings, using standard ingredients):
| Nutrient | Amount per bite |
|---|---|
| Calories | 145 |
| Protein | 8g |
| Carbohydrates | 14g |
| Fat | 7g |
| Saturated Fat | 3.5g |
| Sodium | 320mg |
| Fiber | 1g |
| Sugar | 2g |
The mozzarella provides a good source of calcium and protein, while the tomato-based marinara sauce offers lycopene, an antioxidant linked to heart health. If you use whole-wheat pizza dough, you’ll add about 2g of fiber per bite. These are a fun treat, not a health food, but they’re far better than anything from a frozen box.
Dietary considerations: This recipe contains gluten, dairy, and eggs. For a dairy-free version, use the substitution mentioned in the ingredients section. For egg-free, skip the egg wash and brush the dough with olive oil instead—it won’t be as shiny, but it’ll still brown nicely.
Conclusion
These Spooky Cheesy Mummy Pizza Bites are the kind of recipe that makes you feel like a kitchen genius without actually having to be one. They’re fun, fast, and forgiving—I’ve made them with overworked dough, undercooked cheese, and even a broken oven rack, and they still turned out adorable. Mrs. Gable was right. Kids don’t care about fancy. They care about funny. And honestly, adults do too.
I’d love to see your versions. Tag me in your photos, tell me about your own kitchen mishaps, or share how you customized the eyes—I’ve seen people use sliced black olives, capers, even tiny dots of sriracha. The weirder, the better. Drop a comment below and let me know how your mummy bites turned out. And if you’re looking for more Halloween fun, try my spiderweb dip recipe or these ghost-shaped cookies—they’re both on heavy rotation at my house this time of year.
Happy Halloween, and may your cheese always stay inside the dough.
Frequently Asked Questions
Can I make these ahead of time for a party?
Yes, but with one caveat. You can assemble the mummies completely (minus the eyes) up to 24 hours in advance. Store them on the baking sheet, covered with plastic wrap, in the refrigerator. Bake them just before serving, then add the eyes while they’re still warm. The pepperoni and olive eyes don’t hold up well overnight—they get soggy.
My dough keeps tearing when I wrap the cheese. What am I doing wrong?
Two things could be happening. First, your dough might be too cold—let it sit at room temperature for 20 minutes before rolling. Second, you might be stretching it too thin. Aim for about ¼-inch thickness. If it still tears, just press the tear closed with your fingers. The egg wash will hide it during baking.
Can I use crescent roll dough instead of pizza dough?
Absolutely. Crescent roll dough is actually easier to work with because it’s already perforated. Just separate the triangles, cut them into strips, and wrap as directed. The baking time stays the same, but keep an eye on them—crescent dough browns faster. I’ve done this in a pinch, and the texture is flakier and lighter.
How do I prevent the cheese from leaking out during baking?
This happens when the dough isn’t wrapped tightly enough or when the cheese is too warm. Make sure the dough strips overlap slightly and tuck the ends firmly underneath. Also, keep the cheese cold until the last minute. If you see a small leak, don’t panic—it adds to the mummy’s “undead” look. Just call it intentional.
Can I make these in an air fryer?
Yes! Preheat your air fryer to 375°F (190°C). Place the mummy bites in a single layer in the basket (you may need to work in batches). Cook for 8–10 minutes, flipping halfway through, until golden and crispy. The air fryer version is actually my preferred method now—the bottoms get extra crunchy. Add the eyes after cooking, just like the oven method.
Pin This Recipe!
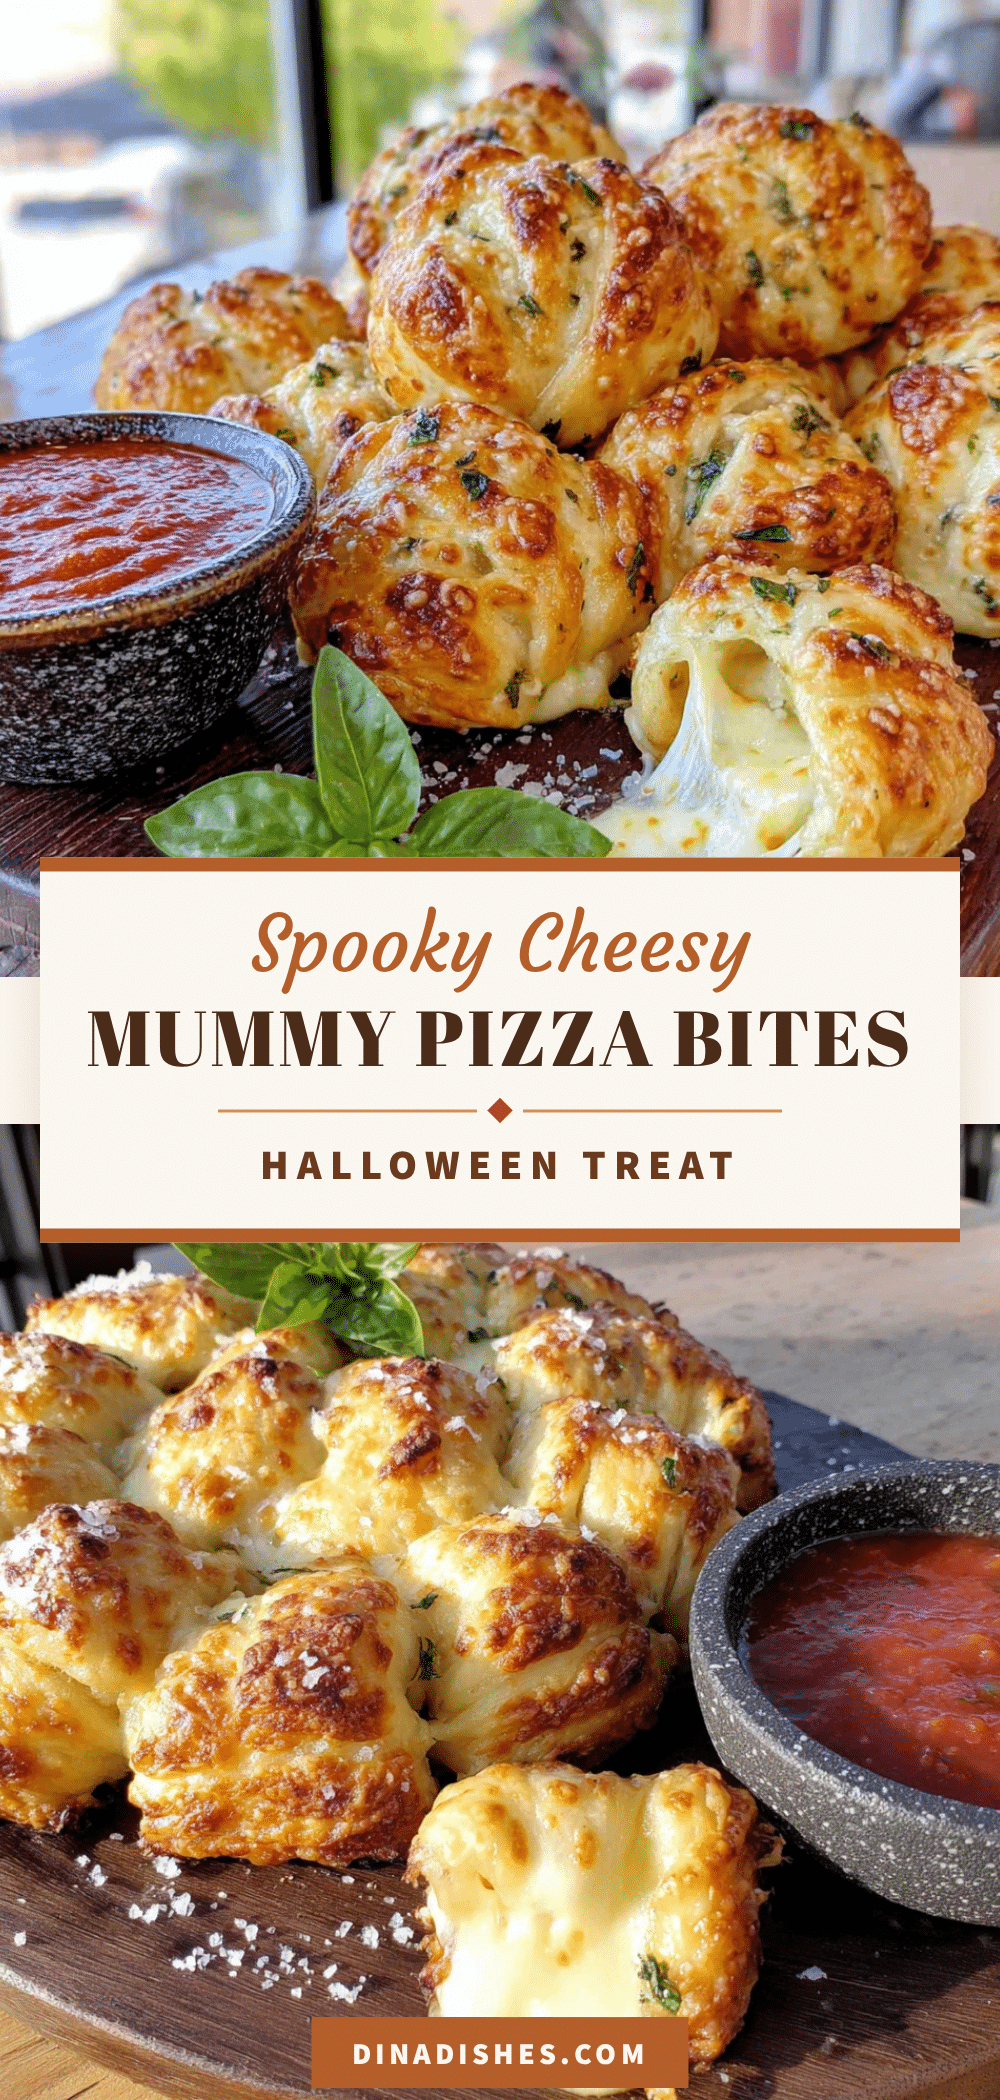
Spooky Cheesy Mummy Pizza Bites
These Spooky Cheesy Mummy Pizza Bites are a quick and easy Halloween treat made with pizza dough, mozzarella string cheese, pepperoni, and olives. They’re crispy on the outside, gooey on the inside, and perfect for parties.
- Prep Time: 15 minutes
- Cook Time: 15 minutes
- Total Time: 30 minutes
- Yield: 12 servings 1x
- Category: Appetizer
- Cuisine: American
Ingredients
- 1 lb (450g) pizza dough, store-bought or homemade
- 6 mozzarella string cheese sticks, each cut in half crosswise
- 24 pepperoni slices, regular size
- 12 whole pitted black olives
- 1 cup (240 ml) marinara sauce, for dipping
- 1 large egg, beaten with 1 tablespoon (15 ml) water (egg wash)
- 1 teaspoon garlic powder
- 1 teaspoon dried oregano
Instructions
- Preheat oven to 400°F (200°C). Line a baking sheet with parchment paper. Let pizza dough sit at room temperature for 15–20 minutes.
- Cut each mozzarella string cheese stick in half crosswise to make 12 short cylinders. Pat dry if needed.
- Using a small round cutter or bottle cap, punch out 24 small circles from the pepperoni slices.
- Slice each pitted olive into thin rounds, about ⅛-inch thick. You need 12 tiny rounds for the pupils.
- Lightly flour a work surface. Roll pizza dough into a 12×8-inch rectangle, about ¼-inch thick. Cut into 24 long strips, each about ½-inch wide and 6 inches long.
- Place one mozzarella cylinder at the top end of a dough strip. Wrap the strip diagonally around the cheese, overlapping slightly. Leave a small gap near the top for the eyes. Take a second strip and wrap in the opposite diagonal direction. Tuck ends underneath. Repeat for all 12 pieces.
- Arrange wrapped mummies on prepared baking sheet, leaving about 1 inch of space between them.
- Brush each mummy lightly with egg wash. Sprinkle a pinch of garlic powder over the top.
- Bake for 12–15 minutes, until golden and cheese is melted but not bursting. Let cool on baking sheet for 3 minutes.
- While still warm, press two pepperoni circles onto the exposed cheese at the top of each mummy. Place an olive round in the center of each pepperoni.
- Serve immediately with warm marinara sauce for dipping.
Notes
For best results, keep cheese cold until wrapping. If dough tears, press it back together—egg wash will hide imperfections. For air fryer, cook at 375°F for 8–10 minutes, flipping halfway. Leftovers can be refrigerated for up to 3 days; reheat in a 350°F oven for 5–7 minutes.
Nutrition
- Serving Size: 1 mummy bite
- Calories: 145
- Sugar: 2
- Sodium: 320
- Fat: 7
- Saturated Fat: 3.5
- Carbohydrates: 14
- Fiber: 1
- Protein: 8
Keywords: Halloween, mummy, pizza bites, cheesy, easy, party appetizer, kid-friendly