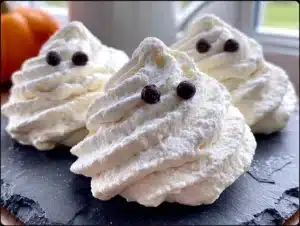
It was 11:47 PM on a random Tuesday in October, and I had an overwhelming urge to make something cute. Not just any cute thing—I wanted ghosts. Little, friendly, edible ghosts that wouldn’t scare anyone but would absolutely make you smile. The problem? I didn’t have any fancy Halloween cookie cutters, and I definitely wasn’t about to drive to the store at that hour. But I had eggs. I had sugar. And I had a bag of chocolate chips staring at me from the pantry like they knew they were about to become tiny ghost eyes.
Honestly, this is how most of my best recipes get born—out of a specific craving and a refusal to let a lack of “proper” ingredients stop me. I’d been scrolling through Pinterest earlier that day (you know how it goes, one minute you’re looking up dinner ideas, the next you’re three hours deep into Halloween desserts), and I kept seeing these beautiful, intricate meringue ghosts. They looked like something from a bakery display case. Perfectly piped, evenly baked, probably made by someone who owns a pastry bag set that costs more than my grocery budget.
And I thought, “I can do that.” But also, “I’m going to do it my way.”
So there I was, past midnight, separating egg whites in my tiny kitchen with my cat judging me from the counter. I didn’t have cream of tartar—used a splash of lemon juice instead. I didn’t have a fancy piping tip—cut the corner off a zip-top bag. And instead of drawing faces with melted chocolate (which, let’s be real, would have been a disaster at that hour), I just pressed chocolate chips into the meringue before baking. The result? These perfectly imperfect, cozy little ghosts that look like they’re smiling at you. I mean, honestly, they’re ridiculous in the best way. And I’ve been making them every Halloween since. Maybe you’ve been there—wanting to make something special for a holiday but not wanting to turn your kitchen into a war zone. These ghosts are for you.
Why You’ll Love This Recipe
Let me tell you why these cozy ghost meringue cookies have become my absolute go-to Halloween treat. I’ve tested this recipe about six times now (sacrifices had to be made), and every single batch has disappeared faster than I expected. There’s something about the combination of light, airy meringue and those little chocolate chip eyes that just works.
- Quick & Easy : From start to finish, you’re looking at about 15 minutes of active prep time. The oven does most of the work while you go do something else—watch a movie, clean the kitchen, or honestly just sit down for once.
- Simple Ingredients : You probably have everything already. Eggs, sugar, vanilla, chocolate chips. That’s it. No specialty baking aisle trips required.
- Perfect for Halloween : These are great for Halloween parties, classroom treats, or just making your kitchen feel festive without all the artificial colors and preservatives.
- Crowd-Pleaser : Kids absolutely lose their minds over these. Adults do too, they just pretend to be more dignified about it.
- Unbelievably Delicious : The texture is what gets me every time—crispy on the outside, slightly chewy in the middle, with little pockets of melted chocolate. It’s comfort food in ghost form.
What makes this recipe different from all the other meringue ghost tutorials out there? It’s the chocolate chip method. Most recipes have you pipe plain meringue and then draw faces on later with melted chocolate. That’s fine, but it’s also fiddly and frustrating. My way? You press the chips in before baking. The ghosts come out of the oven already smiling. No extra step, no mess, no having to be a professional cake decorator.
This is the kind of recipe that makes you close your eyes after the first bite. It’s light and sweet and somehow nostalgic, even if you’ve never made meringue before. It’s Halloween comfort food—soothing, simple, and just a little bit magical.
What Ingredients You Will Need
This recipe uses simple, humble ingredients to create something that feels special. There’s no complicated science here, just a few pantry staples that come together in a surprisingly delightful way. Here’s what you’ll need:
For the Meringue Base
- 3 large egg whites, room temperature (this is important—cold eggs won’t whip up as well)
- 3/4 cup (150g) granulated sugar (regular white sugar works best; don’t use powdered sugar here)
- 1/4 teaspoon cream of tartar (or 1/2 teaspoon lemon juice as a substitute—I’ve done both)
- 1/2 teaspoon vanilla extract (pure vanilla is lovely, but imitation works fine too)
- Pinch of salt (just a tiny one, to balance the sweetness)
For the Ghost Faces
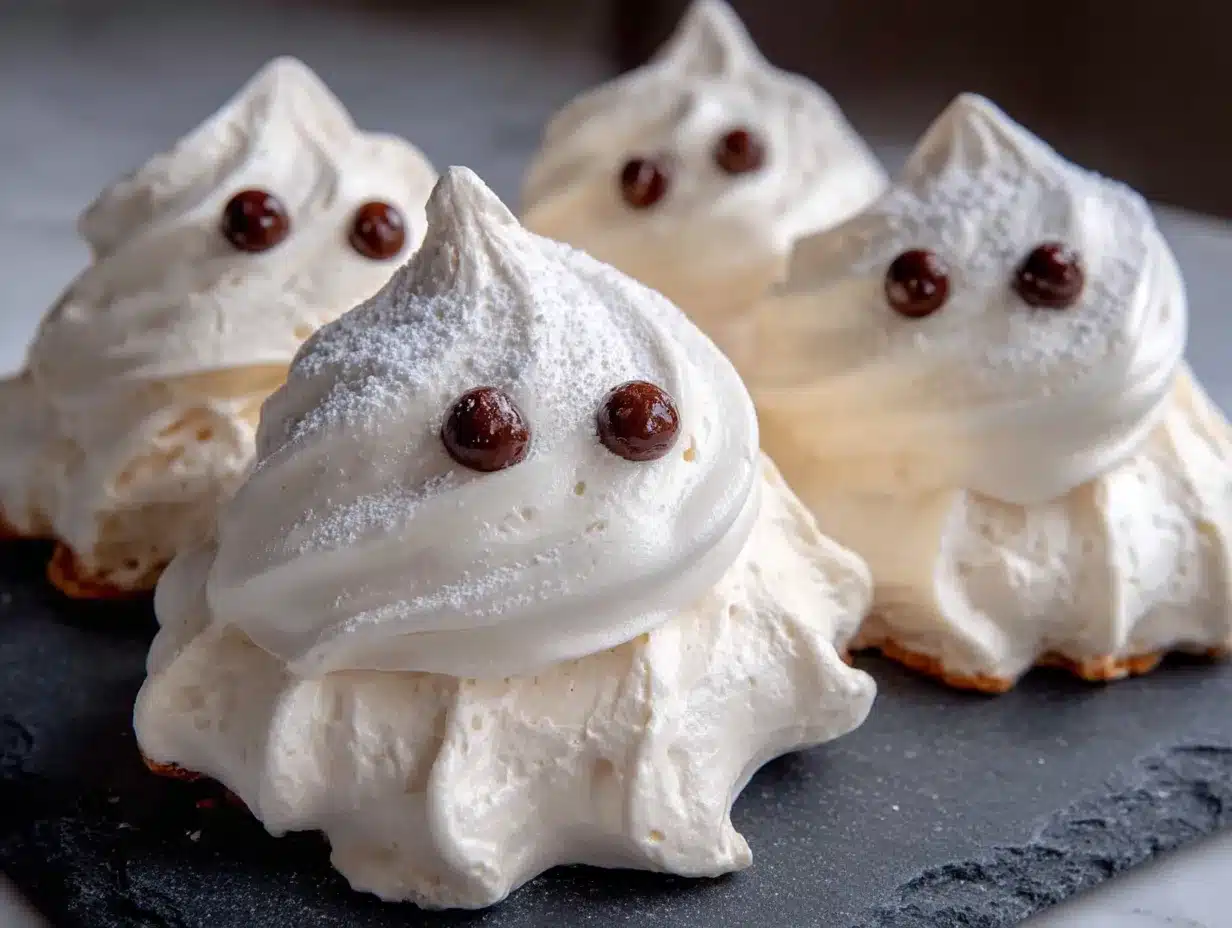
- 1/3 cup mini chocolate chips (I prefer Ghirardelli or Toll House for consistent melting)
- Optional: 1 tablespoon cocoa powder (if you want to make a few chocolate ghosts for variety)
Ingredient Tips & Personal Notes:
Let me share what I’ve learned from all those test batches. First, the egg whites really do need to be room temperature. I know it’s tempting to just pull them straight from the fridge, but cold egg whites take forever to whip and never get quite as fluffy. If you forgot to set them out, place the whole eggs in a bowl of warm water for about 5 minutes before separating.
I’ve tried this recipe with both cream of tartar and lemon juice, and honestly? They both work fine. Cream of tartar gives a slightly more stable meringue, but lemon juice adds a tiny hint of brightness that I actually really like. Use what you have.
For the chocolate chips, mini chips are absolutely the way to go. Regular-sized chips look too big for the ghost faces—they make the ghosts look surprised instead of friendly. Mini chips give that perfect little round eye shape. I’ve also used chopped dark chocolate in a pinch, and that works too, but the chips are more consistent.
One more thing—make sure your bowl and whisk are completely clean and dry. Any trace of grease or yolk will prevent the egg whites from whipping properly. I always wipe my bowl with a little lemon juice on a paper towel before starting, just to be safe.
Equipment Needed
You don’t need a professional bakery setup for these ghosts. Here’s what I use:
- Electric hand mixer or stand mixer (you can technically whisk by hand, but your arm will hate you)
- Large mixing bowl (glass or metal works best; avoid plastic as it can retain grease)
- Baking sheet (I use a standard half-sheet pan)
- Parchment paper (absolutely essential—these will stick to foil or a greased pan)
- Piping bag or zip-top bag (I’ve used both; the zip-top bag is actually easier for small batches)
- Small offset spatula or butter knife (for shaping the ghosts)
- Measuring cups and spoons
If you don’t have a piping bag, don’t stress. Cut a small corner off a sturdy zip-top bag and it works perfectly. I actually prefer this method for these ghosts because the opening is smaller and gives you more control. For the baking sheet, any rimmed sheet pan will work—just make sure it fits in your oven with room for air to circulate.
One last tip: I recommend having a small bowl of water nearby to wet your finger when shaping the ghosts. It helps smooth out any rough edges and gives them that cute, rounded look.
Preparation Method
Alright, let’s make some ghosts. I’ll walk you through every step, including all the little things I’ve learned from making these more times than I care to admit.
-
Preheat your oven to 200°F (95°C). Yes, that’s low. We’re not baking these so much as drying them out slowly. Line your baking sheet with parchment paper and set it aside.
-
Prepare your egg whites. Separate your eggs while they’re cold—it’s easier to keep the yolks intact that way. Then let the whites sit on the counter for about 15 minutes to come to room temperature. I usually do this step first and then get everything else ready while they warm up.
-
Start whipping. Pour the egg whites into your clean, dry mixing bowl. Add the cream of tartar (or lemon juice) and the pinch of salt. Begin beating on medium speed until the mixture becomes frothy and bubbly—about 30-45 seconds. You should see lots of small bubbles forming.
-
Add the sugar slowly. Here’s where patience matters. With the mixer running on medium-high, add the sugar one tablespoon at a time, waiting about 10 seconds between each addition. I know it’s tedious, but rushing this step can deflate your meringue. The whole process takes about 3-4 minutes.
-
Whip until stiff peaks form. Once all the sugar is in, increase the speed to high and beat for another 3-5 minutes. You’re looking for stiff, glossy peaks that hold their shape when you lift the whisk. The mixture should be thick and marshmallowy. To test, stop the mixer and lift the whisk—the peak should stand straight up without drooping. If it flops over, keep beating.
-
Add the vanilla. Pour in the vanilla extract and beat on high for another 30 seconds. You’ll see the mixture get even glossier and more stable.
-
Transfer to your piping bag. Spoon the meringue into your piping bag or zip-top bag. If using a zip-top bag, snip about 1/2 inch off one corner. Don’t cut too much off, or you’ll lose control.
-
Pipe the ghosts. Hold the bag straight up and down, about 1/2 inch above the parchment. Squeeze out a mound of meringue about 2 inches wide at the base, then pull straight up to create a peak. Release pressure and lift away. Don’t worry if they look a little wonky—ghosts are supposed to be irregular. Space them about 1 inch apart on the baking sheet; they won’t spread much.
-
Shape the ghosts. Wet your fingertip with water and gently smooth out any sharp points or rough edges. This gives them that soft, ghostly shape. You can also use a small offset spatula to gently round the tops.
-
Add the chocolate chip eyes. This part is fun. Gently press two mini chocolate chips into each ghost for eyes. Position them close together for a cute, friendly expression, or slightly farther apart for a surprised look. Press them in just until they’re flush with the surface—don’t push them all the way through.
-
Bake low and slow. Place the baking sheet in the preheated oven and bake for 2 to 2.5 hours. Yes, it’s a long time. The meringues should be dry to the touch and easily lift off the parchment when done. They shouldn’t be browned at all—if they start to color, your oven is too hot.
-
Cool completely. Turn off the oven and leave the ghosts inside with the door slightly ajar for about 30 minutes. This helps them dry out completely and prevents cracking. Then transfer them to a wire rack to cool completely.
Troubleshooting Note: If your meringue is weeping (little beads of liquid forming on the surface), it means the sugar wasn’t fully dissolved. Make sure you’re rubbing a tiny bit between your fingers before moving on—it should feel smooth, not gritty.
Cooking Tips & Techniques
I’ve made every mistake in the book with these ghosts, so let me save you some trouble. Here’s what I’ve learned the hard way:
The Humidity Issue: Meringue is basically a diva when it comes to humidity. If you live somewhere humid (hello, fellow coastal dwellers), pick a dry day to make these. They absorb moisture from the air and can turn sticky. On humid days, I add an extra 30 minutes to the baking time and let them cool in the oven longer.
The Overmixing Trap: Yes, you need to whip the egg whites until stiff peaks form. But there’s a fine line between stiff and over-beaten. Over-beaten meringue looks grainy and separated, and it won’t pipe smoothly. Stop the mixer every minute or so after the 4-minute mark to check. Trust your eyes more than the timer.
The Sugar Dissolving Test: Before you start piping, rub a tiny bit of meringue between your thumb and forefinger. If it feels gritty, keep beating. The sugar needs to be fully dissolved for a smooth, stable meringue. This one tip has saved more batches than I can count.
Piping Consistency: If your meringue is too soft to hold its shape, it might be under-whipped. If it’s too stiff and hard to pipe, it might be over-whipped or your egg whites were too cold. Room temperature is your friend here.
Multitasking Strategy: While the ghosts are baking (for 2+ hours), you can absolutely do other things. I usually prep dinner, fold laundry, or finally respond to those texts I’ve been ignoring. Just set a timer to check on them halfway through.
Variations & Adaptations
One of the best things about this recipe is how easy it is to customize. Here are some variations I’ve tried and loved:
Chocolate Ghosts: Sift 1 tablespoon of cocoa powder into the meringue after the sugar is fully incorporated. Fold it in gently with a spatula until just combined. You’ll get these beautiful, pale brown ghosts that look like they’ve been playing in the dirt. The chocolate flavor is subtle but lovely.
Peppermint Ghosts: Replace the vanilla extract with 1/4 teaspoon peppermint extract. The ghosts will have a cool, refreshing flavor that’s perfect for a Halloween-Christmas crossover. I made these for a “Halloween in July” party and they were a hit.
Gluten-Free Option: These are naturally gluten-free! Just make sure your vanilla extract and chocolate chips are certified gluten-free if that’s a concern for you. No substitutions needed.
Vegan Adaptation: This one’s trickier since meringue relies on egg whites. You can try using aquafaba (the liquid from a can of chickpeas) as a replacement. Use 3 tablespoons of aquafaba per egg white, and whip it exactly the same way. The texture will be slightly different—a bit more delicate—but it works.
Flavor Variations: Try adding 1/2 teaspoon of almond extract instead of vanilla for a nutty twist. Or add a few drops of food coloring to create pastel ghosts (pink, lavender, or mint green are adorable). Just use gel food coloring, not liquid, to avoid adding too much moisture.
Spiced Ghosts: Add 1/4 teaspoon of pumpkin pie spice or cinnamon to the meringue for a fall-flavored ghost. This is my personal favorite variation—the spices pair beautifully with the sweetness.
Serving & Storage Suggestions
These ghosts are best served at room temperature, straight from the cooling rack. They have this wonderful, airy texture that practically melts in your mouth. Here’s how I like to present them:
Serving Ideas:
- Pile them in a glass jar or on a cake stand for a Halloween centerpiece
- Serve alongside hot chocolate or coffee for a cozy treat
- Package them in cellophane bags with a ribbon for Halloween party favors
- Float them on top of a bowl of pudding or ice cream for a spooky dessert
- Use them as cupcake toppers (just stick them in the frosting before serving)
Storage Instructions:
Store your ghosts in an airtight container at room temperature. They’ll keep for about 2 weeks, though honestly, they never last that long in my house. Do NOT refrigerate them—the moisture in the fridge will make them sticky and ruin their texture.
Freezing:
You can freeze these for up to 3 months. Place them in a single layer in a freezer-safe container with parchment paper between layers. Thaw at room temperature for about 30 minutes before serving. They might lose a tiny bit of their crispness, but they’re still delicious.
Flavor Development:
Here’s something interesting—these ghosts actually get better after a day or two. The flavors meld together, and the texture becomes even more delicate. I usually make them a day ahead of any event. Just make sure they’re completely cool before storing.
Nutritional Information & Benefits
Let’s be real—these are a treat, not a health food. But they are lighter than most cookies, which is something. Here’s the breakdown per ghost (assuming you get about 24 from this recipe):
- Calories: Approximately 45-50 calories per ghost
- Fat: 1.5g (mostly from the chocolate chips)
- Carbohydrates: 8g
- Sugar: 7g
- Protein: 1g
- Sodium: 15mg
Health Benefits of Key Ingredients:
Egg whites are a great source of protein without the fat and cholesterol of the yolk. They also contain riboflavin and selenium. The chocolate chips provide a small amount of antioxidants (the darker the chocolate, the more antioxidants). And honestly, the biggest benefit might be the joy they bring—there’s something to be said for a treat that makes you smile.
Dietary Considerations:
These are naturally gluten-free and nut-free (as long as your chocolate chips are nut-free). They’re also low in fat compared to most cookies. However, they’re not suitable for vegans unless you use the aquafaba substitution mentioned above. They also contain eggs, so they’re not allergy-friendly for those with egg allergies.
Conclusion
These cozy ghost meringue cookies have become my favorite Halloween tradition, and I think they’ll become yours too. They’re simple enough to make on a whim but special enough to impress anyone who sees them. The chocolate chip eyes give them so much personality—every batch has its own little cast of characters, from the shy ghost with close-set eyes to the surprised one with wide-open peepers.
What I love most about this recipe is how forgiving it is. Your first batch might not look perfect (mine certainly didn’t), but they’ll still taste amazing. And that’s really the point, isn’t it? Making something with your own hands, sharing it with people you care about, and creating a little bit of magic in your own kitchen.
I’d love to hear how your ghosts turn out! Drop a comment below and let me know if you tried any variations or if your kids helped with the chocolate chip eyes. Tag me in your photos on social media—I seriously never get tired of seeing people’s ghost creations. And if you have any questions, just ask. Happy Halloween, friends. May your ghosts be cute and your chocolate chips plentiful.
Frequently Asked Questions
Can I make these without a piping bag?
Absolutely! Use a sturdy zip-top bag with a corner snipped off, or even two spoons to drop dollops of meringue onto the parchment. The shapes won’t be as uniform, but they’ll still be adorable. I actually prefer the spoon method for a more rustic, homemade look.
Why did my meringue turn out sticky?
Sticky meringue usually means it wasn’t baked long enough or it absorbed moisture from the air. Try increasing the baking time by 30 minutes, and make sure they’re completely cool before storing in an airtight container. On humid days, I add an extra hour of baking time just to be safe.
Can I use regular chocolate chips instead of mini?
You can, but they’ll look a bit comical—like the ghosts are wearing giant goggles. Mini chips give a much cuter, more proportional look. If you only have regular chips, you can chop them into smaller pieces or just embrace the oversized-eye aesthetic.
How do I know when the meringue is fully baked?
The ghosts should be dry to the touch and should lift easily off the parchment paper. They shouldn’t feel sticky or soft. If you tap one gently, it should sound hollow. If they’re still sticking to the paper, give them more time in the oven.
Can I double this recipe?
Yes! Just make sure your mixer bowl is large enough to accommodate the increased volume. You might need to bake in batches or use two baking sheets on separate oven racks. If using two racks, swap their positions halfway through baking for even drying.
Pin This Recipe!
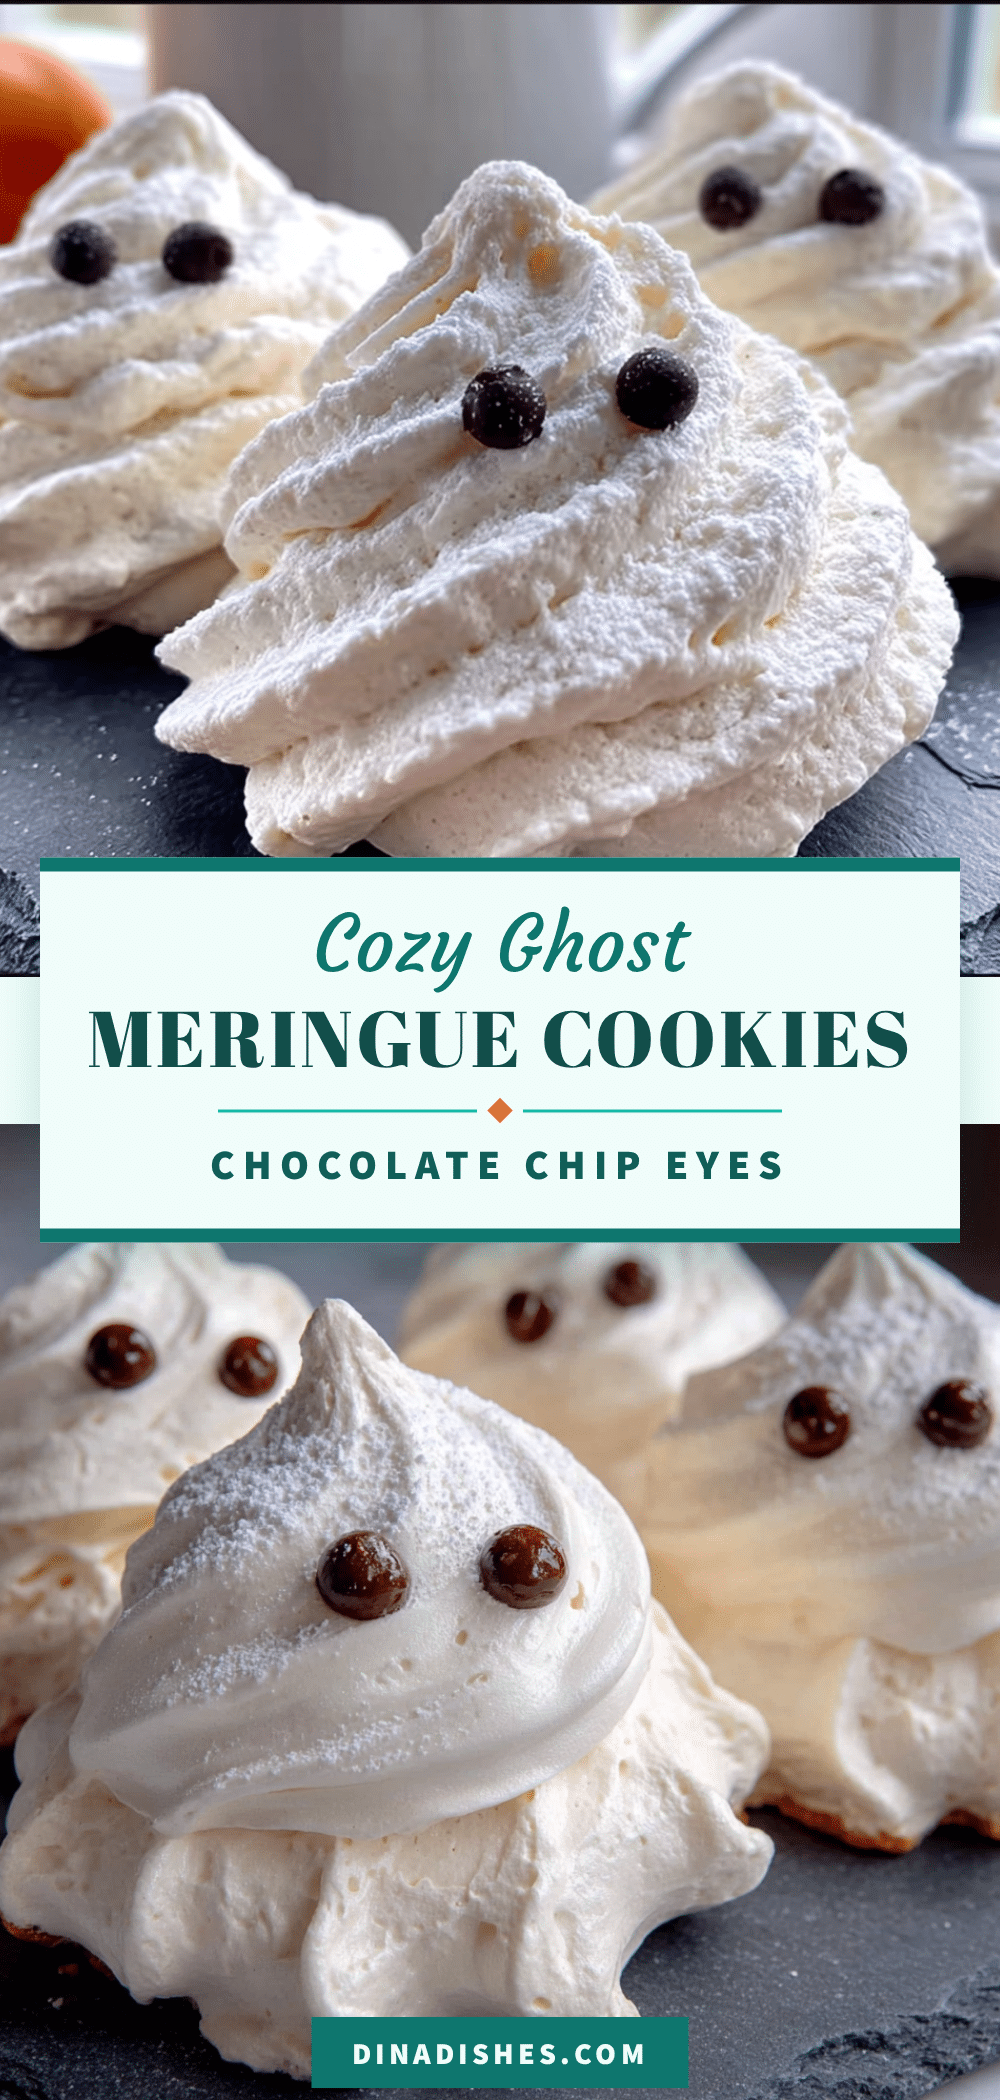
Cozy Ghost Meringue Cookies with Chocolate Chip Eyes
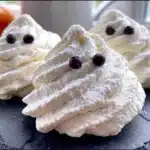
These adorable ghost meringue cookies are light, airy, and feature chocolate chip eyes for a cute Halloween treat. Made with simple ingredients, they’re easy to prepare and perfect for parties or festive snacking.
- Prep Time: 15 minutes
- Cook Time: 2 hours 30 minutes
- Total Time: 3 hours 15 minutes
- Yield: 24 servings 1x
- Category: Dessert
- Cuisine: American
Ingredients
- 3 large egg whites, room temperature
- 3/4 cup (150g) granulated sugar
- 1/4 teaspoon cream of tartar (or 1/2 teaspoon lemon juice)
- 1/2 teaspoon vanilla extract
- Pinch of salt
- 1/3 cup mini chocolate chips
- Optional: 1 tablespoon cocoa powder
Instructions
- Preheat your oven to 200°F (95°C). Line a baking sheet with parchment paper.
- Separate eggs while cold; let egg whites sit at room temperature for about 15 minutes.
- In a clean, dry mixing bowl, combine egg whites, cream of tartar (or lemon juice), and salt. Beat on medium speed until frothy and bubbly, about 30-45 seconds.
- With mixer running on medium-high, add sugar one tablespoon at a time, waiting about 10 seconds between each addition (about 3-4 minutes total).
- Increase speed to high and beat until stiff, glossy peaks form, about 3-5 minutes. The mixture should be thick and marshmallowy.
- Add vanilla extract and beat on high for another 30 seconds until glossy and stable.
- Spoon meringue into a piping bag or zip-top bag. If using a zip-top bag, snip about 1/2 inch off one corner.
- Pipe ghosts onto the parchment: hold bag straight up, squeeze out a 2-inch wide mound, then pull straight up to create a peak. Space about 1 inch apart.
- Wet your fingertip with water and gently smooth any sharp points or rough edges on the ghosts.
- Gently press two mini chocolate chips into each ghost for eyes, positioning them close together for a cute expression.
- Bake for 2 to 2.5 hours, until meringues are dry to the touch and lift easily off the parchment. They should not brown.
- Turn off oven and leave ghosts inside with door slightly ajar for 30 minutes. Then transfer to a wire rack to cool completely.
Notes
For best results, ensure egg whites are at room temperature and bowl is completely clean and grease-free. On humid days, add extra baking time. Ghosts can be stored in an airtight container at room temperature for up to 2 weeks, or frozen for up to 3 months. Do not refrigerate.
Nutrition
- Serving Size: 1 ghost
- Calories: 4550
- Sugar: 7
- Sodium: 15
- Fat: 1.5
- Saturated Fat: 0.8
- Carbohydrates: 8
- Protein: 1
Keywords: Halloween cookies, meringue cookies, ghost cookies, easy Halloween treat, chocolate chip meringue