This was supposed to be a standard batch of chocolate crinkles, the kind you see at every holiday cookie swap. I had the powdered sugar ready, the dough chilling in the fridge, and a very specific vision of perfectly round, snow-dusted cookies. But then my neighbor, Carol, knocked on the door with her toddler in tow, holding a heart-shaped cookie cutter she had just found at a thrift store. “Try these,” she said, handing it over. I was already up to my elbows in flour, and honestly, the last thing I needed was another variable. I tossed the cutter into a drawer and went back to my plan.
But the thought nagged at me. The next morning, I pulled that cutter out and, on a whim, pressed it into the chilled dough. The result was a lopsided, slightly cracked heart that looked nothing like the perfect Pinterest photos I had in my head. I almost threw it away. But I baked it anyway, and when it came out of the oven, dusted with sugar and looking like a little red velvet valentine, I knew I had stumbled onto something. It was a happy accident, born from a distraction and a cheap kitchen tool, and it completely changed how I think about this classic cookie.
Maybe you’ve been there, staring at a recipe that feels a little too predictable. These Best Easy Red Velvet Heart Crinkle Cookies are anything but boring. They take the familiar, fudgy crinkle and turn it into something that stops the conversation at a party. The deep red color against the white powdered sugar is a visual stunner, and the soft, almost brownie-like center is the kind of texture that makes people close their eyes for a second. I keep making them because they’re the perfect balance of show-stopping and simple—the kind of cookie that makes you look like you spent hours when, honestly, the hardest part was waiting for the dough to chill.
Why You’ll Love This Recipe
These aren’t just another cookie recipe. They are a tested, crowd-approved solution for anyone who wants to bring something special to the table without a full day in the kitchen. I have made these for book club, a Super Bowl party, and a Valentine’s Day dinner, and they disappear every single time. Here is why they work so well:
- Quick & Easy: The dough comes together in about 15 minutes. The real time is in the chilling, which you can do overnight. It’s a perfect make-ahead move for busy hosts.
- Simple Ingredients: You likely have everything in your pantry right now. No trips to a specialty baking store—just cocoa, flour, sugar, and a little red food coloring.
- Perfect for a Party: The heart shape instantly signals “special occasion.” They are ideal for Valentine’s Day, anniversaries, Galentine’s brunch, or even a romantic dinner party where you want a dessert that feels intentional.
- Crowd-Pleaser: I have yet to meet someone who doesn’t love a crinkle cookie. The texture is universally adored—soft, chewy, and rich without being heavy.
- Unbelievably Delicious: The combination of cocoa and a hint of vanilla, wrapped in a crackly powdered sugar shell, is next-level comfort food. It’s like a brownie and a sugar cookie had a beautiful, red-tinted baby.
What makes this version different from the rest? It’s the texture. I tested this recipe four times to get the perfect balance of a crackly, sugary exterior and a soft, fudgy interior that doesn’t dry out. The secret is a touch of vegetable oil in the dough, which keeps them tender even after a day or two on the counter. This isn’t just another red velvet cookie; it’s the one you will be asked for again and again.
This recipe isn’t just good—it is the kind that makes you feel like a rockstar host. It’s comfort food reimagined for a special occasion: faster, prettier, but with the same soul-soothing satisfaction that a good cookie always brings. Perfect for impressing guests without stress, or turning a simple Tuesday into something memorable.
What Ingredients You Will Need
This recipe uses simple, pantry-friendly ingredients to deliver that signature red velvet flavor and perfect crinkle texture. Here is everything you will need and a few notes on why each one matters.
- All-purpose flour (1 ¾ cups / 220g): The structural backbone. I prefer Gold Medal or King Arthur for consistent results. Spoon and level your flour for accuracy.
- Unsweetened cocoa powder (¼ cup / 25g): Use a natural, not Dutch-process, cocoa for the best chemical reaction with the baking soda. Hershey’s works great here.
- Baking soda (1 teaspoon): Helps the cookies spread and crackle properly. Make sure it’s fresh.
- Salt (½ teaspoon): Balances the sweetness and deepens the chocolate flavor. I use fine sea salt.
- Granulated sugar (1 cup / 200g): Provides sweetness and structure.
- Vegetable oil (⅓ cup / 80ml): This is the secret to a soft, tender cookie that stays moist for days. Canola or any neutral oil works.
- Large egg (1): Binds everything together. Room temperature is best for even mixing.
- Milk (2 tablespoons / 30ml): Adds a touch of moisture. Whole milk or 2% is fine.
- White vinegar (1 teaspoon): This reacts with the cocoa to deepen the red color and create a tender crumb. Don’t skip it!
- Vanilla extract (1 teaspoon): Rounds out the flavor. Pure vanilla is always better than imitation.
- Red food coloring (1 tablespoon / 15ml): The star of the show. I use gel food coloring (like Wilton or Americolor) for a vibrant red without thinning the dough. Liquid food coloring will work, but you may need a bit more.
- Powdered sugar (½ cup / 60g, for rolling): This creates the iconic crinkled look. Sift it first to avoid clumps.
Equipment Needed
You don’t need a fancy bakery setup for these. Here is the gear that makes the process smooth, along with a few tips I have picked up along the way.
- Mixing bowls: One large, one medium. I prefer glass or stainless steel.
- Whisk and rubber spatula: A whisk for dry ingredients, a spatula for folding the dough together.
- Heart-shaped cookie cutter (2.5 to 3 inches): This is non-negotiable for the shape! A metal cutter works best for clean edges.
- Baking sheets (2): Light-colored, non-stick sheets help the cookies bake evenly. Dark sheets can cause over-browning.
- Parchment paper or silicone baking mats: Prevents sticking and makes cleanup a breeze.
- Cooling rack: Essential for letting the cookies set properly without getting soggy on the bottom.
- Small bowl for powdered sugar: For rolling the cut-out cookies.
- Sharp knife or bench scraper: For cutting the rolled dough into squares before shaping.
Preparation Method
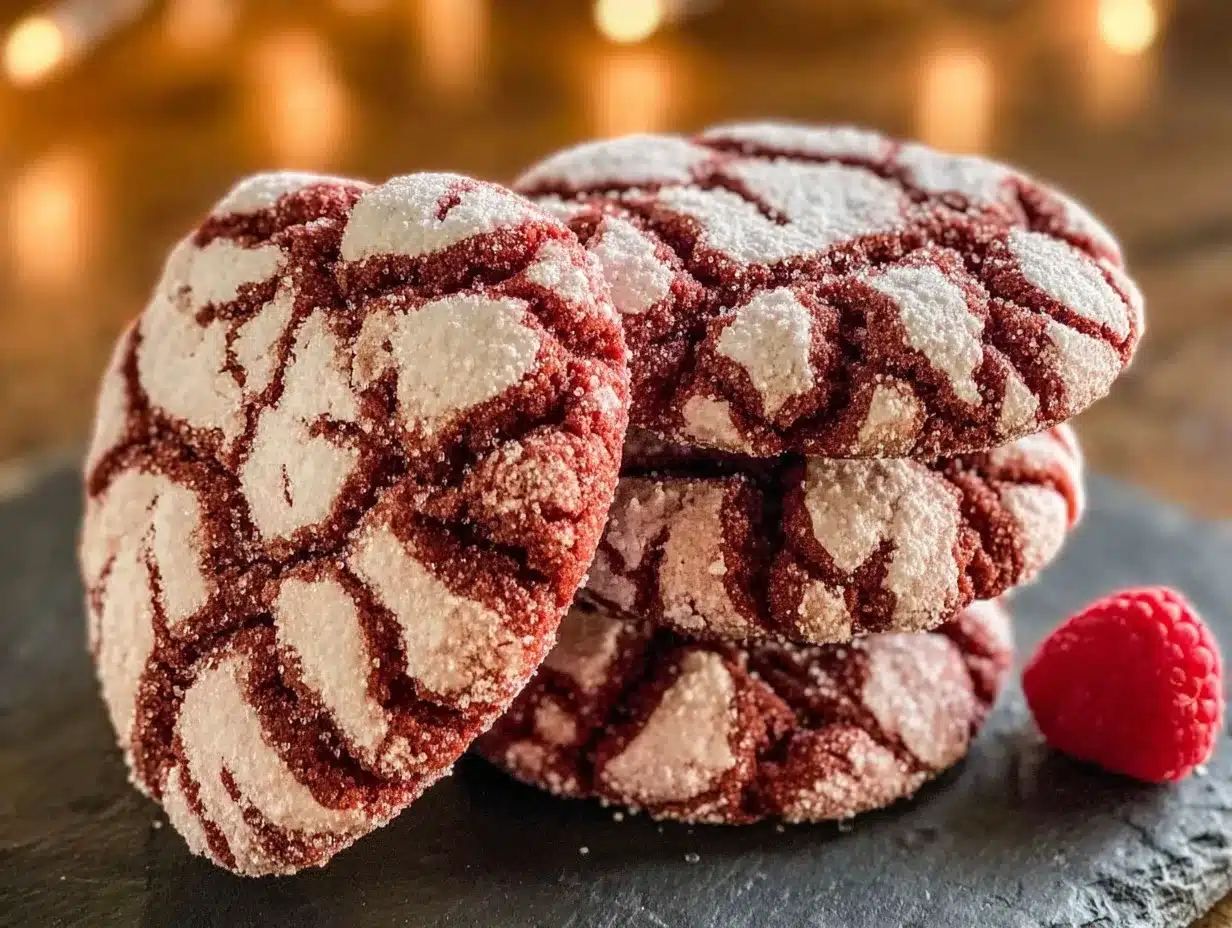
Follow these steps carefully, and you will have a batch of stunning, crackly hearts that are the talk of the party.
- Whisk the dry ingredients. In a medium bowl, whisk together the flour, cocoa powder, baking soda, and salt. Set this aside. This step ensures the leavening is evenly distributed.
- Mix the wet ingredients. In a large bowl, combine the granulated sugar and vegetable oil. Beat with a whisk or electric mixer until well combined, about 1 minute. It will look like wet sand.
- Add the egg and flavorings. Beat in the egg, milk, vinegar, and vanilla extract until smooth. The mixture will be a bit thin, which is normal.
- Add the color. Stir in the red food coloring. If using gel, you will get a vibrant red immediately. If using liquid, add a little at a time until you reach a deep red you like. The color will darken slightly as it bakes.
- Combine wet and dry. Gradually add the dry ingredients to the wet mixture, stirring with a spatula until just combined. Do not overmix—a few streaks of flour are okay. The dough will be soft and slightly sticky.
- Chill the dough. Cover the bowl with plastic wrap and refrigerate for at least 2 hours, or up to overnight. This is a crucial step. Chilled dough is much easier to roll and cut, and it prevents the cookies from spreading too much in the oven. I often make the dough the night before a party.
- Preheat and prepare. When ready to bake, preheat your oven to 350°F (175°C). Line two baking sheets with parchment paper.
- Roll and cut. Lightly flour your work surface. Turn the chilled dough out onto the surface and gently roll it to about ¼-inch thickness. If the dough is too sticky, dust your rolling pin lightly with flour. Use your heart-shaped cutter to press out shapes. Press firmly and lift straight up. Re-roll the scraps once to get more cookies.
- Roll in sugar. Place the powdered sugar in a small bowl. Gently pick up each heart-shaped cookie and roll it in the sugar, coating all sides generously. The sugar layer is what creates the beautiful crinkle effect. Place the coated cookies about 2 inches apart on the prepared baking sheets.
- Bake. Bake for 8 to 10 minutes. The cookies will look slightly puffed and the edges will be set. The centers might look a tiny bit soft—that is perfect. Do not overbake, or they will lose their fudgy texture. For a softer cookie, bake for 8 minutes; for a slightly crisper edge, go to 10.
- Cool. Let the cookies cool on the baking sheet for 5 minutes. This allows them to set. Then, transfer them to a wire rack to cool completely. The crackled sugar top will firm up as they cool.
Cooking Tips & Techniques
Over the years, I have made a few mistakes with these cookies so you don’t have to. Here is what I have learned the hard way.
- Don’t skip the chill. The first time I made these, I was in a rush and only chilled the dough for 30 minutes. The cookies spread into flat, shapeless blobs. The heart shape was completely gone. The dough needs that full 2 hours to firm up the oil and prevent spreading. Overnight is even better.
- Use a light hand with the rolling pin. If you roll the dough too thin, the cookies will be crispy, not soft. Aim for a consistent ¼-inch thickness. I use two wooden spoons as guides on either side of the dough to keep it even.
- Generous sugar coating. Don’t be shy with the powdered sugar. You want a thick, snowy layer. If you see dark red dough peeking through after rolling, add more sugar. The thicker the coating, the more dramatic the crackle.
- Watch the oven. Every oven runs a little differently. I once left a batch in for 11 minutes, and they came out dry. Start checking at 8 minutes. The edges should look set, and the top should be crackled but still soft to the touch.
- Cool completely. I know it’s tempting to eat one straight from the sheet, but the cookies are very fragile when warm. Let them rest for 5 minutes on the sheet, then move them to a rack. They will firm up perfectly as they cool.
Variations & Adaptations
These cookies are wonderfully adaptable. Here are a few ways I have played with the recipe for different occasions and dietary needs.
- Gluten-Free Version: Swap the all-purpose flour with a 1:1 gluten-free baking flour blend. I have used Bob’s Red Mill with great results. Add an extra tablespoon of milk to compensate for the drier flour.
- Vegan Adaptation: Replace the egg with a flax egg (1 tablespoon ground flaxseed mixed with 3 tablespoons water, let sit for 5 minutes). Use a plant-based milk like oat or almond. The texture will be slightly more cake-like, but still delicious.
- Peppermint Red Velvet: Add ½ teaspoon of peppermint extract along with the vanilla. This is a fantastic holiday twist. The mint pairs beautifully with the cocoa and red color.
- White Chocolate Drizzle: Once the cookies are completely cool, melt ½ cup of white chocolate chips and drizzle it over the tops. The white on red is stunning, and it adds a creamy sweetness.
- Spiced Version: Add ½ teaspoon of cinnamon and a pinch of cayenne pepper to the dry ingredients. The warmth of the spices plays beautifully with the chocolate, and the cayenne gives a subtle, unexpected kick.
Serving & Storage Suggestions
These cookies are a showpiece, so how you serve them matters, especially when hosting.
Serving: Serve these at room temperature. Arrange them on a beautiful cake stand or a wooden board. They look incredible stacked slightly haphazardly, showing off the crackled hearts. For a party, I often place them on a plate with a few fresh raspberries or strawberries for a pop of extra red. A light dusting of extra powdered sugar right before serving makes them look brand new.
What to Serve Alongside: These cookies are perfect on their own, but they pair wonderfully with a glass of cold milk, a hot latte, or even a glass of red wine for an adult twist. For a dessert board, serve them alongside dark chocolate truffles and fresh fruit.
Storage: Store the cookies in an airtight container at room temperature for up to 5 days. Place a piece of bread in the container to keep them soft—the cookies will absorb the moisture. Do not refrigerate them, as that can dry them out.
Freezing: You can freeze the baked cookies for up to 3 months. Layer them between sheets of parchment paper in a freezer-safe container. Thaw at room temperature for about 20 minutes before serving. You can also freeze the unbaked, cut-out dough hearts. Place them on a baking sheet in the freezer until solid, then transfer to a bag. Bake directly from frozen, adding 2 minutes to the baking time.
Flavor Development: Honestly, these cookies taste even better the day after baking. The flavors meld together, and the texture becomes even more fudgy. They are a fantastic make-ahead dessert for a party.
Nutritional Information & Benefits
While these are definitely a treat, they offer a few surprising benefits. Here is the estimated nutritional breakdown per cookie (based on 24 cookies).
- Calories: ~145
- Fat: 6g
- Carbohydrates: 22g
- Sugar: 14g
- Protein: 2g
- Fiber: 1g
Health Highlights: The cocoa powder is a great source of antioxidants, specifically flavonoids, which can support heart health. The vegetable oil provides healthy unsaturated fats. Using a natural cocoa also means you are getting a small amount of iron and magnesium. While they are not a health food, they are a more balanced dessert option than many store-bought cookies.
Dietary Considerations: This recipe is nut-free and can be made dairy-free by using a plant-based milk. It is also easily adapted to be gluten-free and vegan. Always check your specific ingredients for potential allergens, especially the food coloring.
My philosophy? A cookie like this is about joy, not guilt. It’s a special occasion treat that brings people together. Enjoying one or two with a cup of tea is a beautiful way to practice mindful indulgence.
Conclusion
These Best Easy Red Velvet Heart Crinkle Cookies are more than just a pretty face. They are a testament to the fact that the best recipes often come from a little bit of chaos and a willingness to try something new. They are forgiving, adaptable, and always, always a hit. Whether you are baking for a Valentine’s Day party, a Galentine’s brunch, or just because you want to make a Tuesday feel special, this is the recipe you will reach for.
I love them because they make me look like a hero with very little effort. The first time I brought them to a dinner party, a friend asked for the recipe before she had even finished her first cookie. That is the kind of power these little hearts hold. They are a conversation starter, a mood booster, and a genuinely delicious cookie all rolled into one.
So go ahead—grab that heart-shaped cutter, make a little mess in your kitchen, and bake something that will make you smile. I cannot wait to hear how they turn out for you. Did you try a fun variation? Did they disappear at your party? Drop a comment below and share your story. Happy baking!
Frequently Asked Questions
Can I use a different shape for these cookies?
Absolutely! While the heart shape is perfect for special occasions, you can use any cookie cutter you like. Stars, circles, or even simple squares work beautifully. Just adjust the baking time slightly if the shapes are much larger or smaller than the 2.5-inch heart.
Why did my cookies not crackle?
This usually happens for two reasons. First, the dough might not have been chilled long enough. Second, you may not have rolled the cookies in enough powdered sugar. A thick, generous coating is essential for that dramatic crackle. Make sure the dough is very cold and the sugar layer is heavy.
Can I make the dough ahead of time?
Yes, this is one of the best things about this recipe. You can prepare the dough up to 3 days in advance and keep it tightly wrapped in the refrigerator. You can also freeze the rolled and cut-out dough hearts for up to 3 months, baking them directly from frozen.
My cookies spread too much. What went wrong?
Spreading is usually a sign that the dough was too warm when it went into the oven. Make sure you chill the dough for the full 2 hours. Also, ensure your baking soda is fresh, as old leavening can cause erratic spreading. Finally, do not over-grease the baking sheet; parchment paper is best.
Can I use liquid food coloring instead of gel?
You can, but you will need to adjust the amount. Liquid food coloring is much thinner than gel, so you might need up to 2 tablespoons to achieve a vibrant red. Be careful not to add too much liquid, as it can alter the dough’s texture. Gel coloring is always my top recommendation for a concentrated, reliable color.
Pin This Recipe!
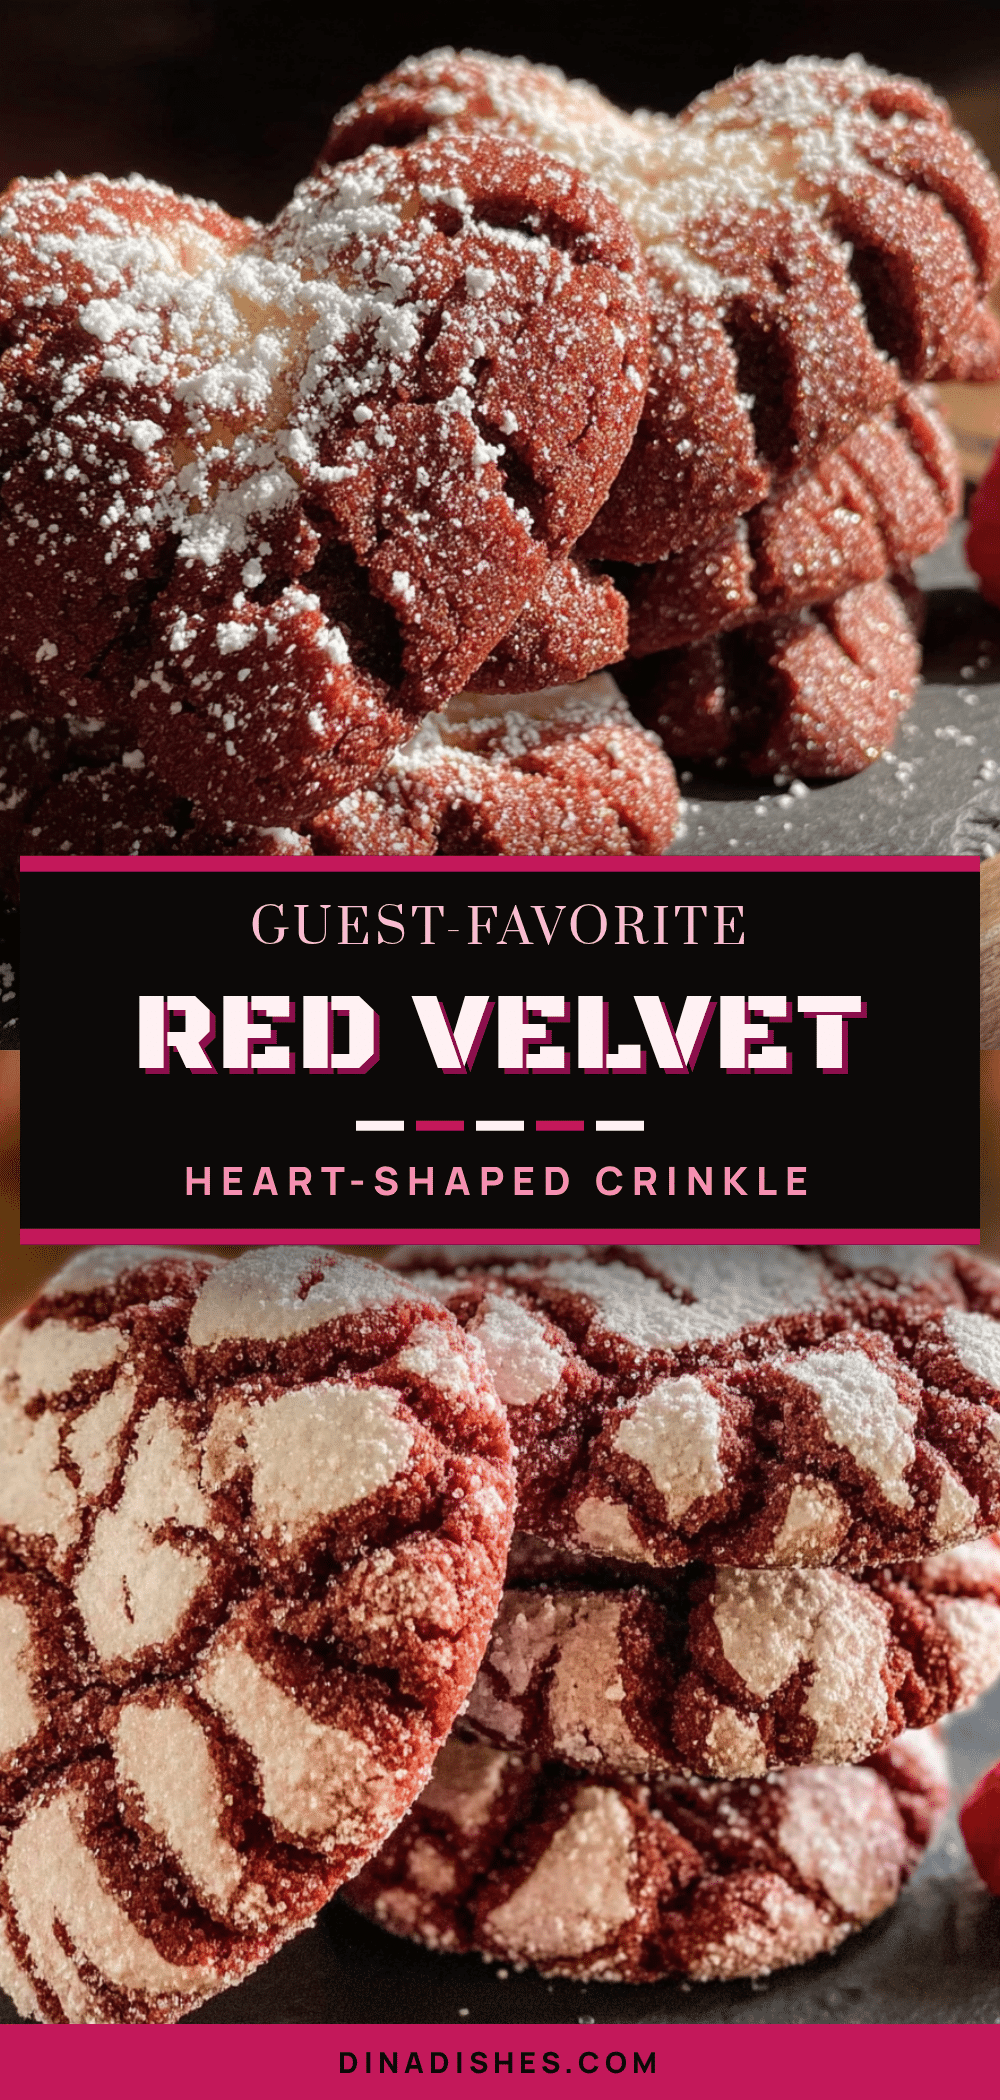
Best Easy Red Velvet Heart Crinkle Cookies
These red velvet heart crinkle cookies are soft, fudgy, and perfectly crackled with a snowy powdered sugar coating. They are a show-stopping treat for Valentine’s Day, anniversaries, or any special occasion, and come together with simple pantry ingredients.
- Prep Time: 15 minutes
- Cook Time: 10 minutes
- Total Time: 2 hours 25 minutes (includes 2 hours chilling)
- Yield: 24 servings 1x
- Category: Dessert
- Cuisine: American
Ingredients
- 1 ¾ cups (220g) all-purpose flour
- ¼ cup (25g) unsweetened cocoa powder (natural, not Dutch-process)
- 1 teaspoon baking soda
- ½ teaspoon fine sea salt
- 1 cup (200g) granulated sugar
- ⅓ cup (80ml) vegetable oil (or canola/neutral oil)
- 1 large egg (room temperature)
- 2 tablespoons (30ml) milk (whole or 2%)
- 1 teaspoon white vinegar
- 1 teaspoon vanilla extract (pure preferred)
- 1 tablespoon (15ml) red food coloring (gel recommended, or liquid as needed)
- ½ cup (60g) powdered sugar (for rolling, sifted)
Instructions
- Whisk the dry ingredients. In a medium bowl, whisk together the flour, cocoa powder, baking soda, and salt. Set aside.
- Mix the wet ingredients. In a large bowl, combine the granulated sugar and vegetable oil. Beat with a whisk or electric mixer until well combined, about 1 minute. It will look like wet sand.
- Add the egg and flavorings. Beat in the egg, milk, vinegar, and vanilla extract until smooth. The mixture will be a bit thin, which is normal.
- Add the color. Stir in the red food coloring. If using gel, you will get a vibrant red immediately. If using liquid, add a little at a time until you reach a deep red you like. The color will darken slightly as it bakes.
- Combine wet and dry. Gradually add the dry ingredients to the wet mixture, stirring with a spatula until just combined. Do not overmix—a few streaks of flour are okay. The dough will be soft and slightly sticky.
- Chill the dough. Cover the bowl with plastic wrap and refrigerate for at least 2 hours, or up to overnight. This is a crucial step. Chilled dough is much easier to roll and cut, and it prevents the cookies from spreading too much in the oven.
- Preheat and prepare. When ready to bake, preheat your oven to 350°F (175°C). Line two baking sheets with parchment paper.
- Roll and cut. Lightly flour your work surface. Turn the chilled dough out onto the surface and gently roll it to about ¼-inch thickness. If the dough is too sticky, dust your rolling pin lightly with flour. Use your heart-shaped cutter to press out shapes. Press firmly and lift straight up. Re-roll the scraps once to get more cookies.
- Roll in sugar. Place the powdered sugar in a small bowl. Gently pick up each heart-shaped cookie and roll it in the sugar, coating all sides generously. The sugar layer is what creates the beautiful crinkle effect. Place the coated cookies about 2 inches apart on the prepared baking sheets.
- Bake. Bake for 8 to 10 minutes. The cookies will look slightly puffed and the edges will be set. The centers might look a tiny bit soft—that is perfect. Do not overbake, or they will lose their fudgy texture. For a softer cookie, bake for 8 minutes; for a slightly crisper edge, go to 10.
- Cool. Let the cookies cool on the baking sheet for 5 minutes. This allows them to set. Then, transfer them to a wire rack to cool completely. The crackled sugar top will firm up as they cool.
Notes
Chill the dough for at least 2 hours to prevent spreading. Use a generous coating of powdered sugar for the best crackle effect. For a softer cookie, bake for 8 minutes; for a crisper edge, bake for 10. Cookies taste even better the day after baking. Store in an airtight container at room temperature for up to 5 days; place a piece of bread in the container to keep them soft. Freeze baked cookies for up to 3 months.
Nutrition
- Serving Size: 1 cookie
- Calories: 145
- Sugar: 14
- Sodium: 95
- Fat: 6
- Saturated Fat: 1
- Carbohydrates: 22
- Fiber: 1
- Protein: 2
Keywords: red velvet cookies, heart cookies, crinkle cookies, Valentine's Day cookies, easy cookie recipe, fudgy cookies, chocolate crinkles