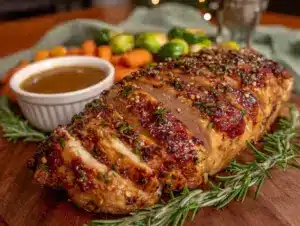
I was digging through the back of my freezer last Tuesday, looking for a bag of frozen peas, when my hand brushed against something wrapped in foil. The cold shock of it — that metallic, frosty smell — and suddenly I was seven years old at my Aunt Carol’s tiny kitchen table in Des Moines. She was pulling a single turkey leg out of the oven, just for me, because everyone else was having the big bird and I was the weird kid who only wanted the dark meat. She served it on a chipped blue plate with a mountain of mashed potatoes, and I swear I can still feel the warmth of that kitchen on my face. She’s been gone eight years now, and I haven’t thought about that afternoon in probably a decade. But standing there in my own kitchen, holding that forgotten frozen package, I knew exactly what I had to do. I had to figure out how to make a small Thanksgiving dinner that felt just like hers — but without feeding a crowd, without heating up the whole house, and honestly, without spending all day in the kitchen. That’s when I started working on this air fryer turkey breast recipe. It’s the one I make now every year, even when it’s just me and my partner. Maybe you’ve been there too — wanting the full Thanksgiving feeling without the full Thanksgiving chaos. This is for those of us who want the taste of home, but on our own terms.
This air fryer turkey breast is my little secret to a perfect, low-stress Thanksgiving for two to four people. It’s juicy, it’s golden, and it comes together in about an hour — not six. No brining overnight, no basting every twenty minutes, no wrestling a twenty-pound bird into the oven. Just a beautiful, perfectly cooked turkey breast with crispy skin and tender meat that tastes like you spent hours on it. Honestly, the first time I made this, I was shocked at how good it turned out. I mean, I was half expecting dry, sad turkey — you know, the kind that makes you reach for extra gravy just to get it down. But nope. The air fryer does something magical to the skin, crisping it up like a roast chicken, while keeping the meat underneath impossibly moist. It’s become my go-to for Friendsgiving, for quiet Thanksgivings, and honestly, for random Tuesday nights when I’m craving that cozy holiday feeling.
Let me tell you, this recipe saved my Thanksgiving one year when I realized I’d forgotten to defrost the big turkey. True story. I had a frozen turkey breast in the freezer, a brand-new air fryer I’d barely used, and about ninety minutes to pull off a miracle. I threw it in on a wing and a prayer, and what came out was honestly better than any full-sized turkey I’d ever made. The key is the air circulation — it roasts the meat evenly and quickly, so you get that perfect golden-brown exterior without drying out the center. Plus, it frees up your oven for all the side dishes. That’s a game-changer, right? I mean, who wants to juggle oven space on Thanksgiving? Not me. This little turkey breast changed the way I do the holidays. And that’s why I keep making it, year after year.
Why You’ll Love This Recipe
This isn’t just another turkey recipe — it’s the one that makes you wonder why you ever bothered with the big bird. Let me break down why this air fryer turkey breast is about to become your new favorite way to do Thanksgiving.
- Quick & Easy: Comes together in under 75 minutes, from prep to plate. Perfect for busy weeknights or when you realize at 4 PM that you want a Thanksgiving-style dinner by 5:30.
- Simple Ingredients: No fancy grocery trips needed. You probably already have butter, garlic, herbs, salt, and pepper in your kitchen right now.
- Perfect for Small Gatherings: Ideal for a romantic dinner for two, a small family of four, or a Friendsgiving where everyone brings a dish. No more mountains of leftover turkey you’ll be eating for three weeks.
- Crowd-Pleaser: The crispy skin and juicy meat get rave reviews from everyone. Even my picky eater friend, who claims to hate turkey, asked for seconds.
- Unbelievably Delicious: The texture is next-level — the air fryer gives you that perfect crackling skin while the meat stays fork-tender. It’s comfort food reimagined, faster and easier but with the same soul-soothing satisfaction.
What makes this recipe different from the rest? It’s the technique. I spent a solid month testing different temperatures, rubs, and timing to get it just right. The secret is a compound butter rubbed under the skin, which keeps the meat moist and infuses it with flavor from the inside out. Then a dry rub on the outside creates that gorgeous, crispy skin. No brining, no basting, no fuss. It’s the kind of recipe that makes you close your eyes after the first bite — that’s how good it is. Perfect for impressing guests without stress, or turning a simple Tuesday into something memorable.
What Ingredients You Will Need
This recipe uses simple, wholesome ingredients to deliver bold flavor and satisfying texture without the fuss. Most of these are pantry staples, and you can easily swap things out based on what you have on hand.
For the Turkey
- 1 bone-in, skin-on turkey breast (about 3 to 4 pounds / 1.4 to 1.8 kg) — Look for one that fits comfortably in your air fryer basket. I prefer a whole breast half, not a split breast, for even cooking.
- 2 tablespoons unsalted butter, softened — This is the key to juicy meat. (I recommend Kerrygold for its rich flavor, but any good butter works.)
- 2 cloves garlic, minced — Fresh garlic is best here; the jarred stuff just doesn’t have the same punch.
- 1 teaspoon fresh rosemary, chopped (or ½ teaspoon dried) — Adds that classic Thanksgiving aroma.
- 1 teaspoon fresh thyme leaves (or ½ teaspoon dried) — Earthy and slightly floral, it pairs beautifully with poultry.
- 1 teaspoon salt — I use kosher salt for better control over seasoning.
- ½ teaspoon black pepper, freshly ground — Don’t skimp on this; it adds a subtle warmth.
- ½ teaspoon paprika — For color and a mild smokiness. (Smoked paprika is lovely if you have it.)
- ½ teaspoon onion powder — Adds depth without being overpowering.
For the Aromatics (Optional but Recommended)
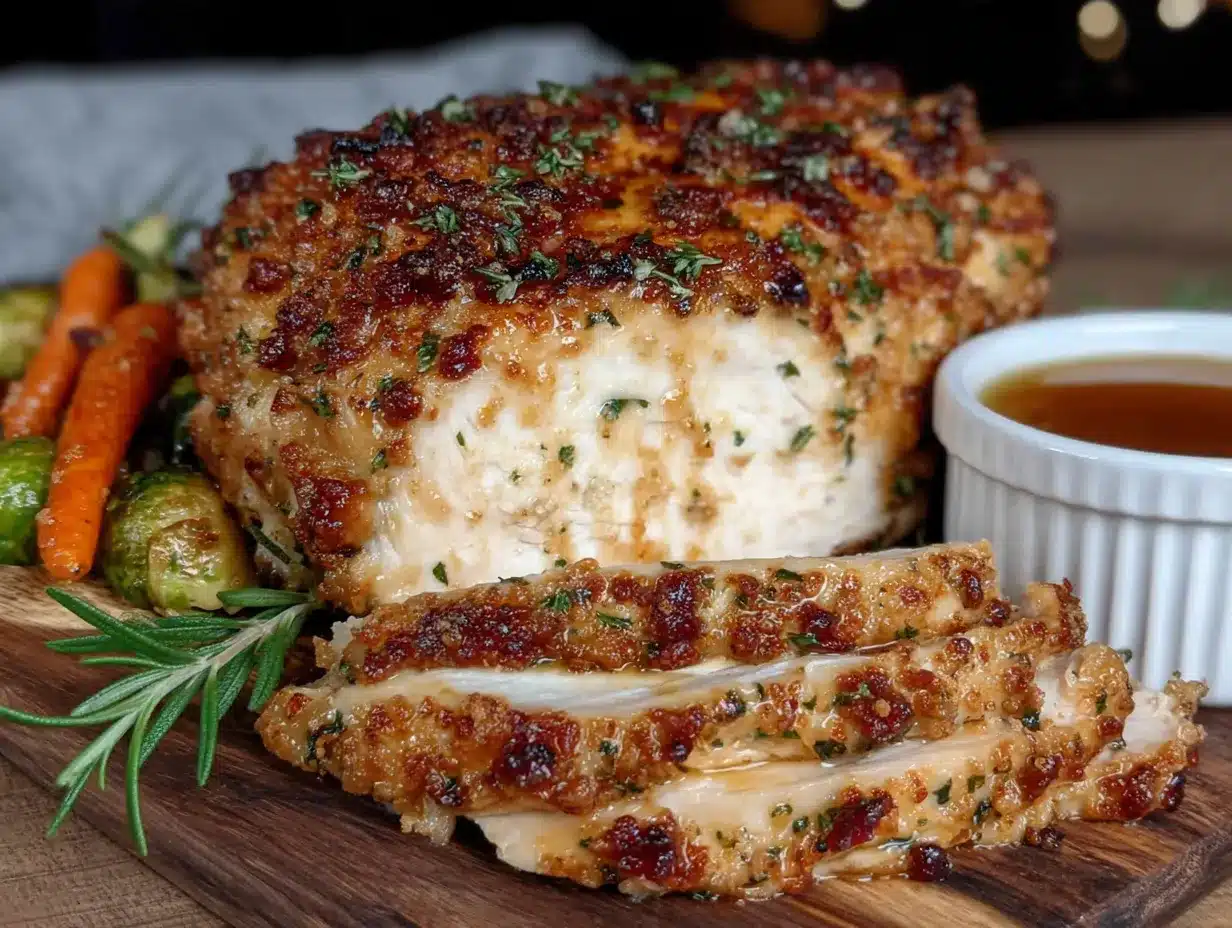
- ½ lemon, halved — Adds brightness and helps keep the meat moist.
- 2 sprigs fresh rosemary or thyme — For tucking under the skin or placing in the cavity.
- 1 small onion, quartered — Adds sweetness to the cooking juices.
Ingredient Selection Tips: When choosing your turkey breast, look for one that’s plump and evenly shaped — this ensures even cooking. If you’re buying frozen, thaw it completely in the refrigerator for 24 to 48 hours before cooking. For the butter, make sure it’s truly softened to room temperature so it spreads easily under the skin. And here’s a little trick I learned: if you don’t have fresh herbs, dried work fine, just use half the amount. The flavor won’t be quite as bright, but it’ll still be delicious.
Substitution Guidance: Need a dairy-free option? Use olive oil or vegan butter instead of regular butter. The skin won’t be quite as crispy, but it’ll still be good. For a gluten-free version, this recipe is naturally gluten-free — just double-check your spice blends if you’re sensitive. If you don’t have an air fryer, you can roast this in a 375°F (190°C) oven for about 50 to 60 minutes, but you’ll miss that amazing crispy skin. Trust me, the air fryer is worth it for this one.
Equipment Needed
You don’t need a ton of fancy gear for this recipe, which is part of the beauty of it. Here’s what you’ll need:
- Air fryer — A basket-style or oven-style air fryer works. I use a 5.8-quart Cosori, and a 3-pound turkey breast fits perfectly. If yours is smaller, you may need to go with a smaller breast or cut it in half.
- Instant-read meat thermometer — This is non-negotiable. Turkey needs to reach 165°F (74°C) in the thickest part of the breast for food safety. Guessing doesn’t work here.
- Small bowl — For mixing the compound butter.
- Chef’s knife and cutting board — For prepping herbs and garlic.
- Paper towels — For patting the turkey dry. This step is crucial for crispy skin.
- Tongs — For flipping the turkey breast halfway through cooking.
- Aluminum foil — For tenting the turkey while it rests.
Budget-Friendly Options: If you don’t have an instant-read thermometer, you can use a regular meat thermometer, just make sure it’s accurate. I’ve also used a cheap digital one from the grocery store for years — it works fine. And if you don’t have an air fryer, honestly, you can use a convection oven on the “air fry” setting if you have one. It’s not quite the same, but it’s close.
Personal Experience: I’ve tried this recipe in three different air fryers, and the cooking time varies by about 5 to 10 minutes depending on the model. The first time I made it, I didn’t flip the breast halfway through, and the bottom was pale and soggy. Learn from my mistake — flip it! Also, don’t overcrowd the basket. If your air fryer is small, cook the turkey breast alone without any vegetables or sides in the basket. You can roast those separately.
Preparation Method
Let’s get cooking! This is easier than you think, I promise. Follow these steps, and you’ll have a gorgeous, golden turkey breast that tastes like you spent all day on it.
- Prep the Turkey (5 minutes): Take your turkey breast out of the fridge and let it sit at room temperature for about 20 to 30 minutes. This helps it cook more evenly. Pat it completely dry with paper towels — this is the most important step for crispy skin. Don’t skip it. If the skin is damp, it’ll steam instead of crisp.
- Make the Compound Butter (5 minutes): In a small bowl, mix the softened butter with the minced garlic, chopped rosemary, thyme, salt, pepper, paprika, and onion powder. Mash it all together with a fork until it’s well combined. It should look like a thick, herby paste. Taste it — yes, raw butter — to check the seasoning. It should taste savory and aromatic.
- Apply the Butter (5 minutes): Gently loosen the skin of the turkey breast with your fingers. Be careful not to tear it — you want to create a pocket between the skin and the meat. Take about two-thirds of the compound butter and spread it directly onto the meat under the skin. Use your fingers to massage it evenly across the breast. Then spread the remaining butter all over the outside of the skin. This double-layer approach gives you flavor from the inside out and crispy, golden skin on the outside.
- Add Aromatics (2 minutes): If you’re using them, stuff the lemon halves, fresh herb sprigs, and onion quarters into the cavity of the breast. This adds moisture and flavor as the turkey cooks. Don’t overstuff — you just want a little fragrance, not a packed cavity.
- Preheat the Air Fryer (3 minutes): Preheat your air fryer to 360°F (182°C). Most air fryers heat up quickly, so this should only take a couple of minutes. If your air fryer doesn’t have a preheat setting, just run it empty for 3 minutes.
- Cook the Turkey (45 to 55 minutes): Place the turkey breast skin-side down in the air fryer basket. Cook for 25 minutes. Then, using tongs, carefully flip the breast over so it’s skin-side up. Continue cooking for another 20 to 30 minutes, or until the internal temperature reaches 160°F (71°C) in the thickest part of the breast. Remember, it will continue to cook while resting, so you want to pull it out just before it hits 165°F (74°C).
- Check for Doneness (2 minutes): Insert your instant-read thermometer into the thickest part of the breast, avoiding the bone. It should read 160°F (71°C). If it’s not there yet, cook for another 5 minutes and check again. The skin should be deep golden brown and crispy.
- Rest the Turkey (10 to 15 minutes): Remove the turkey breast from the air fryer and transfer it to a cutting board. Tent it loosely with aluminum foil and let it rest for at least 10 minutes, up to 15. This is crucial — it allows the juices to redistribute throughout the meat, so every slice is moist and tender. Don’t skip this step, or you’ll end up with dry turkey.
- Carve and Serve (5 minutes): After resting, remove the aromatics and carve the turkey breast against the grain into thick slices. The skin should be crackling crisp, and the meat should be juicy and tender. Serve immediately with your favorite Thanksgiving sides.
Sensory Cues: During cooking, you should smell the herbs and garlic filling your kitchen — that classic Thanksgiving aroma. The skin will turn a deep golden brown, and you might hear a slight sizzle as the fat renders. When you flip it, the bottom should be pale but starting to brown. The finished turkey should feel firm but give slightly when pressed, and the juices should run clear when you slice into it.
Troubleshooting Tip: If the skin is browning too quickly but the meat isn’t done, reduce the temperature to 325°F (163°C) for the last 10 to 15 minutes. Every air fryer runs a little hot, so adjust as needed. If the skin isn’t crispy enough at the end, crank it up to 400°F (204°C) for the last 2 to 3 minutes — but watch it closely so it doesn’t burn.
Cooking Tips & Techniques
I’ve made this recipe more times than I can count, and I’ve learned a few things along the way. Here are my best tips for getting perfect results every time.
Pat It Dry, Really Dry: I cannot stress this enough. Moisture is the enemy of crispy skin. Take an extra 30 seconds to really blot the turkey dry with paper towels, getting into all the nooks and crannies. The first time I made this, I was in a hurry and skipped this step. The skin came out rubbery and sad. Never again.
Don’t Skip the Rest: I know you’re hungry, and the turkey smells amazing, but let it rest. I once carved into a turkey breast right out of the air fryer, and all the juices ran out onto the cutting board. The meat was dry and disappointing. Now I set a timer for 10 minutes and walk away. It makes all the difference.
Flip Halfway Through: This ensures even cooking and crispy skin on both sides. I forgot to flip it once, and the bottom was pale and flabby while the top was perfect. Now I set a timer on my phone for 25 minutes as a reminder.
Use a Meat Thermometer: Guessing doneness by color or time is a recipe for disaster. Turkey can go from perfectly cooked to dry in just a few minutes. An instant-read thermometer takes the guesswork out. I use a ThermoPro digital one, and it’s never let me down.
Let the Butter Soften: Cold butter won’t spread easily under the skin, and you’ll end up tearing it. Leave your butter out on the counter for at least 30 minutes before you start. If you forget, you can microwave it for 10 seconds at 50% power, but be careful not to melt it.
Multitasking Strategy: While the turkey is cooking and resting, you can prepare your side dishes. Roast some Brussels sprouts in the oven, whip up some mashed potatoes, or heat up some gravy. The turkey’s resting time is the perfect window for last-minute prep.
Variations & Adaptations
This recipe is incredibly versatile. Here are some ways to switch it up based on your mood, dietary needs, or what you have in the pantry.
Herb Variation: Swap the rosemary and thyme for sage and parsley for a more traditional Thanksgiving flavor. Or try tarragon and chives for a French-inspired twist. I once made it with a mix of dill and lemon zest, and it was fantastic with roasted potatoes.
Spicy Variation: Add ½ teaspoon of cayenne pepper or red pepper flakes to the compound butter for a kick of heat. This is great if you’re serving it with a sweet side like cranberry sauce or roasted sweet potatoes. I did this for a Friendsgiving once, and it was a hit.
Citrus Variation: Replace the lemon with an orange or a lime for a different citrus note. The orange pairs beautifully with the herbs and adds a subtle sweetness. I tried this with a blood orange once, and the color was gorgeous.
Dietary Adaptations: For a dairy-free version, use olive oil or vegan butter instead of regular butter. The texture will be slightly different, but it’s still delicious. For a low-sodium option, reduce the salt to ½ teaspoon and add more herbs for flavor. If you’re watching your fat intake, you can skip the butter and just use a dry rub, but the meat won’t be as moist.
Cooking Method Variations: No air fryer? No problem. You can roast this turkey breast in a 375°F (190°C) oven for about 50 to 60 minutes, or until it reaches 160°F (71°C). The skin won’t be as crispy, but it’ll still be tasty. You can also grill it over indirect heat on a gas or charcoal grill for a smoky flavor. Just cook it at 350°F (175°C) for about 45 to 55 minutes, flipping halfway through.
Personal Variation: My favorite way to make this is with a maple-Dijon glaze. About 10 minutes before the turkey is done, I mix 2 tablespoons of maple syrup with 1 tablespoon of Dijon mustard and brush it over the skin. It creates a sticky, sweet-savory crust that’s absolutely incredible. I stumbled on this combo by accident when I was out of paprika, and now it’s my go-to.
Serving & Storage Suggestions
This air fryer turkey breast is the star of any meal, but it plays well with others. Here’s how to serve it, store it, and enjoy it again later.
Serving Temperature: Serve the turkey warm, right after it’s rested. The skin is at its crispiest within 15 minutes of coming out of the air fryer. If you’re making it ahead, reheat it gently to avoid drying it out.
Presentation: Arrange the sliced turkey on a platter, overlapping the slices slightly. Garnish with fresh herbs like rosemary sprigs or thyme leaves, and maybe a few lemon wedges for color. It looks beautiful and inviting.
Complementary Dishes: This turkey pairs perfectly with classic Thanksgiving sides. Try it with creamy mashed potatoes, roasted Brussels sprouts with balsamic glaze, cranberry sauce (canned or homemade), and a simple green salad. For drinks, a glass of Chardonnay or a light Pinot Noir complements the herb flavors beautifully. If you’re not drinking, a sparkling apple cider is festive and delicious.
Storage Instructions: Store leftover turkey in an airtight container in the refrigerator for up to 4 days. The skin will lose its crispiness, but the meat will stay moist. For longer storage, wrap the turkey tightly in plastic wrap and then foil, and freeze for up to 3 months. Thaw overnight in the refrigerator before reheating.
Reheating Methods: The best way to reheat leftover turkey is in the air fryer at 350°F (175°C) for 5 to 7 minutes. This helps restore some of the crispiness to the skin. You can also reheat it in the oven at 325°F (163°C) for 10 to 15 minutes, covered with foil to prevent drying. Avoid the microwave — it makes the meat rubbery and the skin soggy.
How Flavors Develop: The turkey is delicious fresh, but the flavors actually deepen after a day in the fridge. The herbs and garlic meld together, making the meat even more flavorful. I love using leftovers for turkey sandwiches with cranberry sauce and a smear of mayonnaise. It’s almost better than the fresh turkey, honestly.
Nutritional Information & Benefits
Here’s a rough estimate of the nutritional values for one serving (about 6 ounces of cooked turkey breast, without the skin). Keep in mind that actual values will vary based on the size of your turkey and the exact ingredients you use.
- Calories: Approximately 280-320
- Protein: 35-40 grams
- Fat: 12-16 grams
- Carbohydrates: 1-2 grams
- Fiber: 0 grams
- Sugar: 0 grams
- Sodium: 500-700 mg (varies with salt amount)
Health Benefits: Turkey breast is a lean source of high-quality protein, which is essential for muscle repair and overall health. It’s also rich in B vitamins, particularly B6 and B12, which support energy metabolism and brain function. The garlic and herbs in this recipe add antioxidants and anti-inflammatory compounds, making this a nourishing meal that’s good for you too.
Dietary Considerations: This recipe is naturally gluten-free, low-carb, and keto-friendly. It’s also high in protein, making it a great option for those following a paleo or Whole30 diet (just skip the butter and use olive oil). If you’re watching your sodium intake, reduce the salt to ½ teaspoon or use a salt-free herb blend.
Potential Allergens: This recipe contains dairy (butter). For a dairy-free version, use olive oil or vegan butter. It does not contain nuts, eggs, soy, or shellfish, but always check your spice blends for hidden additives.
Personal Wellness Perspective: I love that this recipe lets me enjoy a comforting, indulgent meal without derailing my healthy eating goals. It’s satisfying and flavorful, but it’s also packed with protein and nutrients. It’s the kind of meal that makes you feel good, both while you’re eating it and after.
Conclusion
This air fryer turkey breast has become my little Thanksgiving tradition, and I hope it becomes yours too. It’s proof that you don’t need a huge bird, a full day in the kitchen, or a crowd to have a memorable holiday meal. Whether you’re cooking for two, for a small family, or just for yourself, this recipe delivers all the warmth and comfort of Thanksgiving without the stress. It’s the kind of dish that makes you feel like you’ve got it all figured out — even if you’re just figuring it out as you go.
I’d love to hear how it turns out for you. Did you try any of the variations? Did you add your own twist? Drop a comment below and let me know — I read every single one, and I love hearing about your kitchen adventures. And if you’re looking for another small-batch holiday recipe, check out my small batch mashed potatoes — they pair perfectly with this turkey.
So go ahead, grab that turkey breast from the freezer, preheat your air fryer, and make yourself a little Thanksgiving magic. You deserve it. Happy cooking!
Frequently Asked Questions
Can I use a boneless turkey breast for this recipe?
Yes, you can! Boneless turkey breast will cook faster — about 30 to 40 minutes total. Just make sure it reaches 165°F (74°C) internally. The skin might not be as crispy since there’s no bone to help it stand up, but it’ll still be delicious. Adjust your cooking time and check early with your thermometer.
Do I need to brine the turkey breast first?
Nope! That’s the beauty of this recipe. The compound butter under the skin keeps the meat moist and flavorful without any brining. If you want extra juicy meat, you can do a dry brine overnight — just rub the turkey with salt and let it sit in the fridge uncovered. But honestly, it’s not necessary. I’ve made it both ways, and the difference is minimal.
Can I cook vegetables with the turkey in the air fryer?
I wouldn’t recommend it for this recipe. The turkey needs space for the hot air to circulate evenly, and adding vegetables will crowd the basket. Plus, the turkey takes longer to cook than most vegetables, so they’d end up burnt. Roast your veggies separately in the oven or on the stovetop while the turkey rests.
How do I know when the turkey is fully cooked?
Use an instant-read meat thermometer. Insert it into the thickest part of the breast, avoiding the bone. You’re looking for 165°F (74°C) for food safety, but I pull it out at 160°F (71°C) because it will continue cooking while it rests. The juices should run clear when you cut into it, and the meat should feel firm but not hard.
Can I make this recipe ahead of time for Thanksgiving?
You can cook the turkey breast a day ahead, let it cool, and store it in the fridge. Reheat it in the air fryer at 350°F (175°C) for 5 to 7 minutes to restore some crispiness to the skin. It won’t be quite as good as fresh, but it’s a great time-saver if you’re juggling multiple dishes. Just don’t slice it until you’re ready to serve, or it’ll dry out.
Pin This Recipe!
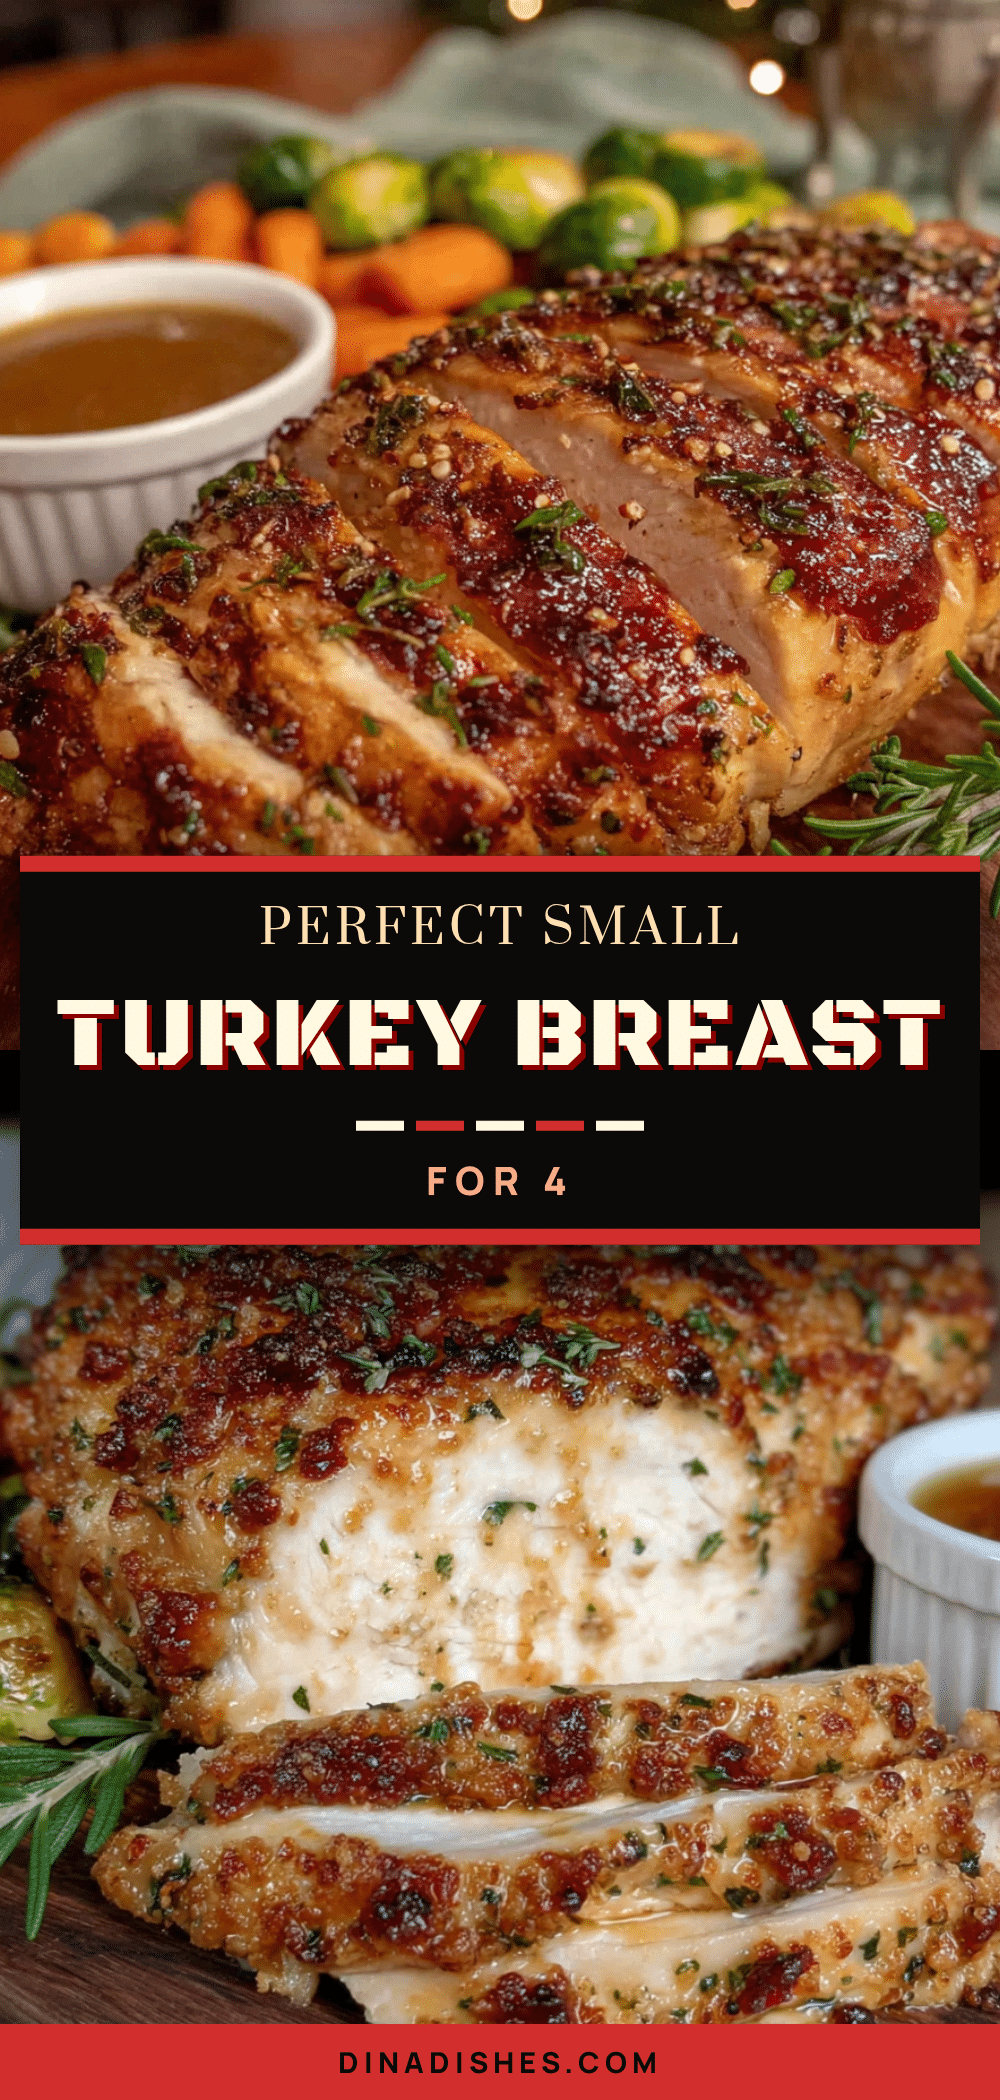
Perfect Small Air Fryer Turkey Breast for 4: Easy Thanksgiving Dinner
This air fryer turkey breast is juicy, golden, and comes together in about an hour. Perfect for a small Thanksgiving dinner for two to four people, with crispy skin and tender meat that tastes like you spent hours on it.
- Prep Time: 15 minutes
- Cook Time: 45 to 55 minutes
- Total Time: 1 hour 10 minutes
- Yield: 4 servings 1x
- Category: Main Course
- Cuisine: American
Ingredients
- 1 bone-in, skin-on turkey breast (about 3 to 4 pounds / 1.4 to 1.8 kg)
- 2 tablespoons unsalted butter, softened
- 2 cloves garlic, minced
- 1 teaspoon fresh rosemary, chopped (or ½ teaspoon dried)
- 1 teaspoon fresh thyme leaves (or ½ teaspoon dried)
- 1 teaspoon salt
- ½ teaspoon black pepper, freshly ground
- ½ teaspoon paprika
- ½ teaspoon onion powder
- ½ lemon, halved (optional)
- 2 sprigs fresh rosemary or thyme (optional)
- 1 small onion, quartered (optional)
Instructions
- Take your turkey breast out of the fridge and let it sit at room temperature for about 20 to 30 minutes. Pat it completely dry with paper towels.
- In a small bowl, mix the softened butter with the minced garlic, chopped rosemary, thyme, salt, pepper, paprika, and onion powder until well combined.
- Gently loosen the skin of the turkey breast with your fingers. Spread about two-thirds of the compound butter directly onto the meat under the skin. Spread the remaining butter all over the outside of the skin.
- If using, stuff the lemon halves, fresh herb sprigs, and onion quarters into the cavity of the breast.
- Preheat your air fryer to 360°F (182°C).
- Place the turkey breast skin-side down in the air fryer basket. Cook for 25 minutes. Then, carefully flip the breast over so it’s skin-side up. Continue cooking for another 20 to 30 minutes, or until the internal temperature reaches 160°F (71°C) in the thickest part of the breast.
- Insert your instant-read thermometer into the thickest part of the breast, avoiding the bone. It should read 160°F (71°C). If not, cook for another 5 minutes and check again.
- Remove the turkey breast from the air fryer and transfer it to a cutting board. Tent it loosely with aluminum foil and let it rest for at least 10 minutes, up to 15.
- After resting, remove the aromatics and carve the turkey breast against the grain into thick slices. Serve immediately.
Notes
Pat the turkey dry thoroughly for crispy skin. Let the turkey rest after cooking to redistribute juices. If skin browns too quickly, reduce temperature to 325°F for the last 10-15 minutes. For extra crispy skin, increase to 400°F for the last 2-3 minutes.
Nutrition
- Serving Size: 6 ounces cooked turk
- Calories: 300
- Sodium: 600
- Fat: 14
- Saturated Fat: 6
- Carbohydrates: 1.5
- Protein: 38
Keywords: air fryer turkey breast, small turkey breast, Thanksgiving for two, easy turkey recipe, crispy turkey skin, small batch Thanksgiving