The neighborhood block party was in three hours and I’d completely forgotten. Everyone else would be bringing those elaborate, Pinterest-perfect desserts—the kind that take two days and a culinary degree to assemble. I had a half-empty carton of cottage cheese, a scoop of vanilla protein powder I bought on a whim, and my Ninja Creami that was still in the box from Christmas. Honestly, I almost just grabbed a bag of chips and called it a day.
But there’s something about the pressure of a potluck that brings out the accidental overachiever in me. I started frantically googling “quick Ninja Creami recipes” while digging through my pantry for anything that resembled dessert. That’s when I spotted the bag of mini chocolate chips and the jar of peanut butter. I mean, cookie dough ice cream is basically a food group, right? I figured I’d whip up something passable, show up, and nobody would say anything because they’d be too polite.
Here’s the thing—I didn’t just get away with it. People asked for the recipe before I even finished scooping. Someone’s aunt cornered me by the grill demanding to know my secret. And the best part? When I sheepishly admitted it was “healthy-ish” and made with cottage cheese, nobody believed me. That first bite had this unexpected creamy texture that made me close my eyes—and I’m not usually a dramatic eater. Maybe you’ve been there, scrambling to bring something decent to a gathering while everyone else shows up looking like they catered it. This recipe was born out of pure panic and a fridge full of random ingredients, and honestly, it’s the reason I haven’t stopped making it since.
Why You’ll Love This Recipe
Let me tell you why this Healthy Ninja Creami Protein Cookie Dough Ice Cream has become my go-to dessert, and why I think it’ll become yours too. I’ve tested this recipe about a dozen times—yes, a dozen—because I wanted to get the texture just right. The first few attempts were icy or had that weird protein powder aftertaste we all hate. But after some trial and error (and a few sad bowls of frozen sludge), I nailed it.
- Quick & Easy: Comes together in under 10 minutes of active prep time. The Ninja Creami does the heavy lifting, and you just spin and enjoy. Perfect for those late-night sugar cravings or when you need dessert in a hurry.
- Simple Ingredients: No fancy grocery trips needed. You likely already have cottage cheese, protein powder, peanut butter, and chocolate chips in your kitchen. No weird stabilizers or hard-to-find extracts.
- Perfect for Hot Summer Days: This is the kind of treat that cools you down without weighing you down. Great for post-dinner treats, poolside snacking, or movie nights.
- Crowd-Pleaser: I’ve served this to kids, picky eaters, and full-on dessert snobs. Everyone loves it. The cookie dough chunks are the star—they’re chewy and sweet without being overwhelming.
- Unbelievably Delicious: The texture is next-level. Thanks to the cottage cheese and a little trick with the protein powder, this ice cream is creamy, scoopable, and nothing like those icy protein shakes you’ve tried to freeze before.
What makes this recipe different from the rest? It’s the combination of blending cottage cheese until silky smooth and using a specific protein powder that doesn’t get chalky. I’ve tried this with whey, casein, and plant-based proteins, and I’ll share which one works best. This isn’t just another healthy ice cream recipe—it’s the one that makes you forget it’s healthy. It’s comfort food reimagined: lighter, faster, but with the same soul-soothing satisfaction that makes you close your eyes after that first spoonful.
What Ingredients You Will Need
This recipe uses simple, wholesome ingredients to deliver that rich cookie dough flavor and creamy texture without any of the guilt. Most of these are pantry staples, and I’ve included some substitution notes so you can adapt based on what you have on hand.
- 1 cup cottage cheese (full-fat or 2%) – This is the base of your ice cream. I recommend Good Culture or Daisy brand for the creamiest texture. Small-curd works best, and full-fat gives the richest result, but 2% works fine too.
- 1 scoop vanilla protein powder (about 30g) – I’ve tested this with Optimum Nutrition Gold Standard Whey and Orgain plant-based. Whey gives a smoother texture, but plant-based works if you blend a little longer. Avoid collagen protein—it won’t freeze properly.
- 2 tablespoons peanut butter (or any nut butter) – Adds richness and that classic cookie dough flavor. Almond butter works, but peanut butter gives the most authentic taste. Use drippy natural peanut butter for best results.
- 1-2 tablespoons maple syrup or honey – For sweetness. Start with 1 tablespoon and taste your base before freezing. If you’re using a sweeter protein powder, you might not need the full 2 tablespoons.
- 1/2 teaspoon vanilla extract – Enhances the cookie dough flavor. Pure vanilla extract is best, but imitation works in a pinch.
- 2 tablespoons mini chocolate chips (plus more for mixing in) – Mini chips distribute better than regular-sized ones. I like Enjoy Life dark chocolate chips for a dairy-free option, or Lily’s stevia-sweetened chips if you’re watching sugar.
- 2-3 tablespoons almond milk (or any milk) – Helps thin the base to the right consistency for the Ninja Creami. Start with 2 tablespoons and add more if needed.
- Pinch of salt – Balances the sweetness and brings out the flavors. Don’t skip this!
For the cookie dough chunks (optional but highly recommended):
- 2 tablespoons almond flour – Gives that raw cookie dough texture without the raw flour risk.
- 1 tablespoon peanut butter – Binds the dough together.
- 1 teaspoon maple syrup – Sweetens the dough bits.
- 1 tablespoon mini chocolate chips – Because cookie dough needs chips.
Ingredient Selection Tips: Look for cottage cheese with no added gums or thickeners—the simpler the ingredient list, the better. For protein powder, avoid anything with artificial sweeteners that leave a cooling aftertaste. If you’re dairy-free, use a thick coconut yogurt instead of cottage cheese (the texture will be slightly different but still delicious).
Equipment Needed
You don’t need a ton of fancy tools for this recipe, but a few key pieces make all the difference.
- Ninja Creami (any model) – This is non-negotiable. The Creami’s unique spinning mechanism is what gives this ice cream its incredible texture. I use the Ninja Creami Deluxe, but the original works just as well.
- High-speed blender or food processor – You need to blend the cottage cheese until completely smooth. I’ve used a NutriBullet and a Vitamix—both work. A regular blender might leave chunks, so blend longer if needed.
- Ninja Creami pint container – Comes with the machine. Make sure it’s completely dry before pouring in your base.
- Mixing bowl – For making the cookie dough chunks.
- Spatula – For scraping every last bit of that creamy base into the pint.
- Measuring cups and spoons – Precision matters here, especially with the protein powder.
- Freezer-safe container – For storing leftovers (if you have any).
Budget-Friendly Tips: If you don’t have a high-speed blender, an immersion blender works in a pinch—just blend the cottage cheese in a tall cup for a full minute. And honestly, I’ve made the cookie dough chunks by hand with a fork when I didn’t feel like washing my food processor. It’s not pretty, but it works.
Preparation Method
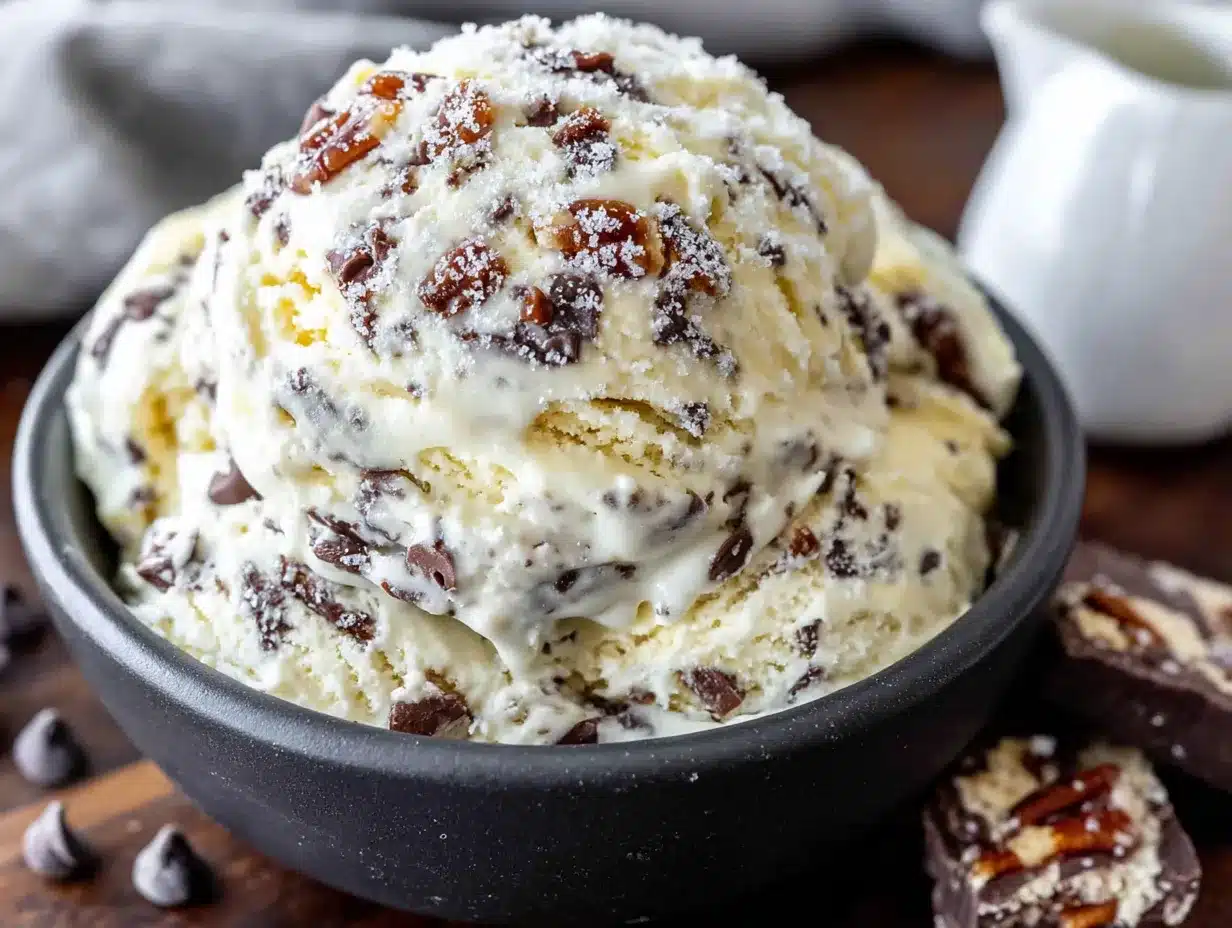
Let’s walk through this step by step. I’ve included all the little details I wish someone had told me the first time I made this.
- Blend the base: Add 1 cup cottage cheese, 1 scoop vanilla protein powder, 2 tablespoons peanut butter, 1-2 tablespoons maple syrup, 1/2 teaspoon vanilla extract, and a pinch of salt to your blender. Blend on high for 30-45 seconds until completely smooth. Stop and scrape down the sides if needed. The mixture should look like a thick, creamy milkshake. If it’s too thick to blend, add 1 tablespoon of almond milk at a time until it moves freely.
- Adjust sweetness and flavor: Taste the base. It should be slightly sweeter than you want the final ice cream to be—freezing dulls sweetness. If it tastes flat, add another pinch of salt or a few drops of vanilla. If it’s not sweet enough, add another teaspoon of maple syrup. This is your chance to fix it before freezing.
- Freeze the base: Pour the blended mixture into your Ninja Creami pint container. Leave about 1/2 inch of space at the top for expansion. Put the lid on and freeze flat for 24 hours. I know, 24 hours feels like forever, but don’t rush this. The base needs to be completely frozen solid—no soft spots. I’ve tried 12 hours and ended up with a soupy mess.
- Make the cookie dough chunks (while you wait): In a small bowl, mix 2 tablespoons almond flour, 1 tablespoon peanut butter, 1 teaspoon maple syrup, and 1 tablespoon mini chocolate chips. Stir with a fork until it forms a crumbly dough. It should hold together when pinched. Roll into small pea-sized balls or leave it as crumbles—I prefer crumbles because they distribute better. Set aside in the fridge.
- Spin the ice cream: After 24 hours, take the pint out of the freezer. Remove the lid and run the outside of the pint under hot water for about 10 seconds—this helps the Creami blade cut through smoothly. Place the pint in the outer bowl and lock it into the machine. Select the “Ice Cream” function and let it spin. It will sound loud and maybe a little scary, but that’s normal.
- Check the texture: After the first spin, open the machine and check the texture. It should look like soft-serve. If it’s still powdery or crumbly, use a spoon to break up any clumps and run it through the “Re-spin” function once or twice until it’s creamy. Don’t over-spin—three times max or it starts to melt.
- Mix in the cookie dough: Once the ice cream is smooth and creamy, make a well in the center with a spoon. Drop in your cookie dough chunks and mini chocolate chips (about 1-2 tablespoons extra). Use a spoon or spatula to fold them in gently. You can also run the “Mix-in” function if your Creami has it, but I find hand-mixing gives better distribution without crushing the chunks.
- Serve immediately or firm up: The ice cream will be soft-serve consistency right after spinning. If you want scoopable ice cream, pop the pint back in the freezer for 30-60 minutes. I usually eat half right away (because patience is not my virtue) and save the rest for later.
Pro tip: If your ice cream comes out icy or grainy, it usually means the base wasn’t blended smooth enough or the protein powder didn’t fully dissolve. Next time, blend for a full minute and let the base sit for 5 minutes before freezing to let the protein hydrate.
Cooking Tips & Techniques
I’ve made this recipe enough times to know exactly where things can go wrong. Here are the lessons I learned the hard way so you don’t have to.
The protein powder trap: Not all protein powders are created equal for Ninja Creami recipes. Whey protein gives the creamiest result because it blends smoothly and freezes well. Casein protein can make the ice cream gummy. Plant-based proteins are hit or miss—I’ve had good luck with Orgain vanilla, but some brands leave a chalky texture. If you’re using a new protein powder, do a test batch with half the amount first.
The cottage cheese secret: Blend it longer than you think you need to. I’m talking a full 60 seconds. Nobody wants a chunk of cottage cheese in their ice cream. If your blender isn’t super powerful, push the cottage cheese through a fine-mesh strainer after blending to catch any lumps.
Don’t skip the salt: A pinch of salt might seem unnecessary, but it’s the difference between “this is pretty good” and “what is this magic?” Salt enhances the sweetness and rounds out the protein powder flavor. Trust me on this one.
Temperature matters: Your Ninja Creami pint needs to be completely frozen. I mean rock solid. If there’s any give when you press on the lid, it’s not ready. I once tried to rush it after 18 hours and ended up with a gritty, half-frozen mess that wouldn’t spin properly. Set a timer for 24 hours and walk away.
Multitasking strategy: Make the base and cookie dough chunks the night before. Freeze the base overnight, and store the dough chunks in the fridge. The next day, all you have to do is spin and mix. This makes it feel like a 5-minute dessert instead of a project.
My biggest failure: The first time I made this, I forgot to add the peanut butter. The ice cream was bland and sad. I tried to stir it in after spinning, but it just clumped up. Learn from my mistake—double-check your ingredients before blending!
Variations & Adaptations
One of the best things about this recipe is how easy it is to customize. Here are some variations I’ve tried and loved.
Chocolate Cookie Dough: Swap the vanilla protein powder for chocolate protein powder and add 1 tablespoon cocoa powder to the base. Use chocolate chips instead of mini chips. The result is a double-chocolate dream that tastes like a brownie in ice cream form.
Peanut Butter Cup: Skip the cookie dough chunks and instead chop up 2-3 peanut butter cups (I use Justin’s dark chocolate cups). Fold them in after spinning. You can also swirl in an extra tablespoon of melted peanut butter for that ribbon effect.
Vegan Version: Use a thick coconut or soy yogurt instead of cottage cheese. I’ve had good luck with Kite Hill plain unsweetened yogurt. Use a vegan protein powder (Orgain works great) and maple syrup instead of honey. The texture will be slightly less creamy, but still delicious.
Lower Carb Option: Use a stevia-sweetened protein powder and omit the maple syrup. Add a few drops of liquid stevia or monk fruit sweetener instead. Use Lily’s chocolate chips. This version clocks in at under 10g net carbs per serving.
Birthday Cake: Add 1/2 teaspoon almond extract and 1 tablespoon rainbow sprinkles to the base before freezing. After spinning, fold in more sprinkles. It tastes just like the ice cream from those childhood birthday parties.
My personal favorite variation: I once added a tablespoon of instant espresso powder to the base and used dark chocolate chips. It was supposed to be a mocha version, but it ended up tasting like a fancy coffee shop dessert. Highly recommend if you’re a coffee lover.
Serving & Storage Suggestions
This ice cream is best enjoyed right after spinning when it’s soft and creamy—like soft-serve from your favorite ice cream shop. But if you want a firmer scoop, pop it in the freezer for 30-60 minutes.
Serving Ideas: Scoop into a bowl and top with a drizzle of warm peanut butter, a sprinkle of flaky sea salt, or a few extra chocolate chips. It’s also amazing on top of a warm brownie or a piece of chocolate cake. For a fun presentation, serve in a waffle cone with a dollop of whipped cream.
Storage: If you have leftovers (unlikely, but possible), press a piece of plastic wrap directly onto the surface of the ice cream before putting the lid back on. This prevents ice crystals from forming. Store in the freezer for up to 2 weeks.
Reheating/Softening: When you’re ready to eat the leftovers, let the pint sit at room temperature for 10-15 minutes to soften. If it’s too hard to scoop, microwave the pint for 10-15 seconds. Don’t overdo it—you want it softened, not melted.
How flavors develop: Honestly, this ice cream tastes even better the next day. The flavors meld together, and the cookie dough chunks soften slightly, making every bite perfect. I’ve been known to make a double batch just so I have some for the next day.
Nutritional Information & Benefits
Here’s the breakdown for one serving (about 1 cup, or half the pint):
| Nutrient | Amount |
|---|---|
| Calories | ~280 |
| Protein | 25g |
| Carbohydrates | 22g |
| Fiber | 3g |
| Sugar | 15g |
| Fat | 12g |
| Saturated Fat | 4g |
Health Benefits: This isn’t just dessert—it’s a protein-packed treat that actually supports your goals. Cottage cheese is rich in casein protein, which digests slowly and keeps you full. Peanut butter adds healthy fats and a little extra protein. The almond flour in the cookie dough chunks adds fiber and vitamin E. Compared to traditional cookie dough ice cream, this version has about half the calories and triple the protein.
Dietary Considerations: This recipe is naturally vegetarian. For gluten-free, use certified gluten-free protein powder and chocolate chips. For dairy-free, use the vegan variation mentioned above. It’s also lower in sugar than store-bought ice cream, making it a good option for anyone watching their sugar intake.
Potential Allergens: Contains dairy, peanuts, and tree nuts (almond flour). If you have nut allergies, use sunflower seed butter instead of peanut butter and omit the almond flour—use oat flour or coconut flour for the cookie dough chunks instead.
Conclusion
This Healthy Ninja Creami Protein Cookie Dough Ice Cream is proof that you don’t have to choose between eating well and enjoying dessert. It’s creamy, indulgent, and packed with protein—everything you want in a treat that actually works for your lifestyle. Whether you’re meal prepping for the week, looking for a post-workout reward, or just craving something sweet without the sugar crash, this recipe has you covered.
I love this recipe because it’s forgiving. You can tweak the sweetness, swap the protein powder, change up the mix-ins—it always turns out delicious. It’s become my go-to for those evenings when I want something that feels like a cheat but isn’t. And honestly, the fact that it started as a panic-induced potluck experiment makes me smile every time I make it.
Now I want to hear from you! Have you tried making Ninja Creami ice cream before? What’s your favorite mix-in combination? Drop a comment below and let me know how this recipe turned out for you. And if you loved it, share it with a friend who needs a healthy dessert in their life—because everyone deserves a little cookie dough magic.
Frequently Asked Questions
Can I make this without a Ninja Creami?
Unfortunately, no. The Ninja Creami’s unique spinning mechanism is what creates that creamy, scoopable texture. You can’t replicate it with a regular ice cream maker or by freezing in a bowl. If you don’t have a Creami, try my no-churn protein ice cream recipe instead.
Why is my ice cream icy or grainy?
This usually happens when the base isn’t blended smooth enough, or the protein powder doesn’t fully dissolve. Make sure you blend for a full 60 seconds and let the base sit for 5 minutes before freezing. Also, check that your protein powder is fresh—old protein powder can get clumpy.
Can I use Greek yogurt instead of cottage cheese?
You can, but the texture will be different. Greek yogurt makes a tangier, slightly less creamy ice cream. If you’re swapping, use full-fat Greek yogurt and add an extra tablespoon of milk to thin the base. I prefer cottage cheese for that neutral, creamy base.
How long does this ice cream last in the freezer?
Up to 2 weeks, if stored properly with plastic wrap pressed onto the surface. After that, it may develop ice crystals. But honestly, in my house, it never lasts that long.
Can I double this recipe?
Absolutely! Just double all the ingredients and freeze in two separate pint containers. Don’t try to freeze one giant batch—the Creami can only process one pint at a time. Make both pints at once and spin them back to back.
Pin This Recipe!
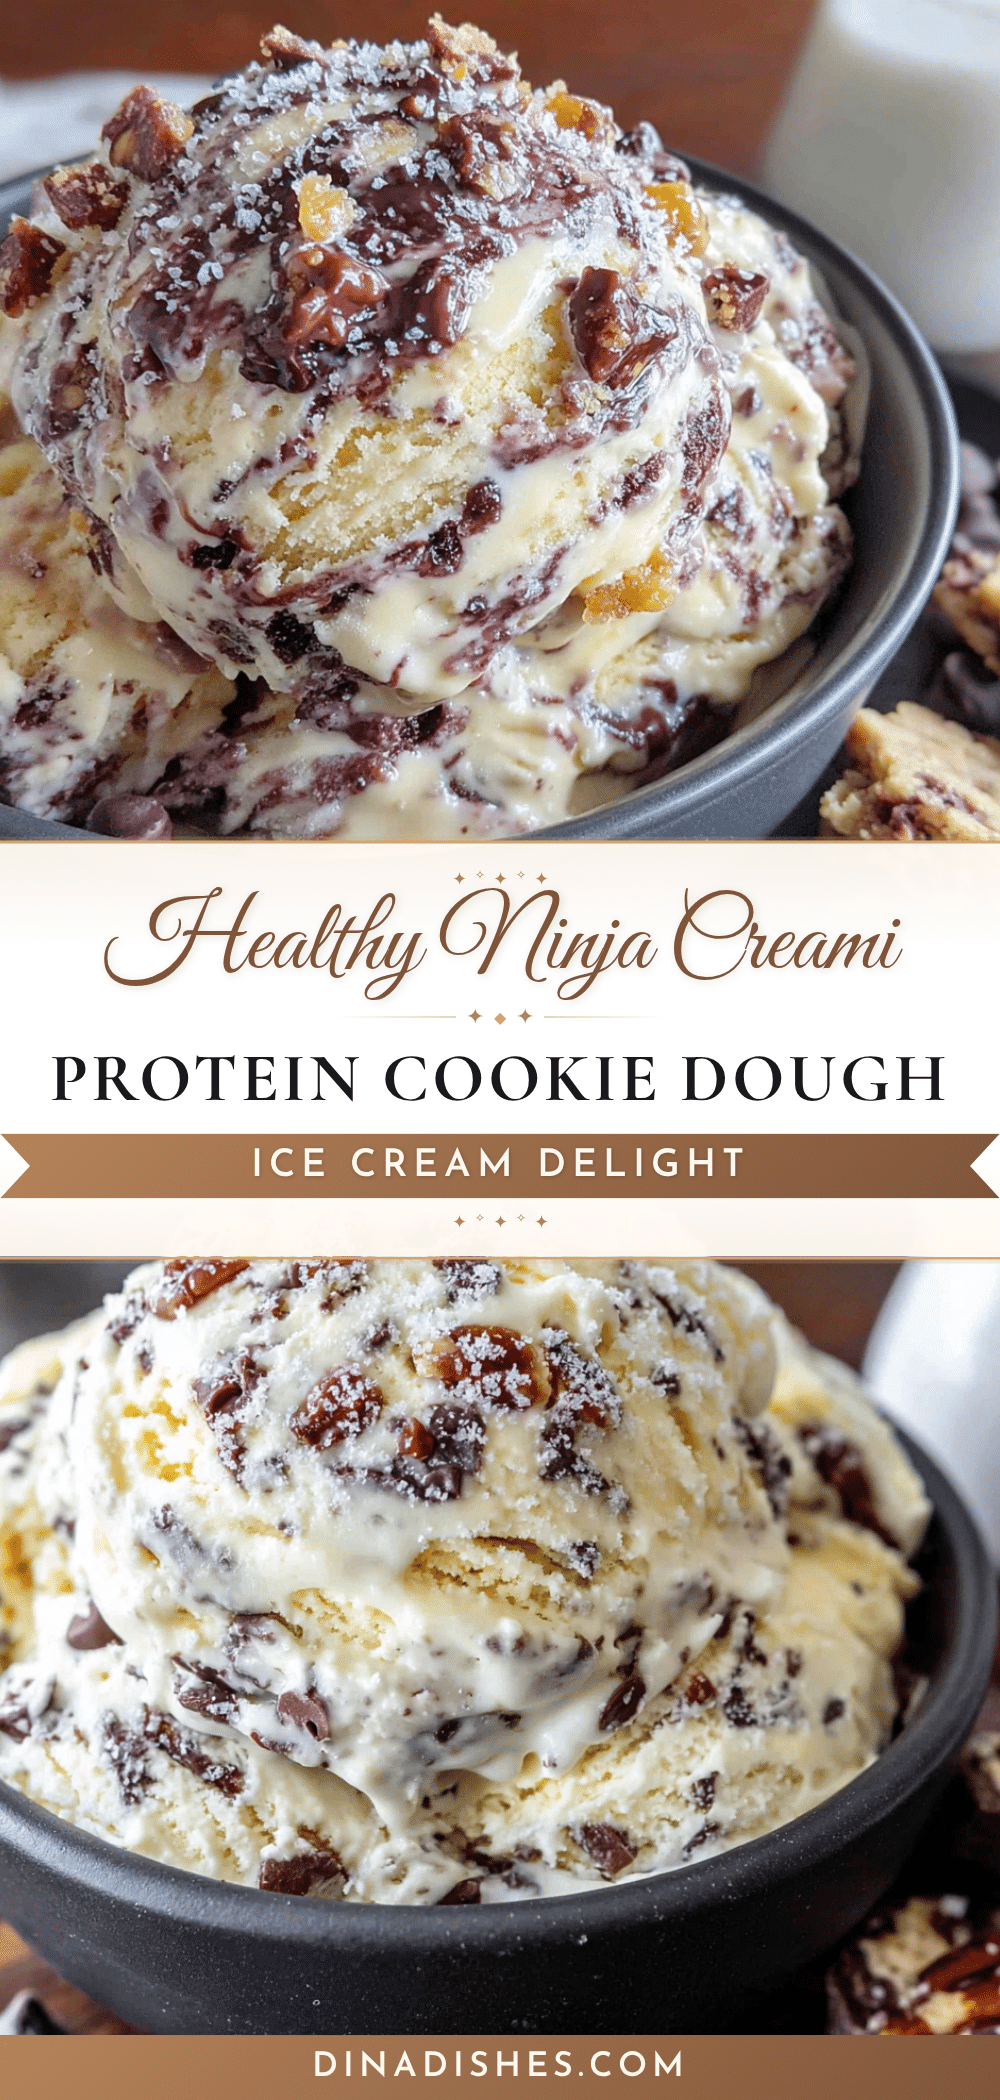
Healthy Ninja Creami Protein Cookie Dough Ice Cream

A creamy, protein-packed ice cream made with cottage cheese and vanilla protein powder, featuring chewy cookie dough chunks and mini chocolate chips. This guilt-free dessert comes together in under 10 minutes of active prep using a Ninja Creami.
- Prep Time: 10 minutes
- Cook Time: 0 minutes
- Total Time: 24 hours 10 minutes
- Yield: 2 servings 1x
- Category: Dessert
- Cuisine: American
Ingredients
- 1 cup cottage cheese (full-fat or 2%)
- 1 scoop vanilla protein powder (about 30g)
- 2 tablespoons peanut butter (or any nut butter)
- 1–2 tablespoons maple syrup or honey
- 1/2 teaspoon vanilla extract
- 2 tablespoons mini chocolate chips (plus more for mixing in)
- 2–3 tablespoons almond milk (or any milk)
- Pinch of salt
- 2 tablespoons almond flour
- 1 tablespoon peanut butter
- 1 teaspoon maple syrup
- 1 tablespoon mini chocolate chips
Instructions
- Blend the base: Add 1 cup cottage cheese, 1 scoop vanilla protein powder, 2 tablespoons peanut butter, 1-2 tablespoons maple syrup, 1/2 teaspoon vanilla extract, and a pinch of salt to your blender. Blend on high for 30-45 seconds until completely smooth. Stop and scrape down the sides if needed. The mixture should look like a thick, creamy milkshake. If it’s too thick to blend, add 1 tablespoon of almond milk at a time until it moves freely.
- Adjust sweetness and flavor: Taste the base. It should be slightly sweeter than you want the final ice cream to be—freezing dulls sweetness. If it tastes flat, add another pinch of salt or a few drops of vanilla. If it’s not sweet enough, add another teaspoon of maple syrup. This is your chance to fix it before freezing.
- Freeze the base: Pour the blended mixture into your Ninja Creami pint container. Leave about 1/2 inch of space at the top for expansion. Put the lid on and freeze flat for 24 hours. I know, 24 hours feels like forever, but don’t rush this. The base needs to be completely frozen solid—no soft spots. I’ve tried 12 hours and ended up with a soupy mess.
- Make the cookie dough chunks (while you wait): In a small bowl, mix 2 tablespoons almond flour, 1 tablespoon peanut butter, 1 teaspoon maple syrup, and 1 tablespoon mini chocolate chips. Stir with a fork until it forms a crumbly dough. It should hold together when pinched. Roll into small pea-sized balls or leave it as crumbles—I prefer crumbles because they distribute better. Set aside in the fridge.
- Spin the ice cream: After 24 hours, take the pint out of the freezer. Remove the lid and run the outside of the pint under hot water for about 10 seconds—this helps the Creami blade cut through smoothly. Place the pint in the outer bowl and lock it into the machine. Select the ‘Ice Cream’ function and let it spin. It will sound loud and maybe a little scary, but that’s normal.
- Check the texture: After the first spin, open the machine and check the texture. It should look like soft-serve. If it’s still powdery or crumbly, use a spoon to break up any clumps and run it through the ‘Re-spin’ function once or twice until it’s creamy. Don’t over-spin—three times max or it starts to melt.
- Mix in the cookie dough: Once the ice cream is smooth and creamy, make a well in the center with a spoon. Drop in your cookie dough chunks and mini chocolate chips (about 1-2 tablespoons extra). Use a spoon or spatula to fold them in gently. You can also run the ‘Mix-in’ function if your Creami has it, but I find hand-mixing gives better distribution without crushing the chunks.
- Serve immediately or firm up: The ice cream will be soft-serve consistency right after spinning. If you want scoopable ice cream, pop the pint back in the freezer for 30-60 minutes. I usually eat half right away (because patience is not my virtue) and save the rest for later.
Notes
Blend cottage cheese for a full 60 seconds to ensure smooth texture. Let the base sit for 5 minutes before freezing to allow protein to hydrate. For best results, freeze the pint for exactly 24 hours. If ice cream is icy, the base wasn’t blended enough or protein powder didn’t dissolve fully. Store leftovers with plastic wrap pressed onto the surface to prevent ice crystals.
Nutrition
- Serving Size: 1 cup (half the pint
- Calories: 280
- Sugar: 15
- Sodium: 350
- Fat: 12
- Saturated Fat: 4
- Carbohydrates: 22
- Fiber: 3
- Protein: 25
Keywords: healthy ice cream, ninja creami, protein ice cream, cookie dough ice cream, high protein dessert, low sugar ice cream, cottage cheese ice cream