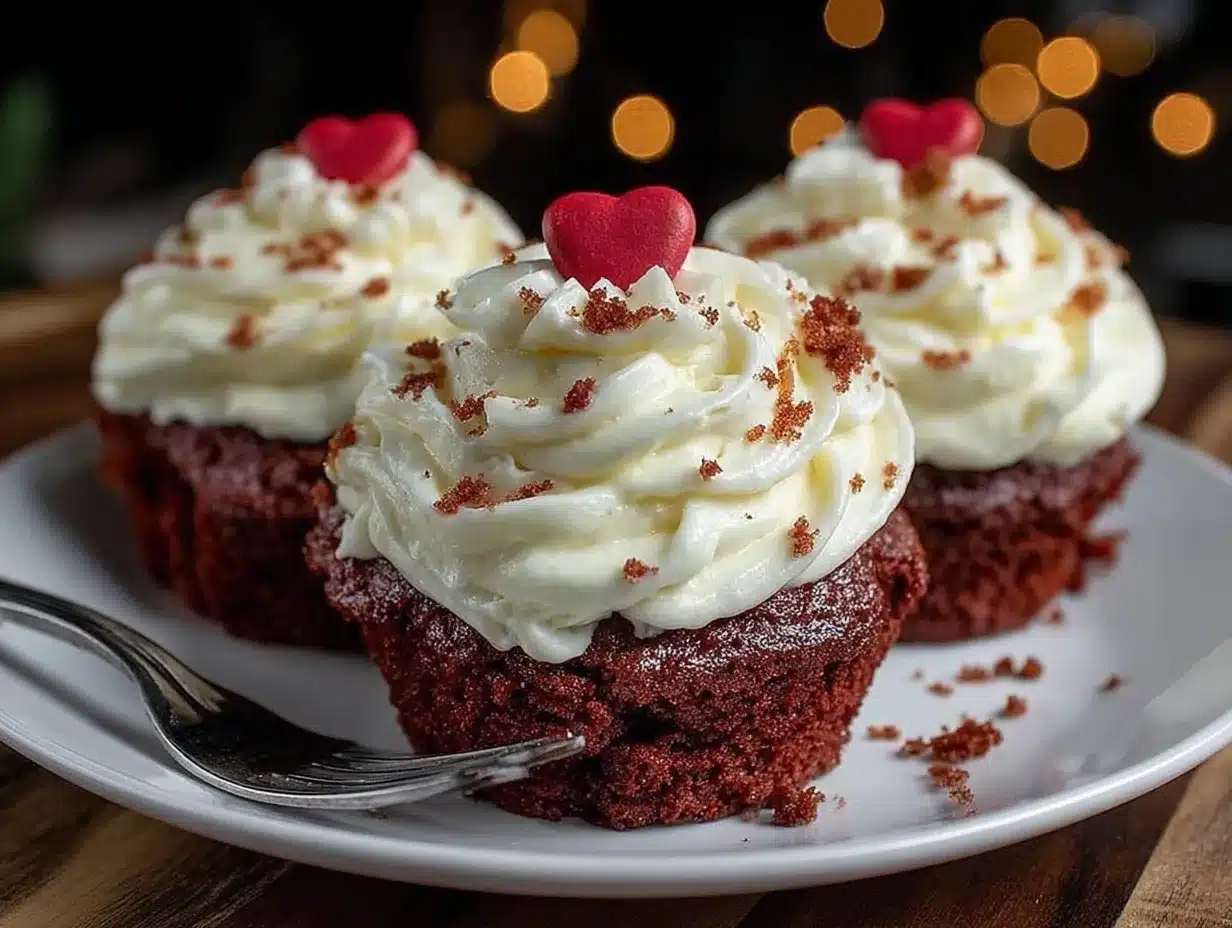
My husband had sworn off red velvet cake for a solid decade. “It’s just chocolate with red food coloring,” he’d say with that knowing smirk every time it appeared at a party. I’d nod along, secretly thinking he just hadn’t had a good one. Then last Valentine’s Day, I was testing these lighter red velvet heart cupcakes for a blog post, and I caught him—hand halfway to the cooling rack, swiping a cupcake I’d set aside for photographing. He ate it in three bites, frosting smeared on his upper lip, and asked, “Wait, is that one of those healthy ones?” That’s when I knew I had something worth sharing. Honestly, I almost didn’t tell him they were lighter. Let him enjoy the surprise, you know?
These cupcakes came about because I wanted the full red velvet experience—the tender crumb, the tangy cream cheese frosting, that gorgeous crimson color—without the sugar crash or the guilt. I mean, Valentine’s Day is already stressful enough without worrying about derailing your healthy eating goals. So I spent a good four weekends tweaking ratios, swapping ingredients, and yes, eating a lot of test batches. The result is a cupcake that tastes indulgent but won’t leave you regretting your life choices. They’re perfect for date night, Galentine’s Day, or just a Tuesday when you need something pretty on your plate.
Maybe you’ve been there—wanting to bring something special to a gathering but not wanting to be the person who brings the “healthy” option that everyone politely ignores. I promise, these are not those cupcakes. The texture is spot-on: moist, fluffy, with that slight cocoa warmth that makes red velvet so addictive. And the frosting? It’s still cream cheese frosting. Real cream cheese. Just slightly less sugar so you can taste the tang. Let me tell you, that first bite where the sweet cake meets the tangy frosting is pure magic. These cupcakes have become my go-to for every celebration, and I have a feeling they’ll become yours too.
Why You’ll Love These Lighter Red Velvet Heart Cupcakes
Let me be real with you—I’ve tested this recipe more times than I care to admit. My kitchen counter has seen flour clouds, melted butter spills, and a few frosting disasters that ended up in the trash. But every single tweak was worth it, because these cupcakes hit that sweet spot between “I can’t believe this is good for me” and “I’m definitely having another.” Here’s why they’ll win you over:
- Under 200 Calories Each : Most red velvet cupcakes pack 350-400 calories. These come in at around 180 with frosting. You can have one (or two) without the guilt.
- Simple Pantry Ingredients : No weird protein powders or obscure flours. You’ll find everything at your regular grocery store.
- Perfect for Valentine’s Day : The heart shape makes them instantly festive, but they work for birthdays, anniversaries, or just because.
- Kid-Approved, Adult-Enjoyed : My niece asked for these instead of her birthday cake last year. That’s a win in my book.
- That Cream Cheese Frosting Though : It’s the star. Tangy, creamy, not too sweet. You’ll want to eat it with a spoon.
What makes these different from every other “healthy” red velvet recipe out there? It’s the technique. I use a combination of Greek yogurt and a touch of oil to keep the crumb tender without all the butter. The cocoa is natural, not Dutch-process, which gives that classic red velvet flavor. And I swapped some of the sugar for a little applesauce—trust me, you won’t taste it, but you’ll feel better about the whole thing. This isn’t just another lighter version; it’s the version I’d serve to anyone, whether they’re counting calories or not.
These cupcakes are comfort food reimagined. They’re the kind you bring to a party and watch people take a tentative bite, then a bigger one, then reach for another. They’re for the person who wants to enjoy dessert without feeling like they need to run five miles afterward. And honestly? They’re just really, really good.
What Ingredients You Will Need
This recipe uses simple, wholesome ingredients to deliver that classic red velvet flavor and tender texture without the heavy calorie load. Most of these are pantry staples, so you probably have everything except maybe the buttermilk. Let’s walk through what you’ll need.
For the Cupcakes
- 1 ½ cups all-purpose flour (I use unbleached; it gives a slightly better texture)
- ¼ cup unsweetened cocoa powder (natural, not Dutch-process—this is key for that classic red velvet taste)
- 1 cup granulated sugar (you can reduce to ¾ cup if you prefer less sweet)
- 1 teaspoon baking soda
- ½ teaspoon salt
- ⅓ cup vegetable oil (or melted coconut oil for a subtle flavor)
- ½ cup plain Greek yogurt (full-fat or 2% works best; avoid nonfat as it can make the cake dry)
- ⅓ cup unsweetened applesauce (this replaces some of the butter and sugar)
- 1 large egg, room temperature
- 1 teaspoon vanilla extract
- 1 tablespoon red food coloring (gel works better than liquid for a vibrant color without thinning the batter)
- 1 teaspoon white vinegar (reacts with the baking soda for lift)
- ½ cup buttermilk, room temperature (or make your own: ½ cup milk + ½ tablespoon lemon juice, let sit 5 minutes)
For the Cream Cheese Frosting
- 8 ounces cream cheese, softened (the block kind, not the spreadable tub—trust me on this)
- ¼ cup unsalted butter, softened
- 2 cups powdered sugar (sifted if you want it extra smooth)
- 1 teaspoon vanilla extract
- Pinch of salt
For Decoration
- Heart-shaped sprinkles or fresh raspberries (optional, but pretty)
- Red sanding sugar for a sparkly finish
I recommend using a good quality cocoa powder like Hershey’s or Ghirardelli—the flavor really comes through. For the food coloring, I’ve tried both liquid and gel, and gel gives a much prettier, deeper red without making the batter watery. If you want to skip artificial colors entirely, you can use beet powder, but the color will be more of a deep burgundy than bright red. Still beautiful, just different.
For substitutions: You can use whole wheat pastry flour instead of all-purpose for a fiber boost, but the texture will be slightly denser. If you’re dairy-free, use a plant-based yogurt and a dairy-free cream cheese (I like Kite Hill for frosting). The buttermilk can be swapped with any milk plus a splash of lemon juice or vinegar.
Equipment Needed
You don’t need a fancy bakery setup for these cupcakes, but a few key tools make the process smoother. Here’s what I use:
- Heart-shaped silicone muffin pan (I got mine on Amazon for $12—it makes the cutest hearts without sticking)
- Standard 12-cup muffin tin (if you don’t have the heart-shaped one, these work fine; you’ll just miss the shape)
- Paper liners (heart-printed ones add extra charm, but plain white works too)
- Electric hand mixer or stand mixer (you can whisk by hand, but your arm will thank you for the mixer)
- Large mixing bowls (at least two)
- Whisk and rubber spatula
- Cooling rack (essential for even cooling and preventing soggy bottoms)
- Piping bag with star tip (or a zip-top bag with the corner snipped off for frosting)
- Measuring cups and spoons
If you don’t have a heart-shaped pan, don’t worry. You can use a regular muffin tin and just call them “red velvet cupcakes with love.” I’ve done that plenty of times when I forgot to order the heart pan in time. The taste is exactly the same. Also, if you’re new to piping, a zip-top bag works beautifully—just don’t overfill it. I learned that the hard way when frosting exploded all over my counter. Twice.
Preparation Method
Let’s get baking! This recipe comes together in about 40 minutes total, and most of that is hands-off baking time. Preheat your oven to 350°F (175°C) and line your heart-shaped pan with liners. If you’re using a silicone pan, you can skip the liners—just give it a light spray with non-stick cooking spray.
- Mix the dry ingredients. In a medium bowl, whisk together the flour, cocoa powder, baking soda, and salt. Make sure there are no lumps—cocoa powder loves to clump. I usually sift it in just to be safe. (I once skipped sifting and ended up with bitter cocoa pockets in my cupcakes. Not cute.)
- Combine the wet ingredients. In a large bowl, whisk together the oil, Greek yogurt, applesauce, egg, vanilla extract, and red food coloring until smooth. The mixture should be a vibrant, almost alarming red—that’s good! Add the vinegar and whisk again. It’ll bubble slightly from the reaction, which is totally normal.
- Alternate adding dry and wet. Add half the dry ingredients to the wet mixture and stir gently with a spatula. Pour in half the buttermilk and stir again. Repeat with the remaining dry ingredients and buttermilk. Mix until just combined—overmixing makes tough cupcakes. A few small lumps are perfectly fine. The batter should be thick but pourable, like a milkshake.
- Fill the liners. Spoon the batter into the prepared liners, filling each about ⅔ full. For heart-shaped pans, don’t overfill or the hearts will lose their shape. I use a cookie scoop for even portions—about 2 tablespoons per cupcake. Tap the pan gently on the counter to release any air bubbles.
- Bake. Place the pan in the preheated oven and bake for 15-18 minutes. The cupcakes are done when a toothpick inserted in the center comes out clean or with just a few moist crumbs. For heart-shaped pans, check at 14 minutes—they tend to bake faster since they’re smaller. The tops should spring back when lightly touched.
- Cool completely. Let the cupcakes cool in the pan for 5 minutes, then transfer them to a wire rack. This is crucial—if you frost them while they’re warm, the frosting will slide right off. I’ve made that mistake before, and it’s a sad, melty mess. Let them cool for at least 30 minutes.
- Make the frosting. While the cupcakes cool, beat the cream cheese and butter together with an electric mixer until smooth and fluffy, about 2 minutes. Add the vanilla and salt, then gradually add the powdered sugar, beating on low speed to avoid a sugar cloud. Once all the sugar is in, beat on high for 1-2 minutes until light and airy. If the frosting seems too soft, refrigerate it for 10 minutes before piping.
- Frost and decorate. Transfer the frosting to a piping bag fitted with a star tip. Pipe a swirl onto each cooled cupcake, starting from the outside and working inward. Top with heart sprinkles or a fresh raspberry if you’re feeling fancy. I like to add a little red sanding sugar for sparkle.
You’ll end up with about 12 heart-shaped cupcakes or 10 standard-sized ones. The frosting recipe makes just enough for a generous swirl on each—no skimping here.
Cooking Tips & Techniques
After making these cupcakes more times than I can count, I’ve picked up a few tricks that make a real difference. Let me share them so you don’t have to learn the hard way.
Don’t overmix the batter. This is the number one mistake people make with red velvet. The combination of vinegar and baking soda creates a chemical reaction that gives the cake its lift. Overmixing deflates those bubbles and results in dense, hockey-puck cupcakes. Mix until you don’t see flour streaks, then stop. I mean it. Stop.
Room temperature ingredients matter. I know, I know—every recipe says this. But with red velvet, it’s especially important because the buttermilk and egg need to emulsify properly with the oil. Cold ingredients can cause the batter to separate or the cake to bake unevenly. Take everything out of the fridge 30 minutes before you start. If you forgot (I do all the time), place the egg in a bowl of warm water for 5 minutes and microwave the buttermilk for 10 seconds.
Use gel food coloring. Liquid food coloring can thin out the batter and you’ll need way more to get that deep red color. Gel is concentrated, so a tablespoon goes a long way. I’ve tried natural alternatives like beet powder, and while the flavor is nice, the color ends up more maroon than red. For a true red velvet look, gel is the way to go.
Chill the frosting if it gets too soft. Cream cheese frosting is notorious for being temperamental. If your kitchen is warm or you overbeat it, the frosting can become too loose to pipe. Pop it in the fridge for 10-15 minutes and it’ll firm right up. I learned this after a particularly disastrous piping session where my frosting started melting into a puddle mid-swirl. Not my finest moment.
Test for doneness early. Heart-shaped pans have thinner sections that bake faster than the center. Start checking at 14 minutes. A toothpick inserted near the edge might come out clean while the center is still gooey. If that happens, tent the pan with foil and bake for another 2-3 minutes to prevent the edges from burning.
Variations & Adaptations
One of the best things about this recipe is how adaptable it is. I’ve played around with different versions, and here are some of my favorites:
- Gluten-Free Version : Swap the all-purpose flour with a 1:1 gluten-free baking blend. I like Bob’s Red Mill or King Arthur. Add an extra tablespoon of buttermilk since gluten-free flours tend to absorb more liquid. The texture will be slightly more crumbly, but still delicious.
- Vegan Red Velvet Cupcakes : Use a flax egg (1 tablespoon ground flaxseed + 3 tablespoons water, let sit 5 minutes), dairy-free yogurt, and plant-based buttermilk (almond milk + lemon juice). For the frosting, use a vegan cream cheese like Violife or Tofutti. The cake will be a tad denser, but the flavor is spot on.
- Chocolate Lover’s Twist : Increase the cocoa powder to ⅓ cup for a more intense chocolate flavor. You’ll need to add an extra tablespoon of buttermilk to balance the dry ingredients. This version is less “classic red velvet” and more “red chocolate cake”—both are amazing.
- Mini Heart Bites : Use a mini heart-shaped pan and bake for 8-10 minutes. These are perfect for parties or for portion control when you want a little treat without the full cupcake. I brought these to a book club once and they disappeared in minutes.
- Peppermint Red Velvet : Add ½ teaspoon peppermint extract to the batter and crush some candy canes on top of the frosting. This is my go-to for Christmas. The mint and chocolate combo is unexpectedly perfect.
I’ve tried all of these variations, and honestly, they’re all winners. The gluten-free version is my mom’s favorite (she has celiac), and she says it’s better than any bakery gluten-free cupcake she’s had. The vegan version surprised me—I made it for a friend’s birthday and ended up eating three myself. Don’t be afraid to experiment!
Serving & Storage Suggestions
These cupcakes are best served at room temperature, which lets the cake stay tender and the frosting soften to that perfect creamy consistency. If you’ve refrigerated them, let them sit out for 20-30 minutes before serving. I know it’s tempting to eat them straight from the fridge, but the frosting gets too firm and the cake loses some of its moisture.
For presentation, I love arranging them on a white cake stand with a few fresh raspberries scattered around. The red against the white is so striking. If you’re serving them for Valentine’s Day, add some rose petals or heart-shaped confetti for extra romance. For a casual gathering, a simple platter works fine—these cupcakes are beautiful enough on their own.
These pair beautifully with a glass of cold milk, a hot cup of coffee, or even a glass of red wine (yes, really—the cocoa and berry notes in the wine complement the cake perfectly). For a dessert spread, serve them alongside fresh fruit or a light sorbet to balance the richness.
Storage: Store unfrosted cupcakes in an airtight container at room temperature for up to 3 days. Frosted cupcakes should be refrigerated in a single layer (or with parchment between layers) for up to 5 days. The frosting can be made ahead and refrigerated for up to a week—just let it come to room temperature and re-whip before using.
Freezing: These cupcakes freeze beautifully. Freeze unfrosted cupcakes in a freezer-safe bag for up to 3 months. Thaw at room temperature for about an hour before frosting. You can also freeze the frosted cupcakes, but place them on a baking sheet in the freezer until the frosting is firm, then wrap individually in plastic wrap and store in a bag. Thaw in the refrigerator overnight.
One thing to note: the flavor actually improves after a day or two. The cocoa and buttermilk have time to meld, and the cake becomes even more moist. So if you’re making these for a party, bake them a day ahead. Your future self will thank you.
Nutritional Information & Benefits
Let’s talk numbers. Each frosted cupcake comes in at approximately 185 calories, 9g fat, 24g carbs, and 3g protein. Compare that to a traditional red velvet cupcake from a bakery, which can easily hit 400+ calories and 20g of fat. These are a significant upgrade without sacrificing flavor.
The Greek yogurt and applesauce do double duty here—they replace some of the butter and oil while adding moisture and a touch of protein. Greek yogurt is packed with probiotics and calcium, while applesauce provides fiber and natural sweetness. The cocoa powder is rich in antioxidants called flavonoids, which are great for heart health (fitting for a Valentine’s Day treat, right?).
Dietary Considerations:
- Can be made gluten-free (see variations)
- Can be made vegan (see variations)
- Contains dairy (cream cheese, butter, buttermilk)
- Contains eggs
- Contains wheat/gluten (unless modified)
- Nut-free as written
I’m not a nutritionist, but I do believe in balance. These cupcakes let you enjoy a classic dessert without derailing your healthy eating habits. They’re not “health food,” but they’re a smarter choice that still feels like a real treat. And honestly, isn’t that what we all want?
Conclusion
These lighter red velvet heart cupcakes have become my most-requested recipe for a reason. They deliver everything you love about red velvet—the tender crumb, the tangy frosting, that gorgeous color—without the heavy calorie load or sugar crash. Whether you’re making them for Valentine’s Day, a birthday, or just because you need a little beauty in your life, they never disappoint.
I’d love to hear how yours turn out! Did you try any of the variations? Did your family guess they were lighter? Drop a comment below and let me know—I read every single one and I answer questions too. And if you snap a photo, tag me on social media. There’s nothing that makes my day like seeing your creations.
Go ahead, give yourself permission to enjoy dessert. You deserve it. And honestly, after the first bite, you won’t even miss the full-fat version. Trust me on this one.
Frequently Asked Questions
Can I use beet juice instead of red food coloring?
Yes, you can! Use 2-3 tablespoons of beet juice or 1 tablespoon of beet powder mixed with a little water. The color will be more of a deep burgundy than bright red, but the flavor is lovely and earthy. Just note that the cupcakes may have a slightly denser texture.
Why did my cupcakes sink in the middle?
This usually happens from overmixing the batter or opening the oven door too early. The vinegar and baking soda create bubbles that need heat to set. If you open the door before the 14-minute mark, the temperature drops and the cupcakes can collapse. Also, make sure your baking soda is fresh—test it by dropping a little in vinegar; it should fizz vigorously.
Can I make these cupcakes dairy-free?
Absolutely! Use a dairy-free yogurt (coconut or soy work well), plant-based buttermilk (almond milk + lemon juice), and a vegan cream cheese for the frosting. I’ve tested this with Kite Hill cream cheese and it works beautifully. The texture is slightly less tender but still delicious.
How do I get the perfect heart shape?
Use a heart-shaped silicone muffin pan for the best results. Don’t overfill the cavities—fill them about ⅔ full so the hearts keep their shape. If you’re using a metal pan, grease it well and use paper liners. Let the cupcakes cool completely before removing them from the pan to avoid breakage.
Can I make these into a cake instead of cupcakes?
Yes! Pour the batter into a greased 8-inch round cake pan and bake at 350°F for 25-30 minutes. You’ll need to double the frosting recipe for a two-layer cake. The baking time will vary, so start checking at 22 minutes. This makes a lovely heart-shaped cake if you use a heart-shaped cake pan.
Pin This Recipe!
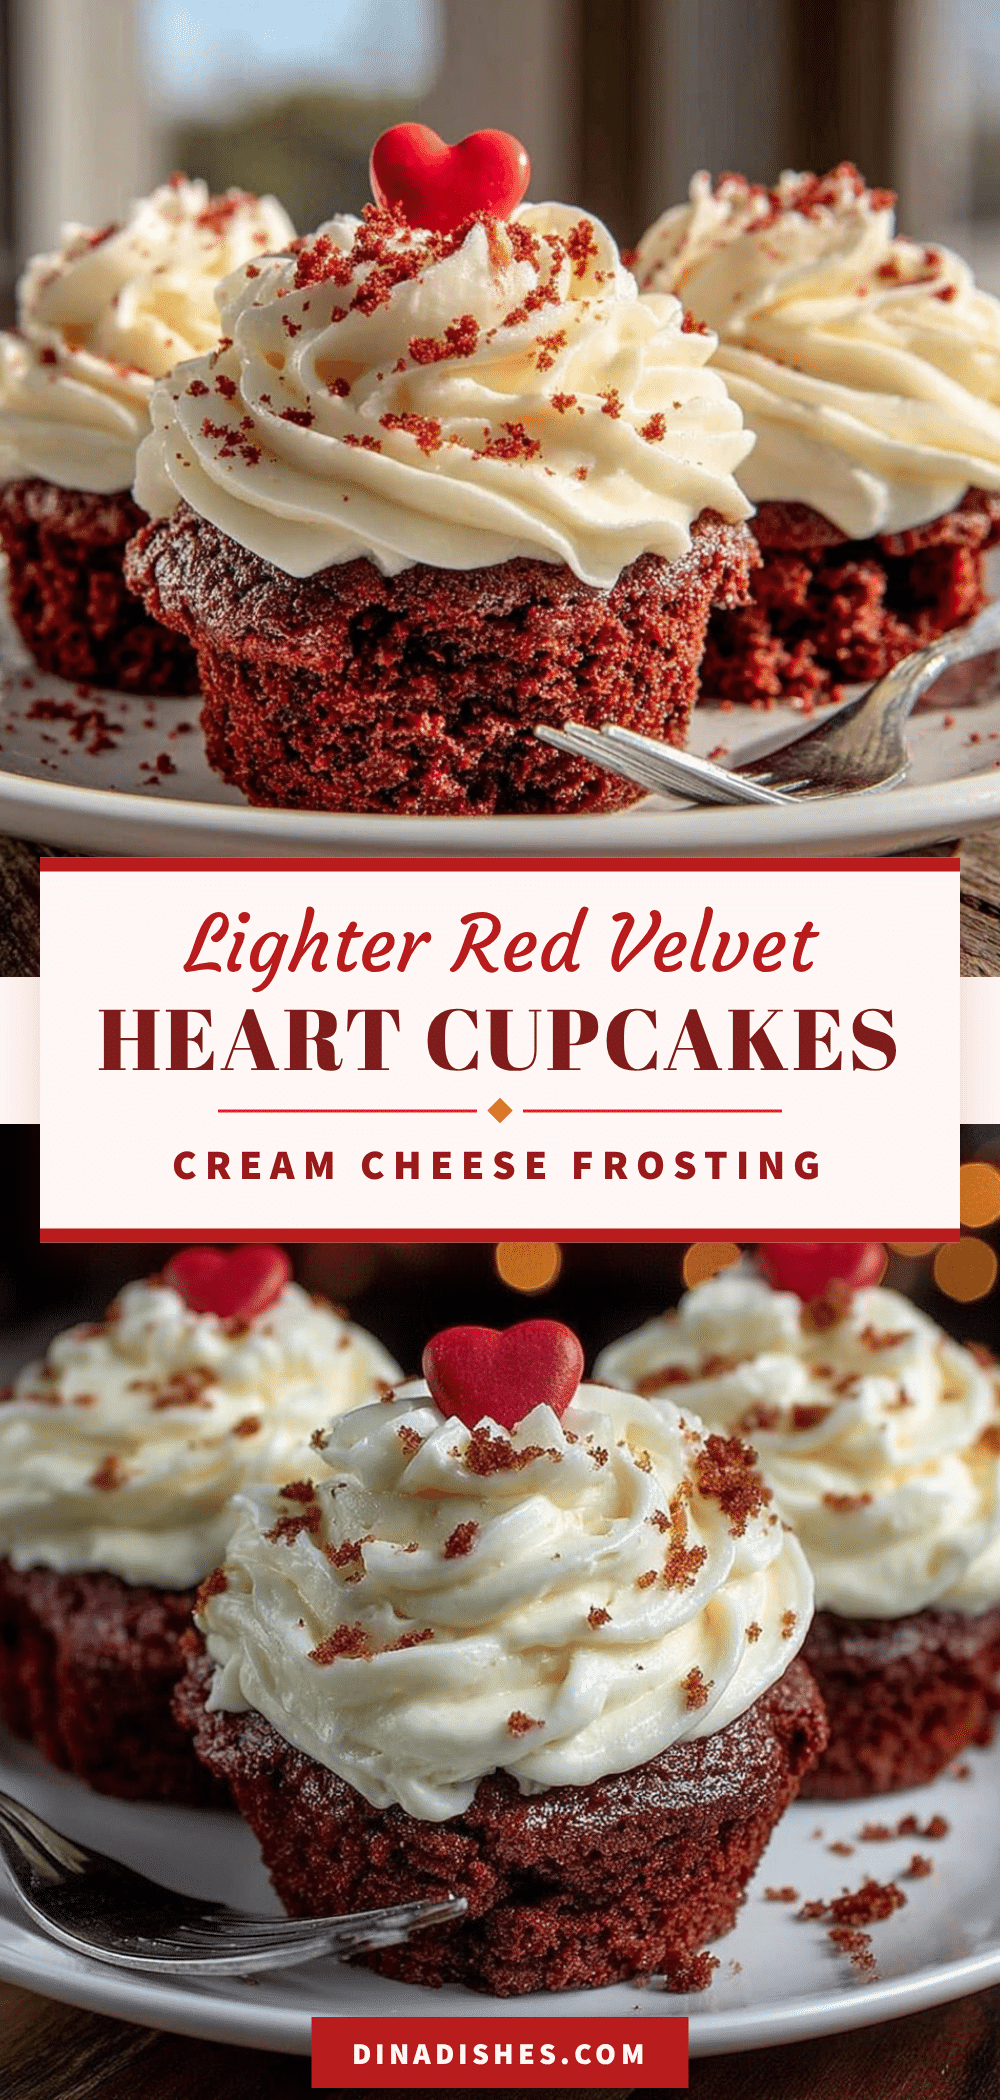
Lighter Red Velvet Heart Cupcakes: Best Cream Cheese Frosting
These lighter red velvet heart cupcakes deliver the full red velvet experience—tender crumb, tangy cream cheese frosting, and gorgeous crimson color—without the sugar crash or guilt. Under 200 calories each, they’re perfect for Valentine’s Day or any celebration.
- Prep Time: 15 minutes
- Cook Time: 18 minutes
- Total Time: 33 minutes
- Yield: 12 servings 1x
- Category: Dessert
- Cuisine: American
Ingredients
- 1 ½ cups all-purpose flour (unbleached preferred)
- ¼ cup unsweetened cocoa powder (natural, not Dutch-process)
- 1 cup granulated sugar (can reduce to ¾ cup)
- 1 teaspoon baking soda
- ½ teaspoon salt
- ⅓ cup vegetable oil (or melted coconut oil)
- ½ cup plain Greek yogurt (full-fat or 2%)
- ⅓ cup unsweetened applesauce
- 1 large egg, room temperature
- 1 teaspoon vanilla extract
- 1 tablespoon red food coloring (gel preferred)
- 1 teaspoon white vinegar
- ½ cup buttermilk, room temperature
- 8 ounces cream cheese, softened (block kind)
- ¼ cup unsalted butter, softened
- 2 cups powdered sugar (sifted if desired)
- 1 teaspoon vanilla extract
- Pinch of salt
- Heart-shaped sprinkles or fresh raspberries (optional)
- Red sanding sugar (optional)
Instructions
- Preheat oven to 350°F (175°C). Line a heart-shaped silicone muffin pan or standard 12-cup muffin tin with paper liners. If using silicone, lightly spray with non-stick cooking spray.
- In a medium bowl, whisk together flour, cocoa powder, baking soda, and salt until no lumps remain. Sift cocoa powder if needed.
- In a large bowl, whisk together oil, Greek yogurt, applesauce, egg, vanilla extract, and red food coloring until smooth. Add vinegar and whisk again; it will bubble slightly.
- Add half the dry ingredients to the wet mixture and stir gently with a spatula. Pour in half the buttermilk and stir. Repeat with remaining dry ingredients and buttermilk. Mix until just combined—a few small lumps are fine. Batter should be thick but pourable.
- Spoon batter into prepared liners, filling each about ⅔ full. Use a cookie scoop for even portions (about 2 tablespoons per cupcake). Tap pan gently on counter to release air bubbles.
- Bake for 15-18 minutes (check heart-shaped pans at 14 minutes). Cupcakes are done when a toothpick inserted in center comes out clean or with a few moist crumbs. Tops should spring back when lightly touched.
- Let cupcakes cool in pan for 5 minutes, then transfer to a wire rack. Cool completely for at least 30 minutes before frosting.
- While cupcakes cool, make frosting: Beat cream cheese and butter with an electric mixer until smooth and fluffy, about 2 minutes. Add vanilla and salt, then gradually add powdered sugar, beating on low speed. Once all sugar is in, beat on high for 1-2 minutes until light and airy. If too soft, refrigerate 10 minutes before piping.
- Transfer frosting to a piping bag fitted with a star tip. Pipe a swirl onto each cooled cupcake, starting from outside and working inward. Top with heart sprinkles, fresh raspberries, or red sanding sugar if desired.
Notes
Don’t overmix the batter—mix until just combined to avoid dense cupcakes. Room temperature ingredients are important for proper emulsification. Use gel food coloring for vibrant red color without thinning batter. Chill frosting if it gets too soft for piping. Heart-shaped pans bake faster; start checking at 14 minutes. Cupcakes can be made a day ahead—flavor improves after a day.
Nutrition
- Serving Size: 1 frosted cupcake
- Calories: 185
- Sugar: 16
- Sodium: 180
- Fat: 9
- Saturated Fat: 4
- Carbohydrates: 24
- Fiber: 1
- Protein: 3
Keywords: red velvet cupcakes, heart cupcakes, lighter cupcakes, cream cheese frosting, Valentine's Day, healthy dessert, low calorie cupcakes


