My neighbor Sarah wasn’t trying to impress anyone when I stopped by to borrow a cup of sugar last Tuesday. Honestly, I think she was a little annoyed at the interruption—she had her toddler on one hip and was trying to pack lunches with the other hand. But the smell that hit me from her doorway made me forget why I’d even knocked. Toasty, warm, and somehow buttery even though I’d later learn there wasn’t a stick of butter in sight. She shrugged when I asked what she was baking. “Oh, just some cookies. My kid can’t do gluten, so I’ve been messing around with almond flour.” Messing around. She said it like it was nothing, like she hadn’t just created the most perfect sugar cookie I’d ever tasted. I stood there in her messy kitchen, eating one still warm from the sheet, and told her she’d just changed my baking life. She laughed and handed me the recipe on a sticky note. That crumpled piece of paper has been taped to my fridge for two years now, and let me tell you—these quick gluten-free almond flour sugar cookies have saved my sanity more times than I can count. Maybe you’ve been there, staring at a sugar craving and a pantry full of ingredients that won’t cooperate. Well, this is your answer.
Why You’ll Love This Recipe
I’ve tested this recipe about fifteen times since that day in Sarah’s kitchen. Fifteen times, because I wanted to make sure it wasn’t a fluke. It wasn’t. These cookies are the real deal, and here’s why they’ll become your new go-to.
- Quick & Easy: From start to finish, you’re looking at about 20 minutes. Mix, scoop, bake, done. Perfect for those weeknights when the sugar craving hits hard and you need cookies now.
- Simple Ingredients: You probably have everything in your pantry right now. No weird gums, no expensive specialty flours, no trips to three different stores.
- Perfect for Busy Weeknights: These come together faster than you can order delivery. Plus, they make the kitchen smell incredible, which honestly is half the point.
- Crowd-Pleaser: I’ve served these to gluten-free friends and gluten-loving friends alike. No one can tell the difference. I mean that sincerely—they just taste like really good sugar cookies.
- Unbelievably Delicious: The texture is what gets me every time. Soft in the middle, slightly crisp at the edges, with that perfect crumbly tenderness that almond flour gives. It’s comfort food that doesn’t weigh you down.
What makes this recipe different from every other gluten-free sugar cookie out there? It’s the ratio. I spent months tweaking the almond flour to sweetener balance, and this version gives you a cookie that actually holds together, doesn’t spread into a flat puddle, and tastes like something you’d buy from a bakery. No joke—I’ve had people ask me which bakery I got them from.
This is the kind of cookie that makes you close your eyes after the first bite. It’s simple, it’s fast, and it’s exactly what a weeknight dessert should be.
What Ingredients You Will Need
This recipe uses simple, wholesome ingredients to deliver bold flavor and satisfying texture without the fuss. Everything here is a pantry staple for most of us, which is exactly why I love it.
- 2 ½ cups fine blanched almond flour (not almond meal—the fine stuff gives the best texture. I like Bob’s Red Mill or Blue Diamond)
- ½ cup granulated sweetener (I use coconut sugar for a lower-glycemic option, but regular granulated sugar works beautifully too. If you go with monk fruit or erythritol, reduce by 2 tablespoons)
- ¼ teaspoon salt (fine sea salt is best—it balances the sweetness without making the cookies salty)
- ¼ teaspoon baking soda (this gives them just a little lift so they’re not too dense)
- 3 tablespoons coconut oil, melted and slightly cooled (you can also use melted butter or ghee if you’re not dairy-free—both work great)
- 1 large egg, room temperature (if your egg is cold, it will make the coconut oil clump. Trust me on this one)
- 1 teaspoon vanilla extract (real vanilla, not imitation—it makes a difference in such a simple cookie)
- 1 tablespoon maple syrup or honey (this adds moisture and helps with browning. Don’t skip it!)
- Optional: 2-3 tablespoons coarse sugar for rolling (like turbinado or demerara—gives that classic crackly sugar cookie top)
Ingredient Selection Tips: Look for almond flour that’s labeled “blanched” and “fine.” The finer the grind, the more tender your cookies will be. I’ve tried making these with almond meal (the kind with skins still on), and the texture is much grittier and the cookies spread more. Just stick with the fine stuff.
Substitution Guidance: If you’re egg-free, you can use a flax egg (1 tablespoon ground flaxseed mixed with 3 tablespoons water, let sit for 5 minutes). The cookies will be slightly more delicate, so handle them gently. For a nut-free version, try sunflower seed flour—but note that it will turn the cookies green from a natural reaction with the baking soda. They still taste fine, but the color is… unexpected.
Equipment Needed
You don’t need much for these cookies, which is another reason I love them for busy weeknights.
- Large mixing bowl (any bowl will do, but a wide one makes mixing easier)
- Whisk or fork (for combining dry ingredients)
- Rubber spatula or wooden spoon (for mixing the dough)
- Baking sheet (a standard half-sheet pan works perfectly)
- Parchment paper or silicone baking mat (parchment is cheaper and works great)
- Cookie scoop or tablespoon (I use a 1.5-tablespoon scoop for consistent sizes)
- Cooling rack (not strictly necessary, but helps the cookies set properly)
Budget-Friendly Options: If you don’t have a cookie scoop, just use two spoons to drop the dough. If you don’t have a cooling rack, transfer the cookies to a plate after they’ve cooled on the sheet for 5 minutes. I’ve made these in a tiny apartment kitchen with minimal tools, and they turned out perfect every time.
Preparation Method

Alright, let’s get baking. This whole process takes about 20 minutes, so preheat your oven first to save time.
- Preheat your oven to 350°F (175°C). Line a baking sheet with parchment paper or a silicone mat. Do not skip the parchment—these cookies are delicate, and you want them to release easily.
- In a large bowl, whisk together the dry ingredients: 2 ½ cups almond flour, ½ cup sweetener, ¼ teaspoon salt, and ¼ teaspoon baking soda. Make sure there are no lumps. Almond flour can clump, so break up any chunks with your fingers or the back of a spoon.
- In a small bowl or measuring cup, combine the wet ingredients: 3 tablespoons melted coconut oil (make sure it’s cooled slightly—you don’t want it hot), 1 large egg, 1 teaspoon vanilla extract, and 1 tablespoon maple syrup. Whisk until smooth. The mixture should look glossy and smell amazing already.
- Pour the wet ingredients into the dry ingredients. Stir with a rubber spatula until a soft dough forms. It will look a bit crumbly at first—keep mixing. The dough should come together into a cohesive ball that holds its shape when pressed. If it seems too dry, add 1 teaspoon of water at a time until it comes together. If it seems too wet (this can happen with different brands of almond flour), add a tablespoon more almond flour.
- Chill the dough for 10 minutes. I know, I know—you want cookies now. But this step is non-negotiable. Chilling firms up the coconut oil and prevents the cookies from spreading too much. While the dough chills, wash your hands and get your rolling sugar ready.
- Scoop the dough into 1.5-tablespoon balls. Roll each ball between your palms until smooth. If you’re using coarse sugar for rolling, pour it into a small bowl and roll each dough ball in the sugar, pressing gently so it sticks. Place the balls on the prepared baking sheet, spacing them about 2 inches apart. These cookies don’t spread much, so you can fit 12 on a standard sheet.
- Gently flatten each dough ball with the bottom of a glass or your palm. Aim for about ½ inch thickness. Don’t press too hard—you want even thickness, not pancake-flat. The cookies will spread just a little in the oven.
- Bake for 8-10 minutes. At 8 minutes, the edges should be just barely golden and the centers will look slightly soft and puffed. This is perfect—they’ll continue to set as they cool. If you like crispier cookies, bake for 10-11 minutes, but watch carefully because almond flour burns faster than regular flour.
- Let the cookies cool on the baking sheet for 5 minutes. This is crucial. They’re very fragile when hot and will fall apart if you try to move them immediately. After 5 minutes, transfer them to a cooling rack to cool completely. They’ll firm up as they cool.
- Repeat with remaining dough. If you only have one baking sheet, let it cool completely between batches—putting dough on a hot sheet will cause premature spreading.
Sensory Cues: When the cookies are done, the kitchen should smell like toasty almonds and vanilla. The edges will look slightly darker than the centers, and the tops will have a few tiny cracks. If you used coarse sugar, you’ll see it sparkling in the light. The cookies should feel firm to the touch but still give slightly when pressed.
Cooking Tips & Techniques
I’ve made every mistake in the book with these cookies, so you don’t have to. Here’s what I’ve learned the hard way.
The Dough Temperature Trick: If your dough feels too sticky to roll, pop it in the fridge for 5 more minutes. If it’s too crumbly, let it sit at room temperature for a few minutes—the coconut oil will soften and everything will come together. I once tried to rush the process and ended up with cookies that looked like abstract art. Not my finest moment.
Don’t Overmix: Stir just until the dough comes together. Overmixing develops the almond flour’s natural oils too much, which can make the cookies greasy. I learned this when I let my kid “help” mix and we ended up with cookies that spread into thin, oily disks. Still tasty, but not pretty.
The Parchment Paper Hack: If you’re out of parchment, use a silicone mat. If you’re out of both, lightly grease the baking sheet with coconut oil. But honestly, parchment is your best friend here—it makes cleanup a breeze and prevents sticking without adding extra fat.
Multitasking Strategy: While the dough chills, clean up your mixing bowl and get your baking sheet ready. While the first batch bakes, scoop the second batch onto a piece of parchment paper. This way, you can slide the second batch onto the cooled sheet as soon as the first batch comes out. Efficiency, my friends.
Consistency is Key: For perfectly uniform cookies, use a cookie scoop. I know it seems fussy, but it ensures even baking. If your cookies vary in size, some will be done before others, and nobody wants half-burnt cookies.
Variations & Adaptations
One of the best things about this recipe is how adaptable it is. Here are some variations I’ve tried and loved.
Chocolate Chip Version: Fold in ⅓ cup dark chocolate chips or chunks before scooping. The chocolate melts into little pockets of goodness. I’ve made this version more times than I can count, and it’s always a hit.
Lemon Sugar Cookies: Add 1 tablespoon fresh lemon zest and 1 teaspoon lemon extract. Roll in sugar mixed with a pinch of lemon zest. These are bright, summery, and absolutely perfect with iced tea.
Spiced Chai Cookies: Add 1 teaspoon cinnamon, ½ teaspoon cardamom, ¼ teaspoon ginger, and a pinch of cloves. These make the kitchen smell like a cozy café. I made these for a holiday party and they disappeared in minutes.
Vegan Adaptation: Replace the egg with a flax egg (1 tablespoon ground flaxseed + 3 tablespoons water, let sit 5 minutes). The cookies will be slightly more delicate, so handle them gently. They still taste amazing, just a bit more crumbly.
Low-Carb Version: Use monk fruit or erythritol instead of coconut sugar, and skip the maple syrup (add 1 tablespoon water instead). These are perfect for keto friends—just be aware that sugar-free sweeteners can make the cookies slightly less tender.
Serving & Storage Suggestions
These cookies are best served slightly warm, when the edges are still a little crisp and the centers are soft. But honestly, they’re delicious at any temperature.
Serving Ideas: Serve them with a glass of cold milk, a cup of hot tea, or a scoop of vanilla ice cream for an extra-special treat. They’re also amazing crumbled over yogurt or ice cream as a topping. For a party, arrange them on a platter with fresh berries and a dusting of powdered sugar.
Storage Instructions: Store in an airtight container at room temperature for up to 5 days. Place a piece of bread in the container to keep them soft—the cookies will absorb moisture from the bread. I learned this trick from my grandmother, and it works like magic.
Freezer Instructions: These cookies freeze beautifully. Place them in a single layer on a baking sheet and freeze until solid, then transfer to a freezer bag. They’ll keep for up to 3 months. To thaw, leave them at room temperature for 15 minutes, or pop them in a 300°F oven for 3-4 minutes.
Reheating: For that fresh-from-the-oven taste, reheat in a 300°F oven for 3-4 minutes. The microwave works too, but the cookies will be softer and lose their crisp edges. I prefer the oven method, but on a busy weeknight, 10 seconds in the microwave is totally acceptable.
Flavor Development: These cookies actually taste better the next day. The flavors meld and the texture becomes even more tender. So if you can resist eating them all immediately, you’re in for a treat.
Nutritional Information & Benefits
These cookies are naturally gluten-free and grain-free, making them a great option for anyone with dietary restrictions. Here’s the estimated nutritional breakdown per cookie (based on 18 cookies):
| Nutrient | Amount Per Cookie |
|---|---|
| Calories | 110 |
| Total Fat | 8g |
| Saturated Fat | 2g |
| Carbohydrates | 8g |
| Fiber | 2g |
| Sugar | 4g |
| Protein | 4g |
Health Benefits: Almond flour is rich in vitamin E, magnesium, and healthy monounsaturated fats. It’s also lower in carbs than wheat flour, making these cookies a better option for blood sugar management. The protein and fiber content helps keep you fuller longer—not that these cookies last long enough for that to matter!
Dietary Considerations: These cookies are naturally gluten-free, grain-free, and can be made dairy-free (using coconut oil) and vegan (using a flax egg). They’re not nut-free due to the almond flour, but you can try sunflower seed flour as a substitute.
Conclusion
These quick gluten-free almond flour sugar cookies have become my secret weapon for busy weeknights, last-minute guests, and those days when you just need a cookie. They’re proof that gluten-free baking doesn’t have to be complicated, expensive, or disappointing. With simple ingredients and minimal effort, you can have warm, tender, perfectly sweet cookies on the table in 20 minutes flat.
I love this recipe because it reminds me that sometimes the best things come from the most unexpected places—like a sticky note from a busy neighbor who didn’t even realize she was creating something special. It’s humble, it’s honest, and it works every single time.
Now I want to hear from you! Have you tried these cookies? Did you add your own twist? Drop a comment below and let me know how they turned out. And if you loved them as much as I do, share this recipe with a friend who needs a little cookie magic in their life. Happy baking!
Frequently Asked Questions
Can I use almond meal instead of almond flour?
You can, but the texture will be different. Almond meal is coarser and contains almond skins, which makes the cookies denser and grittier. For the best results, stick with fine blanched almond flour.
Why did my cookies spread too much?
This usually happens if the dough wasn’t chilled long enough or if the coconut oil was too warm when mixed in. Make sure your coconut oil is just melted and slightly cool, not hot. Chilling the dough for at least 10 minutes is crucial.
Can I make these cookies without eggs?
Yes! Use a flax egg (1 tablespoon ground flaxseed mixed with 3 tablespoons water, let sit for 5 minutes). The cookies will be slightly more delicate, but they’ll still taste great.
How do I store these cookies to keep them fresh?
Store in an airtight container at room temperature for up to 5 days. Add a slice of bread to the container to keep them soft. You can also freeze them for up to 3 months.
Can I use butter instead of coconut oil?
Absolutely. Melted butter or ghee works perfectly in this recipe. Just make sure it’s slightly cooled before adding it to the dough. The cookies will be slightly richer and more tender with butter.
Pin This Recipe!
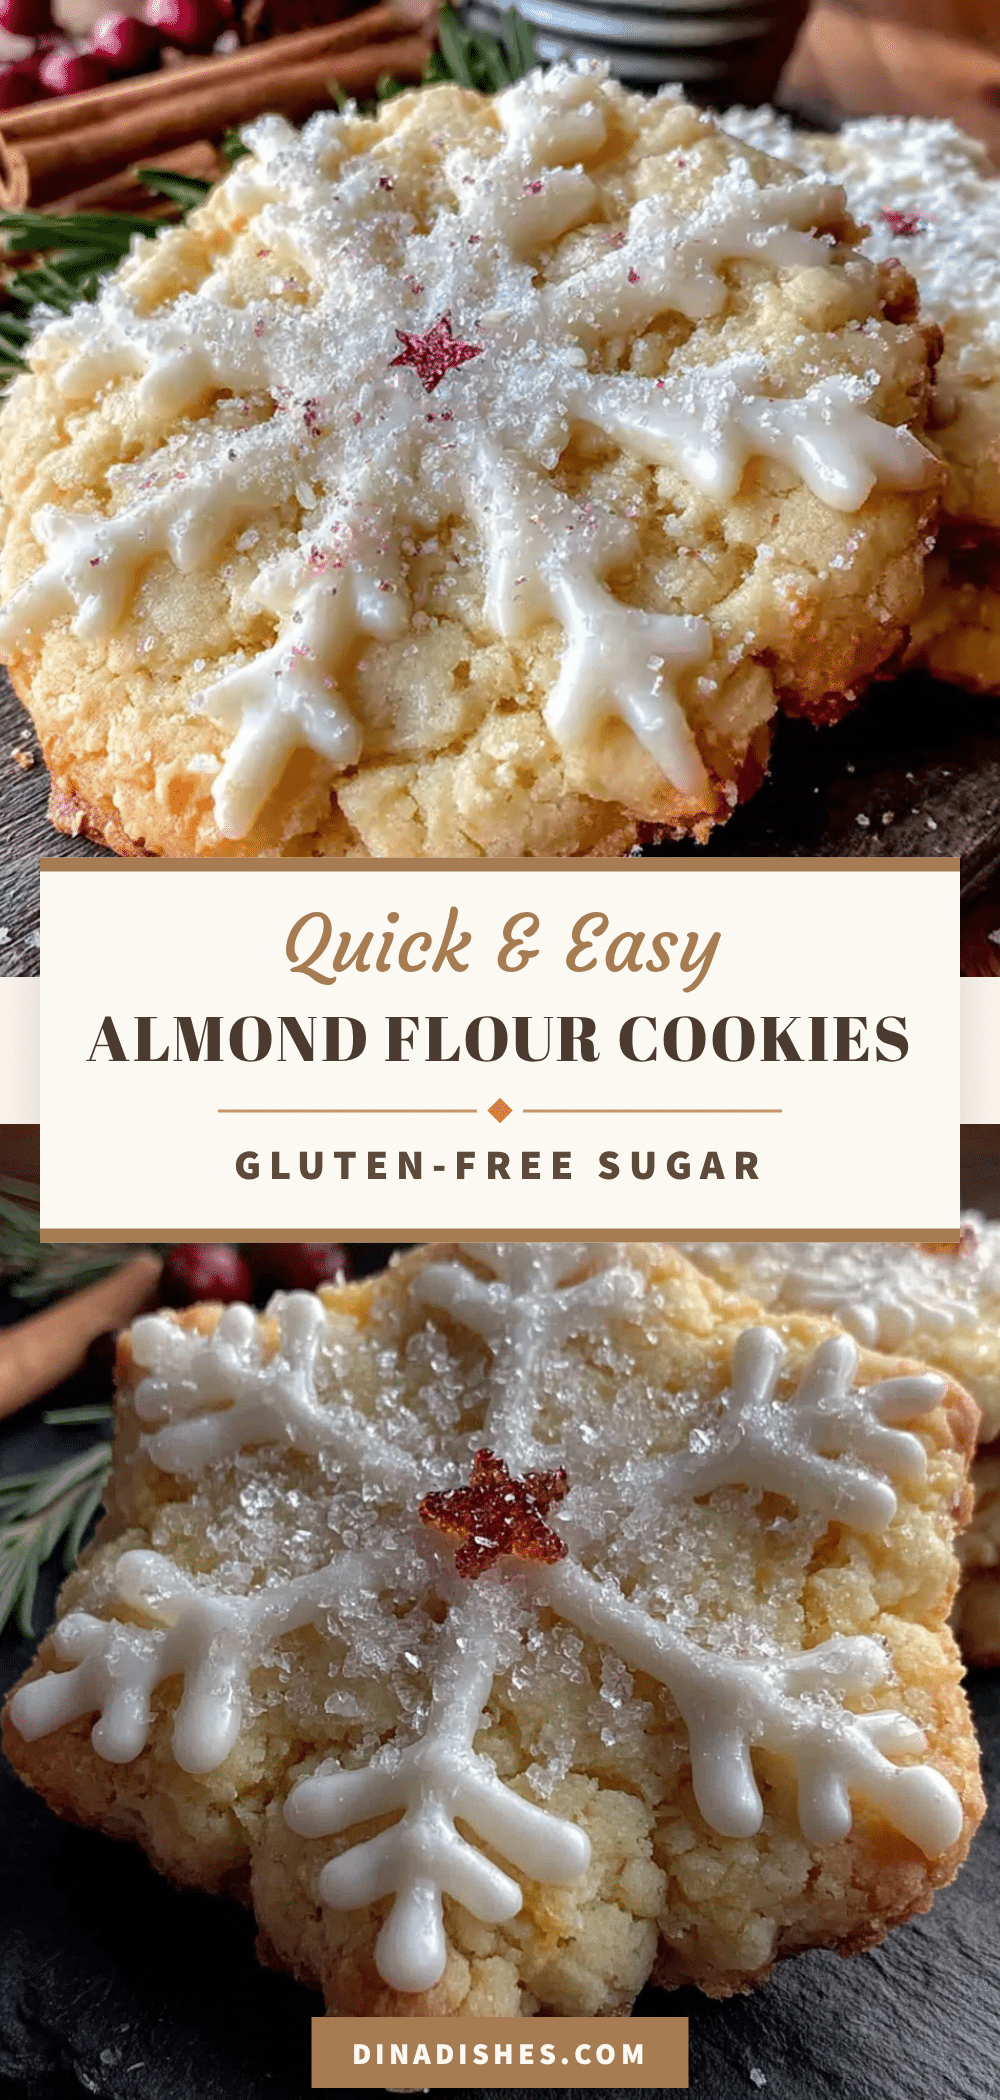
Perfect Gluten-Free Almond Flour Sugar Cookies Recipe

These quick gluten-free almond flour sugar cookies are soft in the middle, slightly crisp at the edges, and come together in just 20 minutes. Made with simple pantry ingredients, they’re a crowd-pleaser that no one will guess is gluten-free.
- Prep Time: 10 minutes
- Cook Time: 10 minutes
- Total Time: 20 minutes
- Yield: 18 cookies 1x
- Category: Dessert
- Cuisine: American
Ingredients
- 2 ½ cups fine blanched almond flour
- ½ cup granulated sweetener (coconut sugar or regular granulated sugar)
- ¼ teaspoon fine sea salt
- ¼ teaspoon baking soda
- 3 tablespoons coconut oil, melted and slightly cooled
- 1 large egg, room temperature
- 1 teaspoon vanilla extract
- 1 tablespoon maple syrup or honey
- Optional: 2-3 tablespoons coarse sugar for rolling (turbinado or demerara)
Instructions
- Preheat your oven to 350°F (175°C). Line a baking sheet with parchment paper or a silicone mat.
- In a large bowl, whisk together the dry ingredients: 2 ½ cups almond flour, ½ cup sweetener, ¼ teaspoon salt, and ¼ teaspoon baking soda. Break up any clumps.
- In a small bowl or measuring cup, combine the wet ingredients: 3 tablespoons melted coconut oil (cooled slightly), 1 large egg, 1 teaspoon vanilla extract, and 1 tablespoon maple syrup. Whisk until smooth.
- Pour the wet ingredients into the dry ingredients. Stir with a rubber spatula until a soft dough forms. If too dry, add 1 teaspoon water at a time; if too wet, add 1 tablespoon more almond flour.
- Chill the dough for 10 minutes.
- Scoop the dough into 1.5-tablespoon balls. Roll each ball between your palms until smooth. If using coarse sugar, roll each dough ball in the sugar, pressing gently. Place on prepared baking sheet, spacing 2 inches apart.
- Gently flatten each dough ball with the bottom of a glass or your palm to about ½ inch thickness.
- Bake for 8-10 minutes. At 8 minutes, edges should be just golden and centers slightly soft and puffed.
- Let the cookies cool on the baking sheet for 5 minutes, then transfer to a cooling rack to cool completely.
- Repeat with remaining dough, letting the baking sheet cool between batches.
Notes
Chilling the dough is crucial to prevent spreading. For best texture, use fine blanched almond flour. Cookies taste even better the next day. Store with a slice of bread to keep soft.
Nutrition
- Serving Size: 1 cookie
- Calories: 110
- Sugar: 4
- Sodium: 75
- Fat: 8
- Saturated Fat: 2
- Carbohydrates: 8
- Fiber: 2
- Protein: 4
Keywords: gluten-free sugar cookies, almond flour cookies, quick cookies, gluten-free dessert, easy sugar cookies