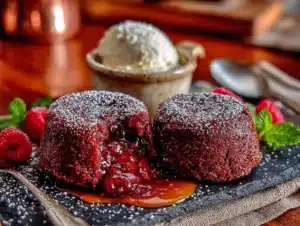
My neighbor wasn’t trying to impress me. I’d stopped by to borrow a corkscrew on a random Tuesday night, and the smell hit me before I even made it past her front door. Chocolate, warm and deep, with something almost like caramelized butter hanging in the air. She was standing in her kitchen in sweatpants, holding a tiny ramekin, looking totally unbothered. “Oh, that?” she said when I asked, pointing her chin at the little dish. “Just a stupid easy lava cake. I make them when I want dessert but don’t want to, you know, work for it.”
She handed me a spoon without asking. And honestly? That first bite stopped me mid-sentence. The outside was perfectly set, a tender little cake shell, and then the center just broke open, this dark, molten river of chocolate running across the spoon. It was rich but not heavy, sweet but not cloying. And she’d made it in, I swear, the time it takes to boil water for pasta. I stood there in her kitchen, eating a lava cake meant for one person, while she leaned against the counter and told me she uses a boxed brownie mix as a shortcut sometimes. No shame, no fuss. Just good chocolate, fast. That’s when I knew I had to figure out how to make these myself for those nights when you want something that feels special but you’re too tired to do dishes. Maybe you’ve been there.
So here it is. Easy molten chocolate lava cakes for two, ready in 15 minutes flat. No fancy ramekins required (though they help), no complicated water baths, no tempering chocolate like you’re on a cooking show. Just a few pantry staples, a little bit of patience, and the kind of dessert that makes you close your eyes after the first bite. I’ve been making these for years now, tweaking the timing, testing different chocolates, and this version is the one I keep coming back to. It’s the one my neighbor would approve of—effortless, reliable, and completely worth the tiny mess.
Why You’ll Love This Recipe
Let’s be real for a second. You’re reading this because you want a dessert that feels impressive without requiring you to change out of your sweatpants. These lava cakes deliver exactly that. They’re the culinary equivalent of pulling a rabbit out of a hat, except the rabbit is made of melted chocolate and you don’t need to practice.
- Quick & Easy: From start to finish, these are on the table in 15 minutes. That’s faster than ordering delivery and definitely faster than waiting for a frozen pizza to cool down. Perfect for a Tuesday night when the chocolate craving hits out of nowhere.
- Simple Ingredients: Butter, chocolate, eggs, sugar, flour. That’s it. You probably have everything in your kitchen right now, which means you’re already closer to dessert than you think. No weird extracts, no specialty flours, no last-minute trips to the store.
- Perfect for Date Night: There’s something undeniably romantic about two individual lava cakes, each one perfectly portioned. They say “I made you something special” without saying a word. Plus, they cook while you’re eating dinner, so the timing works out beautifully.
- Crowd-Pleaser: I’ve served these to chocolate snobs, picky eaters, and people who claim they don’t have a sweet tooth. Every single person has gone quiet after the first bite. That’s the kind of silence you want.
- Unbelievably Delicious: The contrast between the tender cake exterior and the liquid chocolate center is pure magic. It’s comfort food dressed up in fancy clothes, but it doesn’t ask you to be a pastry chef to pull it off.
What makes this version different from the hundred other lava cake recipes out there? Two things. First, the timing is dialed in for small batches—just two cakes, no leftovers, no waste. Second, I’ve tested this with different chocolates, different ramekins, even different ovens, and the instructions work every single time. This isn’t just another recipe. It’s the one you’ll bookmark and come back to again and again.
What Ingredients You Will Need
This recipe uses simple, everyday ingredients to deliver big flavor without any fuss. The magic is in the technique, not the grocery list. Here’s what you’ll need:
For the Lava Cakes
- 4 ounces (113g) semi-sweet chocolate, chopped (I prefer Ghirardelli or Baker’s brand for consistent melting; a good quality chocolate bar works better than chocolate chips, which have stabilizers that can affect texture)
- 1/2 cup (113g or 1 stick) unsalted butter, cut into small cubes (salted butter works in a pinch, just skip the extra salt in the recipe)
- 2 large eggs, at room temperature (cold eggs can seize the chocolate mixture, so let them sit out for 15 minutes if you can)
- 1/2 cup (100g) granulated sugar (regular white sugar is fine; avoid coarse sugar or it won’t dissolve properly)
- 1/4 cup (31g) all-purpose flour (spoon and level it; don’t scoop directly from the bag or you’ll end up with too much)
- 1/4 teaspoon salt (just a pinch to balance the sweetness; skip if using salted butter)
- 1/2 teaspoon vanilla extract (pure vanilla is best, but imitation works fine too)
- Optional: 1 tablespoon unsweetened cocoa powder, for dusting the ramekins (this gives the cakes a beautiful dark exterior instead of a floury white one)
For Serving (Optional but Recommended)
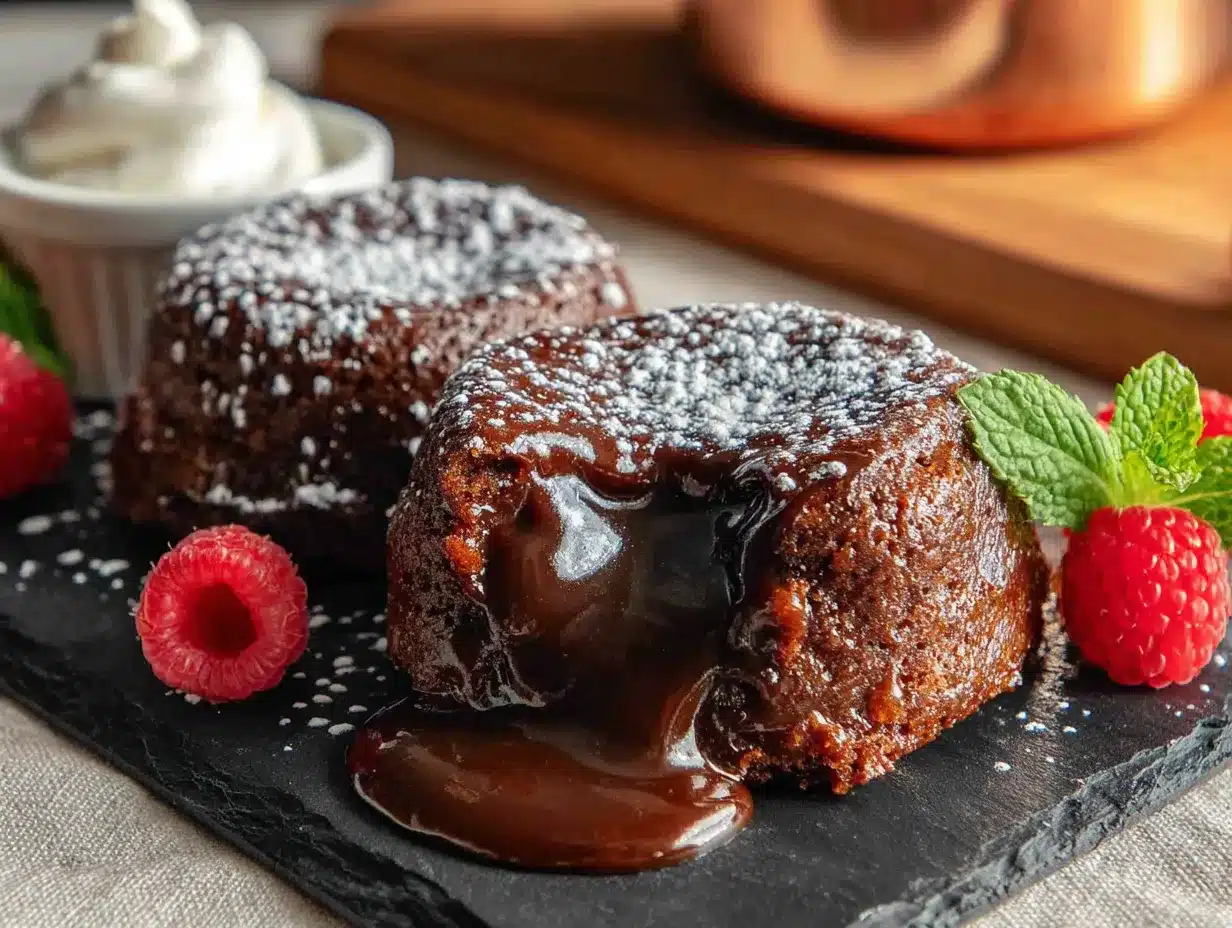
- Powdered sugar, for dusting
- Fresh raspberries or strawberries (the tartness cuts through the richness beautifully)
- Vanilla ice cream or lightly sweetened whipped cream (the cold creaminess against the warm lava cake is a textural dream)
Ingredient Note on Chocolate: Don’t overthink this. Use a chocolate you actually enjoy eating. If you wouldn’t snack on it straight from the wrapper, it’s not going to magically taste better melted. I’ve made these with dark chocolate (60-70% cacao) for a deeper, less sweet version, and with milk chocolate for a milder, sweeter cake. Both work, but semi-sweet hits that perfect middle ground.
Substitution Guidance: For a dairy-free version, use a high-quality vegan butter stick (not the spreadable kind in a tub) and dairy-free chocolate chips. For a gluten-free option, swap the all-purpose flour with a 1:1 gluten-free baking flour blend. I’ve tested both, and they work surprisingly well—just don’t overbake them, as gluten-free lava cakes can go from molten to dry in about 30 seconds.
Equipment Needed
You don’t need a pastry chef’s arsenal for this one. Here’s what you’ll actually use:
- Two 6-ounce (180ml) ramekins (these are the standard size; you can find them at any kitchen store or online for about $10 a set. If you don’t have ramekins, oven-safe coffee mugs work perfectly—just adjust the baking time by a minute or two)
- Medium microwave-safe bowl (for melting the chocolate and butter together; a glass measuring cup works great here)
- Small mixing bowl (for whisking the eggs and sugar)
- Whisk (a handheld one, not a stand mixer—you’re making two cakes, not a wedding cake)
- Rubber spatula (for folding the flour in gently; a wooden spoon works too, just be gentle)
- Baking sheet (to place the ramekins on; this catches any drips and makes it easier to get them in and out of the oven)
- Small fine-mesh sieve (for dusting powdered sugar on top; optional but makes it look fancy)
I’ve made these in ceramic ramekins, glass custard cups, and even a silicone muffin pan once when I was camping (don’t ask). The key is the size—6 ounces is the sweet spot. Too big and the cake is too thin to hold its shape; too small and you get a hockey puck with a sad little puddle in the middle. If you’re using mugs, make sure they’re oven-safe (check the bottom for a symbol) and grease them well.
Preparation Method
Alright, let’s get to it. The whole process takes about 15 minutes, and I promise you can handle this even on a tired Tuesday night. Read through all the steps once before you start, because the timing is tight and you don’t want to be scrambling halfway through.
- Preheat your oven to 425°F (218°C). Place a baking sheet on the middle rack. This is important—the preheated baking sheet gives the ramekins a blast of heat from the bottom, which helps the cakes rise and set properly. Don’t skip this step.
- Butter and dust your ramekins. Take a small pat of butter (not from the measured amount) and smear it all over the inside of each ramekin, including the bottom and up the sides. Then add a tablespoon of cocoa powder (or flour) to one ramekin, tilt it around to coat the butter, and tap out the excess into the second ramekin. Repeat. This coating gives the cakes something to grip as they rise and makes unmolding them a breeze. Set the ramekins aside.
- Melt the chocolate and butter together. Place the chopped chocolate and cubed butter in a microwave-safe bowl. Microwave in 30-second bursts, stirring after each, until completely smooth. This usually takes about 90 seconds total, but microwaves vary. Don’t rush it—burnt chocolate is a tragedy. If you prefer the stovetop method, use a double boiler or a heatproof bowl set over simmering water, stirring constantly until melted. Let the mixture cool for a minute while you do the next step.
- Whisk the eggs and sugar. In a separate small bowl, whisk the eggs and granulated sugar together until thick and pale, about 1 minute. You’re looking for a color change—it should go from bright yellow to a creamy, light lemon shade. The mixture should fall off the whisk in a thick ribbon. This step adds air to the cakes, which gives them that tender texture.
- Combine the mixtures. Pour the slightly cooled chocolate mixture into the egg mixture. Add the vanilla extract and salt. Whisk gently until just combined. Don’t overmix here—you want it smooth, not beaten within an inch of its life.
- Fold in the flour. Sprinkle the flour over the top of the chocolate mixture. Using your rubber spatula, fold it in gently, scraping the bottom and sides of the bowl. Stop as soon as you no longer see streaks of flour. A few small lumps are fine; overmixing will make the cakes tough.
- Divide the batter. Spoon the batter evenly into the two prepared ramekins. It should fill them about three-quarters full. If you have a kitchen scale, each ramekin should get about 4-5 ounces (120-140g) of batter. Smooth the tops gently with the back of a spoon.
- Bake immediately. Place the ramekins on the preheated baking sheet in the oven. Bake for exactly 12-14 minutes. Here’s where the magic happens: the edges should be set and pulling away slightly from the ramekin, but the center should jiggle when you gently shake the pan. If the center looks solid, you’ve gone too far. If the whole thing looks like soup, give it another minute.
- Let them rest. Remove the baking sheet from the oven and let the ramekins sit for exactly 1 minute. This rest allows the cake structure to firm up just enough to hold its shape when you unmold it. Don’t skip this, but don’t let them sit longer than 90 seconds or the residual heat will cook the center.
- Unmold and serve. Run a small knife around the edge of each ramekin to loosen the cake. Place a small plate upside down on top of the ramekin, then flip them together. Give the ramekin a gentle shake, and the cake should release onto the plate. If it sticks, tap the bottom of the ramekin gently. Dust with powdered sugar, add a scoop of ice cream if you’re feeling fancy, and serve immediately. The lava waits for no one.
Cooking Tips & Techniques
I’ve made probably fifty batches of these lava cakes over the years, and I’ve learned a few things the hard way. Here’s what I wish someone had told me the first time:
The timing is everything. Lava cakes are not forgiving. Two minutes too long in the oven and you’ve got a regular chocolate cake with a slightly gooey center—still good, but not the dramatic molten experience you’re after. Set a timer. Watch the cakes through the oven window if you can. The moment the edges look set and the center still wobbles, pull them out. Trust the jiggle.
Room temperature eggs matter more than you think. Cold eggs can cause the melted chocolate to seize up and get grainy. If you forgot to take them out of the fridge, place them in a bowl of warm (not hot) water for 5 minutes before you start. This little step makes a big difference in the final texture.
Don’t overmix the batter. I know it’s tempting to keep stirring until everything is perfectly smooth, but that develops the gluten in the flour and gives you tough cakes. Mix until the flour disappears, then stop. Your spatula will thank you, and so will your taste buds.
Use a light-colored baking sheet. Dark pans absorb more heat and can cause the bottoms of the cakes to overbake before the centers are set. If all you have is a dark sheet, reduce the oven temperature by 25°F and add a minute or two to the baking time.
The first batch might not be perfect, and that’s okay. My first lava cake came out looking like a chocolate mud pie that had been in a fight. I overbaked it by about four minutes and ended up with a solid cake and a tiny puddle of chocolate on the plate. It still tasted amazing. Don’t let perfectionism stop you from trying.
Variations & Adaptations
Once you’ve mastered the basic recipe, the possibilities are endless. Here are a few variations I’ve tried and loved:
Peanut Butter Lava Cakes
Before pouring the batter into the ramekins, drop a teaspoon of creamy peanut butter into the center of each one. Push it down gently so it’s surrounded by batter. The peanut butter melts into the chocolate center, creating a salty-sweet lava that’s absolutely addictive. I make these when I want something that feels a little more indulgent than usual.
Mocha Lava Cakes
Add 1 teaspoon of instant espresso powder to the melted chocolate and butter mixture before combining with the eggs. The coffee doesn’t make the cake taste like coffee—it deepens the chocolate flavor and adds a subtle complexity that makes people ask, “What’s in this?” It’s my go-to version when I’m serving adults who appreciate a more sophisticated dessert.
Gluten-Free Lava Cakes
Swap the all-purpose flour with a 1:1 gluten-free baking flour blend. I’ve tested this with Bob’s Red Mill and King Arthur Flour blends, and both work perfectly. The texture is slightly more delicate, so be extra gentle when unmolding. No one will know it’s gluten-free unless you tell them.
Vegan Lava Cakes
Use vegan butter (the stick kind, not the tub) and dairy-free chocolate chips. Replace the eggs with a flax egg (1 tablespoon ground flaxseed mixed with 3 tablespoons water, let sit for 5 minutes). The texture is slightly denser but still deliciously molten. I’ve served these to non-vegans who couldn’t tell the difference.
Serving & Storage Suggestions
These lava cakes are best served immediately—like, within 2 minutes of coming out of the oven. The whole point is that warm, flowing center, and it doesn’t stay flowing forever. But here’s how to make the most of them:
Serving Temperature: Serve warm, straight from the oven. The contrast between the warm cake and cold ice cream is one of life’s great pleasures. If you’re skipping the ice cream, a dusting of powdered sugar and a few fresh berries add color and brightness.
What to Serve With Them: A scoop of vanilla bean ice cream is the classic pairing, but don’t stop there. Try salted caramel ice cream for a sweet-salty combo, or coffee ice cream for a mocha vibe. Fresh raspberries or sliced strawberries cut through the richness beautifully. A dollop of lightly sweetened whipped cream works too, especially if you add a tiny pinch of cinnamon to it.
Storage: Honestly, these don’t store well. The lava center solidifies as it cools, and reheating doesn’t bring back the same molten texture. But if you have leftover batter (unlikely, but possible), you can cover the ramekins with plastic wrap and refrigerate for up to 24 hours. Bake straight from the fridge, adding 2-3 minutes to the baking time. The texture won’t be quite as perfect, but it’s still a darn good chocolate cake.
Make-Ahead Tip: You can prepare the batter, divide it into the greased ramekins, cover them, and refrigerate for up to 4 hours before baking. This is perfect for dinner parties—just pop them in the oven while everyone’s finishing their main course. Add 2 minutes to the baking time if baking straight from the fridge.
Nutritional Information & Benefits
Let’s be honest—these are not health food. They’re a celebration of butter and chocolate, and that’s exactly what they should be. But here’s what you’re working with per serving (one lava cake, without toppings):
| Nutrient | Amount |
|---|---|
| Calories | ~480 |
| Fat | 34g |
| Saturated Fat | 20g |
| Carbohydrates | 42g |
| Sugar | 32g |
| Protein | 8g |
| Fiber | 3g |
On the positive side, dark chocolate is rich in antioxidants, particularly flavonoids, which can support heart health. Eggs provide high-quality protein and essential vitamins like B12 and D. So while this isn’t a salad, it’s not empty calories either. It’s a treat, and treats have their place in a balanced life.
Dietary Considerations: This recipe contains dairy, eggs, and gluten. For dairy-free and gluten-free adaptations, see the Variations section above. The vegan version is also dairy-free and egg-free.
Conclusion
These easy molten chocolate lava cakes for two are exactly what a weeknight dessert should be: fast, forgiving, and deeply satisfying. They’ve saved me on countless evenings when the chocolate craving hit hard and I had nothing in the house but the basics. They’ve impressed dinner guests who had no idea I’d made them in the time it takes to wash a few dishes.
The beauty of this recipe is that it asks nothing of you except a little trust. Trust that the jiggle in the center means molten chocolate, not undercooked batter. Trust that 15 minutes is enough time to create something that tastes like it took an hour. And trust that you don’t need to be a pastry chef to pull off a dessert that looks like one.
I hope you make these for yourself on a quiet night, or for someone you love on a night that deserves something special. And when you do, I’d love to hear about it. Drop a comment below and let me know how they turned out, or share your own variation—I’m always looking for new ideas. Happy baking, friend. You’ve got this.
Frequently Asked Questions
Can I make these lava cakes in a microwave instead of an oven?
Yes, but the texture won’t be the same. Microwave lava cakes tend to be more spongy and less tender. If you’re in a real pinch, microwave the ramekins on high for about 45-60 seconds, checking at 15-second intervals. The center should look slightly wet and jiggly. Let them rest for 30 seconds before serving.
Why did my lava cakes turn out completely cooked with no molten center?
You overbaked them. It’s the most common mistake, and I’ve done it plenty of times. The next time, pull them out of the oven when the edges are set but the center still wobbles visibly when you shake the pan. Every oven runs a little differently, so start checking at the 10-minute mark.
Can I use chocolate chips instead of a chocolate bar?
You can, but the texture might be slightly different. Chocolate chips contain stabilizers that help them hold their shape, which can make the lava center less fluid. If you’re using chips, go for a high-quality brand like Guittard or Ghirardelli, and consider adding an extra tablespoon of butter to help them melt more smoothly.
How do I get the lava cakes out of the ramekins without them breaking?
The key is the butter and cocoa powder coating. Make sure you’ve coated every surface thoroughly. After baking, let them rest for exactly 1 minute, then run a thin knife around the edge. Place your plate upside down on the ramekin, flip confidently, and give a gentle shake. If the cake sticks, tap the bottom of the ramekin firmly. If all else fails, just eat them straight from the ramekin with a spoon—I won’t tell anyone.
Can I double this recipe for a crowd?
Absolutely. The recipe scales up beautifully. For four lava cakes, simply double all the ingredients. For six, triple them. The baking time stays roughly the same, but you may need to rotate the baking sheet halfway through if your oven has hot spots. Just remember to work in batches if your ramekins don’t all fit on one sheet.
Pin This Recipe!
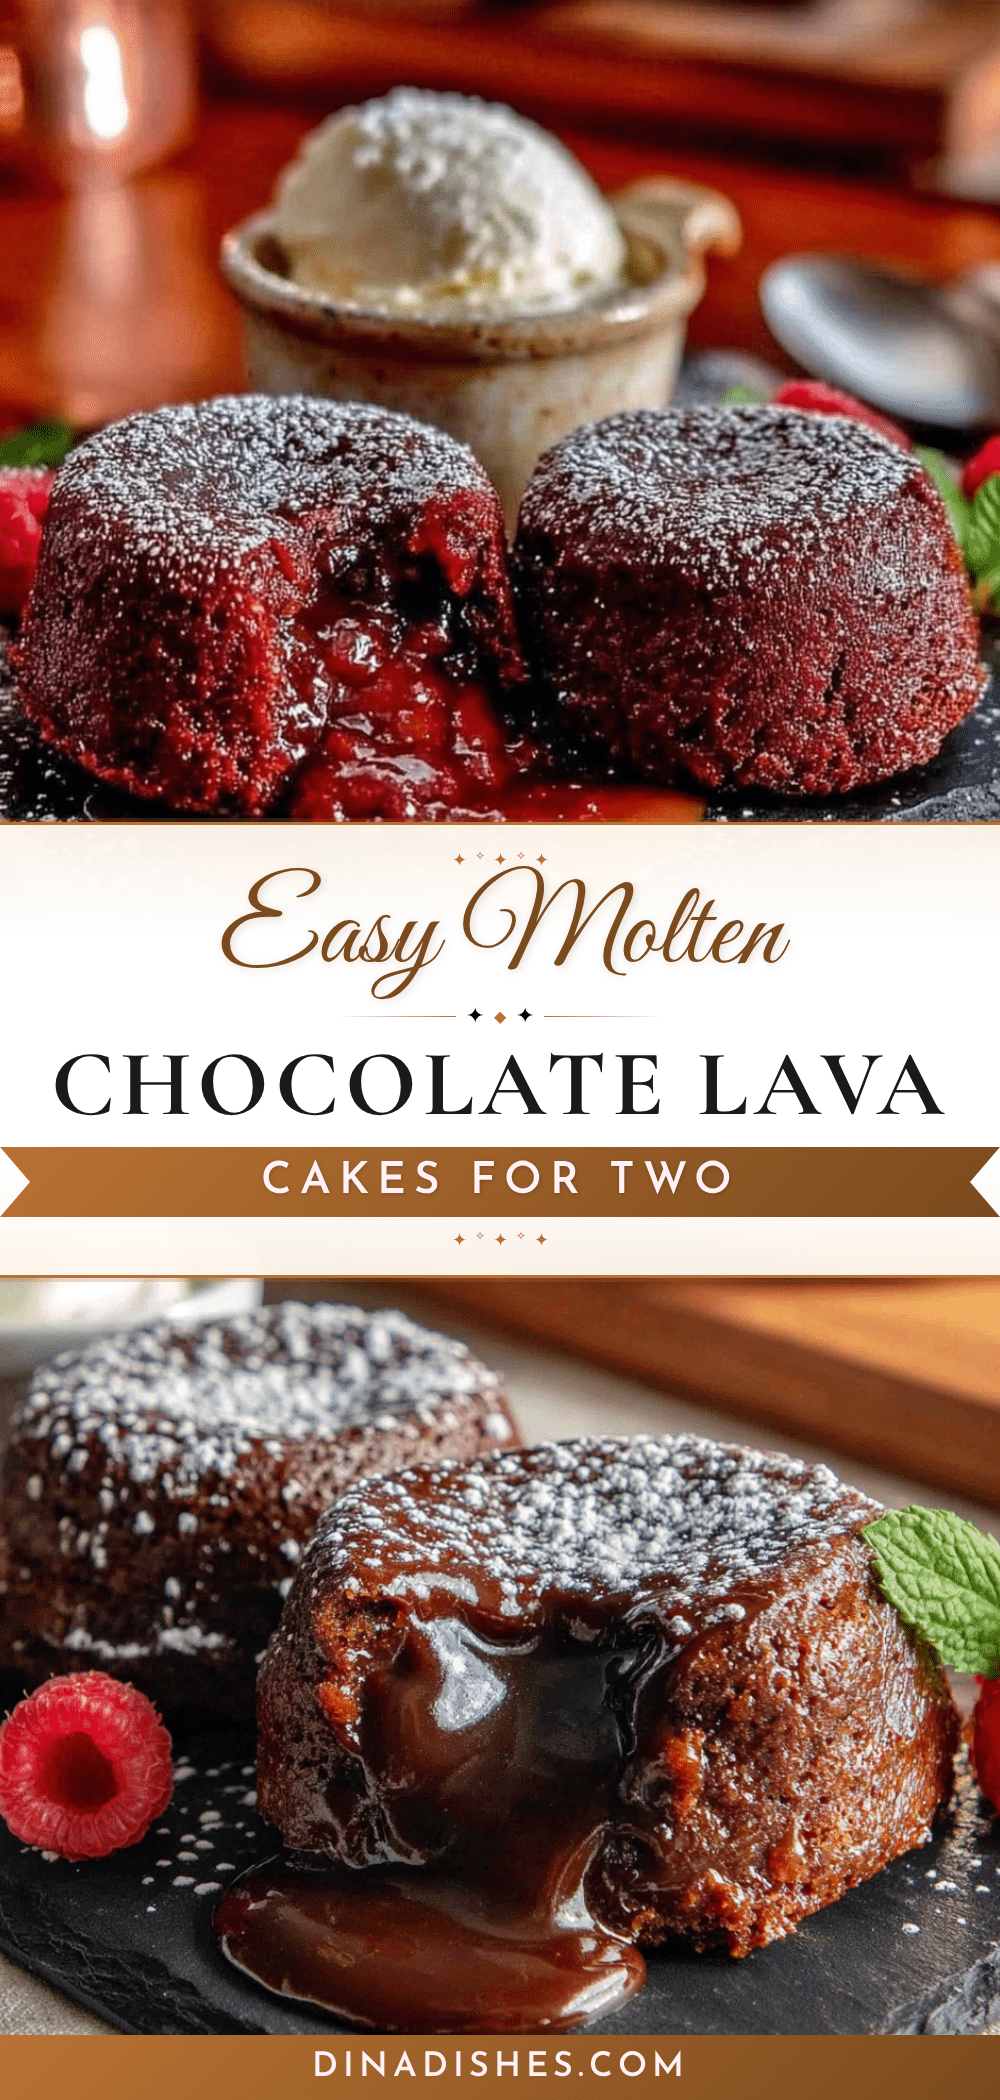
Easy Molten Lava Cakes for Two: Best 15-Minute Dessert
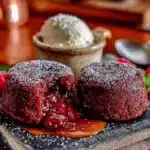
Rich, decadent molten chocolate lava cakes for two, ready in just 15 minutes. Made with simple pantry ingredients, these individual desserts feature a tender cake exterior and a warm, flowing chocolate center—perfect for a quick weeknight treat or an impressive date night dessert.
- Prep Time: 5 minutes
- Cook Time: 12-14 minutes
- Total Time: 15 minutes
- Yield: 2 servings 1x
- Category: Dessert
- Cuisine: American
Ingredients
- 4 ounces (113g) semi-sweet chocolate, chopped
- 1/2 cup (113g or 1 stick) unsalted butter, cut into small cubes
- 2 large eggs, at room temperature
- 1/2 cup (100g) granulated sugar
- 1/4 cup (31g) all-purpose flour
- 1/4 teaspoon salt
- 1/2 teaspoon vanilla extract
- Optional: 1 tablespoon unsweetened cocoa powder, for dusting ramekins
- For serving: powdered sugar, fresh raspberries or strawberries, vanilla ice cream or whipped cream
Instructions
- Preheat your oven to 425°F (218°C). Place a baking sheet on the middle rack.
- Butter and dust your ramekins: smear butter inside each ramekin, then add a tablespoon of cocoa powder (or flour) and tilt to coat. Tap out excess.
- Melt the chocolate and butter together in a microwave-safe bowl in 30-second bursts, stirring after each, until completely smooth. Let cool for a minute.
- In a separate small bowl, whisk the eggs and granulated sugar together until thick and pale, about 1 minute.
- Pour the slightly cooled chocolate mixture into the egg mixture. Add vanilla extract and salt. Whisk gently until just combined.
- Sprinkle the flour over the top and fold in gently with a rubber spatula until no streaks remain.
- Spoon the batter evenly into the two prepared ramekins, filling them about three-quarters full.
- Place the ramekins on the preheated baking sheet and bake for exactly 12-14 minutes. The edges should be set and pulling away slightly, but the center should jiggle when shaken.
- Remove from oven and let the ramekins rest for exactly 1 minute.
- Run a small knife around the edge of each ramekin, place a plate upside down on top, flip, and gently shake to release. Dust with powdered sugar and serve immediately.
Notes
Timing is critical—bake just until edges are set and center jiggles. Use room temperature eggs to prevent chocolate from seizing. Don’t overmix the batter. For best results, serve immediately. Can be made ahead: prepare batter in ramekins, cover, and refrigerate up to 4 hours; add 2 minutes to baking time.
Nutrition
- Serving Size: 1 lava cake
- Calories: 480
- Sugar: 32
- Sodium: 200
- Fat: 34
- Saturated Fat: 20
- Carbohydrates: 42
- Fiber: 3
- Protein: 8
Keywords: molten lava cake, chocolate lava cake, easy dessert, quick dessert, dessert for two, 15 minute dessert, chocolate cake, individual dessert