My neighbor, an older woman named Ruth whose garden always seemed to be a month ahead of everyone else’s, watched me one October afternoon as I tried to wrangle a wriggling toddler and a bag of groceries through my front door. She didn’t say anything at first. Then, after I’d finally gotten the door open, she called over, “You look like you could use a recipe that doesn’t fight back.” She walked over with a small, well-worn index card, the edges soft from years of use. It was for pumpkin bread, but not just any pumpkin bread—it was written in her mother’s handwriting, adapted from a church cookbook in the 1950s. I’ll admit, I was skeptical at first. I mean, how different could one pumpkin bread be from another? But then she mentioned the streusel topping, and honestly, she had me at streusel.
That first batch, I made a full-sized loaf, and it was good—really good. But here’s the thing: I have a four-year-old who thinks a normal slice of bread is fine, but a tiny, individual loaf? That’s practically magic. So I scaled it down. I made mini loaves, and let me tell you, the transformation was something else. The edges got crispier, the streusel-to-bread ratio became perfect, and suddenly, my kid was asking for “her own pumpkin bread” for breakfast. Not just eating it, but asking for it. Maybe you’ve been there, where a simple change in shape or size turns a “maybe” food into a “please make this again” request. That’s what happened here.
The first time I made these mini loaves, I forgot to grease one of the pans properly. You know that sinking feeling when you try to flip a loaf out and it just… stays put? I had to eat that one with a spoon right out of the pan, which honestly, was not a hardship. But it taught me a lesson I won’t forget. Now, these little loaves are a staple in our house from September through November. They fill the kitchen with that warm, spicy smell that just says fall, and they make everyone—from my picky eater to my husband who “doesn’t do sweets”—happy. This recipe stayed with me because it’s the kind of food that makes a regular Tuesday feel a little bit special, without requiring a trip to a specialty store or a whole afternoon of work.
Why You’ll Love This Recipe
I’ve tested this recipe more times than I can count, tweaking the spices, adjusting the baking time for those little pans, and figuring out the exact streusel-to-bread ratio that makes my kids’ eyes light up. Here’s why I think you’re going to love it too:
- Kid-Approved Size: There’s something about a mini loaf that makes it feel like a personal treat. No sharing required (unless you want to). They’re perfect for little hands and lunchboxes.
- Simple, Pantry-Friendly Ingredients: You likely have most of these things already. Canned pumpkin, flour, sugar, eggs, oil—nothing fancy. The streusel uses butter, flour, brown sugar, and cinnamon, all staples.
- Perfect for Busy Mornings or After-School Snacks: They come together in about 15 minutes of active prep time. The oven does the rest. You can even make the batter the night before and bake them fresh in the morning.
- A Real Crowd-Pleaser: I’ve brought these to playdates, school bake sales, and family dinners. They disappear fast. Adults love them as much as kids do—maybe more.
- Unbelievably Moist and Flavorful: The secret is not over-mixing the batter and using a bit of oil alongside the butter. It keeps the crumb tender for days. And that streusel? It adds a buttery, crunchy, cinnamon-sugar layer that takes it from good to “can I have another one?”
What makes this recipe different from the dozens of other pumpkin bread recipes out there is the attention to the mini loaf format. I specifically adjusted the moisture and baking time so the edges get that perfect golden-brown crust while the center stays soft and tender. It’s not just a scaled-down version of a big loaf—it’s a recipe designed from the ground up for these little pans. This is comfort food at its finest: warm, spiced, and made with love, but without the stress.
What Ingredients You Will Need
This recipe uses simple, wholesome ingredients to deliver that classic fall flavor without any fuss. Most of these are probably already in your pantry or fridge, which is exactly how I like my baking to go.
- For the Pumpkin Bread:
- All-Purpose Flour (1 ¾ cups / 220g): Provides the structure. I use unbleached all-purpose flour, but bleached works just fine too. Don’t scoop directly from the bag—fluff it up with a spoon, then spoon it into your measuring cup and level it off. This prevents a dense, dry loaf.
- Granulated Sugar (1 cup / 200g): For sweetness and moisture. You can reduce this to ¾ cup if you prefer a less sweet bread, but I find this amount balances the pumpkin and spices perfectly.
- Pumpkin Purée (1 cup / 245g): Make sure you’re using 100% pumpkin purée, not pumpkin pie filling. The pie filling has added sugar and spices that will throw off the balance. I usually go with Libby’s, but any brand of solid-pack pumpkin works.
- Vegetable Oil (½ cup / 120ml): This is what keeps the bread incredibly moist. You can use melted coconut oil or a mild olive oil if you prefer, but vegetable or canola oil gives the most neutral flavor.
- Large Eggs (2): They bind everything together and add richness. Make sure they’re at room temperature so they emulsify properly with the oil and sugar.
- Buttermilk (¼ cup / 60ml): This reacts with the baking soda to create a tender crumb. No buttermilk? No problem. Just add 1 teaspoon of lemon juice or white vinegar to regular milk and let it sit for 5 minutes.
- Baking Soda (1 teaspoon): The leavening agent that helps the bread rise.
- Baking Powder (½ teaspoon): Gives an extra little lift.
- Salt (½ teaspoon): Enhances all the flavors. Don’t skip it—it makes the sweetness sing.
- Ground Cinnamon (1 ½ teaspoons): The star spice. I use Saigon cinnamon for a warmer, more intense flavor.
- Ground Ginger (½ teaspoon): Adds a little warmth and zing.
- Ground Nutmeg (¼ teaspoon): A classic fall spice. Freshly grated is amazing if you have it.
- Ground Cloves (⅛ teaspoon): Just a pinch for depth. Too much can be overpowering.
- Vanilla Extract (1 teaspoon): Rounds out the flavors and adds a lovely aroma.
- For the Cinnamon Streusel Topping:
- All-Purpose Flour (½ cup / 60g): The base of the streusel.
- Light Brown Sugar (½ cup / 100g, packed): Adds moisture and a deeper, caramel-like sweetness than granulated sugar.
- Ground Cinnamon (1 ½ teaspoons): We’re doubling down on the cinnamon here for that signature streusel flavor.
- Cold Unsalted Butter (¼ cup / 57g, cut into small cubes): The butter needs to be cold. This is what creates those lovely, crumbly clumps. If the butter is too soft, you’ll end up with a paste.
- Pinch of Salt: Balances the sweetness of the streusel.
Equipment Needed
You don’t need a professional bakery setup for these. Here’s what I use and some alternatives if you’re working with what you’ve got.
- Mini Loaf Pan (6-cavity): This is the key piece of equipment. I have a non-stick one from Wilton that I’ve been using for years. If you don’t have one, you can bake this batter in a standard 9×5-inch loaf pan, just increase the baking time to 50-60 minutes.
- Mixing Bowls (2 large, 1 medium): One for the dry ingredients, one for the wet, and one for the streusel. I prefer glass or stainless steel.
- Whisk: For combining the dry ingredients and for mixing the wet ingredients. A fork works in a pinch.
- Rubber Spatula: For folding the batter together. A wooden spoon also works, but a spatula helps you get every bit from the bottom of the bowl.
- Pastry Cutter or Two Forks: For cutting the cold butter into the streusel ingredients. You can also use your fingertips—just work quickly so the butter doesn’t warm up too much.
- Measuring Cups and Spoons: For accuracy. I cannot stress this enough—baking is a science. A kitchen scale is even better for the flour.
- Cooling Rack: Essential for letting the loaves cool evenly so the bottoms don’t get soggy.
Preparation Method
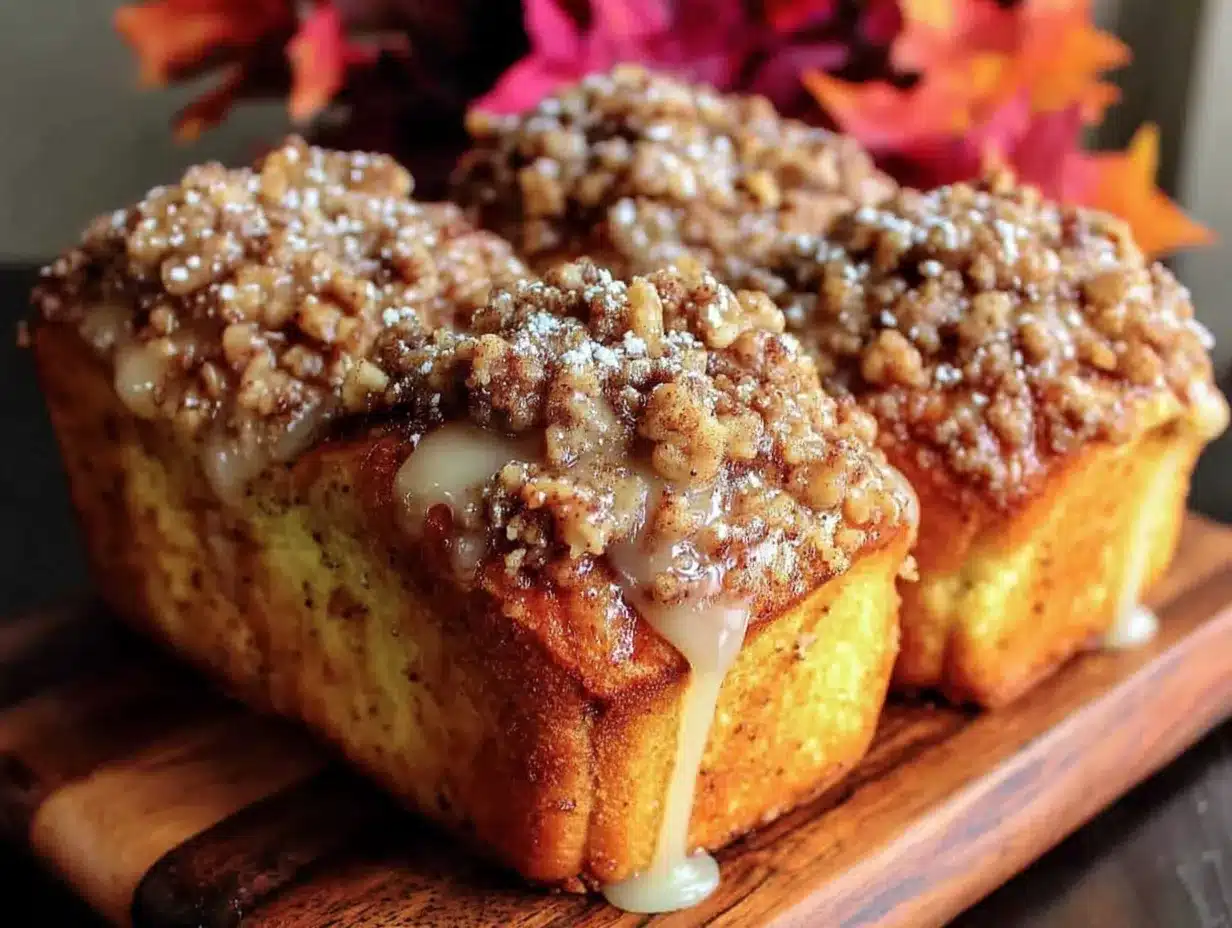
Let’s get to the fun part. I’ve broken this down step-by-step so you can follow along without any hiccups.
- Preheat and Prep (5 minutes): Preheat your oven to 350°F (175°C). Grease your mini loaf pan thoroughly with butter or non-stick spray. I like to use a little bit of butter and then dust it with flour—it guarantees the loaves will pop right out.
- Make the Streusel Topping (5 minutes): In a medium bowl, combine the ½ cup flour, ½ cup packed brown sugar, 1 ½ teaspoons cinnamon, and a pinch of salt. Add the cold, cubed butter. Use a pastry cutter or two forks to cut the butter into the dry ingredients until the mixture looks like coarse, pea-sized crumbs. Don’t overwork it—you want those distinct clumps. Set the bowl in the fridge while you make the batter. Keeping it cold is the secret to a crumbly, not melty, streusel.
- Combine the Dry Ingredients (3 minutes): In a large bowl, whisk together the 1 ¾ cups flour, 1 teaspoon baking soda, ½ teaspoon baking powder, ½ teaspoon salt, 1 ½ teaspoons cinnamon, ½ teaspoon ginger, ¼ teaspoon nutmeg, and ⅛ teaspoon cloves. Give it a good whisk to ensure everything is evenly distributed.
- Mix the Wet Ingredients (5 minutes): In a separate large bowl, combine the 1 cup granulated sugar and ½ cup vegetable oil. Whisk until well combined. Add the 2 eggs, one at a time, whisking well after each addition. Then mix in the 1 cup pumpkin purée, ¼ cup buttermilk, and 1 teaspoon vanilla extract. The mixture should be smooth and a beautiful, deep orange color.
- Combine Wet and Dry (2 minutes): Pour the wet ingredients into the bowl with the dry ingredients. Use a rubber spatula to fold everything together gently. The key word here is gently. Stir just until you see the last streaks of flour disappear. A few lumps are totally fine. Over-mixing will develop the gluten and make your bread tough and dense. Trust me, I’ve made that mistake before, and it’s a sad, rubbery loaf.
- Fill the Pans (5 minutes): Divide the batter evenly among the 6 cavities of your mini loaf pan. I use a ⅓-cup measuring cup to get even portions. Fill each cavity about ¾ full. Then, take the streusel out of the fridge and sprinkle it generously over each loaf. Press it down very lightly so it adheres to the batter. Don’t pile it too high in the center, or it might slide off as the bread rises.
- Bake (20-25 minutes): Place the pan in the preheated oven and bake for 20-25 minutes. The loaves are done when a toothpick inserted into the center of a loaf comes out clean or with just a few moist crumbs. The tops should be golden brown and the streusel should look crunchy and set. My oven runs a little hot, so I start checking at the 18-minute mark. You want to be careful not to over-bake, or the loaves will be dry.
- Cool and Release (15 minutes): Remove the pan from the oven and place it on a cooling rack. Let the loaves cool in the pan for about 10 minutes. This is important—they need that time to set up. Then, run a thin knife around the edges of each loaf to loosen them. Gently turn the pan over to release the loaves onto the cooling rack. Let them cool completely before serving, if you can wait that long. The streusel gets crunchier as it cools.
Cooking Tips & Techniques
Over the many batches I’ve made, I’ve picked up a few tricks that make a real difference. Here’s what I’ve learned, sometimes the hard way.
- The Room Temperature Rule: Your eggs and buttermilk really should be at room temperature. Cold ingredients don’t emulsify as well, which can lead to a slightly denser texture. If you forgot to take them out, place the eggs in a bowl of warm water for 5 minutes, and microwave the buttermilk for about 10 seconds.
- Don’t Over-Mix, Seriously: I know I said it already, but it’s the most common mistake. Mix until just combined. A few streaks of flour are your friend. The batter should look thick and slightly lumpy.
- Streusel Strategy: Keep that streusel cold until the very last second. If it warms up and turns into a paste, just pop it in the freezer for 10 minutes. Also, don’t be shy with it. Pile it on. It’s the best part.
- Check for Doneness Early: Every oven is different. Mini loaves bake faster than you think. Start checking at 18 minutes. If the tops are getting too dark but the center isn’t done, tent the pan loosely with foil for the last few minutes of baking.
- Even Baking: If your oven has hot spots, rotate the pan halfway through the baking time. This ensures all six loaves bake evenly. I once forgot to do this, and the two loaves in the back corner were significantly darker than the rest.
- Cool Completely for Clean Slices: I know it’s hard, but try to let the loaves cool completely before slicing. If you cut into them while they’re still warm, the crumb will be too tender and will squish or crumble. Patience is a virtue, especially with pumpkin bread.
Variations & Adaptations
One of the best things about this recipe is how flexible it is. I’ve tried several variations over the years, and here are some of my favorites.
- Chocolate Chip Pumpkin Bread: After folding the batter together, gently fold in ½ cup of semi-sweet or dark chocolate chips. My kids go absolutely nuts for this version. The chocolate gets all melty and pairs beautifully with the warm spices.
- Gluten-Free Option: Substitute the all-purpose flour with a good 1:1 gluten-free baking flour blend (I like King Arthur’s Measure for Measure). The texture will be slightly more crumbly, but it’s still delicious. Make sure your blend contains xanthan gum.
- Dairy-Free Adaptation: Use a dairy-free butter substitute (like Miyoko’s or Earth Balance) in the streusel, and replace the buttermilk with ¼ cup of unsweetened almond or oat milk mixed with 1 teaspoon of lemon juice.
- Spice it Up: If you’re a fan of warm spices, add ¼ teaspoon of cardamom or allspice to the dry ingredients. It gives the bread a more complex, chai-like flavor that’s lovely on a cool morning.
- Nutty Streusel: Add ¼ cup of finely chopped pecans or walnuts to the streusel mixture. It adds a wonderful crunch and a nutty flavor that complements the pumpkin perfectly. Just make sure the nuts are finely chopped so they don’t fall off the small loaves.
- Pumpkin Cream Cheese Swirl: Before adding the streusel, drop small spoonfuls of a cream cheese mixture (4 oz softened cream cheese, 2 tbsp sugar, 1 egg yolk, ½ tsp vanilla) onto the batter and swirl it in with a knife. It’s a little extra work, but the result is a bakery-worthy treat.
Serving & Storage Suggestions
These mini loaves are incredibly versatile. Here’s how I like to serve and store them.
Serving: These are best served slightly warm or at room temperature. The streusel is at its crunchiest when the loaf is completely cool, but a warm loaf with a pat of butter melting into it is pure comfort. They’re perfect for breakfast with a cup of coffee, an after-school snack with a glass of milk, or a simple dessert. For a more indulgent treat, slice a loaf in half horizontally, toast it in a skillet with a little butter, and serve it with a drizzle of maple syrup or a dollop of whipped cream.
Storage: Store any leftover loaves in an airtight container at room temperature for up to 4 days. I like to place a paper towel at the bottom of the container and another on top to absorb any excess moisture and keep the streusel from getting too soft. They will stay moist and flavorful.
Freezing: These mini loaves freeze beautifully, which is one of my favorite things about them. Let them cool completely, then wrap each one tightly in plastic wrap, followed by a layer of aluminum foil. Place them in a freezer-safe bag or container. They’ll keep for up to 3 months. To thaw, just leave one on the counter for a couple of hours, or unwrap it and microwave it for 20-30 seconds for a quick, warm treat.
Reheating: For that just-baked experience, reheat a thawed or refrigerated loaf in a 300°F (150°C) oven for about 5-7 minutes. This will revive the streusel’s crunch. The microwave is faster, but it will soften the topping.
Nutritional Information & Benefits
While these are definitely a treat, they’re not without their redeeming qualities. Here’s a quick look at what you’re getting in one mini loaf (based on 6 servings, without optional add-ins).
Estimated Nutritional Values (per mini loaf):
- Calories: ~320
- Fat: 14g
- Saturated Fat: 4g
- Carbohydrates: 46g
- Sugar: 28g
- Fiber: 2g
- Protein: 5g
Health Benefits of Key Ingredients:
- Pumpkin Purée: It’s packed with Vitamin A (from beta-carotene), which is great for eye health and immunity. It also adds moisture and fiber without a ton of fat.
- Cinnamon: Beyond its amazing flavor, cinnamon has anti-inflammatory properties and can help regulate blood sugar levels.
- Buttermilk: Provides calcium and protein, and the acidity helps create a tender crumb.
Dietary Considerations: This recipe is vegetarian. For a gluten-free or dairy-free version, see the variations section above. It does contain wheat, dairy (butter, buttermilk), and eggs. The sugar content is moderate for a dessert bread, making it a good occasional treat for kids.
Conclusion
Honestly, this recipe has become a non-negotiable part of our fall routine. It’s more than just a pumpkin bread—it’s the smell of a cozy Saturday morning, the look on my daughter’s face when she sees “her” little loaf on the counter, and the way a simple, homemade treat can make an ordinary day feel special. It’s forgiving enough for a beginner baker and rewarding enough for someone who’s been doing this for years.
I really hope you give these mini pumpkin bread loaves a try. Don’t be afraid to make them your own—throw in some chocolate chips, swap the spices, or double the streusel (I won’t judge). That’s the beauty of a good base recipe. It’s a starting point for your own kitchen adventures.
If you make them, I’d love to hear about it. Leave a comment below and let me know how they turned out. Did you add anything fun? Did your kids love them as much as mine do? Share a photo on social media and tag me—I love seeing your creations. Until next time, happy baking, and may your kitchen always smell like cinnamon and pumpkin.
Frequently Asked Questions
Can I use fresh pumpkin instead of canned?
Yes, you can! If you have a fresh sugar pumpkin, roast it, scoop out the flesh, and purée it until smooth. Just make sure to drain any excess liquid in a cheesecloth or fine-mesh strainer. Fresh pumpkin purée has a higher water content than canned, which can make the bread denser and more moist. If you use fresh, I recommend reducing the buttermilk by 1 tablespoon.
Why did my streusel sink into the batter?
This usually happens if the streusel is pressed too firmly into the batter or if the batter is too thin. Make sure your streusel is nice and clumpy (not a paste) and that you’re just gently sprinkling it on top. Also, make sure your pumpkin purée isn’t too watery—drain off any liquid that’s separated on top before measuring.
Can I make this into muffins instead of mini loaves?
Absolutely! This batter works perfectly as muffins. Grease a 12-cup muffin tin and fill each cup about ¾ full. Top with the streusel and bake at 350°F (175°C) for 18-22 minutes, or until a toothpick inserted in the center comes out clean. You’ll get about 12 standard-sized muffins.
How do I keep the streusel crunchy the next day?
The streusel will soften slightly over time due to moisture from the bread. To keep it as crunchy as possible, store the loaves in an airtight container with a paper towel on the bottom and another on top. You can also reheat them in a toaster oven or a 300°F oven for a few minutes to re-crisp the topping.
My pumpkin bread came out too dense. What went wrong?
Dense pumpkin bread is usually a sign of over-mixing the batter or using too much flour. Remember to mix just until the dry ingredients are incorporated. Also, make sure you’re measuring your flour correctly—spoon it into the measuring cup and level it off, don’t scoop directly from the bag. Using too much flour is the most common culprit for dense baked goods.
Pin This Recipe!
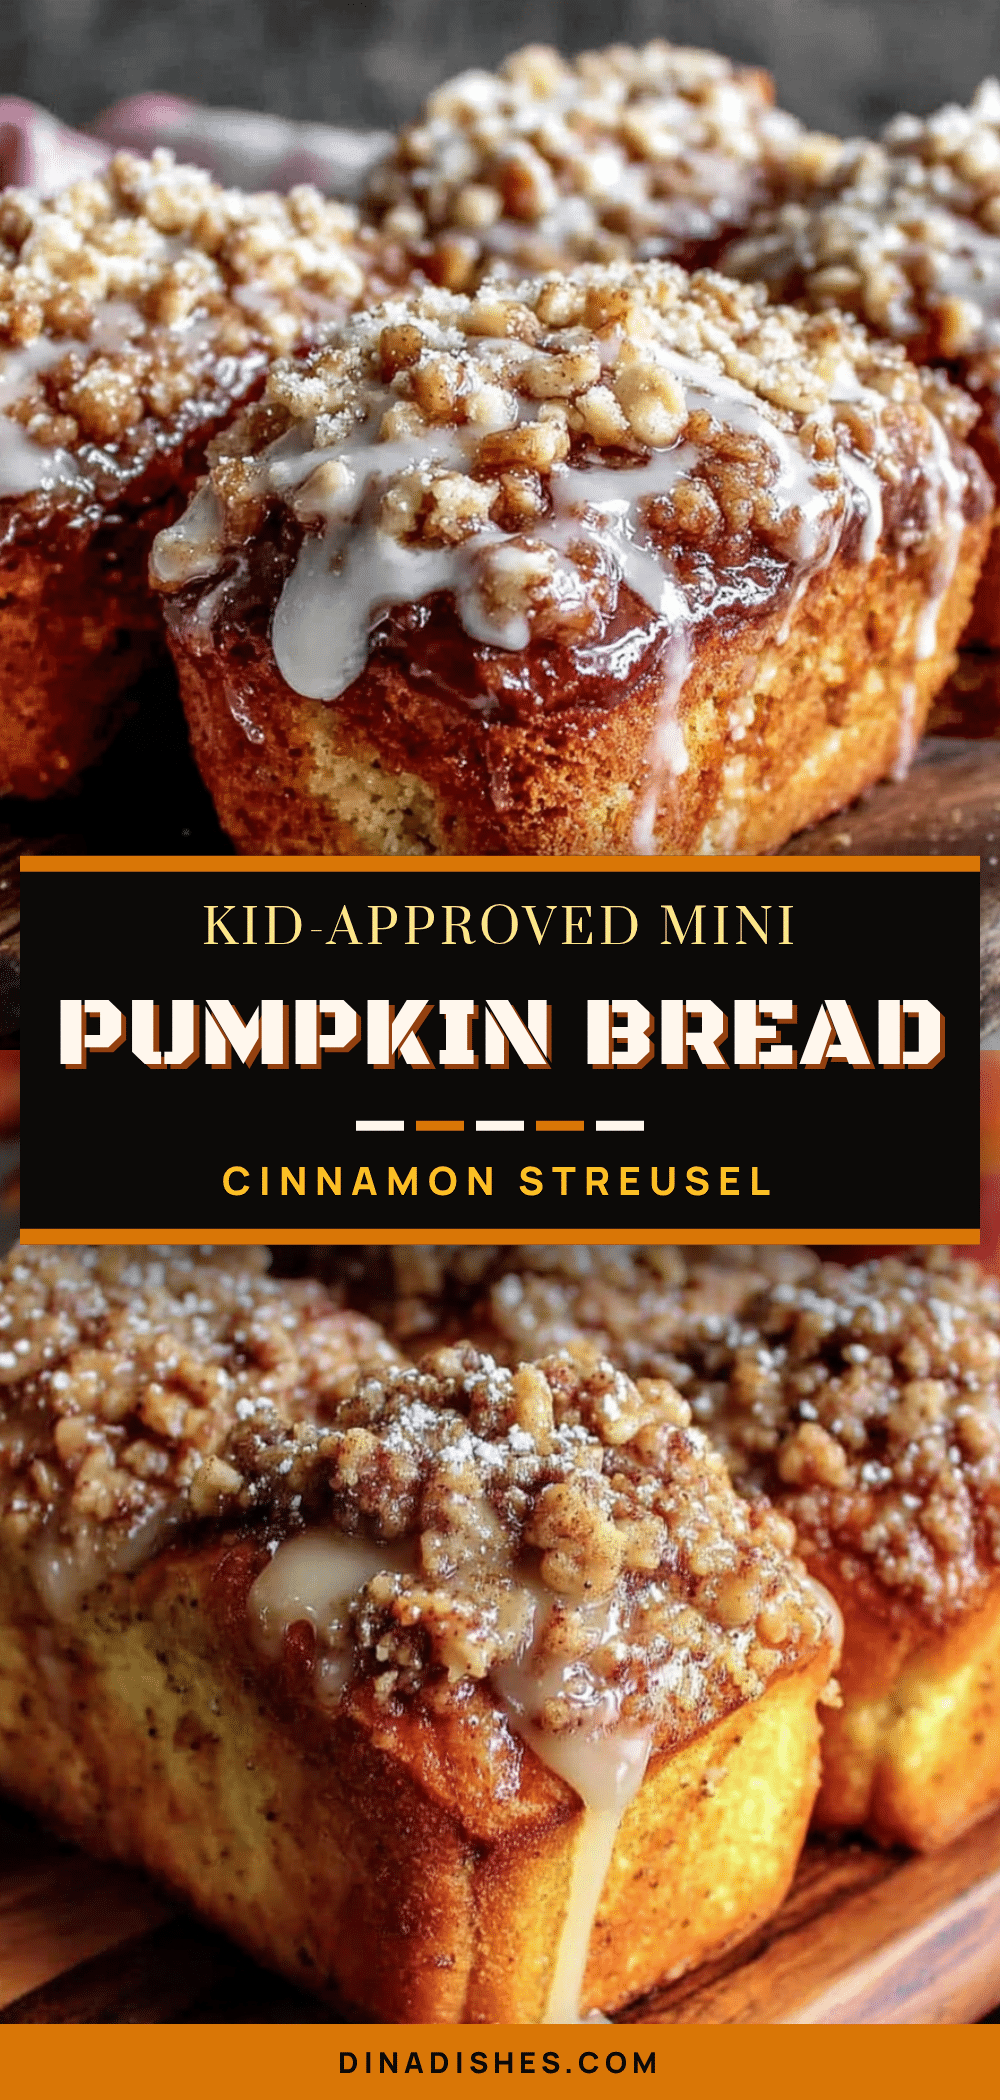
Best Easy Mini Pumpkin Bread Loaves with Cinnamon Streusel

These mini pumpkin bread loaves are perfectly moist and topped with a buttery cinnamon streusel. They’re kid-approved, easy to make, and ideal for fall mornings or after-school snacks.
- Prep Time: 15 minutes
- Cook Time: 25 minutes
- Total Time: 40 minutes
- Yield: 6 mini loaves 1x
- Category: Dessert
- Cuisine: American
Ingredients
- 1 ¾ cups (220g) all-purpose flour
- 1 cup (200g) granulated sugar
- 1 cup (245g) pumpkin purée (100% pumpkin, not pie filling)
- ½ cup (120ml) vegetable oil
- 2 large eggs, room temperature
- ¼ cup (60ml) buttermilk, room temperature
- 1 teaspoon baking soda
- ½ teaspoon baking powder
- ½ teaspoon salt
- 1 ½ teaspoons ground cinnamon
- ½ teaspoon ground ginger
- ¼ teaspoon ground nutmeg
- ⅛ teaspoon ground cloves
- 1 teaspoon vanilla extract
- For the Cinnamon Streusel Topping:
- ½ cup (60g) all-purpose flour
- ½ cup (100g) packed light brown sugar
- 1 ½ teaspoons ground cinnamon
- ¼ cup (57g) cold unsalted butter, cut into small cubes
- Pinch of salt
Instructions
- Preheat oven to 350°F (175°C). Grease a 6-cavity mini loaf pan thoroughly with butter or non-stick spray; dust with flour for easy release.
- Make the streusel: In a medium bowl, combine ½ cup flour, ½ cup packed brown sugar, 1 ½ teaspoons cinnamon, and a pinch of salt. Add cold cubed butter and cut in with a pastry cutter or two forks until mixture resembles coarse, pea-sized crumbs. Refrigerate while preparing batter.
- In a large bowl, whisk together 1 ¾ cups flour, 1 teaspoon baking soda, ½ teaspoon baking powder, ½ teaspoon salt, 1 ½ teaspoons cinnamon, ½ teaspoon ginger, ¼ teaspoon nutmeg, and ⅛ teaspoon cloves.
- In a separate large bowl, whisk together 1 cup granulated sugar and ½ cup vegetable oil until well combined. Add eggs one at a time, whisking well after each. Mix in 1 cup pumpkin purée, ¼ cup buttermilk, and 1 teaspoon vanilla extract until smooth.
- Pour wet ingredients into dry ingredients. Fold gently with a rubber spatula until just combined—a few lumps are fine. Do not over-mix.
- Divide batter evenly among the 6 cavities (about ⅓ cup each), filling each about ¾ full. Remove streusel from fridge and sprinkle generously over each loaf, pressing down very lightly.
- Bake for 20-25 minutes, until a toothpick inserted in the center comes out clean or with a few moist crumbs. Start checking at 18 minutes. If tops brown too quickly, tent loosely with foil.
- Cool in pan on a wire rack for 10 minutes. Run a thin knife around edges, then turn out onto rack to cool completely before serving.
Notes
For best results, use room temperature eggs and buttermilk. Do not over-mix the batter. Keep streusel cold until ready to use. For gluten-free, substitute all-purpose flour with a 1:1 gluten-free baking blend. For dairy-free, use dairy-free butter and replace buttermilk with ¼ cup unsweetened almond milk mixed with 1 teaspoon lemon juice.
Nutrition
- Serving Size: 1 mini loaf
- Calories: 320
- Sugar: 28
- Sodium: 320
- Fat: 14
- Saturated Fat: 4
- Carbohydrates: 46
- Fiber: 2
- Protein: 5
Keywords: mini pumpkin bread, pumpkin bread, cinnamon streusel, fall baking, easy pumpkin bread, mini loaves