The woman at the farm stand watched me loading up on cheddar and didn’t say anything at first. Then she pointed at my basket and laughed. “That’s a lot of cheese for one person,” she said. I was new to the neighborhood, still figuring out which stores had what, and honestly, I was embarrassed to admit I was stockpiling for a mac and cheese recipe that kept failing. She told me about her granddaughter who would only eat mac and cheese from this one diner in Ohio, and how she’d spent two years trying to crack the code. “The secret isn’t just the cheese,” she said, handing me a slip of paper with three names written on it. “It’s the company they keep.”
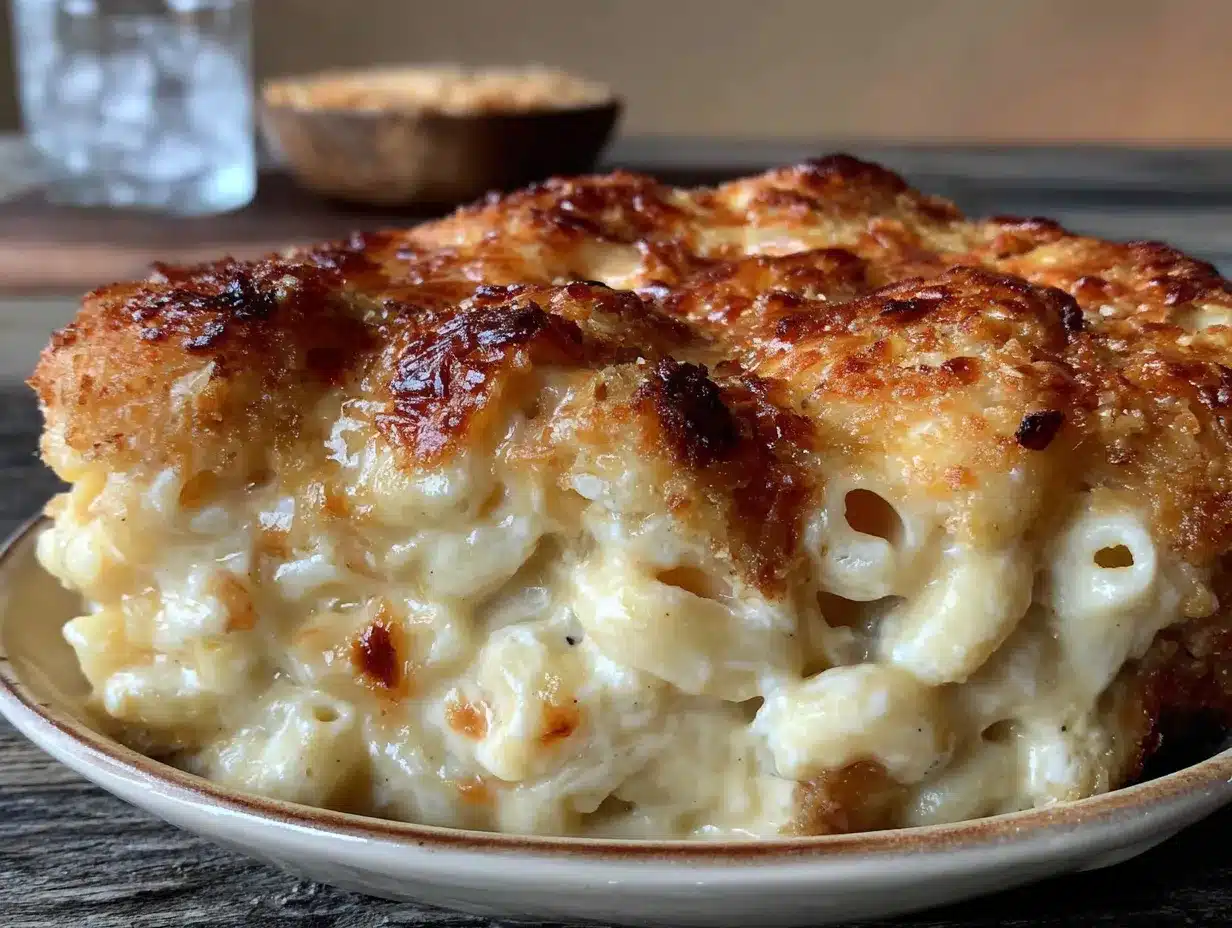
That paper had three cheeses written on it—sharp cheddar, Monterey Jack, and a little bit of Parmesan. I went home, grabbed the pasta I’d burned the last batch of, and tried again. The first bite made me laugh out loud. It was that good. I mean, the kind of good where you stand over the stove eating straight from the pan because you can’t wait for a bowl. The three cheeses melt together in this way that’s creamy without being heavy, and the top gets this golden, bubbly crust that my kids now fight over.
Maybe you’ve been there—standing in the grocery aisle, staring at blocks of cheese, wondering why your homemade mac never tastes like the one from your favorite restaurant or your grandma’s kitchen. It took me a while to figure out that the magic is in the blend, not any single ingredient. This recipe has become our family’s go-to for busy weeknights and Sunday suppers alike. It’s the one my youngest requests for her birthday dinner, and the one my husband packs for lunch leftovers without complaint.
Why You’ll Love This Recipe
Let’s face it—there are about a million mac and cheese recipes out there. But this one is different. I’ve tested it more times than I care to count, tweaking the cheese ratios and the cooking times until it was just right. Here’s why this version has earned permanent status in our weekly meal rotation:
- Kid-Approved and Parent-Friendly: My kids don’t just eat this—they ask for seconds. The creamy texture and mild, cheesy flavor are perfect for picky eaters, while the grown-ups appreciate the subtle depth from the Parmesan.
- Simple Pantry Ingredients: No fancy cheese shops or special trips required. Everything you need is probably already in your fridge and pantry. Sharp cheddar, Monterey Jack, Parmesan, butter, flour, milk, and pasta—that’s it.
- Budget-Friendly Comfort: Feeding a family on a sensible budget means making every dollar count. This recipe stretches your cheese dollars by using a flavorful blend that goes further than expensive specialty cheeses.
- Leftovers That Reheat Beautifully: This is not one of those mac and cheeses that turns into a dry, sad mess the next day. The sauce stays creamy, and the pasta holds its texture. I actually look forward to leftovers.
- Customizable for Your Family: You can add broccoli, ham, or bacon bits. You can swap the cheeses for what’s on sale. You can make it gluten-free or add a breadcrumb topping. It’s forgiving and flexible.
This recipe isn’t just good—it’s the kind that makes you close your eyes after the first bite. It’s comfort food that feels like a hug, but without the stress or the complicated techniques. Perfect for impressing dinner guests without breaking a sweat, or turning a regular Tuesday into something a little bit special.
What Ingredients You Will Need
This recipe uses simple, everyday ingredients to create something truly special. The key is in the cheese blend and the technique—nothing fancy, just smart cooking. Here’s what you’ll need:
For the Pasta
- 1 pound elbow macaroni (or any short pasta like cavatappi, shells, or rotini—I prefer cavatappi because the ridges hold more sauce)
- Salt for the pasta water (don’t skimp—this is your first chance to season the dish)
For the Cheese Sauce
- 4 tablespoons unsalted butter (I use Kerrygold for the rich flavor, but any good butter works)
- 1/4 cup all-purpose flour (this thickens the sauce without making it gluey)
- 3 cups whole milk (warm it slightly before adding—cold milk can make the sauce lumpy)
- 1 cup heavy cream (adds richness; you can substitute with half-and-half if needed)
- 2 cups sharp cheddar cheese, shredded (buy a block and shred it yourself—pre-shredded cheese has anti-caking agents that prevent smooth melting)
- 1 cup Monterey Jack cheese, shredded (this adds the creamy, stretchy texture that kids love)
- 1/2 cup Parmesan cheese, grated (the real stuff, not the green can—it adds a salty, nutty depth)
- 1/2 teaspoon garlic powder (optional, but it rounds out the flavor without being garlicky)
- 1/2 teaspoon onion powder
- 1/2 teaspoon mustard powder (this is my secret ingredient—it enhances the cheese flavor without tasting like mustard)
- 1/4 teaspoon paprika (for color and a subtle warmth)
- Salt and black pepper to taste
For the Topping (Optional but Recommended)
- 1/2 cup panko breadcrumbs (they get crunchier than regular breadcrumbs)
- 2 tablespoons melted butter
- 2 tablespoons grated Parmesan
I recommend Tillamook sharp cheddar for its reliable melting and bold flavor. For the Monterey Jack, any good brand works—just make sure it’s fresh and moist. The Parmesan should be finely grated, not shredded, so it dissolves into the sauce smoothly.
Equipment Needed
You don’t need a professional kitchen to make this recipe. Here’s what you’ll need:
- Large pot (for boiling pasta—at least 6 quarts)
- Medium saucepan (for making the cheese sauce)
- 9×13-inch baking dish (a 3-quart dish works perfectly; glass or ceramic is best for even heating)
- Whisk (a good whisk is essential for a smooth sauce—I’ve learned this the hard way)
- Wooden spoon or silicone spatula
- Cheese grater (box grater or microplane—skip the pre-shredded bags)
- Measuring cups and spoons
- Mixing bowl (for the breadcrumb topping)
If you don’t have a 9×13 dish, you can use a 10-inch cast iron skillet or two smaller baking dishes. Just adjust the baking time slightly—smaller dishes will cook faster. I’ve used my grandmother’s old Pyrex dish for years, and it still works perfectly. No need to buy anything special.
Preparation Method
Let’s get cooking. This recipe comes together in about 45 minutes, with about 20 minutes of active prep time.
- Preheat your oven to 375°F (190°C). Grease your 9×13 baking dish with butter or non-stick spray. Set it aside.
- Bring a large pot of salted water to a boil. Add a generous tablespoon of salt—the water should taste like the sea. Add the pasta and cook according to package directions until al dente, usually about 7-8 minutes. You want it firm because it will continue cooking in the oven. Drain the pasta and set it aside. Don’t rinse it—you want the starch to help the sauce stick.
- While the pasta cooks, start the cheese sauce. In a medium saucepan over medium heat, melt the butter. Once it’s bubbling, whisk in the flour. Cook for about 1 minute, stirring constantly, until the mixture turns light golden and smells nutty. This is called a roux, and it’s the foundation of your sauce.
- Slowly pour in the warm milk and cream, whisking constantly to prevent lumps. Keep whisking until the mixture thickens, about 3-4 minutes. It should coat the back of a spoon. If you see lumps, don’t panic—just whisk harder. A few small lumps will melt away as the sauce cooks.
- Reduce the heat to low. Add the shredded cheddar, Monterey Jack, and grated Parmesan cheese one handful at a time, stirring gently after each addition until melted. The sauce will be smooth and glossy. Add the garlic powder, onion powder, mustard powder, paprika, and a pinch of salt and pepper. Taste it—yes, you can taste it now—and adjust the seasoning. The sauce should be well-seasoned because it will coat a lot of pasta.
- Combine the pasta and sauce. Pour the drained pasta into the pot of cheese sauce and stir gently until every piece is coated. I use a silicone spatula to fold the pasta without breaking it. The sauce will seem thin, but it will thicken as it bakes.
- Transfer the mixture to your prepared baking dish. Spread it evenly with the spatula. If you’re adding any mix-ins like cooked broccoli, ham, or bacon, sprinkle them in now and stir gently.
- Prepare the topping. In a small bowl, mix the panko breadcrumbs, melted butter, and grated Parmesan. Sprinkle this mixture evenly over the mac and cheese. This step is optional, but honestly, the crunchy topping is what takes this from good to unforgettable.
- Bake for 20-25 minutes until the sauce is bubbly and the top is golden brown. If you want extra color on the topping, switch the oven to broil for the last 2 minutes—but watch it carefully so it doesn’t burn. I learned this the hard way when I walked away to answer the phone and came back to a smoky kitchen.
- Let it rest for 5-10 minutes before serving. This is the hardest part, I know. But letting it sit allows the sauce to set slightly so it doesn’t run all over the plate. The wait is worth it.
Cooking Tips & Techniques
I’ve made this recipe more times than I can count, and I’ve made every mistake in the book so you don’t have to. Here are the tips that make the biggest difference:
- Shred your own cheese. I know it’s tempting to buy the pre-shredded bags, especially on busy nights. But those bags have cellulose and anti-caking agents that prevent the cheese from melting smoothly. Your sauce will be grainy instead of silky. Spend the 3 minutes grating your own—it’s worth it.
- Don’t overcook the pasta. Al dente is your friend. The pasta will continue cooking in the oven, so if you cook it fully on the stovetop, you’ll end up with mushy mac and cheese. Trust me, I’ve served my fair share of sad, overcooked pasta.
- Warm your milk and cream. Adding cold liquid to your roux can cause lumps that are hard to whisk out. I microwave the milk and cream together for about 45 seconds before adding them. It’s a small step that makes a big difference.
- Low and slow for the cheese. When you add the cheese to the sauce, keep the heat on low. High heat can cause the cheese to seize up and become grainy. Patience is key here—let the cheese melt gently.
- Season as you go. Don’t wait until the end to add salt and pepper. Season the pasta water, season the roux, and season the sauce. Each layer of seasoning builds flavor. The mustard powder and paprika are subtle but essential—they don’t make the dish taste like mustard or paprika; they make the cheese taste cheesier.
Variations & Adaptations
This recipe is wonderfully flexible. Here are some ways to make it your own:
- Add Protein: Stir in 2 cups of cooked, shredded chicken, diced ham, or crispy bacon bits before baking. My family loves the bacon version—I cook the bacon first, crumble it, and sprinkle half in the mac and half on top for extra crunch.
- Add Vegetables: Steam some broccoli florets, sauté some mushrooms, or add frozen peas (no need to thaw them first). I often add a cup of steamed broccoli florets to sneak in some greens. The kids barely notice.
- Make it Gluten-Free: Use gluten-free pasta and swap the all-purpose flour for a 1:1 gluten-free flour blend. The rest of the recipe stays the same. I’ve tested this with my neighbor who has celiac disease, and she said it was the best gluten-free mac and cheese she’d ever had.
- Spice It Up: Add 1/4 teaspoon of cayenne pepper or a diced jalapeño to the sauce for a kick. My husband loves this version, but I keep it separate for the kids.
- Change the Cheese Blend: Try using Gouda, Gruyère, or fontina in place of the Monterey Jack. Each cheese brings a different personality to the dish. Smoked Gouda adds a wonderful smoky flavor that’s perfect for fall.
- Breadcrumb Variations: Swap the panko for crushed Ritz crackers, crushed potato chips, or even crushed Cheez-Its for extra cheesiness. I once used crushed barbecue chips by accident, and it was surprisingly delicious.
Serving & Storage Suggestions
This mac and cheese is best served hot, straight from the oven. Let it rest for 5-10 minutes before scooping into bowls. The creamy interior and crispy topping are a match made in heaven.
What to Serve With It: This dish is hearty enough to be a main course, but it also pairs beautifully with a simple green salad dressed with vinaigrette (the acidity cuts through the richness). Roasted vegetables like asparagus or green beans are also great companions. For a protein boost, serve it alongside grilled chicken, meatloaf, or roasted pork chops.
Storage: Leftovers can be stored in an airtight container in the refrigerator for up to 4 days. The flavor actually improves after a day as the cheeses meld together. To reheat, add a splash of milk to restore the creamy texture and microwave in 30-second intervals, stirring between each. Or reheat in a 350°F oven for 10-15 minutes until bubbly.
Freezing: This mac and cheese freezes beautifully. Assemble the dish completely but don’t bake it. Wrap it tightly in plastic wrap and then foil, and freeze for up to 3 months. To bake from frozen, add about 20 minutes to the baking time. I often make a double batch and freeze one for busy weeks.
Nutritional Information & Benefits
Here’s the nutritional breakdown per serving (based on 8 servings):
| Nutrient | Amount Per Serving |
|---|---|
| Calories | 520 |
| Total Fat | 28g |
| Saturated Fat | 17g |
| Cholesterol | 85mg |
| Sodium | 680mg |
| Total Carbohydrates | 45g |
| Dietary Fiber | 2g |
| Sugars | 6g |
| Protein | 22g |
| Calcium | 450mg |
| Vitamin A | 600IU |
This dish provides a good source of calcium from the cheese and milk, which is great for growing kids and bone health. The protein from the cheese and milk helps keep everyone full and satisfied. While it’s certainly a comfort food indulgence, using whole milk and real cheese means you’re getting more nutrients than from processed versions. For a lighter option, you can use 2% milk and reduce the butter to 3 tablespoons.
Conclusion
This three-cheese baked mac and cheese has become a staple in our home for good reason. It’s the recipe that brought my family together around the table on hectic weeknights and lazy Sundays alike. The creamy sauce, the tender pasta, the golden crispy top—every bite reminds me of that farm stand lady who shared her secret with a stranger.
I hope you’ll try this recipe and make it your own. Maybe you’ll add bacon like we do on special occasions, or broccoli on nights when you need extra vegetables. Maybe you’ll double the batch and freeze one for a rainy day. Whatever you do, I’d love to hear about it. Drop a comment below and tell me how it turned out for your family.
And hey—if your kids ask for seconds, don’t be surprised. It happens every time in our house.
Frequently Asked Questions
Can I use pre-shredded cheese?
You can, but I really don’t recommend it. Pre-shredded cheese has anti-caking agents that prevent it from melting smoothly, which can make your sauce grainy. Taking 3 minutes to shred a block of cheese makes a huge difference in the final texture.
Why is my cheese sauce lumpy?
Lumpy sauce usually happens when you add cold milk to the roux or when you add the cheese too quickly over high heat. To fix it, whisk vigorously and lower the heat. If it’s still lumpy, you can strain the sauce through a fine-mesh sieve before adding the pasta.
Can I make this ahead of time?
Absolutely! You can assemble the mac and cheese up to 24 hours in advance and keep it covered in the refrigerator. When you’re ready to bake, add about 10 minutes to the baking time since you’re starting from cold. You can also freeze it unbaked for up to 3 months.
How do I reheat leftovers without drying them out?
The best way is to add a splash of milk (about 1 tablespoon per serving) and reheat in the microwave in 30-second intervals, stirring between each. For larger portions, reheat in a 350°F oven covered with foil for 10-15 minutes. The milk helps restore the creamy texture.
Can I make this recipe dairy-free?
Yes, with some adjustments. Use a high-quality dairy-free butter substitute, unsweetened oat milk or cashew milk for the creaminess, and dairy-free shredded cheese blends. The texture will be slightly different, but it can still be delicious. I’ve tested it with oat milk and a dairy-free cheddar blend, and my dairy-sensitive nephew gave it two thumbs up.
Pin This Recipe!
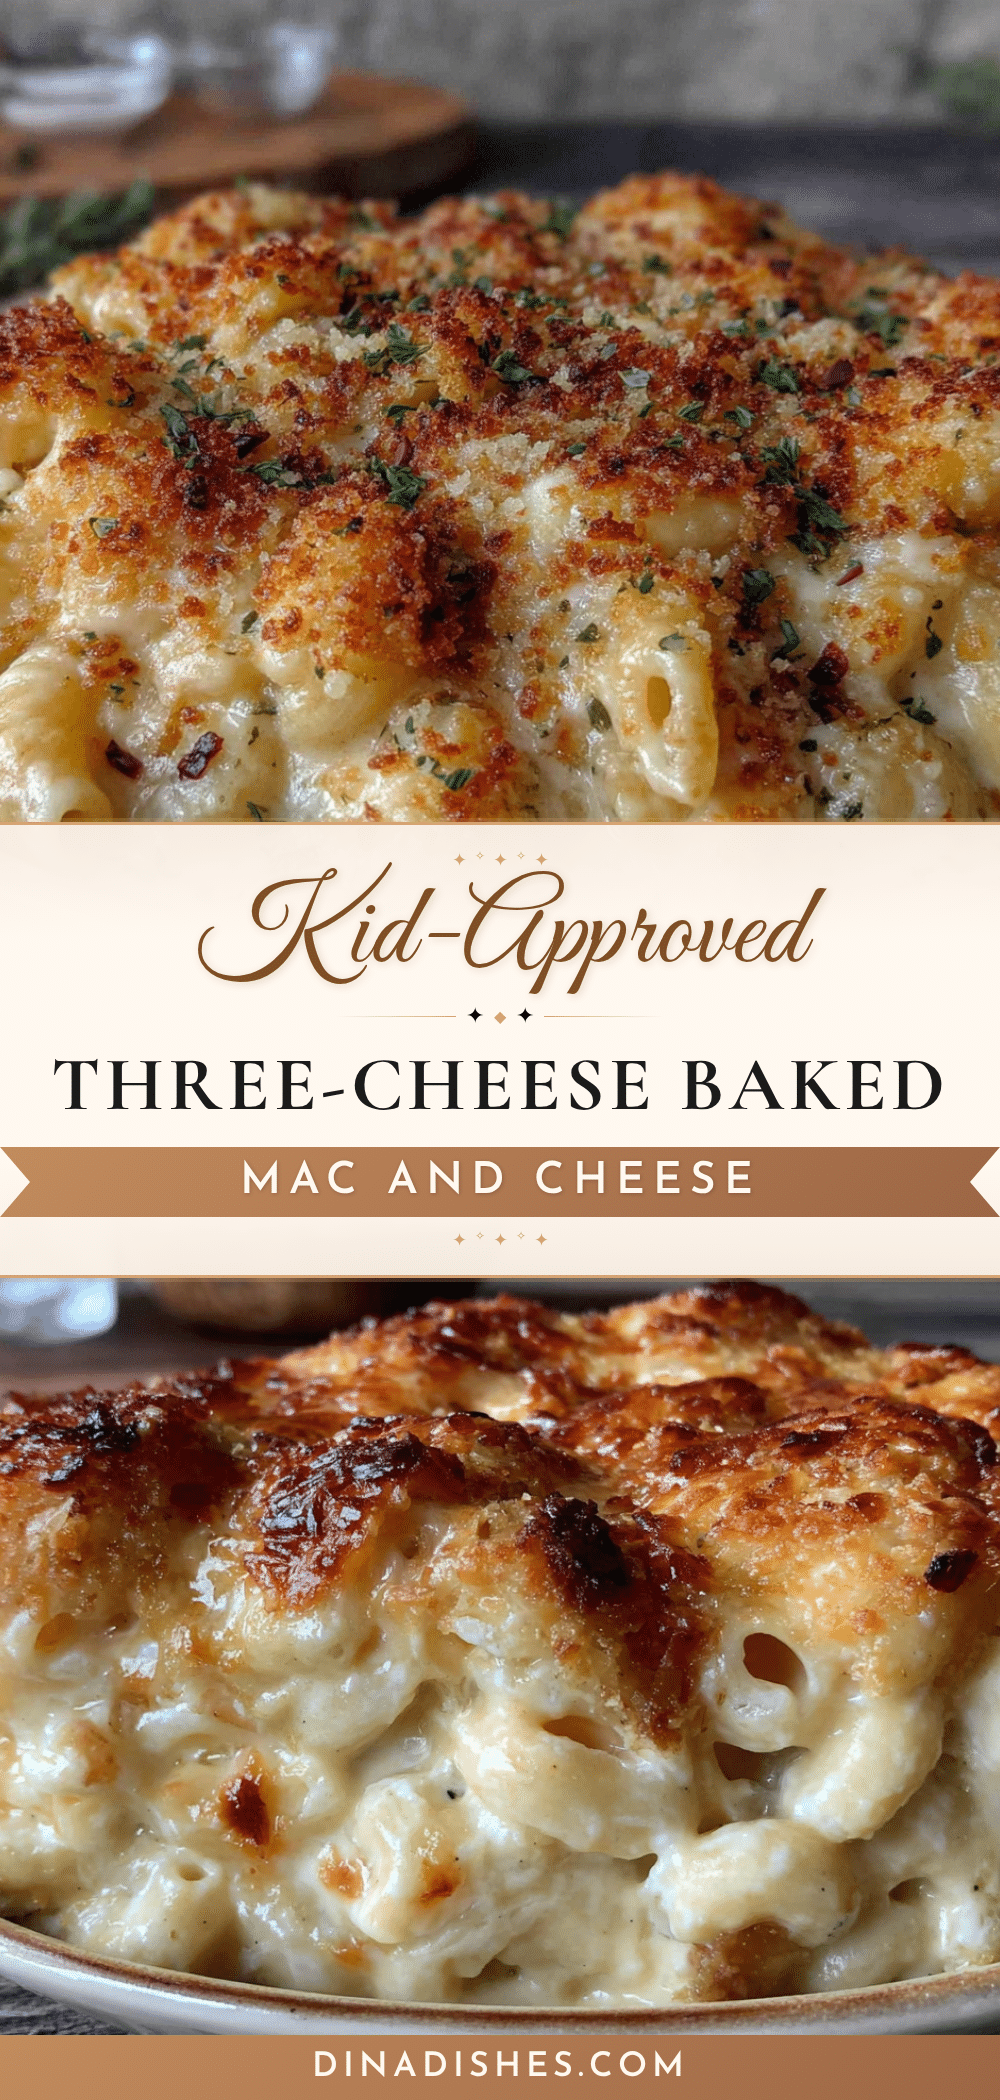
Best Three-Cheese Baked Mac and Cheese Recipe
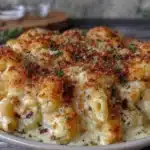
This three-cheese baked mac and cheese features a creamy, cheesy sauce made with sharp cheddar, Monterey Jack, and Parmesan, topped with a golden, bubbly crust. It’s a family-friendly comfort food that’s perfect for busy weeknights or special occasions.
- Prep Time: 20 minutes
- Cook Time: 25 minutes
- Total Time: 45 minutes
- Yield: 8 servings 1x
- Category: Main Course
- Cuisine: American
Ingredients
- 1 pound elbow macaroni (or any short pasta like cavatappi, shells, or rotini)
- Salt for the pasta water
- 4 tablespoons unsalted butter
- 1/4 cup all-purpose flour
- 3 cups whole milk (warmed)
- 1 cup heavy cream (warmed)
- 2 cups sharp cheddar cheese, shredded
- 1 cup Monterey Jack cheese, shredded
- 1/2 cup Parmesan cheese, grated
- 1/2 teaspoon garlic powder
- 1/2 teaspoon onion powder
- 1/2 teaspoon mustard powder
- 1/4 teaspoon paprika
- Salt and black pepper to taste
- 1/2 cup panko breadcrumbs (for topping)
- 2 tablespoons melted butter (for topping)
- 2 tablespoons grated Parmesan (for topping)
Instructions
- Preheat your oven to 375°F (190°C). Grease a 9×13-inch baking dish with butter or non-stick spray.
- Bring a large pot of salted water to a boil. Add the pasta and cook according to package directions until al dente, about 7-8 minutes. Drain and set aside (do not rinse).
- While the pasta cooks, start the cheese sauce. In a medium saucepan over medium heat, melt the butter. Whisk in the flour and cook for about 1 minute, stirring constantly, until the mixture turns light golden and smells nutty.
- Slowly pour in the warm milk and cream, whisking constantly to prevent lumps. Continue whisking until the mixture thickens, about 3-4 minutes, until it coats the back of a spoon.
- Reduce the heat to low. Add the shredded cheddar, Monterey Jack, and grated Parmesan cheese one handful at a time, stirring gently after each addition until melted. Stir in the garlic powder, onion powder, mustard powder, paprika, and a pinch of salt and pepper. Taste and adjust seasoning.
- Combine the pasta and sauce. Pour the drained pasta into the pot of cheese sauce and stir gently until every piece is coated.
- Transfer the mixture to the prepared baking dish and spread evenly.
- Prepare the topping: In a small bowl, mix the panko breadcrumbs, melted butter, and grated Parmesan. Sprinkle evenly over the mac and cheese.
- Bake for 20-25 minutes until the sauce is bubbly and the top is golden brown. For extra color, broil for the last 2 minutes, watching carefully.
- Let it rest for 5-10 minutes before serving.
Notes
Shred your own cheese for the smoothest sauce. Don’t overcook the pasta; it will continue cooking in the oven. Warm the milk and cream before adding to the roux to prevent lumps. Let the mac and cheese rest for 5-10 minutes before serving to allow the sauce to set. For a gluten-free version, use gluten-free pasta and a 1:1 gluten-free flour blend.
Nutrition
- Serving Size: 1 serving (about 1 c
- Calories: 520
- Sugar: 6
- Sodium: 680
- Fat: 28
- Saturated Fat: 17
- Carbohydrates: 45
- Fiber: 2
- Protein: 22
Keywords: mac and cheese, baked mac and cheese, three-cheese mac and cheese, comfort food, family dinner, cheesy pasta