My sister asked why I couldn’t just use Greek yogurt instead of heavy cream in the filling. I started to explain why that wouldn’t work—then stopped. Honestly, I had no good reason except that I’d never tried it. She’s not a baker, and I’ve been making pumpkin pie since I was tall enough to reach the counter, so my instinct was to protect the recipe. But something about her casual confidence made me pause. I grabbed the container of Greek yogurt from the fridge and decided to find out if she was right.
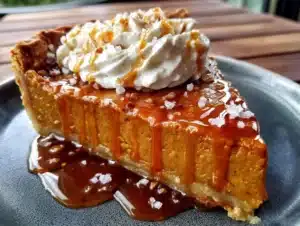
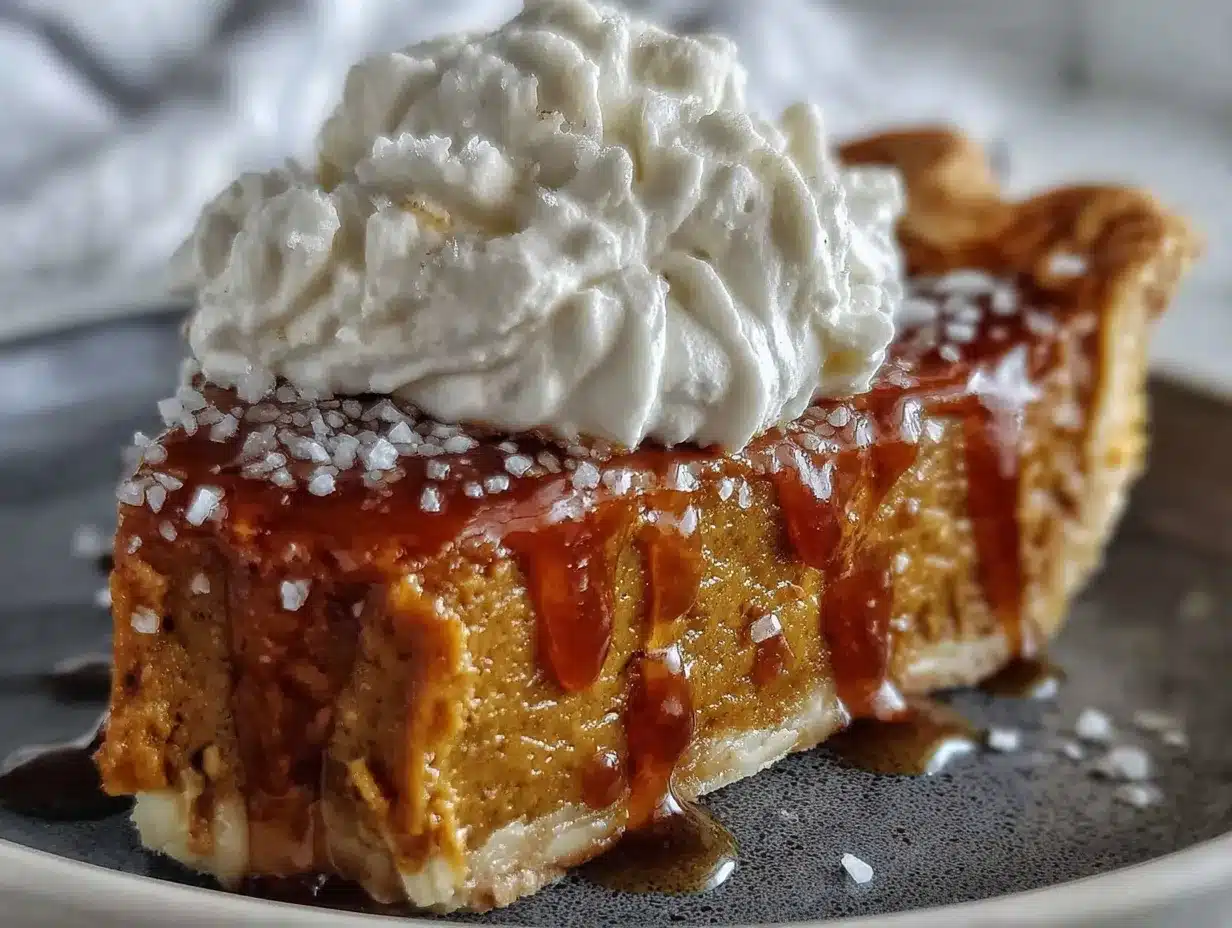
That was two Thanksgivings ago. The pie came out of the oven looking exactly right—that deep burnt-orange color, the edges just set, the center with a gentle wobble. I held my breath while it cooled. When I finally cut into it later that night, the texture was creamy and smooth, not dense or heavy like I’d worried. The tang from the yogurt actually made the pumpkin flavor pop more. I had to admit it out loud: she was completely right. I’ve made it this way ever since, and honestly, I haven’t looked back.
This lightened-up version has become my go-to for fall gatherings. It’s still got that familiar spiced custard filling and flaky crust everyone expects, but it feels lighter going down—less of that post-pie slump. The salted maple whipped cream on top takes it over the edge, adding just enough richness without making it heavy. Maybe you’ve been there, holding onto a recipe a little too tightly because it’s what you’ve always done. I get it. But sometimes the best version comes from letting go of what you think you know and trusting someone else’s instinct. This pie is proof.
Why You’ll Love This Recipe
This isn’t just another pumpkin pie recipe—it’s the one that makes people ask for seconds and then ask what you did differently. The Greek yogurt swap isn’t a compromise; it genuinely makes the filling lighter and more flavorful. I’ve tested this about six times now with different yogurt brands and fat percentages, and every single time the texture comes out silky without that heavy, almost greasy mouthfeel you sometimes get with traditional recipes.
- Lighter, Not Less Delicious : Each slice has about 40% less fat than traditional pumpkin pie, but nobody at the table will guess. The secret is in how the yogurt interacts with the eggs and spices—it creates this velvety texture that feels indulgent without the weight.
- Simple Ingredients, No Fuss : You probably already have most of these in your pantry. Pumpkin puree, eggs, sugar, spices, and Greek yogurt are all easy to find. No specialty health food store runs required.
- Perfect for Holiday Gatherings : Whether it’s Thanksgiving, Friendsgiving, or just a cozy Sunday dinner, this pie fits right in. It’s familiar enough for traditionalists but different enough to feel fresh.
- Crowd-Pleaser Across the Board : I’ve served this to kids, grandparents, and my picky uncle who “doesn’t like healthy desserts.” Everyone went back for more. The salted maple whipped cream is a big part of that—it adds just enough sweet-salty magic.
- Make-Ahead Friendly : This pie actually tastes better the next day. The flavors have time to meld together, and the texture firms up beautifully. One less thing to stress about on the day of your gathering.
What makes this recipe different from the dozens of pumpkin pie recipes out there is the balance. It’s not trying to be a health food—it’s trying to be a really good pumpkin pie that happens to be lighter. The salted maple whipped cream isn’t an afterthought either; it’s the finishing touch that ties everything together. That little hit of salt and maple against the spiced pumpkin is honestly addictive. I’ve caught myself eating leftover whipped cream straight from the bowl more times than I care to admit.
What Ingredients You Will Need
This recipe uses simple, wholesome ingredients that work together to create a pie that feels both familiar and fresh. Most of these are pantry staples or easy to find at any grocery store, which means you can make this on a whim without a special shopping trip.
For the Pumpkin Pie Filling
- 1 can (15 oz) pumpkin puree (not pumpkin pie filling—make sure it’s 100% pure pumpkin. I prefer Libby’s for consistent texture)
- 3/4 cup plain Greek yogurt (full-fat or 2% works best here; non-fat can make the filling slightly less creamy)
- 3/4 cup packed brown sugar (light or dark both work; dark adds a deeper molasses note)
- 2 large eggs (room temperature for smoother mixing)
- 1 teaspoon vanilla extract
- 1 1/2 teaspoons pumpkin pie spice (or make your own mix: 1/2 tsp cinnamon, 1/4 tsp nutmeg, 1/4 tsp ginger, 1/8 tsp cloves)
- 1/2 teaspoon cinnamon (I add extra because I’m a cinnamon lover—cut back if you prefer a milder spice profile)
- 1/4 teaspoon salt (this balances the sweetness and makes the spices pop)
For the Crust
- 1 unbaked 9-inch pie crust (store-bought is totally fine—I use Pillsbury when I’m short on time, or my homemade butter crust if I’m feeling ambitious)
For the Salted Maple Whipped Cream
- 1 cup heavy cream (cold from the fridge—this is non-negotiable for proper whipping)
- 2 tablespoons pure maple syrup (use the real stuff, not pancake syrup; it makes a big difference in flavor)
- 1/4 teaspoon flaky sea salt (like Maldon—regular salt works too, but flaky gives those little bursts of saltiness)
- 1/2 teaspoon vanilla extract (optional but adds nice depth)
A quick note on the Greek yogurt: I’ve tested this with Fage, Chobani, and store-brand Greek yogurt, and they all work well. Just avoid the really watery ones—if there’s liquid sitting on top, stir it in before measuring. The yogurt adds protein and tang while cutting down on the fat from traditional heavy cream. It’s a swap I was skeptical about at first, but now I genuinely prefer it.
For the pumpkin puree, one can is exactly the right amount. Don’t use fresh pumpkin for this recipe—it’s too watery and will make the filling runny. Canned pumpkin is actually more consistent and gives better results. Trust me on this one, I learned the hard way after a very sad, soggy pie situation a few years ago.
Equipment Needed
You don’t need a fancy kitchen to make this pie work. Here’s what you’ll actually use:
- 9-inch pie dish (glass or ceramic works best for even baking; metal can get too hot and brown the crust too fast)
- Large mixing bowl (for the filling—any bowl works, but wider ones make whisking easier)
- Whisk (a hand whisk is fine; no need to drag out the stand mixer for this filling)
- Rubber spatula (for scraping every last bit of filling into the crust—don’t waste a drop)
- Measuring cups and spoons (dry measuring cups for sugar, liquid measuring cup for the yogurt)
- Baking sheet (place the pie dish on this to catch any drips and help the bottom crust bake evenly)
- Electric mixer or hand whisk (for the whipped cream—you can do it by hand, but your arm will thank you for using a mixer)
- Cooling rack (lets air circulate around the pie so it cools evenly without a soggy bottom)
If you don’t have a pie dish, a 9-inch tart pan with removable bottom works too—just keep an eye on baking time since it’s shallower. I’ve also used a cast iron skillet in a pinch, which gives the crust an extra-crispy edge that’s honestly fantastic. No cooling rack? A wire oven rack works fine, or even just a folded kitchen towel on the counter. Don’t let missing equipment stop you from making this pie.
Preparation Method
Let me walk you through this step by step. The whole process takes about 15 minutes of active work, then the oven does the rest. Here’s how it goes:
- Preheat your oven to 375°F (190°C). Place your unbaked pie crust in the pie dish and crimp the edges however you like—I do a simple pinch around the edge. Put the crust in the fridge while you make the filling. Cold crust = flakier results.
- Make the filling. In a large bowl, whisk together the pumpkin puree and Greek yogurt until smooth. It should look uniform with no streaks of white. Add the brown sugar and whisk again, breaking up any clumps. The mixture will look a bit thicker than traditional pumpkin pie filling—that’s normal.
- Add the eggs, vanilla, and spices. Crack the eggs into a small bowl first (just in case of shells—I’ve learned this the hard way), then add them to the pumpkin mixture. Pour in the vanilla, pumpkin pie spice, cinnamon, and salt. Whisk everything together until it’s completely smooth and glossy. Taste a tiny bit if you’re brave—it’s good even raw, but don’t eat too much because of the raw eggs.
- Pour the filling into the chilled crust. Use your rubber spatula to get every last bit. The filling should come almost to the top of the crust—leave about 1/4 inch of space so it doesn’t spill over during baking. Place the pie dish on the baking sheet for easier handling.
- Bake for 45-50 minutes. The pie is done when the edges are set and slightly puffed, but the center still jiggles gently when you shake it—like Jell-O, not like liquid. If the crust edges start browning too fast (around the 25-minute mark), tent them loosely with foil or use a pie shield.
- Cool completely. Transfer the pie to a cooling rack and let it cool for at least 2 hours at room temperature. Don’t rush this—if you cut it warm, the filling will be runny and messy. After it’s cooled, you can refrigerate it for 4 hours or overnight to firm up completely.
- Make the whipped cream. Just before serving, pour the cold heavy cream into a chilled bowl (pop it in the freezer for 10 minutes if you remember). Add the maple syrup, vanilla, and a pinch of the flaky salt. Whip with an electric mixer on medium-high speed until soft peaks form—about 2-3 minutes. Don’t overwhip or you’ll end up with butter. Taste and add more salt if you want that sweet-salty balance.
- Serve and enjoy. Slice the pie with a sharp knife (wipe it clean between cuts for neat slices). Top each piece with a generous dollop of the salted maple whipped cream and a tiny extra sprinkle of flaky salt if you’re feeling fancy.
A few things to watch for: If your filling looks curdled after mixing, you probably used yogurt that was too cold. Let it sit at room temperature for 15 minutes and whisk again—it should smooth out. Also, don’t overbake. The center should still have a slight jiggle when you pull it out; it will continue setting as it cools. Overbaked pumpkin pie gets cracks on top and a rubbery texture, so err on the side of underdone.
Cooking Tips & Techniques
I’ve made this pie enough times to know where things can go wrong and how to fix them. Here are the tips I wish someone had told me sooner:
Blind bake your crust for extra insurance. If you’re worried about a soggy bottom (and who isn’t?), pre-bake the crust for 10 minutes at 375°F with pie weights or dried beans, then remove the weights and bake another 5 minutes. Let it cool before adding the filling. This step is optional but makes a noticeable difference in crust crispness.
Room temperature ingredients matter. I know it’s annoying to wait, but cold eggs and cold yogurt can make your filling lumpy and affect how it bakes. Take everything out of the fridge 30 minutes before you start. If you forget, place the eggs in a bowl of warm water for 5 minutes and microwave the yogurt in 10-second bursts until it’s no longer cold to the touch.
The jiggle test is your best friend. I used to rely on a knife inserted in the center (which leaves an ugly crack), but the jiggle test is way more reliable. Gently shake the pie—if the center wobbles like a firm custard but the edges are set, it’s done. The residual heat will finish cooking the center as it cools.
Don’t skip the cooling time. I once rushed this process because guests were arriving early, and I ended up with a soupy mess that barely held its shape. The filling needs time to set properly—at least 2 hours at room temperature, then 4 hours in the fridge if you want clean slices. Patience pays off here.
Whip the cream by hand for better control. I know electric mixers are faster, but whipping by hand lets you feel exactly when the cream reaches soft peaks. You’ll never accidentally overwhip and end up with chunky whipped cream. It takes about 5 minutes of steady whisking—good arm workout, honestly.
Make the whipped cream fresh. Don’t make it ahead of time—it will deflate and get watery. Whip it right before serving, and if you have leftovers, re-whip it briefly before using. The maple flavor actually gets stronger overnight, which isn’t a bad thing.
Variations & Adaptations
One of the best things about this recipe is how flexible it is. Here are some ways to make it your own:
Gluten-Free Version: Use a gluten-free pie crust (store-bought or homemade). The filling itself is naturally gluten-free, so this is an easy swap. I’ve used Wholly Gluten Free crusts with great results—they’re buttery and flaky, and nobody notices the difference.
Dairy-Free Adaptation: Replace the Greek yogurt with a thick dairy-free yogurt like coconut yogurt or almond milk yogurt. For the whipped cream, use full-fat coconut cream (chill a can of coconut milk overnight and scoop off the solid top). The texture will be slightly different, but the flavor is still fantastic. Just make sure your dairy-free yogurt isn’t too watery—strain it through cheesecloth if needed.
Spice It Up: Add a pinch of cayenne pepper or black pepper to the filling for a subtle warmth that pairs beautifully with the maple whipped cream. I tried this on a whim last year and it’s become my secret addition. The heat is barely noticeable, but it adds complexity that makes people ask what’s different.
Maple Variation: Swap the brown sugar for maple sugar or reduce it slightly and add 2 tablespoons of maple syrup to the filling. This creates a more cohesive maple-pumpkin flavor profile that works especially well with the salted maple whipped cream on top.
Mini Pie Version: Use a muffin tin and pre-made mini pie crusts for individual servings. Reduce baking time to 20-25 minutes and check for doneness with the jiggle test. These are perfect for parties or portion control—I made them for a potluck and they disappeared before the full-sized pie even got touched.
Lower Sugar Option: Cut the brown sugar to 1/2 cup and add 2 tablespoons of maple syrup or honey. The pie will be slightly less sweet, but the natural sweetness of the pumpkin and the maple whipped cream will still satisfy your sweet tooth.
Serving & Storage Suggestions
This pie is best served at room temperature or slightly chilled, with a generous dollop of the salted maple whipped cream on top. I like to slice it and arrange the pieces on a platter with the whipped cream in a separate bowl so everyone can add as much as they want. A light dusting of cinnamon or a few candied pecans on top makes it look extra special for holiday gatherings.
For drinks, this pie pairs beautifully with black coffee, spiced chai, or a crisp apple cider. If you’re serving it as part of a Thanksgiving spread, it goes great alongside pecan pie or apple crisp—just make sure you have enough whipped cream for everyone. I usually double the whipped cream recipe because people go through it fast.
Storage: Leftover pie keeps well in the refrigerator for up to 4 days. Cover it loosely with plastic wrap or foil—don’t wrap it too tightly or the crust can get soggy. The whipped cream should be stored separately in an airtight container and will keep for about 2 days. Give it a quick whisk before serving to bring back the fluffiness.
Freezing: You can freeze the baked, cooled pie (without whipped cream) for up to 3 months. Wrap it tightly in plastic wrap, then foil, and place it in a freezer bag. Thaw overnight in the refrigerator before serving. The texture holds up remarkably well—I’ve done this twice now and couldn’t tell the difference from fresh. Just don’t freeze the whipped cream; make it fresh when you’re ready to serve.
Reheating: If you prefer warm pie (I get it, warm pie is amazing), pop individual slices in a 300°F oven for 5-7 minutes or microwave for 15-20 seconds. Add the whipped cream after reheating so it doesn’t melt into a puddle. The flavors actually deepen overnight, so day-old pie is often even better than fresh—the spices meld together and the texture becomes perfectly creamy.
Nutritional Information & Benefits
Here’s the approximate nutritional breakdown for one slice (1/8 of the pie with 2 tablespoons of whipped cream):
- Calories: 285
- Fat: 14g
- Carbohydrates: 34g
- Protein: 7g
- Fiber: 2g
- Sugar: 22g
Compared to traditional pumpkin pie, this version saves about 100 calories and 8g of fat per slice, thanks to the Greek yogurt swap. But honestly, I don’t make this pie because it’s healthier—I make it because it tastes better. The nutritional benefits are just a bonus.
Pumpkin itself is packed with vitamin A (over 200% of your daily needs per serving), fiber, and antioxidants. The Greek yogurt adds protein and probiotics, which support gut health. The maple syrup in the whipped cream contains antioxidants and minerals like zinc and manganese—though let’s be real, we’re eating it because it’s delicious, not because it’s a health food.
This recipe is vegetarian and can be made gluten-free and dairy-free with simple substitutions. It contains eggs, dairy (unless modified), and gluten (unless using a gluten-free crust). If you’re serving guests with dietary restrictions, the variations section has you covered.
Conclusion
This lightened-up pumpkin pie with salted maple whipped cream has become my most-requested dessert for fall gatherings, and I don’t see that changing anytime soon. It’s the kind of recipe that proves you don’t have to choose between eating well and eating something that actually tastes amazing. The Greek yogurt trick is one I stumbled into by accident, and I’m so glad I was wrong about it.
What I love most about this pie is how it brings people together. There’s something about the familiar spices and creamy texture that feels like a hug on a plate, and the salted maple whipped cream adds just enough of a twist to make it memorable. Whether you’re serving it at Thanksgiving, a cozy dinner party, or just treating yourself on a random Tuesday, this pie delivers.
I’d love to hear how yours turns out! Try it with a different spice blend, add some chopped pecans to the crust, or experiment with the whipped cream—the possibilities are endless. Leave a comment below and let me know what variations you tried, or share your photos on social media and tag me so I can see your creations. Happy baking, friends—you’ve got this!
Frequently Asked Questions
Can I use non-fat Greek yogurt instead of full-fat?
Yes, you can, but the texture will be slightly less creamy. Non-fat yogurt has more water content, which can make the filling a bit softer. If you use non-fat, consider straining it through cheesecloth for 30 minutes to remove excess liquid before adding it to the filling.
Why did my pumpkin pie crack on top?
Cracks usually mean the pie was overbaked or the temperature was too high. The filling expands as it bakes and contracts as it cools—if it’s overbaked, it contracts too much and cracks. Try baking at 375°F and pulling the pie out when the center still has a slight jiggle. A water bath can also help prevent cracking, though I don’t find it necessary for this recipe.
Can I make this pie ahead of time?
Absolutely! This pie actually tastes better the next day. Bake it a day ahead, let it cool completely, and refrigerate it overnight. Make the salted maple whipped cream fresh on the day you’re serving it. The flavors meld together beautifully overnight, and the texture firms up perfectly for clean slices.
What if I don’t have pumpkin pie spice?
No problem! Make your own mix with common spices: 1/2 teaspoon cinnamon, 1/4 teaspoon nutmeg, 1/4 teaspoon ginger, and 1/8 teaspoon cloves. This combination gives you exactly the same warm, aromatic flavor. You can also adjust the ratios based on what you like—more cinnamon for a sweeter profile, more ginger for a spicier kick.
Can I use fresh pumpkin instead of canned?
I don’t recommend it for this recipe. Fresh pumpkin has much higher water content than canned puree, which can make the filling runny and prevent it from setting properly. If you really want to use fresh pumpkin, roast it, puree it, and then strain it through cheesecloth overnight to remove as much liquid as possible. Even then, canned pumpkin is more consistent and reliable for baking.
Pin This Recipe!
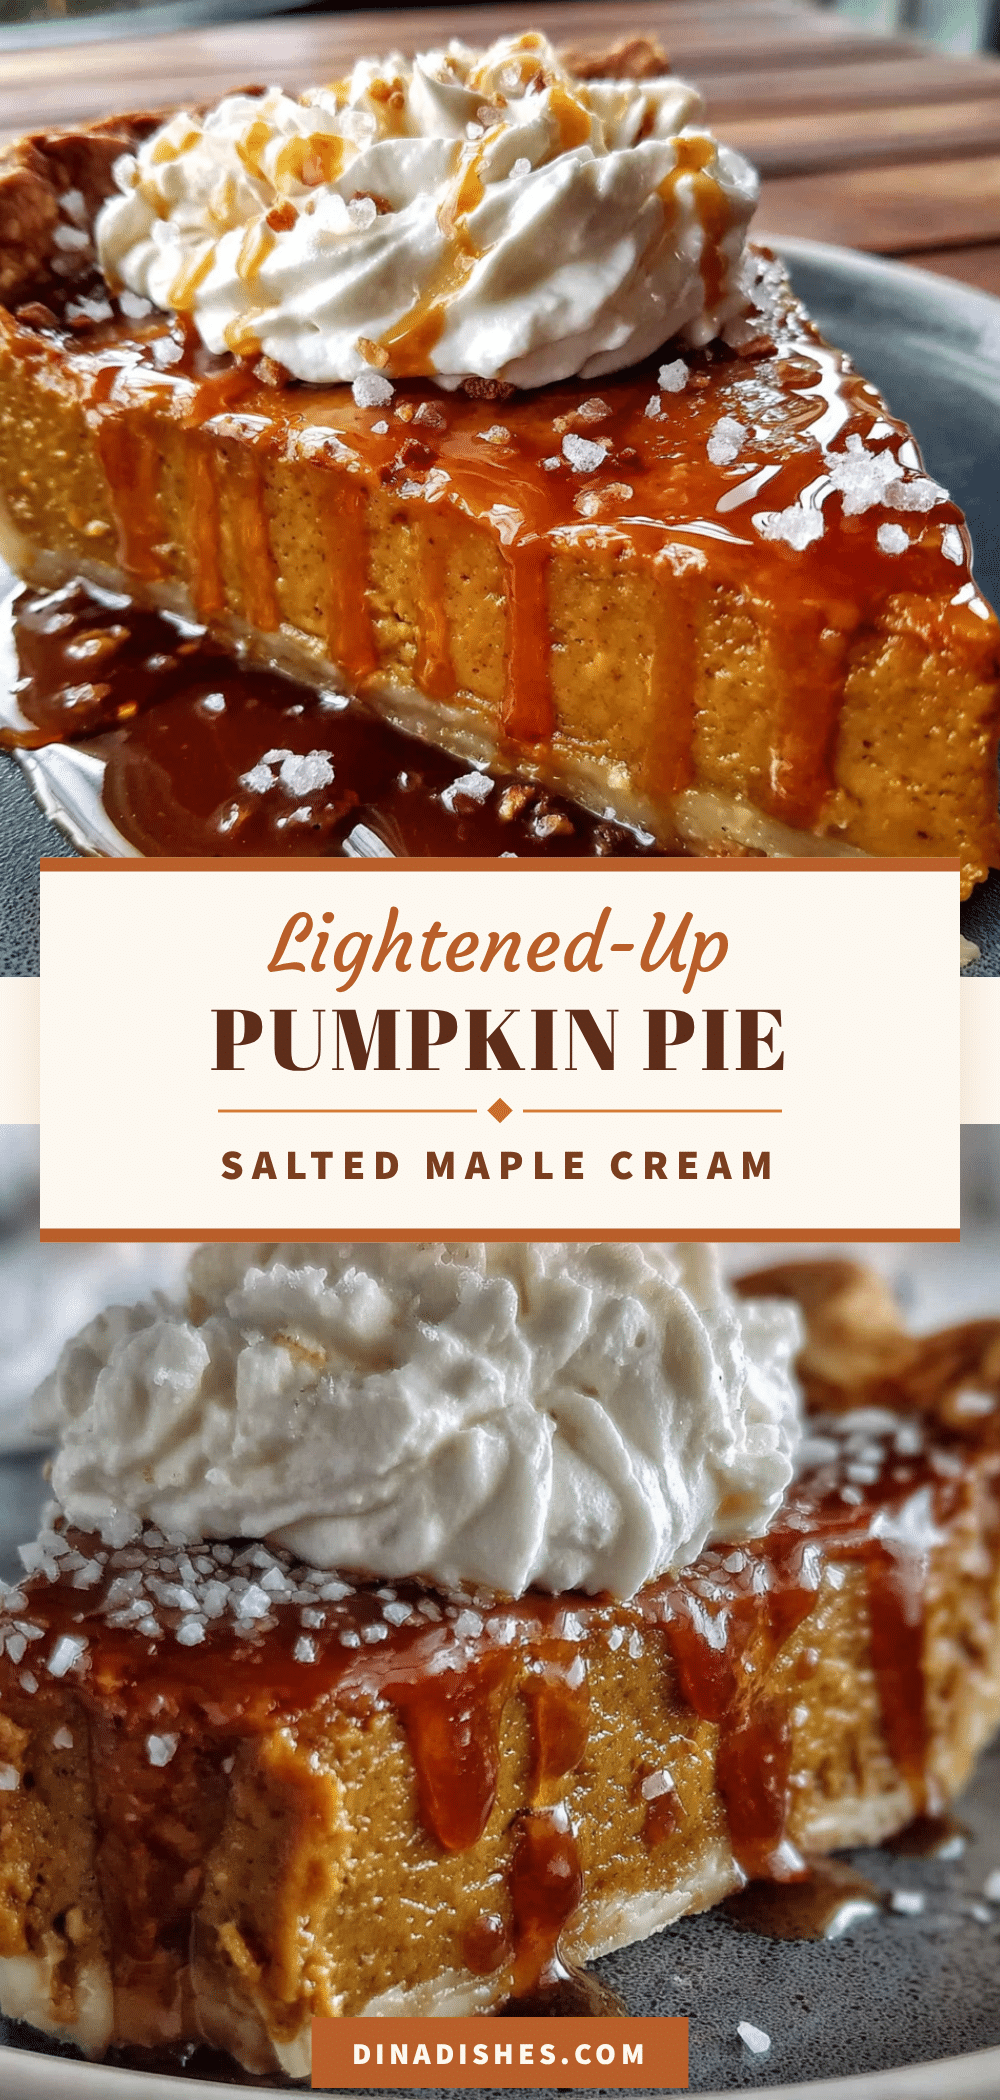
Lightened-Up Pumpkin Pie with Salted Maple Whipped Cream

A lighter, creamier pumpkin pie made with Greek yogurt instead of heavy cream, topped with salted maple whipped cream. This crowd-pleasing dessert is perfect for fall gatherings and tastes even better the next day.
- Prep Time: 15 minutes
- Cook Time: 50 minutes
- Total Time: 2 hours 5 minutes (plus cooling and chilling)
- Yield: 8 servings 1x
- Category: Dessert
- Cuisine: American
Ingredients
- 1 can (15 oz) pumpkin puree (not pumpkin pie filling)
- 3/4 cup plain Greek yogurt (full-fat or 2%)
- 3/4 cup packed brown sugar (light or dark)
- 2 large eggs (room temperature)
- 1 teaspoon vanilla extract
- 1 1/2 teaspoons pumpkin pie spice
- 1/2 teaspoon cinnamon
- 1/4 teaspoon salt
- 1 unbaked 9-inch pie crust
- 1 cup heavy cream (cold)
- 2 tablespoons pure maple syrup
- 1/4 teaspoon flaky sea salt
- 1/2 teaspoon vanilla extract (optional, for whipped cream)
Instructions
- Preheat your oven to 375°F (190°C). Place your unbaked pie crust in the pie dish and crimp the edges. Put the crust in the fridge while you make the filling.
- In a large bowl, whisk together the pumpkin puree and Greek yogurt until smooth. Add the brown sugar and whisk again, breaking up any clumps.
- Crack the eggs into a small bowl, then add them to the pumpkin mixture. Pour in the vanilla, pumpkin pie spice, cinnamon, and salt. Whisk until completely smooth and glossy.
- Pour the filling into the chilled crust, leaving about 1/4 inch of space at the top. Place the pie dish on a baking sheet.
- Bake for 45-50 minutes, until the edges are set and slightly puffed but the center still jiggles gently. If the crust edges brown too fast, tent them with foil after about 25 minutes.
- Cool the pie on a cooling rack for at least 2 hours at room temperature. Refrigerate for 4 hours or overnight to firm up completely.
- Just before serving, pour the cold heavy cream into a chilled bowl. Add the maple syrup, vanilla, and a pinch of flaky salt. Whip with an electric mixer on medium-high speed until soft peaks form, about 2-3 minutes.
- Slice the pie with a sharp knife, wiping it clean between cuts. Top each piece with a dollop of salted maple whipped cream and an extra sprinkle of flaky salt if desired.
Notes
For a crispier crust, blind bake the crust for 10 minutes at 375°F with pie weights, then 5 minutes without. Room temperature ingredients ensure a smooth filling. The jiggle test is the best way to check doneness—the center should wobble like firm custard. Don’t skip the cooling time; the pie needs at least 2 hours at room temperature and 4 hours in the fridge for clean slices. Make the whipped cream fresh just before serving.
Nutrition
- Serving Size: 1 slice (1/8 of pie)
- Calories: 285
- Sugar: 22
- Sodium: 220
- Fat: 14
- Saturated Fat: 8
- Carbohydrates: 34
- Fiber: 2
- Protein: 7
Keywords: pumpkin pie, lightened-up, Greek yogurt, salted maple whipped cream, Thanksgiving, fall dessert, healthier pumpkin pie