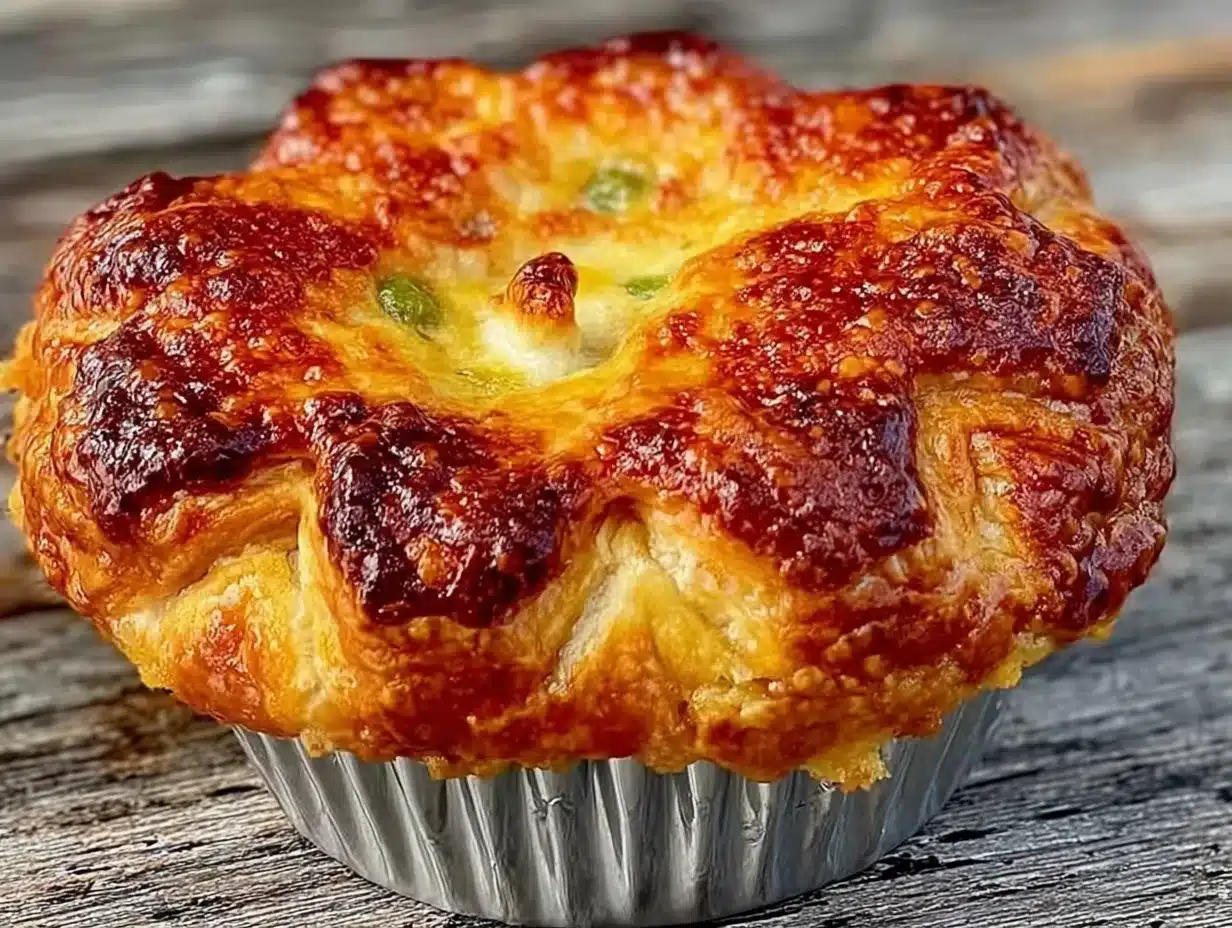
Jen wasn’t hosting a dinner party or anything fancy. I’d stopped by her place on a rainy Tuesday afternoon to return a book I’d borrowed, and the smell hit me before I even got through the door. You know that smell—buttery pastry, savory chicken, something deeply comforting that just wraps around you like a warm blanket? That was it. She was pulling a muffin tin out of the oven, and inside each little cup was this perfect golden dome of flaky crust.
“Oh, those are just mini chicken pot pies,” she said, waving her hand like it was nothing. Just mini chicken pot pies! I mean, honestly, I’d been standing there practically drooling, and she was acting like she’d made toast. She handed me one straight from the tin, still steaming, and I burned my tongue on the first bite. Totally worth it. The filling was creamy and packed with tender chicken and veggies, all tucked into this impossibly flaky crust that fit right in the palm of my hand.
I asked for the recipe, and she shrugged and scribbled it on a sticky note. No measurements, no temperatures, just a list of ingredients and the words “wing it.” Classic Jen. But I went home, figured it out through a few trials, and honestly? These cozy mini chicken pot pies in muffin tins have become my go-to comfort meal. They’re everything you love about a classic pot pie but in these adorable, single-serving portions that cook faster and somehow taste even better. Maybe you’ve been there—standing in someone’s kitchen, eating something so good you can’t think straight, and knowing you’d do anything to recreate it at home.
Why You’ll Love This Recipe
Let me tell you why these mini chicken pot pies have earned a permanent spot in my dinner rotation. I’ve tested this recipe more times than I can count, tweaking the filling, the crust, the baking time—all so you don’t have to guess a thing.
- Quick & Easy: These come together in under 45 minutes, start to finish. No complicated pastry work, no fussing over a double crust. Perfect for a busy weeknight when you need comfort food fast.
- Simple Ingredients: You likely already have most of these in your kitchen—chicken, frozen veggies, butter, flour, milk, and refrigerated pie crust. No fancy grocery trips required.
- Perfect for Cozy Nights: These little pies are made for rainy days, chilly evenings, or any time you need a hug in food form. They’re also great for game day snacks or holiday appetizers.
- Crowd-Pleaser: Kids love the mini size, adults love the classic flavor, and everyone goes back for seconds. I’ve yet to meet someone who doesn’t smile when they see these on the table.
- Unbelievably Delicious: The creamy filling, the flaky crust, the way the edges get all golden and crispy—it’s next-level comfort food in the most adorable package.
What makes this recipe different from all the others? It’s the technique. Instead of dealing with a messy double crust or worrying about soggy bottoms, we’re using muffin tins to create perfectly portioned pies with the ideal crust-to-filling ratio. The filling is thickened just right—not too runny, not too pasty—and seasoned with a blend of herbs that makes every bite taste like home. I’ve tested this with rotisserie chicken, leftover turkey, and even canned chicken (hey, no judgment on busy nights), and it works beautifully every time.
This is the kind of recipe that makes you close your eyes after the first bite. It’s comfort food reimagined—faster, easier, and somehow even more satisfying than the original. Perfect for impressing guests without stress, or turning a simple Tuesday night into something special.
What Ingredients You Will Need
This recipe uses simple, wholesome ingredients to deliver that classic pot pie flavor with minimal fuss. Most of these are pantry staples, which makes this the perfect last-minute dinner.
For the Filling
- 2 cups cooked chicken, shredded or diced (rotisserie chicken works great; leftover roasted chicken is even better)
- 1 cup frozen mixed vegetables (peas, carrots, corn, green beans—the classic blend)
- 1/4 cup unsalted butter (adds richness and helps thicken the sauce)
- 1/4 cup all-purpose flour (creates the roux that thickens the filling)
- 1 1/2 cups chicken broth (low-sodium is best so you can control the salt)
- 1/2 cup whole milk or heavy cream (cream makes it extra luxurious; milk works for a lighter version)
- 1/2 teaspoon garlic powder
- 1/2 teaspoon onion powder
- 1/2 teaspoon dried thyme
- 1/4 teaspoon dried rosemary
- Salt and black pepper to taste
For the Crust
- 1 package (14 ounces) refrigerated pie crusts (I prefer Pillsbury for consistency, but store brand works fine)
- 1 large egg, beaten (for egg wash—gives that beautiful golden finish)
- Flaky sea salt for sprinkling (optional but highly recommended)
Ingredient Tips & Substitutions
For the chicken, rotisserie chicken is my go-to because it’s already seasoned and tender. If you’re cooking chicken specifically for this recipe, poach two boneless skinless chicken breasts in salted water for about 15 minutes, then shred. You can also use leftover turkey—these mini pot pies are fantastic the day after Thanksgiving.
The frozen mixed vegetables are non-negotiable in my book. They’re already perfectly diced and par-cooked, so they’ll finish cooking in the filling without getting mushy. If you want to use fresh vegetables, dice them small and sauté them in the butter before adding the flour.
For the crust, refrigerated pie crust is the shortcut that makes this recipe weeknight-friendly. If you’re feeling ambitious, homemade pie crust works beautifully—just roll it out thin and cut it into circles. For a gluten-free version, use a gluten-free pie crust mix and gluten-free all-purpose flour in the filling.
I recommend using whole milk or heavy cream for the richest filling. If you only have 2% or skim milk, it will still work, but the filling won’t be quite as luscious. You can also use half-and-half for a nice middle ground.
Equipment Needed
Before we get started, let me walk you through what you’ll need. Most of these items are standard kitchen equipment, and I’ve included alternatives where possible.
- 12-cup standard muffin tin (this is essential—the mini pies are shaped in these cups)
- 3-inch round cookie cutter or biscuit cutter (for cutting the top crusts; a drinking glass works in a pinch)
- Rolling pin (for rolling out the pie crust if needed)
- Medium saucepan (for making the filling)
- Whisk (for stirring the roux without lumps)
- Pastry brush (for applying the egg wash; a paper towel works too)
- Measuring cups and spoons
- Chef’s knife and cutting board
I’ve made these using a well-seasoned cast iron muffin pan, and the crust comes out extra crispy on the bottom. Non-stick muffin tins work great too—just give them a light spray of cooking oil. If you’re using a dark non-stick pan, keep an eye on the baking time as they may brown faster.
One tip: if you don’t have a 3-inch cookie cutter, you can use the rim of a drinking glass or even a small bowl. Just make sure it’s slightly larger than the muffin cup opening so the crust can drape over the edges.
Preparation Method
Alright, let’s make these cozy mini chicken pot pies! I’ll walk you through every step with the little tricks I’ve learned from making these dozens of times.
- Preheat your oven to 400°F (200°C). Position a rack in the center of the oven. Lightly spray a 12-cup muffin tin with non-stick cooking spray and set aside.
- Make the filling. In a medium saucepan over medium heat, melt the 1/4 cup butter. Once it’s bubbling, add the 1/4 cup flour and whisk continuously for about 1 minute. This cooks the raw flour taste out and creates a smooth roux. The mixture should look like wet sand and smell slightly nutty.
- Slowly add the liquids. While whisking constantly, pour in the chicken broth in a steady stream. Keep whisking until the mixture is smooth and starts to thicken, about 2 minutes. Then add the milk or cream, still whisking. The sauce should be smooth and creamy—if you see lumps, keep whisking; they’ll smooth out.
- Season the sauce. Add the garlic powder, onion powder, dried thyme, dried rosemary, and a generous pinch of salt and pepper. Whisk to combine. Let the sauce simmer gently for 2-3 minutes until it’s thick enough to coat the back of a spoon. Taste and adjust seasoning—remember, the crust will add a bit of saltiness too.
- Add the chicken and vegetables. Stir in the shredded chicken and frozen mixed vegetables. Cook for another 2-3 minutes until everything is heated through. The filling should be thick and creamy, not runny. If it seems too thick, add a splash more broth. Remove from heat and set aside.
- Prepare the crust. Unroll the refrigerated pie crusts on a lightly floured surface. Using your 3-inch round cutter, cut out 12 circles for the tops. You’ll need to re-roll the scraps to get all 12. Don’t worry if they’re not perfect—they’ll look rustic and beautiful.
- Cut the bottom crusts. For the bottom crusts, you’ll need slightly larger circles. Use a 4-inch round cutter or cut around a small bowl. You need 12 of these too. If you’re short on dough, re-roll the scraps again. The bottom crusts should be large enough to come up the sides of the muffin cups.
- Assemble the pies. Gently press one large crust circle into each muffin cup, letting the edges hang over the sides. Don’t press too hard or stretch the dough—just let it settle naturally. Spoon the filling into each cup, filling almost to the top. You want a generous amount of filling without overflowing.
- Add the tops. Place a small crust circle on top of each filled cup. Use your fingers to crimp the edges of the top and bottom crusts together, sealing the filling inside. Cut a small slit in the top of each pie to let steam escape—otherwise, they might burst open in the oven.
- Apply the egg wash. In a small bowl, beat the egg with 1 tablespoon of water. Using a pastry brush, gently brush the top of each pie with the egg wash. Sprinkle with a pinch of flaky sea salt if desired. This gives them that gorgeous golden-brown finish.
- Bake. Place the muffin tin on a baking sheet (to catch any drips) and bake for 18-22 minutes, until the crusts are golden brown and the filling is bubbling through the steam vents. The kitchen will smell incredible at this point.
- Cool and serve. Let the pies cool in the muffin tin for 5 minutes. This is important—the filling is molten hot and needs time to set. Then, run a knife around the edges of each cup and gently lift the pies out. Serve warm, and try not to burn your tongue like I did!
Cooking Tips & Techniques
After making these mini chicken pot pies more times than I can count, I’ve collected a few hard-earned lessons. Let me share them so you don’t make the same mistakes I did.
Don’t skip the roux. I know it’s tempting to just dump everything in the pan and hope for the best, but taking the time to cook the flour and butter together is what gives you that silky, lump-free sauce. I once rushed this step and ended up with a filling that tasted like raw flour—not my finest moment. Cook the roux for a full minute, whisking constantly, until it’s fragrant and slightly golden.
Watch your filling consistency. The filling should be thick enough that it doesn’t run all over the place when you spoon it into the crusts. If it’s too thin, your pies will be soggy on the bottom. If it’s too thick, they’ll be dry. Aim for a consistency similar to thick gravy—it should hold its shape on a spoon but still be creamy. I learned this the hard way when my first batch turned into a soupy mess.
Don’t overfill the cups. I know it’s tempting to pile it high, but leave a tiny bit of room at the top. The filling will bubble up as it bakes, and if you’ve overfilled, it’ll spill over and make a sticky mess in your muffin tin. Trust me, scrubbing burnt filling off a muffin tin is not how you want to spend your evening.
Let them rest. This is maybe the most important tip. Those pies come out of the oven looking perfect, and you’ll want to dive right in. But the filling is essentially molten lava at this point. Let them cool in the pan for at least 5 minutes, preferably 10. The filling will set up slightly, and you won’t burn your mouth. Plus, they’ll hold their shape better when you take them out.
Make ahead tip. You can assemble these mini pot pies completely, cover the muffin tin with plastic wrap, and refrigerate for up to 24 hours before baking. Add 5 minutes to the baking time if baking from cold. This is a lifesaver when you’re hosting and want to get ahead.
Variations & Adaptations
One of the best things about this recipe is how easy it is to adapt. Here are some of my favorite variations that I’ve tested over the years.
Turkey and Stuffing Pot Pies: This is my favorite post-Thanksgiving variation. Use leftover turkey instead of chicken, and add a spoonful of leftover stuffing to each cup before adding the top crust. It’s like Thanksgiving in a muffin tin, and honestly, it might be better than the actual holiday meal.
Vegetarian Mushroom Pot Pies: Skip the chicken and use 2 cups of sautéed mushrooms (cremini or button mushrooms work great) along with an extra cup of mixed vegetables. Add a tablespoon of soy sauce or Worcestershire sauce to the filling for that savory umami depth. My vegetarian friends absolutely love this version.
Spicy Buffalo Chicken: Stir 1/4 cup of buffalo sauce into the filling along with the chicken. Top each pie with a small piece of blue cheese or cheddar before adding the top crust. Serve with ranch or blue cheese dressing for dipping. These are a huge hit for game day.
Cheesy Broccoli Chicken: Swap the frozen mixed vegetables for frozen broccoli florets (chopped small) and stir in 1/2 cup of shredded cheddar cheese into the filling just before spooning it into the crusts. The cheese adds a whole new level of comfort.
Gluten-Free Version: Use a gluten-free pie crust mix for the crusts and substitute the all-purpose flour in the filling with a 1:1 gluten-free flour blend. I’ve tested this with Bob’s Red Mill gluten-free pie crust mix and it turned out beautifully—flaky and tender, just like the original.
Feel free to experiment with different herbs, too. Fresh parsley, chives, or even a pinch of smoked paprika can add a lovely twist. The beauty of this recipe is that it’s forgiving—you can really make it your own.
Serving & Storage Suggestions
These mini chicken pot pies are best served warm, right after they’ve had a few minutes to rest in the pan. The contrast between the flaky, golden crust and the creamy, steaming filling is pure magic. I like to serve them on a platter lined with a clean kitchen towel to catch any crumbs.
What to serve with them: A simple green salad with a tangy vinaigrette is the perfect counterpoint to the rich, creamy pies. I also love serving them with roasted asparagus or steamed green beans. For a truly cozy meal, pair them with a bowl of tomato soup—it’s like the ultimate comfort food combo.
Storage: Leftover mini pot pies can be stored in an airtight container in the refrigerator for up to 3 days. The crust will soften slightly, but they’ll still be delicious. To reheat, place them on a baking sheet in a 350°F oven for 10-12 minutes, until heated through. The oven method is much better than the microwave—it helps re-crisp the crust.
Freezing: These freeze beautifully! Bake the pies as directed, let them cool completely, then place them on a baking sheet in the freezer for 1 hour. Once frozen solid, transfer them to a freezer-safe bag or container. They’ll keep for up to 3 months. To reheat from frozen, place on a baking sheet and bake at 350°F for 20-25 minutes, until hot and bubbly.
One thing I love about these pies is that the flavors actually deepen after a day in the fridge. The herbs meld together, and the filling becomes even more flavorful. So don’t be afraid to make a double batch—you’ll be happy to have leftovers.
Nutritional Information & Benefits
Here’s a rough estimate of the nutritional values per mini pot pie (based on 12 servings):
| Nutrient | Amount per Serving |
|---|---|
| Calories | 285 |
| Total Fat | 16g |
| Saturated Fat | 7g |
| Cholesterol | 55mg |
| Sodium | 420mg |
| Total Carbohydrates | 22g |
| Dietary Fiber | 2g |
| Sugars | 3g |
| Protein | 14g |
These mini pot pies offer a good balance of protein from the chicken and vegetables for essential vitamins. The peas and carrots provide vitamin A and fiber, while the chicken offers lean protein to keep you satisfied. Using low-sodium broth helps control the salt content, and you can easily lighten things up by using 2% milk instead of cream.
From a wellness perspective, I love that these pies are portion-controlled. You get all the satisfaction of a full-sized pot pie without the temptation to overeat. Plus, the individual servings make it easy to pair with a vegetable side for a balanced meal. They’re comfort food that you can feel good about eating.
Conclusion
These cozy mini chicken pot pies in muffin tins are everything I want in a comfort food recipe—easy, delicious, and endlessly adaptable. They’ve become a staple in my kitchen, especially during the colder months when all I want is something warm and satisfying at the end of a long day.
I love that this recipe came from a sticky note and a friend who didn’t think she was doing anything special. That’s the kind of cooking that sticks with you—the food that someone makes without fuss, just because it’s Tuesday and it’s raining and they feel like making something good. That’s the energy I hope you bring to your kitchen when you make these.
Don’t be afraid to make them your own. Swap in different vegetables, try a different protein, or experiment with the herbs. The recipe is a starting point, not a rulebook. And when you make them—because I know you will—come back and let me know how they turned out. Did you add cheese? Try a spicy version? I’d love to hear about it in the comments below.
Go on, give these a try. Your kitchen is about to smell incredible, and your taste buds are in for a treat. Happy cooking!
Frequently Asked Questions
Can I use homemade pie crust for this recipe?
Absolutely! Homemade pie crust works beautifully. Just roll it out to about 1/8-inch thickness and cut out your circles. You’ll need enough dough for 12 bottom crusts and 12 top crusts. If you have a favorite all-butter pie crust recipe, this is a great place to use it.
Can I make these in a mini muffin tin for appetizers?
Yes, you can! Use a 24-cup mini muffin tin and cut smaller circles for the crusts. Reduce the baking time to 12-15 minutes. These make fantastic party appetizers—just be prepared for them to disappear fast.
My filling turned out too runny. What went wrong?
This usually happens if the roux wasn’t cooked long enough or if too much liquid was added. Next time, cook the roux for a full minute before adding liquid, and let the filling simmer until it’s thick enough to coat a spoon. If it’s already runny, you can whisk in a slurry of 1 tablespoon cornstarch mixed with 2 tablespoons cold water and simmer for a few more minutes.
Can I use canned chicken instead of fresh?
You can, but I don’t recommend it for the best flavor. Canned chicken tends to be softer and less flavorful than freshly cooked or rotisserie chicken. If you’re in a pinch, drain the canned chicken well and pat it dry before adding it to the filling. But honestly, rotisserie chicken is so much better and takes no extra effort.
How do I prevent the bottom crust from getting soggy?
The key is making sure your filling is thick enough before spooning it into the crusts. A runny filling will make the bottom crust soggy every time. Also, don’t let the assembled pies sit too long before baking—get them in the oven as soon as they’re assembled. Baking at a high temperature (400°F) also helps the crust crisp up quickly.
Pin This Recipe!
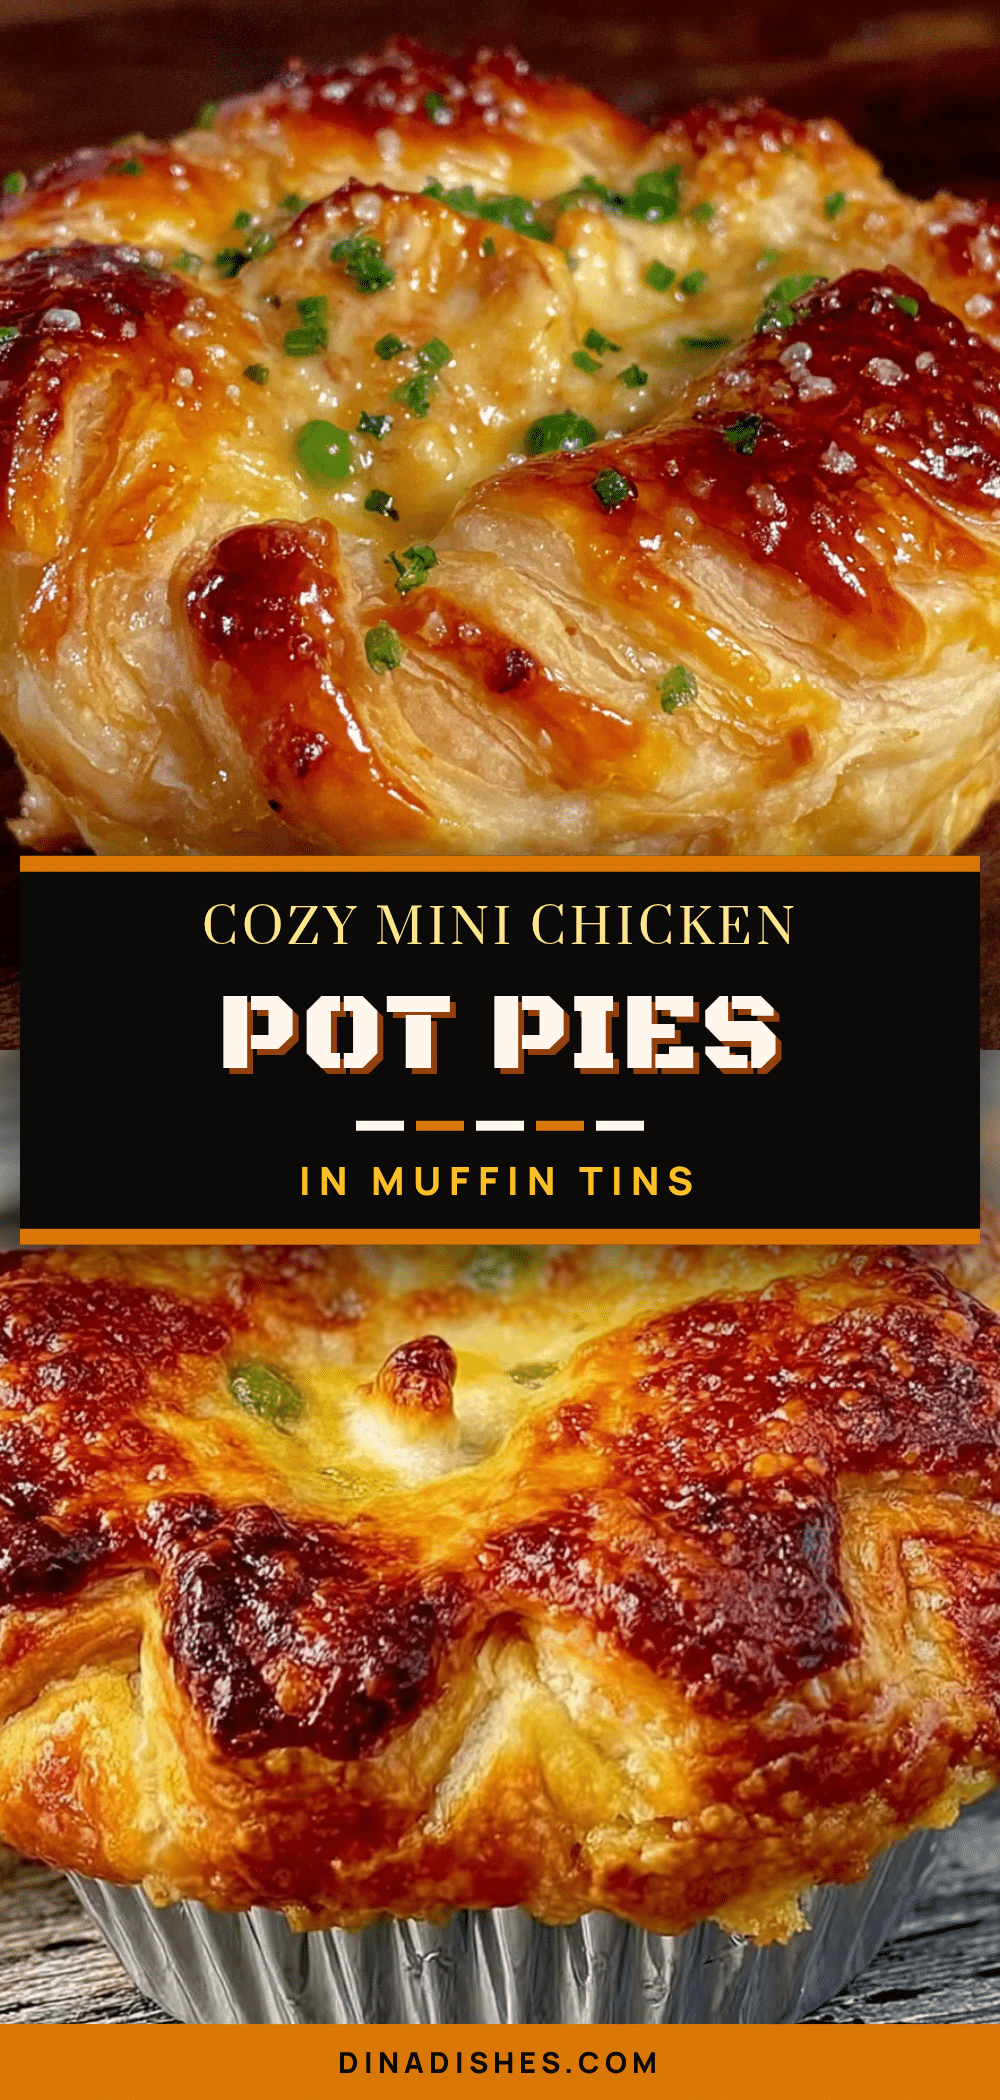
Cozy Mini Chicken Pot Pies in Muffin Tins: Best Easy Recipe

These adorable mini chicken pot pies are made in a muffin tin for perfectly portioned, flaky, and creamy comfort food. Ready in under 45 minutes, they’re perfect for busy weeknights or cozy gatherings.
- Prep Time: 20 minutes
- Cook Time: 22 minutes
- Total Time: 42 minutes
- Yield: 12 servings 1x
- Category: Main Course
- Cuisine: American
Ingredients
- 2 cups cooked chicken, shredded or diced
- 1 cup frozen mixed vegetables (peas, carrots, corn, green beans)
- 1/4 cup unsalted butter
- 1/4 cup all-purpose flour
- 1 1/2 cups chicken broth (low-sodium)
- 1/2 cup whole milk or heavy cream
- 1/2 teaspoon garlic powder
- 1/2 teaspoon onion powder
- 1/2 teaspoon dried thyme
- 1/4 teaspoon dried rosemary
- Salt and black pepper to taste
- 1 package (14 ounces) refrigerated pie crusts
- 1 large egg, beaten
- Flaky sea salt for sprinkling (optional)
Instructions
- Preheat your oven to 400°F (200°C). Lightly spray a 12-cup muffin tin with non-stick cooking spray.
- In a medium saucepan over medium heat, melt the butter. Add the flour and whisk continuously for about 1 minute to create a roux.
- Slowly pour in the chicken broth while whisking constantly. Continue whisking until smooth and thickened, about 2 minutes. Add the milk or cream and whisk until smooth.
- Add garlic powder, onion powder, dried thyme, dried rosemary, salt, and pepper. Whisk and let simmer for 2-3 minutes until thick enough to coat the back of a spoon.
- Stir in the shredded chicken and frozen mixed vegetables. Cook for 2-3 minutes until heated through. Remove from heat.
- On a lightly floured surface, unroll the pie crusts. Using a 3-inch round cutter, cut out 12 circles for the tops. Re-roll scraps as needed.
- Using a 4-inch round cutter or small bowl, cut out 12 larger circles for the bottom crusts.
- Gently press one large crust circle into each muffin cup, letting the edges hang over. Spoon the filling into each cup, filling almost to the top.
- Place a small crust circle on top of each filled cup. Crimp the edges to seal. Cut a small slit in the top of each pie for steam to escape.
- Brush the tops with the beaten egg wash and sprinkle with flaky sea salt if desired.
- Place the muffin tin on a baking sheet and bake for 18-22 minutes, until the crusts are golden brown and the filling is bubbling.
- Let the pies cool in the muffin tin for 5 minutes. Run a knife around the edges and gently lift the pies out. Serve warm.
Notes
Let the pies rest for 5-10 minutes after baking to allow the filling to set. For make-ahead, assemble completely and refrigerate up to 24 hours before baking; add 5 minutes to baking time. To prevent soggy bottoms, ensure the filling is thick before spooning into crusts.
Nutrition
- Serving Size: 1 mini pot pie
- Calories: 285
- Sugar: 3
- Sodium: 420
- Fat: 16
- Saturated Fat: 7
- Carbohydrates: 22
- Fiber: 2
- Protein: 14
Keywords: mini chicken pot pie, muffin tin pot pie, easy chicken pot pie, comfort food, quick dinner, weeknight meal