I was standing in the frozen food aisle at the grocery store last Tuesday when it hit me — that specific, almost-but-not-quite familiar smell of caramel and warm milk. A stranger had opened one of those pre-made hot cocoa packets, the kind meant for adding to hot water, and the scent drifted over. And suddenly I was seven years old, standing on a step stool in Aunt Lena’s tiny kitchen, watching her stir a pot on the stove with a wooden spoon that was older than my parents.
Aunt Lena wasn’t really my aunt. She was our next-door neighbor, a retired schoolteacher who smelled like vanilla and peppermint year-round. Every time it snowed — and it snowed a lot where I grew up — she’d call me over and we’d make what she called “proper hot chocolate.” Not from a packet. Never from a packet. She’d pour milk into a saucepan so slowly it felt like she was performing some kind of ritual, and she’d add a pinch of salt that I never understood until I got older. The caramel part came by accident one afternoon when she was making candied apples and got distracted. A bit of caramel dripped into the cocoa, and she just shrugged and stirred it in. “Happy accidents,” she called it.
She’s been gone for almost fifteen years now. And honestly, I’ve spent a good chunk of that time trying to recreate that exact feeling — the warmth spreading through my chest, the way the mug fit perfectly in my small hands, the quiet comfort of a snowy afternoon with someone who had all the time in the world for me. This light and cozy salted caramel hot cocoa is the closest I’ve ever come. Maybe you’ve been there too — chasing a taste, a memory, a moment you can’t quite hold onto but can’t let go of either. This one’s for those afternoons.
Why You’ll Love This Recipe
Let me tell you why this isn’t just another hot cocoa recipe. I’ve tested this version more times than I care to admit — too much salt, not enough caramel, milk that scorched because I looked away for two seconds. But this one? This one is it. It’s the perfect balance of cozy indulgence and lighter ingredients, so you can actually feel good about having a second cup.
- Quick & Easy: From start to finish, you’re looking at about 10 minutes. That’s less time than it takes to decide what to watch on Netflix. Perfect for those evenings when you need something warm right now.
- Simple Ingredients: No fancy grocery trips needed here. You probably have milk, cocoa powder, sugar, and salt in your kitchen right this second. The caramel is made from pantry staples, not a bottle from the store.
- Perfect for Cozy Nights: This is the kind of drink that makes a regular Tuesday feel like a special occasion. Snowy day, rainy afternoon, or just a tough week — this cocoa fits the moment.
- Crowd-Pleaser: I brought a thermos of this to a book club meeting last month, and three people asked for the recipe before I even sat down. It’s that good.
- Unbelievably Delicious: The salted caramel adds this deep, almost buttery richness without being heavy. And because we’re using a lighter milk option, it feels indulgent without weighing you down. You get that silky texture and that perfect sweet-salty combo that makes you close your eyes after the first sip.
What makes this different from the dozens of hot cocoa recipes out there? It’s the technique. Instead of using heavy cream or whole milk, we’re building flavor with a homemade caramel sauce that’s surprisingly light, then whisking it into warm milk with just enough cocoa to feel rich. It’s comfort food reimagined — healthier, faster, but with the same soul-soothing satisfaction that makes you want to curl up under a blanket and stay there. Honestly, it’s the kind of recipe that makes you wonder why you ever bothered with the packet stuff.
What Ingredients You Will Need
This recipe uses simple, wholesome ingredients to deliver that deep, cozy flavor without the guilt. Most of these are pantry staples, and the ones that aren’t are easy to find and totally worth the tiny bit of extra effort.
- For the Light Caramel Sauce:
- 2 tablespoons unsalted butter (I use Kerrygold for its rich flavor, but any good butter works)
- 3 tablespoons brown sugar, packed (light or dark — dark gives a deeper caramel taste)
- 2 tablespoons maple syrup (the real stuff, not pancake syrup — it adds a subtle complexity)
- 1/4 cup milk (any kind you like; I use 2% for balance)
- 1/4 teaspoon vanilla extract
- Pinch of sea salt (plus more for finishing)
- For the Hot Cocoa Base:
- 2 cups milk (I prefer oat milk or 2% dairy for a lighter feel; almond milk works too but will be thinner)
- 2 tablespoons unsweetened cocoa powder (I swear by Ghirardelli for the smoothest flavor)
- 1 tablespoon brown sugar (optional, depending on how sweet you like it)
- 1/4 teaspoon vanilla extract
- For Topping (Optional but Recommended):
- Light whipped cream or a dollop of Greek yogurt (for a protein boost)
- Flaky sea salt, like Maldon
- Optional: a drizzle of extra caramel sauce
A few notes on ingredients. The maple syrup isn’t traditional in caramel, but trust me on this — it keeps the sauce from being too heavy while adding a warmth that pairs beautifully with cocoa. If you don’t have maple syrup, you can use an extra tablespoon of brown sugar and a splash of water. For the milk, I’ve tested this with whole milk, oat milk, and even unsweetened almond milk. Oat milk is my personal favorite because it’s naturally a bit creamy and doesn’t overpower the caramel. But if you’re dairy-free, just pick a barista-style oat milk for the best texture. And please, please use a good cocoa powder. The cheap stuff can taste chalky and flat, and this recipe deserves better.
Equipment Needed
You don’t need a fancy kitchen for this. Here’s what you’ll actually use:
- Small saucepan (for the caramel sauce — keep an eye on it, sugar burns fast)
- Medium saucepan (for the cocoa base)
- Whisk (a silicone one is great because it won’t scratch your pans)
- Measuring cups and spoons
- Rubber spatula (for scraping every last bit of caramel — trust me, you want it all)
- Two mugs (or one big one, no judgment here)
If you don’t have a whisk, a fork works in a pinch, but you’ll need to whisk a little longer to get rid of lumps. I learned that the hard way when I made this at a friend’s cabin and had to use a butter knife. It worked, but my arm got a workout. Also, if you have a kitchen scale, weighing the brown sugar is more accurate than scooping, but it’s not necessary. Just pack it firmly into the measuring cup.
Preparation Method
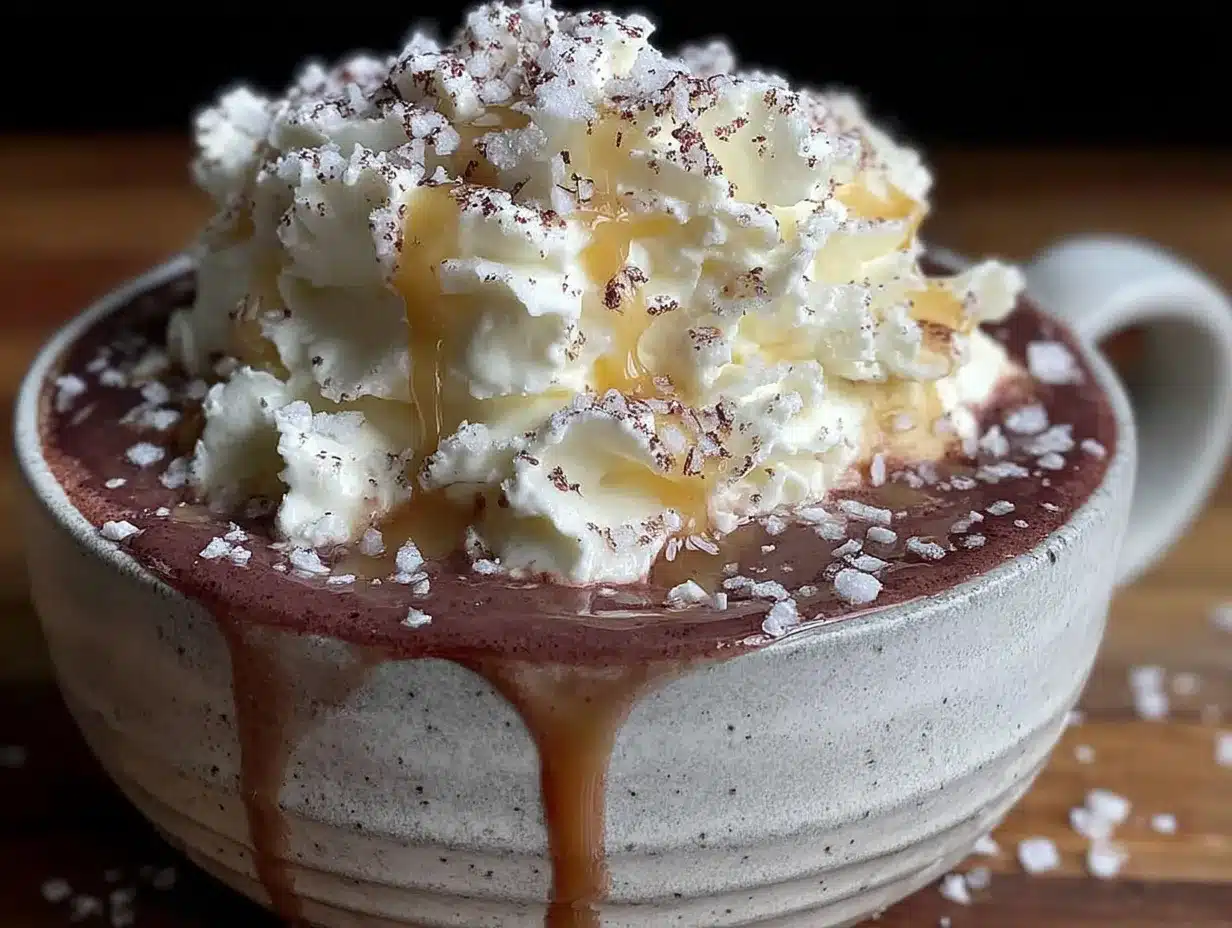
Alright, let’s make some cocoa. This comes together in about 10 minutes, and most of that is just waiting for milk to warm up. Here’s the step-by-step:
- Make the light caramel sauce first. In a small saucepan over medium-low heat, melt the butter. Once it’s melted, add the brown sugar and maple syrup. Stir constantly with your whisk until everything is combined and bubbly — about 2 minutes. You’ll see it start to thicken slightly. Don’t walk away here; sugar can go from golden to burnt in seconds.
- Add the milk and vanilla. Slowly pour in the 1/4 cup of milk while whisking. The mixture will bubble up a bit, so go slow. Add the vanilla and a pinch of sea salt. Whisk until smooth, then remove from heat. Set it aside. The sauce will thicken as it cools, which is exactly what we want.
- Start the cocoa base. In a medium saucepan, whisk together the cocoa powder and the 1 tablespoon of brown sugar (if using). Add about 2 tablespoons of the milk and whisk into a paste. This step is crucial — it prevents lumps. I forgot to do this once and ended up with floaty cocoa chunks. Not cute.
- Add the rest of the milk. Pour in the remaining milk and whisk until smooth. Place the saucepan over medium heat and warm it up, whisking occasionally, until it’s steaming but not boiling — about 4 to 5 minutes. You want it hot enough to drink comfortably, not so hot that it burns your tongue. If you see bubbles forming around the edges, you’re there.
- Stir in the caramel. Remove the cocoa from heat. Add about 2 tablespoons of your homemade caramel sauce (or more if you’re feeling bold) and the 1/4 teaspoon of vanilla. Whisk until the caramel is fully incorporated. Taste it. This is the moment where you decide if you want more caramel, more salt, or a touch more sweetness.
- Pour and finish. Divide the cocoa between two mugs. Top with a dollop of light whipped cream or a spoonful of Greek yogurt if you want a little tang. Sprinkle with flaky sea salt. Drizzle a tiny bit more caramel on top if you’re feeling fancy. Serve immediately.
A few things to watch for. If your caramel seizes up or gets grainy, don’t panic — just add a splash more milk and whisk over low heat until it smooths out. This happened to me the first time I made it, and I almost dumped the whole batch. Also, if you’re making this for one person, you can easily halve the recipe. The caramel sauce keeps well in the fridge for about a week, so make the full batch and use it throughout the week on oatmeal, pancakes, or just by the spoonful (no judgment).
Cooking Tips & Techniques
After making this recipe about a dozen times (maybe more, I’ve lost count), I’ve picked up a few tricks that make a real difference. Let me share them so you don’t have to learn the hard way.
Low and slow is your friend. When you’re making the caramel sauce, keep the heat on medium-low. I know it’s tempting to crank it up to speed things along, but high heat makes the sugar seize up and burn. You want gentle bubbles, not a furious boil. If you see the mixture turning dark too quickly, pull it off the heat immediately and whisk in a splash of cold milk to cool it down.
Whisk like you mean it. Cocoa powder is stubborn stuff. If you don’t whisk it into a paste first, you’ll end up with lumps floating in your cocoa. I learned this the messy way when I was rushing one morning and just dumped everything in the pot. It took forever to get it smooth. Take the extra 30 seconds to make that paste — it’s worth it.
Salt is not optional. I know some people skip the salt because they’re worried about it tasting savory, but salt is what makes the caramel taste like caramel instead of just sweet syrup. It balances the richness and makes the chocolate flavor pop. Use a light hand if you’re nervous, but don’t leave it out entirely. And the flaky salt on top? That’s the finishing touch that makes this feel special.
Taste as you go. Everyone’s palate is different. You might want more caramel, less sugar, or an extra pinch of salt. I always taste the cocoa before I pour it into mugs and adjust from there. One time I added too much salt and had to balance it with a splash more milk. It was still delicious, just a little more savory than usual. Happy accidents, right?
Multitask smartly. While the caramel is simmering, you can prep your cocoa base. Just keep one hand on the caramel whisk. Don’t leave the kitchen entirely. I tried to wash dishes while the caramel was cooking once, and let’s just say the smoke alarm got involved. Stay close, stay focused, and you’ll have perfect cocoa every time.
Variations & Adaptations
One of the best things about this recipe is how easy it is to tweak. Here are some variations I’ve tried and loved:
- Dairy-Free Version: Use a good-quality oat milk or coconut milk (the kind from a carton, not a can) and swap the butter for a plant-based butter or coconut oil. The caramel will still be rich and delicious. I’ve made this for a friend who’s lactose intolerant, and she said it was better than the “real” thing.
- Extra Indulgent Version: If you’re not worried about keeping it light, use whole milk and top with real whipped cream and a drizzle of store-bought salted caramel sauce. It’s decadent and perfect for a special occasion or a really rough day.
- Spiced Cocoa: Add a pinch of cinnamon, a tiny pinch of cayenne, and a dash of nutmeg to the cocoa powder before whisking in the milk. The warmth of the spices pairs beautifully with the salted caramel. I made this for a fall gathering, and it was gone in 20 minutes.
- Peppermint Twist: Stir in 1/4 teaspoon of peppermint extract along with the vanilla. Top with crushed candy cane if you’re feeling festive. This is my go-to for holiday movie nights.
- Protein Boost: Whisk in a scoop of unflavored or vanilla protein powder along with the cocoa powder. You might need an extra splash of milk to keep it from getting too thick, but it’s a great post-workout treat that feels like a reward.
I’ve also tried making this with coconut sugar instead of brown sugar, and it worked beautifully — just a slightly different flavor profile, a bit more caramel-like and less sweet. If you’re watching your sugar intake, you can reduce the brown sugar in the cocoa base to just a teaspoon, or skip it entirely. The caramel adds enough sweetness on its own.
Serving & Storage Suggestions
This cocoa is best served immediately, while it’s warm and the caramel is still melty. Pour it into your favorite mug — the one with the chip in the rim or the one that’s just the right size for holding with both hands. Serve it with a small spoon for eating the whipped cream (we all do it).
For a cozy at-home cafe experience, pair this cocoa with a simple cinnamon oatmeal cookie or a slice of banana bread. The sweetness of the cookie complements the salted caramel perfectly. If you’re serving it for a gathering, set up a little hot cocoa bar with bowls of toppings — flaky salt, extra caramel, crushed pretzels, mini marshmallows, cinnamon sticks. Let people customize their own cups.
Storage: The caramel sauce can be stored in an airtight container in the refrigerator for up to a week. To reheat, just microwave it in 10-second bursts, stirring between each, or warm it gently on the stovetop with a splash of milk. The cocoa base itself is best made fresh, but if you have leftovers, store them in the fridge for up to 2 days. Reheat on the stovetop over low heat, whisking to recombine. The flavor actually deepens a bit overnight — it gets even more chocolatey and caramel-forward.
Freezing: You can freeze the caramel sauce in an ice cube tray for individual portions. Pop out a cube or two and thaw in the fridge overnight. The cocoa base doesn’t freeze well because the texture changes, but the caramel freezes like a dream.
Nutritional Information & Benefits
Here’s the thing about this light and cozy salted caramel hot cocoa — it feels indulgent, but it’s actually pretty reasonable. Here’s an estimate per serving (using 2% milk and light whipped cream):
- Calories: Approximately 220-250
- Protein: 8g
- Fat: 8g (mostly from the butter and milk)
- Carbohydrates: 32g
- Sugar: 24g (less than half of what you’d get from a cafe version)
- Fiber: 2g
The cocoa powder is rich in antioxidants called flavanols, which are great for heart health and can help improve blood flow. The milk provides calcium and vitamin D, and if you use oat milk, you get a nice dose of fiber. The maple syrup contains some minerals like zinc and manganese, though let’s be honest — we’re not drinking this for the nutrients. But it’s nice to know you’re getting a little something good along with the comfort.
If you’re watching your sugar intake, you can reduce the brown sugar in the caramel or skip the maple syrup and use a sugar-free alternative. The flavor will be slightly different, but still delicious. And if you’re dairy-free, the oat milk version is naturally lower in saturated fat and still creamy enough to feel satisfying.
Conclusion
This light and cozy salted caramel hot cocoa is more than just a drink. It’s a moment. It’s the pause button on a busy day, the warm mug cradled in your hands while the world outside does whatever it’s doing. It’s the taste of a memory you’re recreating, one sip at a time.
I make this on snow days, on rainy afternoons, on evenings when I need a little extra comfort. And every time I stir in that caramel and watch it swirl into the warm milk, I think of Aunt Lena and her wooden spoon and the way she never rushed a single thing. This recipe is my way of holding onto that feeling, and I hope it becomes that for you too.
Try it this week. Make it your own — add a little more salt, a little less sugar, a dash of cinnamon if that’s your thing. And when you take that first sip, let me know how it goes. Drop a comment below, share a photo, tell me what memory this cocoa brings up for you. I’d love to hear your story.
Now go warm up those hands and that heart. You deserve it.
Frequently Asked Questions
Can I make this recipe completely dairy-free?
Absolutely. Use a good-quality oat milk or coconut milk beverage, and swap the butter for a plant-based butter or coconut oil. The caramel will still be rich and smooth. Just make sure your milk alternative is barista-style for the creamiest texture.
Why did my caramel sauce turn grainy?
This usually happens when the heat is too high or the sugar wasn’t fully dissolved before it started bubbling. If your caramel seizes up, don’t toss it. Just add a splash more milk and whisk over low heat until it smooths out. It might not be as glossy, but it’ll still taste great.
Can I use store-bought caramel sauce instead of making my own?
You can, but the homemade version is worth the extra 5 minutes. Store-bought caramel sauces are often much sweeter and thicker, and they can overwhelm the cocoa. If you’re in a pinch, use a high-quality salted caramel sauce and add it sparingly.
How can I make this cocoa less sweet?
Easy. Skip the brown sugar in the cocoa base entirely, and reduce the brown sugar in the caramel to 2 tablespoons. The maple syrup adds enough sweetness on its own. You can also use unsweetened cocoa powder and let the caramel do all the sweetening work.
Can I double this recipe for a crowd?
Yes! This recipe doubles beautifully. Just use a larger saucepan for the cocoa base and make a double batch of the caramel sauce. Keep the cocoa warm in a slow cooker on the “warm” setting, and let guests add their own caramel and toppings. Perfect for holiday parties or cozy gatherings.
Pin This Recipe!
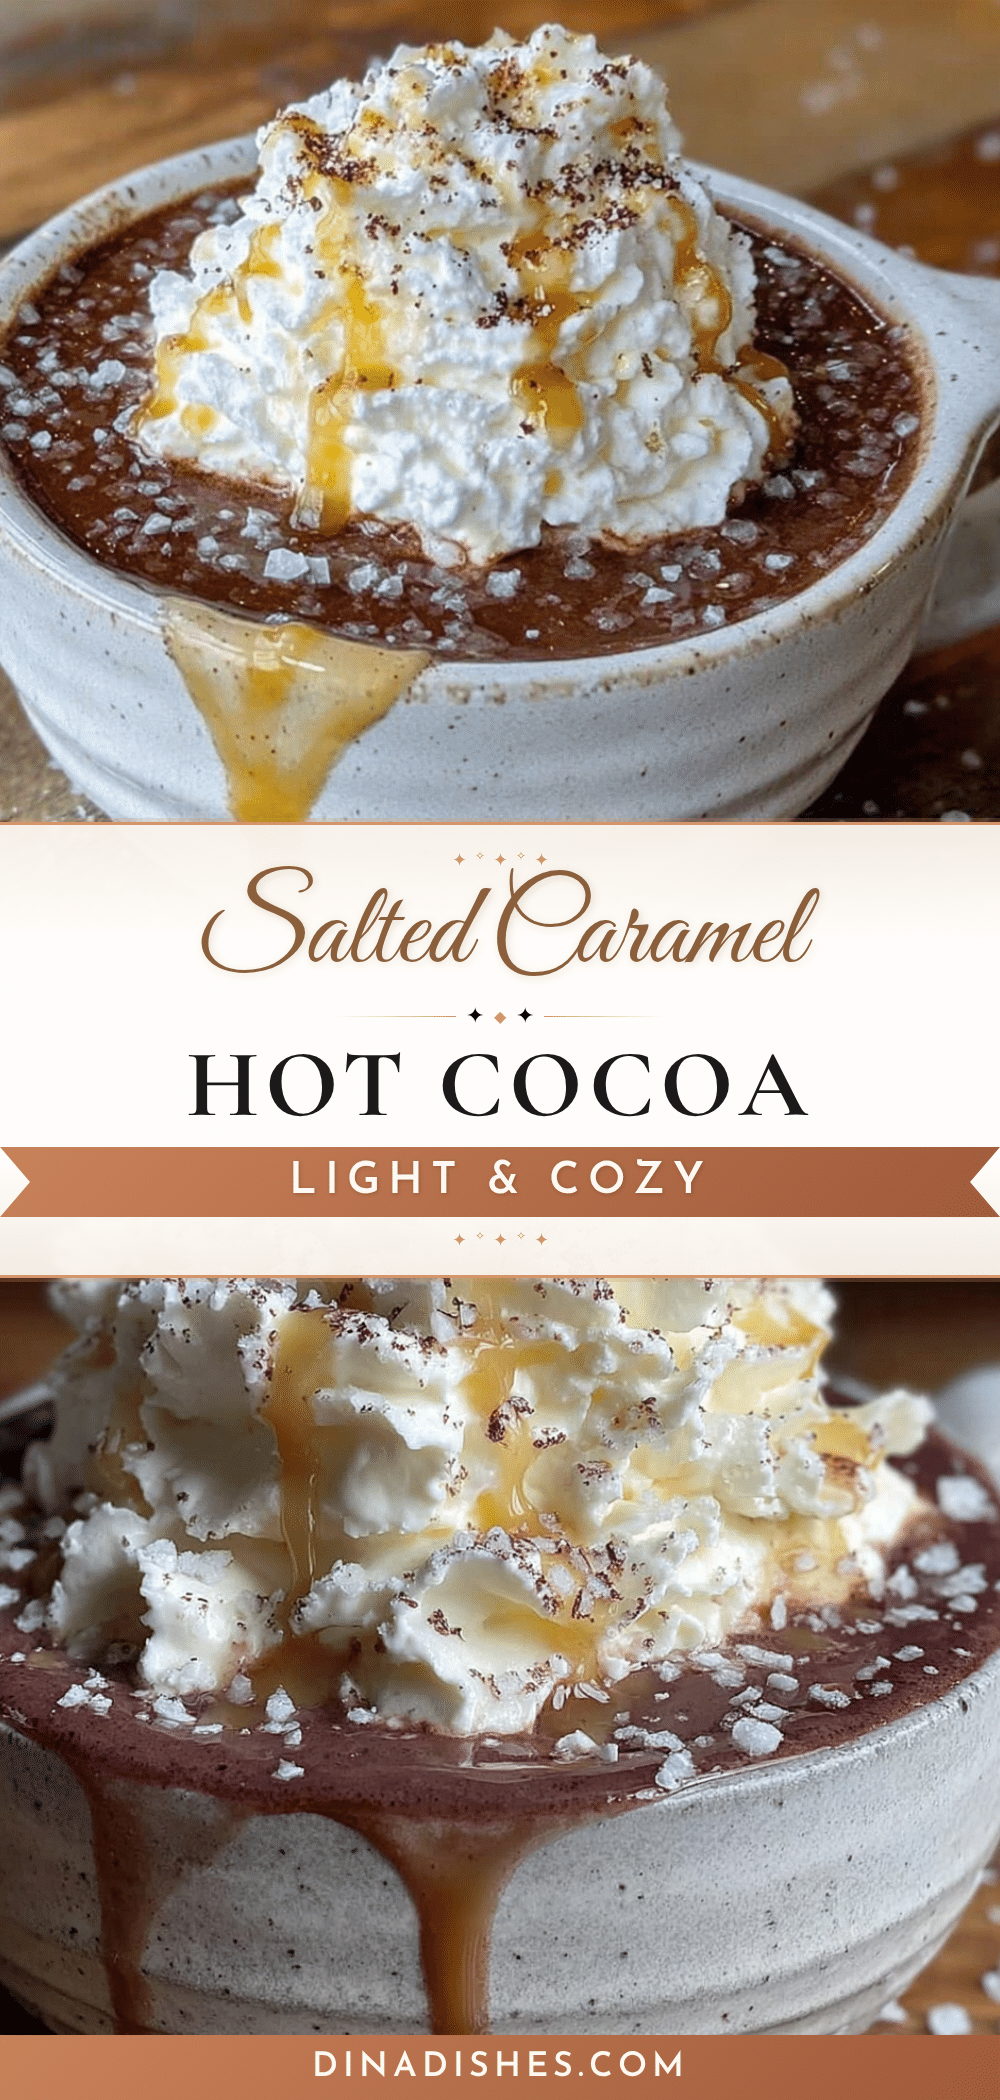
Light & Cozy Salted Caramel Hot Cocoa

A quick and easy homemade hot cocoa with a light salted caramel sauce, perfect for cozy nights. This recipe uses simple ingredients and comes together in about 10 minutes.
- Prep Time: 5 minutes
- Cook Time: 5 minutes
- Total Time: 10 minutes
- Yield: 2 servings 1x
- Category: Beverage
- Cuisine: American
Ingredients
- 2 tablespoons unsalted butter
- 3 tablespoons brown sugar, packed
- 2 tablespoons maple syrup
- 1/4 cup milk (any kind)
- 1/4 teaspoon vanilla extract
- Pinch of sea salt (plus more for finishing)
- 2 cups milk (oat milk or 2% dairy recommended)
- 2 tablespoons unsweetened cocoa powder
- 1 tablespoon brown sugar (optional)
- 1/4 teaspoon vanilla extract
- Light whipped cream or Greek yogurt (for topping)
- Flaky sea salt (for topping)
- Extra caramel sauce (optional, for topping)
Instructions
- Make the light caramel sauce first. In a small saucepan over medium-low heat, melt the butter. Add the brown sugar and maple syrup. Stir constantly with a whisk until combined and bubbly, about 2 minutes.
- Slowly pour in the 1/4 cup of milk while whisking. Add the vanilla and a pinch of sea salt. Whisk until smooth, then remove from heat. Set aside.
- In a medium saucepan, whisk together the cocoa powder and the 1 tablespoon of brown sugar (if using). Add about 2 tablespoons of the milk and whisk into a paste.
- Pour in the remaining milk and whisk until smooth. Place over medium heat and warm, whisking occasionally, until steaming but not boiling, about 4 to 5 minutes.
- Remove the cocoa from heat. Add about 2 tablespoons of the caramel sauce and the 1/4 teaspoon of vanilla. Whisk until fully incorporated. Taste and adjust as desired.
- Divide the cocoa between two mugs. Top with whipped cream or Greek yogurt, sprinkle with flaky sea salt, and drizzle with extra caramel if desired. Serve immediately.
Notes
For a dairy-free version, use oat milk and plant-based butter. The caramel sauce can be stored in the refrigerator for up to a week. If the caramel becomes grainy, add a splash of milk and whisk over low heat until smooth.
Nutrition
- Serving Size: 1 mug
- Calories: 235
- Sugar: 24
- Sodium: 180
- Fat: 8
- Saturated Fat: 4
- Carbohydrates: 32
- Fiber: 2
- Protein: 8
Keywords: salted caramel hot cocoa, easy hot cocoa recipe, light hot cocoa, homemade caramel sauce, cozy drink