My niece asked why I couldn’t just use store-bought pie crust and bake the filling in a muffin tin. I started to explain why that wouldn’t work—then stopped. I was about to launch into a whole speech about blind baking and crust shrinkage and the integrity of a proper pie. But honestly? I had nothing. No good reason, except that I’d never tried it. So I said, “You know what? Let’s find out.”
That Tuesday afternoon, we stood in my tiny kitchen with a package of refrigerated pie dough, a can of pumpkin purée, and a muffin tin that had seen better days. I was ready to be proven right—ready for soggy bottoms and over-browned edges. Instead, what came out of the oven was a tray of perfectly crisp, buttery little tarts with that soft, spiced pumpkin filling we all crave. My niece just smiled. I mean, she really smiled. And I had to admit it: she was right.
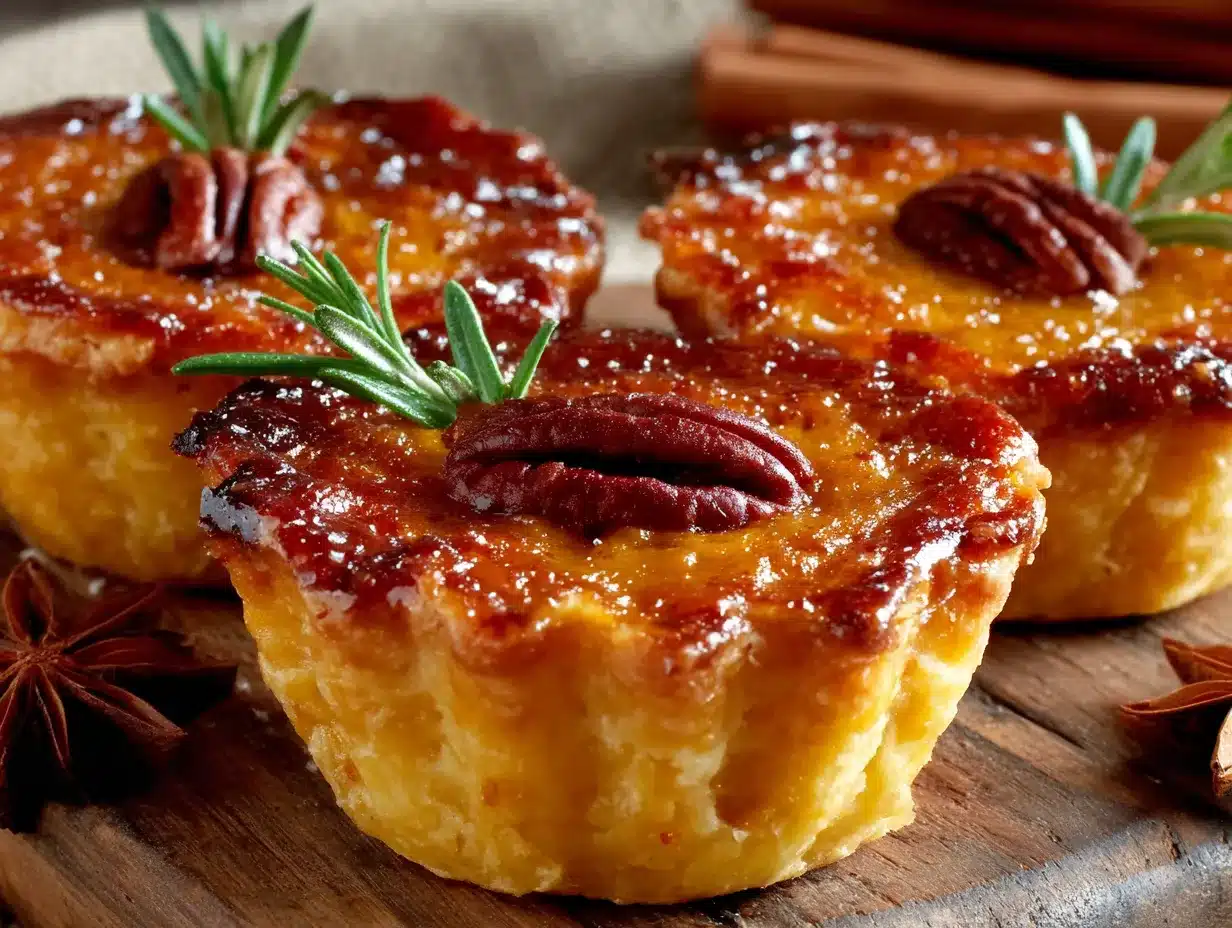
These Mini Pumpkin Pie Tarts are the result of that humbling moment. They come together in about 20 minutes, they use simple ingredients you probably already have, and they taste like actual Thanksgiving pie—just faster and cuter. Maybe you’ve been in a similar spot, where a beginner’s idea turned out to be better than your carefully planned method. That’s the thing about cooking, right? Sometimes the shortcuts are the real secret. Let me tell you, these little tarts have become my go-to for weeknight cravings and last-minute dessert emergencies ever since.
Why You’ll Love This Recipe
I have tested this recipe about seven times now—once with homemade crust, once with gluten-free dough, and a few times just to make sure the filling wasn’t too runny. I can say with confidence that this is the version you want. Here is why these Mini Pumpkin Pie Tarts stand out from every other pumpkin dessert out there:
- Quick & Easy: From start to finish, these tarts are ready in under 20 minutes. That includes prep, baking, and cooling time. Perfect for those evenings when you need dessert fast.
- Simple Ingredients: You only need seven basic ingredients. No fancy extracts, no specialty flours, no trips to three different stores. Everything is probably in your pantry right now.
- Perfect for Weeknights: These tarts are small enough for a casual Tuesday dessert but pretty enough for a dinner party. They solve the “I want pie but I don’t have three hours” problem.
- Crowd-Pleaser: I brought these to a potluck last week, and they disappeared before the main course. Kids love the size, and adults love the flavor. It is a win-win.
- Unbelievably Delicious: The contrast between the flaky, golden crust and the creamy, spiced filling is next-level comfort food. The first bite honestly makes you close your eyes.
What makes this recipe different is the technique. By using a muffin tin instead of a traditional pie dish, you get perfectly portioned tarts with maximum crust-to-filling ratio. No soggy bottoms, no uneven baking—just consistent, delicious results every time. Plus, the mini size means you can eat two without guilt. Or three. I won’t judge.
What Ingredients You Will Need
This recipe uses simple, wholesome ingredients to deliver bold flavor and satisfying texture without the fuss. Most of these are pantry staples, and the few fresh items are easy to find at any grocery store. Let me walk you through each one and share a few tips I have learned along the way.
- Refrigerated Pie Crust (1 package, 2 sheets): I use Pillsbury refrigerated pie crusts for convenience, but any brand works. Let them sit at room temperature for about 10 minutes before unrolling—cold crust cracks easily. If you prefer homemade, go for it, but the store-bought version saves serious time.
- Pumpkin Purée (1 cup / 240g): Make sure you grab 100% pumpkin purée, not pumpkin pie filling. The filling has added sugar and spices that will throw off the balance. Libby’s is my go-to brand, but store brands work fine too. One standard 15-ounce can gives you exactly what you need with a little leftover.
- Sweetened Condensed Milk (1/2 cup / 150g): This is the secret to the creamy, rich filling. It adds sweetness and a silky texture without needing extra sugar or cream. Eagle Brand is my preference, but any brand works. Do not substitute with evaporated milk—the texture will be completely different.
- Large Egg (1): The egg binds the filling and gives it that custard-like set. Use a room-temperature egg for best results. If you forget to take it out of the fridge, place it in a bowl of warm water for 5 minutes.
- Pumpkin Pie Spice (1 teaspoon): You can use store-bought or make your own blend. My homemade mix is 1/2 teaspoon cinnamon, 1/4 teaspoon ginger, 1/4 teaspoon nutmeg, and a pinch of cloves. It smells like autumn in a jar.
- Vanilla Extract (1/2 teaspoon): Pure vanilla extract adds depth and rounds out the spices. Imitation vanilla works in a pinch, but the flavor is noticeably less complex.
- Salt (1/4 teaspoon): A small pinch of salt balances the sweetness and enhances all the warm spices. Do not skip it—it makes a real difference.
For the topping, I like to add a dollop of whipped cream and a light dusting of cinnamon. That is optional, but honestly, it takes these tarts from good to unforgettable. If you want to get fancy, a drizzle of caramel sauce works beautifully too.
Equipment Needed
You do not need any fancy equipment for this recipe, which is part of the beauty. Here is what you will need:
- Standard 12-Cup Muffin Tin: This is the key tool. A non-stick tin works best, but a regular one works too—just grease it well. I use a Wilton non-stick pan, and my tarts slide right out.
- Round Biscuit Cutter or Glass (3-inch / 7.5 cm): You need something to cut the pie crust into circles. A 3-inch biscuit cutter is ideal, but the rim of a drinking glass works perfectly in a pinch.
- Mixing Bowl: A medium bowl for whisking the filling ingredients together. Any bowl works.
- Whisk: For combining the filling until smooth. A fork works too, but a whisk gives you a silkier texture.
- Rolling Pin (optional): You might need this to lightly roll out the pie crust if it shrinks during cutting. Not always necessary, but good to have on hand.
- Measuring Cups and Spoons: For accurate measurements. Baking is more precise than cooking, so take the extra 30 seconds to measure properly.
That is really it. No food processor, no stand mixer, no special tart pans. This recipe was designed for real kitchens with real limitations.
Preparation Method
Let me walk you through this step by step. I have made these tarts enough times to know where things can go wrong, so I will point out the tricky parts as we go.
- Preheat your oven to 375°F (190°C). Give it a full 10 minutes to reach temperature. A properly preheated oven ensures the crust bakes evenly and the filling sets properly.
- Prepare the muffin tin. Lightly spray each cup with non-stick cooking spray. Even if your pan is non-stick, do not skip this step. The filling can stick, and you want those tarts to come out clean.
- Cut the pie crust. Unroll the refrigerated pie crust on a lightly floured surface. Use your 3-inch biscuit cutter or glass to cut out circles. You should get about 5 circles per sheet, so 10 total from one package. Gently press each circle into a muffin cup, making sure it reaches the edges. Do not stretch the dough—stretching causes shrinkage during baking.
- Make the filling. In a medium bowl, whisk together 1 cup pumpkin purée, 1/2 cup sweetened condensed milk, 1 large egg, 1 teaspoon pumpkin pie spice, 1/2 teaspoon vanilla extract, and 1/4 teaspoon salt. Whisk until completely smooth and uniform in color. The mixture should be thick but pourable.
- Fill the tart shells. Spoon the filling into each crust-lined cup, filling them about 3/4 full. The filling will puff up slightly during baking, so leave a little room. I use a small cookie scoop for even portions—about 2 tablespoons per tart.
- Bake. Place the muffin tin on the middle rack of your preheated oven. Bake for 12 to 15 minutes, or until the edges of the crust are golden brown and the filling is set around the edges but still slightly jiggly in the center. The filling will continue to set as it cools.
- Cool completely. Let the tarts cool in the pan for 5 minutes, then carefully transfer them to a wire rack. Use a small offset spatula or butter knife to gently loosen the edges. Cool for at least 15 minutes before serving. The filling needs this time to firm up.
A quick sensory cue: when the tarts are done, the kitchen will smell like Thanksgiving morning. The crust will be a warm, golden brown, and the filling will have a slight sheen. If you gently shake the pan, the centers should wobble just a tiny bit—that is the sign of a perfect custard.
Cooking Tips & Techniques
I have made plenty of mistakes with these tarts so you do not have to. Here are the lessons I learned the hard way:
Do not overfill the crusts. The first time I made these, I filled each tart to the brim. Bad idea. The filling bubbled over, stuck to the pan, and made a mess. Three-quarters full is the sweet spot. Trust me on this.
Watch the crust edges. Pie crust can burn quickly, especially in a hot oven. If you notice the edges browning too fast, loosely cover the muffin tin with aluminum foil for the last 3 minutes of baking. I have done this several times, and it works like a charm.
Let them cool completely. I know it is tempting to eat them warm, but the filling needs time to set. If you dig in too soon, the filling will be runny and the crust might fall apart. Patience pays off here. I usually make these while I am cleaning up dinner, so they are ready by the time I sit down.
Use room temperature ingredients. Cold egg and cold pumpkin purée can make the filling lumpy and uneven. Let everything sit on the counter for 15 minutes before mixing. It makes a noticeable difference in texture.
Multitask wisely. While the crust circles are baking, you can whisk the filling. While the tarts are cooling, you can make whipped cream or clean up. This recipe moves fast, so staying organized helps.
Variations & Adaptations
One of the best things about this recipe is how easy it is to change up. Here are some variations I have tried and loved:
- Gluten-Free Version: Use a gluten-free pie crust mix or a pre-made gluten-free crust. I have tried both, and the texture holds up beautifully. Just follow the package instructions for the crust.
- Dairy-Free Option: Substitute the sweetened condensed milk with a dairy-free version. I have used coconut-based sweetened condensed milk, and it works well. The flavor is slightly different—more tropical—but still delicious.
- Spice It Up: Add a pinch of cayenne pepper or ginger to the filling for a little heat. I did this once on a whim, and it was surprisingly good. The warmth complements the pumpkin nicely.
- Chocolate Twist: Sprinkle a few chocolate chips into the bottom of each crust before adding the filling. The melted chocolate creates a lovely surprise layer. My niece approved this version enthusiastically.
- Mini Pecan Pumpkin Tarts: Top each tart with a few chopped pecans before baking. The nuts toast in the oven and add a lovely crunch. This is my personal favorite variation.
Feel free to experiment based on what you have in your pantry. These tarts are forgiving, so don’t stress about perfection.
Serving & Storage Suggestions
These Mini Pumpkin Pie Tarts are best served at room temperature or slightly warm. A dollop of whipped cream on top is classic, but I also love a drizzle of caramel sauce or a sprinkle of cinnamon sugar. They are small enough to serve as a dessert bite after a heavy meal, or you can serve two per person for a more generous portion.
For storage, place leftover tarts in an airtight container in the refrigerator. They will stay fresh for up to 4 days. The crust might soften slightly over time, but the flavor actually improves as the spices meld together. I honestly think they taste even better on day two.
To reheat, pop them in a 300°F (150°C) oven for 5 minutes. This crisps the crust back up without overcooking the filling. You can also microwave them for 15 seconds, but the crust will be softer.
These tarts freeze beautifully. Place them on a baking sheet in the freezer for 1 hour, then transfer to a freezer-safe bag. They will keep for up to 2 months. Thaw in the refrigerator overnight and reheat as directed. Perfect for making ahead of Thanksgiving or holiday gatherings.
Nutritional Information & Benefits
Here is the approximate nutritional breakdown for one mini tart (based on 10 tarts):
| Nutrient | Amount Per Tart |
|---|---|
| Calories | 145 |
| Total Fat | 6g |
| Saturated Fat | 3g |
| Cholesterol | 25mg |
| Sodium | 180mg |
| Total Carbohydrates | 20g |
| Dietary Fiber | 2g |
| Sugars | 12g |
| Protein | 3g |
Pumpkin is packed with vitamin A, fiber, and antioxidants. It is great for eye health and digestion. The sweetened condensed milk adds calcium and protein, though it also brings sugar. These tarts are a treat, but they offer more nutritional value than a standard cookie or brownie. If you are watching your sugar intake, you can reduce the sweetened condensed milk to 1/3 cup—the filling will be slightly less sweet but still delicious.
Conclusion
These Mini Pumpkin Pie Tarts are proof that sometimes the simplest ideas are the best ones. A beginner’s instinct, a store-bought shortcut, and a muffin tin came together to create something genuinely wonderful. I have made these for weeknight dinners, holiday parties, and lazy Sunday afternoons, and they never disappoint.
I hope you give them a try and make them your own. Maybe you add a pinch of extra spice, or swap in a different crust, or double the batch because one tray is never enough. Whatever you do, I would love to hear about it. Leave a comment below and tell me how your tarts turned out. Share a photo if you are feeling proud—I always love seeing your creations.
Until next time, happy baking. And remember: sometimes the best recipes come from being wrong.
Frequently Asked Questions
Can I use homemade pie crust instead of store-bought?
Absolutely. Homemade crust works perfectly here. Just roll it out to about 1/8-inch thickness and cut into 3-inch circles. The bake time might increase by 1-2 minutes since homemade crust can be slightly thicker.
Can I make these tarts ahead of time?
Yes, you can make them up to 2 days in advance. Store them in an airtight container in the refrigerator. Reheat in a 300°F oven for 5 minutes before serving for the best texture.
Why did my filling turn out runny?
Runny filling usually means the tarts were underbaked or the filling was too thin. Make sure you bake until the edges are set and the center is just slightly jiggly. Also, double-check that you used 100% pumpkin purée, not pumpkin pie filling, which has extra liquid.
Can I freeze these tarts?
Yes, they freeze wonderfully. Freeze them on a baking sheet for 1 hour, then transfer to a freezer bag. They will keep for up to 2 months. Thaw overnight in the refrigerator and reheat before serving.
Can I use a different spice blend?
Of course. If you do not have pumpkin pie spice, use 1/2 teaspoon cinnamon, 1/4 teaspoon ginger, 1/4 teaspoon nutmeg, and a tiny pinch of cloves. You can also add a dash of cardamom or allspice for a unique twist.
Pin This Recipe!
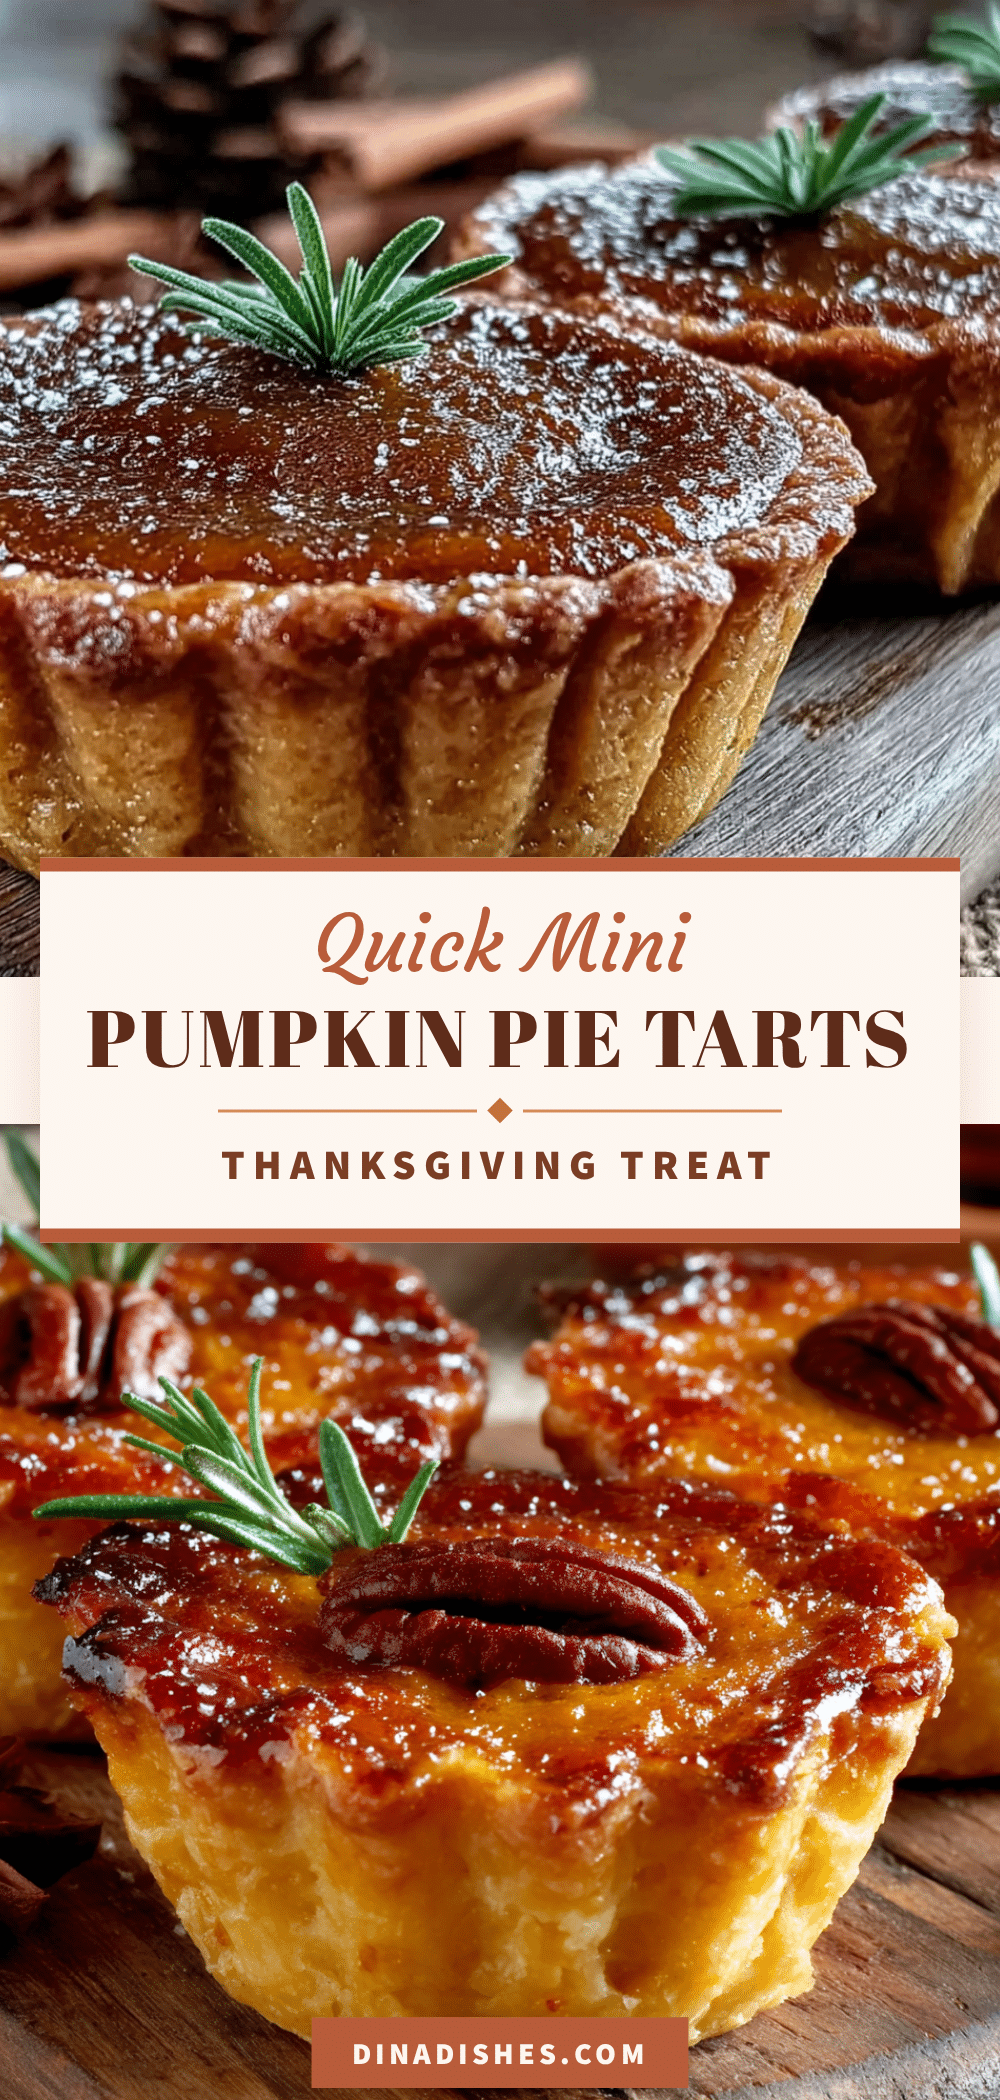
Mini Pumpkin Pie Tarts: Easy 20-Minute Recipe
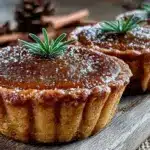
These Mini Pumpkin Pie Tarts are quick, easy, and made with simple ingredients. They come together in about 20 minutes and taste like actual Thanksgiving pie—just faster and cuter.
- Prep Time: 5 minutes
- Cook Time: 12-15 minutes
- Total Time: 20 minutes
- Yield: 10 tarts 1x
- Category: Dessert
- Cuisine: American
Ingredients
- 1 package refrigerated pie crust (2 sheets)
- 1 cup (240g) pumpkin purée (100% pumpkin, not pie filling)
- 1/2 cup (150g) sweetened condensed milk
- 1 large egg, room temperature
- 1 teaspoon pumpkin pie spice
- 1/2 teaspoon vanilla extract
- 1/4 teaspoon salt
Instructions
- Preheat your oven to 375°F (190°C).
- Lightly spray each cup of a standard 12-cup muffin tin with non-stick cooking spray.
- Unroll the refrigerated pie crust on a lightly floured surface. Use a 3-inch biscuit cutter or glass to cut out circles (about 5 per sheet, 10 total). Gently press each circle into a muffin cup, making sure it reaches the edges. Do not stretch the dough.
- In a medium bowl, whisk together pumpkin purée, sweetened condensed milk, egg, pumpkin pie spice, vanilla extract, and salt until completely smooth and uniform in color.
- Spoon the filling into each crust-lined cup, filling them about 3/4 full (about 2 tablespoons per tart).
- Bake on the middle rack for 12 to 15 minutes, or until the edges of the crust are golden brown and the filling is set around the edges but still slightly jiggly in the center.
- Let the tarts cool in the pan for 5 minutes, then carefully transfer them to a wire rack. Cool for at least 15 minutes before serving.
Notes
Do not overfill the crusts—fill 3/4 full. Watch the crust edges; if browning too fast, cover loosely with foil for the last 3 minutes. Let cool completely before serving to allow filling to set. Use room temperature ingredients for best texture.
Nutrition
- Serving Size: 1 tart
- Calories: 145
- Sugar: 12
- Sodium: 180
- Fat: 6
- Saturated Fat: 3
- Carbohydrates: 20
- Fiber: 2
- Protein: 3
Keywords: mini pumpkin pie tarts, easy pumpkin dessert, quick pumpkin tarts, muffin tin pumpkin pie, 20-minute dessert