I was elbow-deep in dish soap last Tuesday evening when the unmistakable scent of almond extract drifted through the open kitchen window – and suddenly I was seven years old, standing on a step stool at my neighbor Mrs. Kowalski’s counter, watching her roll cake crumbs between her palms like she was making tiny miracles. The smell came from her garden, from some bush I never learned the name of, but it unlocked a memory so sharp I almost dropped the sponge. Mrs. Kowalski always let me lick the candy coating off the spoon, and she never once told me I was making a mess. She moved away when I was twelve, and I haven’t thought about those afternoons in years – until that random Tuesday, when the whole scene came flooding back like it never left.
Here’s the thing about cake pops: they sound fussy. They sound like something you see in a fancy bakery case with a price tag that makes you wince. But honestly? They’re one of the most forgiving, budget-friendly treats you can make with kids. You don’t need special skills, and you definitely don’t need a pastry degree. You just need a little patience, a willing helper or two, and maybe a sense of humor about the whole thing. Because let me tell you – the first time I tried this with my own kids, we ended up with pink frosting on the ceiling. I still don’t know how that happened.
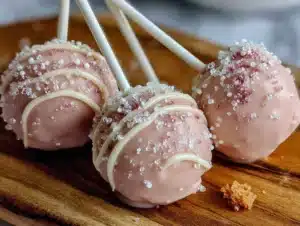
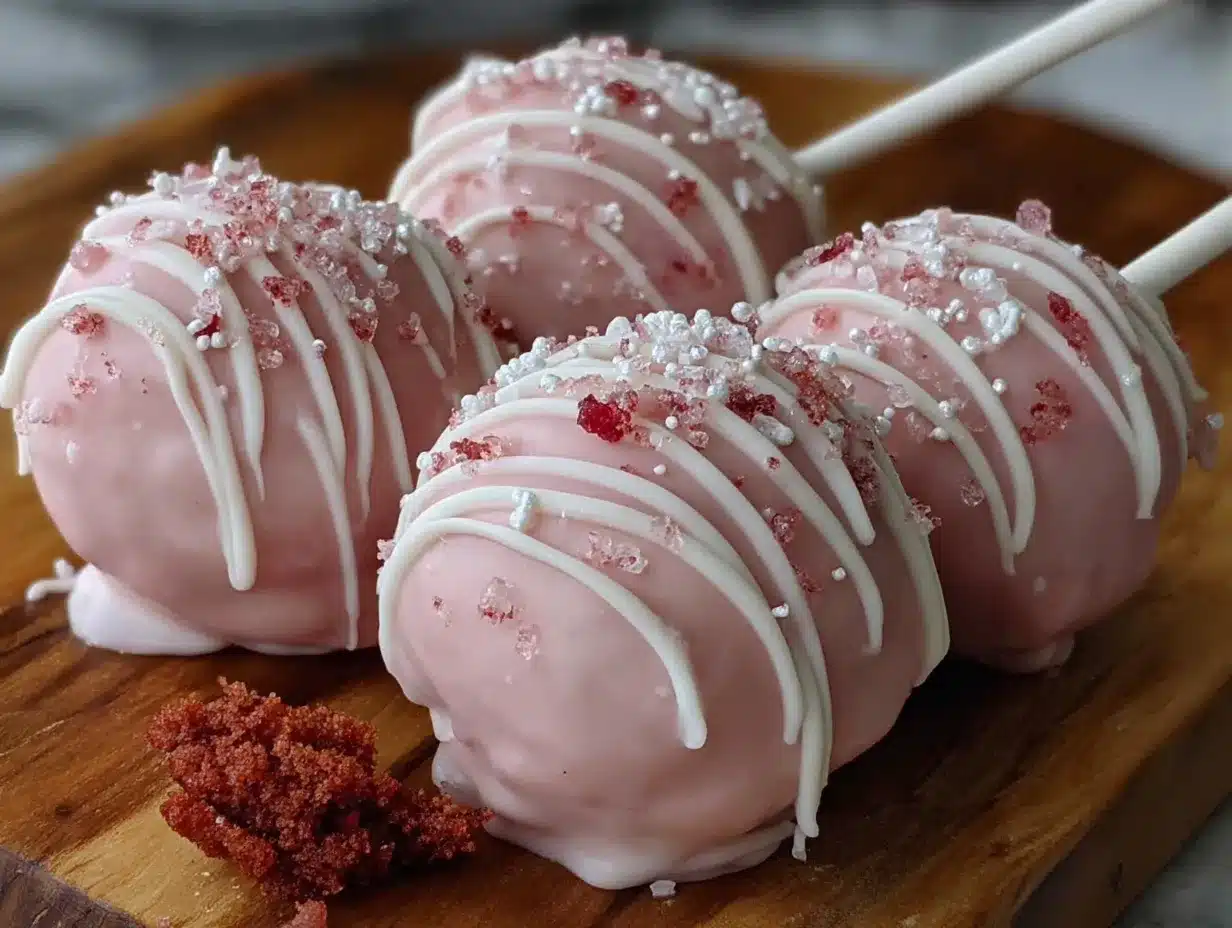
These pink velvet cake pops are the kind of recipe that turns a regular Tuesday into something worth remembering. They’re sweet without being cloying, pretty without being precious, and sturdy enough to survive a toddler’s grip. I mean, that’s the real test, right? If a three-year-old can hold it without it disintegrating, you’ve got a winner. And the color – that soft, cheerful pink – feels like a celebration without needing a special occasion. Maybe you’ve been there, staring at a box of cake mix and wondering how to make something feel special without spending a fortune or losing your mind. This is that recipe. It’s the one that makes you look like a hero, even if you’re just using a box mix and a little food coloring.
Why You’ll Love This Recipe
I’ve tested this recipe more times than I care to admit – through sticky fingers, melted chocolate, and one memorable incident involving a curious dog and a tray of cooling cake balls. What I’ve learned is that this isn’t just another dessert. It’s a system. A strategy for making something genuinely impressive without the stress.
- Made with Simple Ingredients – You likely have most of these in your pantry right now. No trips to specialty stores, no weird ingredients you’ll never use again. Just cake mix, cream cheese frosting, candy melts, and a few pantry staples.
- Comes Together Quickly – The hands-on time is about 30 minutes. The rest is just chilling time, which means you can do it in stages around your family’s schedule.
- Perfect for Family Fun – This is the ultimate “everyone helps” recipe. Little hands can roll the cake balls, older kids can dip, and adults can handle the decorating. It’s a legit family activity, not just a dessert.
- Budget-Friendly – A box of cake mix costs a couple of dollars. A tub of frosting is maybe three. Candy melts are the priciest item, but a bag goes a long way. You’re looking at under $15 for a batch that makes 24-30 pops.
- Always a Crowd-Pleaser – I’ve brought these to school parties, family gatherings, and playdates. They disappear every single time. Kids love the fun shape and color, adults love the nostalgic flavor.
What makes this recipe different from other cake pop recipes is the texture. I’ve figured out the exact ratio of frosting to cake crumbs so the balls hold together without being greasy. And the candy coating trick? I’ll share that below. It’s the difference between cake pops that crack and cake pops that look like they came from a bakery. This isn’t just another version – it’s the version I’d make for my own kids, and I do, regularly.
There’s something about biting into a cake pop that makes people smile. It’s a little selfish, honestly – that perfect pop of sweetness, the contrast between the crunchy shell and the soft cake inside. It’s comfort food in a handheld form. And when you make them yourself, with your family, they taste even better. Trust me on that.
What Ingredients You Will Need
This recipe uses simple, straightforward ingredients that work together to create something genuinely special. No surprises, no fuss – just good, honest components that deliver every time.
For the Cake Base
- 1 box (15.25 oz) white cake mix – I prefer Betty Crocker or Duncan Hines for consistent results. The box mix provides a reliable base that saves time without sacrificing quality.
- 3 large eggs – Room temperature eggs incorporate more evenly into the batter, giving you a lighter crumb.
- 1/2 cup (120 ml) vegetable oil – You can substitute melted coconut oil for a slightly different flavor profile.
- 1 cup (240 ml) buttermilk – This replaces the water called for on the box. Buttermilk adds tenderness and a subtle tang that balances the sweetness. If you don’t have buttermilk, add 1 tablespoon of lemon juice or white vinegar to regular milk and let it sit for 5 minutes.
- 1 tablespoon pink gel food coloring – Gel coloring is essential here. Liquid food coloring will thin the batter too much and give you a washed-out color. I use Americolor Soft Pink or Wilton Rose for that perfect ballet-slipper shade.
- 1 teaspoon vanilla extract – Pure vanilla adds depth. The imitation stuff works in a pinch, but pure is worth the splurge here.
For the Frosting and Binding
- 1/2 cup (120 g) cream cheese frosting – Store-bought is perfectly fine. I use Duncan Hines or Pillsbury. The cream cheese flavor pairs beautifully with the vanilla cake and cuts the sweetness.
- 2 tablespoons unsalted butter, softened – This helps the frosting blend more smoothly into the cake crumbs.
For the Coating
- 12 oz (340 g) pink candy melts – I recommend Wilton or Merckens for the smoothest melt. White candy melts with a drop of pink gel food coloring also work if you want to control the shade.
- 1 tablespoon coconut oil or shortening – This thins the candy coating just enough for easy dipping without it being too thick.
For Decoration
- 2 tablespoons sprinkles – Any variety works! Rainbow jimmies, pink sanding sugar, or even crushed freeze-dried strawberries for a natural touch.
- 24-30 lollipop sticks – Look for 6-inch sticks at craft stores or in the baking aisle.
- 1 block of styrofoam or a cake pop stand – For drying the finished pops upright.
Equipment Needed
You don’t need a fancy kitchen to make these cake pops. Here’s what you’ll actually use:
- 9×13-inch baking pan – Glass or metal both work. Metal pans tend to bake more evenly, but glass is fine if you adjust the time slightly.
- Large mixing bowl – For crumbling the cake and mixing with frosting.
- Electric hand mixer or stand mixer – For the cake batter. You can mix by hand, but a mixer makes it easier to get a smooth batter.
- Cookie scoop or melon baller – A 1.5-inch scoop gives you perfectly uniform cake balls. This is worth finding – uneven sizes mean uneven dipping.
- Baking sheet lined with parchment paper – For chilling the cake balls before dipping.
- Microwave-safe bowl – For melting the candy coating. Glass works best; plastic can get too hot.
- Tall, narrow glass or mug – For dipping the cake pops. A wider bowl makes it harder to get a clean coat.
- Styrofoam block or cake pop stand – For drying. I’ve used a cardboard box with holes punched in it in a pinch – honestly, whatever works.
If you don’t have lollipop sticks, you can shape the cake mixture into truffle-sized balls and serve them as cake bites instead. No sticks, no problem. The taste is exactly the same.
Preparation Method
Step 1: Bake the Cake (About 30 minutes)
Preheat your oven to 350°F (175°C). Grease your 9×13-inch pan lightly with butter or cooking spray. In a large bowl, combine the white cake mix, eggs, vegetable oil, buttermilk, vanilla extract, and pink gel food coloring. Beat on medium speed for 2 minutes until the batter is smooth and uniformly pink. The color should be a shade darker than you want the final cake to be – it will lighten slightly as it bakes. Pour the batter into the prepared pan and bake for 25-30 minutes. The cake is done when a toothpick inserted into the center comes out clean or with a few moist crumbs. Let the cake cool completely in the pan on a wire rack. This is important – warm cake will make the frosting too soft and your balls will be a sticky mess. I usually bake the cake the day before and let it cool overnight.
Step 2: Crumble the Cake (About 10 minutes)
Once the cake is completely cool, use your hands to crumble it into a large mixing bowl. You want fine, even crumbs – no large chunks bigger than a pea. This is the step where kids can really help. It’s messy and satisfying and they love it. Work the cake with your fingers until it looks like damp sand. If you find any browned edges, remove them – they’ll create dark spots in your finished cake pops.
Step 3: Make the Cake Ball Mixture (About 5 minutes)
In a small bowl, mix the cream cheese frosting with the softened butter until smooth. Add this mixture to the crumbled cake, 2 tablespoons at a time, mixing with your hands or a spatula after each addition. You want the mixture to hold together when pressed – like play-dough. If it’s too dry, add a little more frosting. If it’s too wet, add a few more cake crumbs. The texture should be firm but not greasy. I’ve learned through trial and error that less is more here. You can always add more frosting, but you can’t take it out.
Step 4: Form the Cake Balls (About 15 minutes)
Using your cookie scoop or melon baller, portion out uniform amounts of the cake mixture. Roll each portion between your palms into a smooth ball. Place the balls on a parchment-lined baking sheet. You should get 24-30 balls depending on size. Press each ball gently to make sure it’s compact – loose balls will fall apart during dipping. Refrigerate the balls for at least 1 hour, or freeze for 20 minutes if you’re in a hurry. They need to be firm enough to hold their shape when you insert the sticks.
Step 5: Insert the Sticks (About 5 minutes)
Melt about 2 tablespoons of the candy coating in the microwave. Dip the tip of each lollipop stick into the melted coating, then insert it about halfway into a cake ball. The coating acts like glue, holding the stick in place. Return the pops to the refrigerator for another 15 minutes to set the sticks. This step is non-negotiable – skipping it means your cake pops will slide off the sticks during dipping.
Step 6: Melt the Candy Coating (About 5 minutes)
Place the remaining pink candy melts and the coconut oil in a microwave-safe bowl. Microwave in 30-second intervals at 50% power, stirring after each interval, until completely smooth. Don’t rush this – overheating the candy melts will make them seize into a thick, unusable paste. The mixture should be thin enough to coat the back of a spoon. If it’s too thick, add another teaspoon of coconut oil.
Step 7: Dip the Cake Pops (About 20 minutes)
Remove a few cake pops from the refrigerator at a time – keep the rest cold. Holding the stick, dip each cake pop into the melted coating until it’s completely submerged. Gently tap the stick on the edge of the bowl to allow excess coating to drip off. Don’t swirl or spin the pop – this can cause the cake ball to break free from the stick. Immediately sprinkle with your chosen decorations before the coating sets. Stand the pop upright in your styrofoam block or stand. Repeat with remaining pops. Let them set completely, about 30 minutes at room temperature or 15 minutes in the refrigerator.
Cooking Tips & Techniques
I’ve made every mistake in the book with cake pops, so you don’t have to. Here are the lessons I learned the hard way:
The Temperature Game – Cake balls need to be cold, but the coating needs to be warm. If your cake balls are too warm, they’ll fall apart in the coating. If the coating is too cool, it will be too thick and crack as it sets. Keep your cake balls in the fridge until the last possible moment, and work in small batches.
The Thin Coating Trick – If your candy coating is too thick, add more coconut oil or shortening, not water. Water will cause the coating to seize and become unusable. A thin, fluid coating gives you a smooth, professional finish. I aim for the consistency of warm honey.
The Crack Prevention Method – Cracks happen when the cake ball expands slightly as it warms up, pushing against the hardened coating. To prevent this, make sure your cake balls are thoroughly chilled and that your coating isn’t too thick. A thin coating will flex slightly as the cake ball warms.
The Timing Strategy – This recipe works best when broken into stages. Bake the cake one day, form the balls the next, and dip them the day after. It makes the process feel manageable instead of overwhelming. Plus, the cake balls actually hold together better after an overnight chill.
The Mess Management – Line your work surface with parchment paper for easy cleanup. Keep a damp paper towel nearby for sticky fingers. And for goodness’ sake, wear an apron. Pink food coloring has a way of appearing in the most unexpected places.
Variations & Adaptations
This recipe is wonderfully flexible. Here are some variations I’ve tried and loved:
Chocolate Velvet Cake Pops – Substitute a chocolate cake mix and use chocolate frosting instead of cream cheese. Use red food coloring for a classic red velvet, or skip it for a rich chocolate version. My kids actually prefer this version about half the time.
Strawberry Shortcake Pops – Add 1/4 cup of finely chopped freeze-dried strawberries to the cake crumb mixture. Use strawberry frosting instead of cream cheese. The tiny bits of strawberry add a lovely texture and intense flavor.
Vegan-Friendly Version – Use a vegan cake mix and replace the eggs with flax eggs (1 tablespoon ground flaxseed mixed with 3 tablespoons water per egg). Use vegan cream cheese frosting and dairy-free candy melts. The texture is slightly denser but still delicious.
Gluten-Free Option – Substitute a gluten-free white cake mix. King Arthur and Betty Crocker both make reliable gluten-free mixes. Add an extra tablespoon of frosting to help bind the crumbs, as gluten-free cakes tend to be more crumbly.
Funfetti Cake Pops – Stir 2 tablespoons of rainbow sprinkles into the cake mixture before forming the balls. The sprinkles add color and a slight crunch. Use white candy coating and top with more sprinkles for maximum fun.
I once made a batch with lemon cake mix and yellow candy coating for a spring party. They were a hit, and honestly, the lemon version might be my secret favorite. The tangy frosting balances the sweetness perfectly.
Serving & Storage Suggestions
These cake pops are best served at room temperature. The coating stays firm, and the cake inside is soft and tender. If you’ve refrigerated them, let them sit out for about 15 minutes before serving. Arrange them upright in a festive cup or vase, or lay them flat on a serving platter with the sticks pointing outward.
For a party, present them in a small bouquet – push the sticks into a styrofoam block wrapped in decorative paper. It makes a stunning centerpiece that doubles as dessert. I’ve done this for birthday parties and school events, and people always comment on how pretty they look.
Storage: Store leftover cake pops in an airtight container in the refrigerator for up to 5 days. The coating may develop a slight condensation when you take them out, but it will disappear as they come to room temperature. For longer storage, freeze the undipped cake balls for up to 3 months. When you’re ready to serve, thaw them in the refrigerator overnight, then dip as directed.
Reheating: You don’t need to reheat cake pops – they’re meant to be eaten cold or at room temperature. But if you want a slightly different experience, you can microwave one for about 10 seconds. The cake becomes warm and almost gooey, like a fresh-baked cupcake. Just don’t overdo it, or the coating will melt.
The flavors actually develop over time. Day-old cake pops taste even better than fresh ones – the cake and frosting meld together into a more cohesive texture. So don’t stress about making them the day of your event. They’re actually better made a day ahead.
Nutritional Information & Benefits
Let’s be honest – cake pops are a treat, not a health food. But knowing what’s in them helps you enjoy them mindfully. Here’s the estimated breakdown per cake pop (based on 24 pops):
- Calories: 180
- Total Fat: 9g
- Saturated Fat: 4g
- Carbohydrates: 24g
- Sugar: 16g
- Protein: 2g
The buttermilk in this recipe adds calcium and a small amount of protein. The cream cheese frosting provides a bit of vitamin A. And honestly, the biggest benefit might be the joy of making something together as a family. There’s real value in that shared experience.
If you’re watching sugar intake, you can reduce the frosting by a couple of tablespoons or use a sugar-free cake mix. The texture will be slightly different, but still enjoyable. For a lower-fat version, use a reduced-fat cream cheese frosting and skip the butter in the binding mixture.
These cake pops are not gluten-free or vegan in their standard form, but see the variations section for adaptations. They contain dairy, eggs, and wheat. If you’re serving a crowd with allergies, make sure to label them clearly.
Conclusion
These pink velvet cake pops are more than just a dessert – they’re a memory in the making. They’re the recipe you pull out when you want to make a Tuesday feel like a celebration, when you need a project that brings everyone into the kitchen, when you want to create something beautiful without breaking the bank. The pink color is cheerful without being over the top, the flavor is familiar but special, and the process is forgiving enough for even the youngest helpers.
I love this recipe because it reminds me that you don’t need fancy ingredients or professional skills to make something wonderful. You just need a little time, a little patience, and maybe a sense of humor about the mess. Because honestly, the mess is part of the fun. The sticky fingers, the sprinkles on the floor, the giggles when something goes wrong – those are the moments that turn a recipe into a tradition.
So go ahead – grab a box of cake mix, call your kids into the kitchen, and make a mess. You’ll end up with cake pops that taste amazing and memories that last even longer. And if you come up with your own variation, I’d love to hear about it. Drop a comment below and tell me how your family made this recipe their own. Happy baking!
Frequently Asked Questions
Why did my cake pops crack?
Cracking usually happens when the cake ball is too warm when you dip it, or when the candy coating is too thick. Make sure your cake balls are thoroughly chilled (at least 1 hour in the fridge) and that your coating is thin enough to flow smoothly. If cracks appear, you can sometimes hide them with a sprinkle of decorations.
Can I use homemade cake instead of box mix?
Absolutely! Use your favorite vanilla cake recipe. Just make sure it’s fully cooled and crumbled finely. Homemade cake can be a bit more delicate, so you might need to adjust the frosting amount slightly. Start with less frosting and add more as needed.
How do I get the coating perfectly smooth?
The key is thin coating and cold cake balls. Add enough coconut oil or shortening to make the coating flow like warm honey. When you dip, tap the stick gently on the edge of the bowl to remove excess. Don’t spin or swirl the pop – that can cause the cake ball to detach from the stick.
Can I freeze the finished cake pops?
Yes, but it’s better to freeze the undipped cake balls. Freeze them on a baking sheet, then transfer to a freezer bag. When you’re ready to serve, thaw in the refrigerator overnight and dip as directed. Finished cake pops can be frozen, but the coating may develop condensation when thawing.
My cake mixture is too dry – what should I do?
Add more frosting, one tablespoon at a time, until the mixture holds together when pressed. If it’s still too dry after adding a few tablespoons, you may have over-baked the cake. Next time, check the cake a few minutes early. For this batch, try adding a teaspoon of milk along with the extra frosting.
Pin This Recipe!
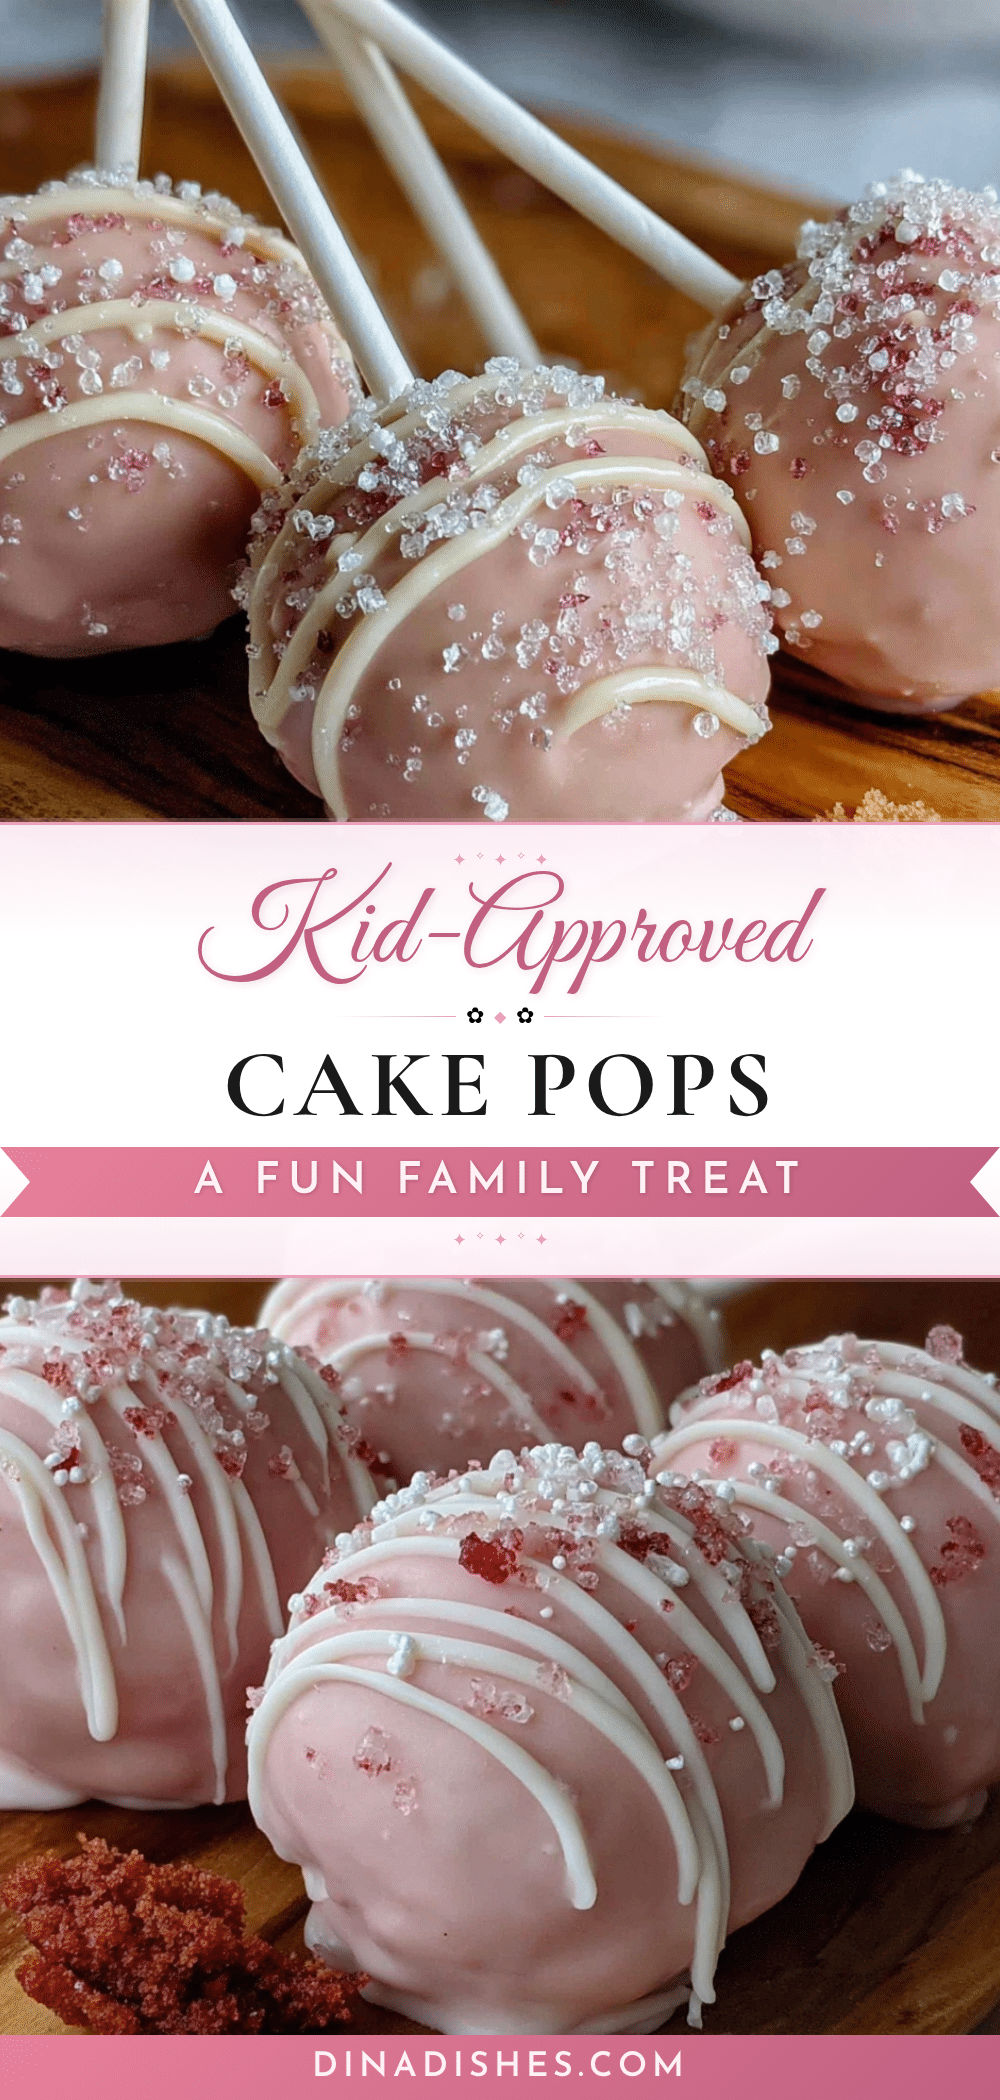
Easy Pink Velvet Cake Pops: Best Kid-Approved Recipe

These pink velvet cake pops are sweet without being cloying, pretty without being precious, and sturdy enough to survive a toddler’s grip. Made with simple ingredients and perfect for family fun, they turn a regular Tuesday into something worth remembering.
- Prep Time: 30 minutes
- Cook Time: 30 minutes
- Total Time: 1 hour (plus chilling time)
- Yield: 24-30 servings 1x
- Category: Dessert
- Cuisine: American
Ingredients
- 1 box (15.25 oz) white cake mix (Betty Crocker or Duncan Hines recommended)
- 3 large eggs, room temperature
- 1/2 cup (120 ml) vegetable oil
- 1 cup (240 ml) buttermilk
- 1 tablespoon pink gel food coloring (Americolor Soft Pink or Wilton Rose)
- 1 teaspoon vanilla extract
- 1/2 cup (120 g) cream cheese frosting (store-bought, like Duncan Hines or Pillsbury)
- 2 tablespoons unsalted butter, softened
- 12 oz (340 g) pink candy melts (Wilton or Merckens recommended)
- 1 tablespoon coconut oil or shortening
- 2 tablespoons sprinkles (rainbow jimmies, pink sanding sugar, or crushed freeze-dried strawberries)
- 24–30 lollipop sticks (6-inch)
- 1 block of styrofoam or a cake pop stand
Instructions
- Preheat oven to 350°F (175°C). Grease a 9×13-inch baking pan lightly with butter or cooking spray.
- In a large bowl, combine white cake mix, eggs, vegetable oil, buttermilk, vanilla extract, and pink gel food coloring. Beat on medium speed for 2 minutes until smooth and uniformly pink.
- Pour batter into prepared pan and bake for 25-30 minutes, until a toothpick inserted into the center comes out clean or with a few moist crumbs. Let cake cool completely in the pan on a wire rack.
- Once cake is completely cool, crumble it into a large mixing bowl using your hands until you have fine, even crumbs (no chunks larger than a pea). Remove any browned edges.
- In a small bowl, mix cream cheese frosting with softened butter until smooth. Add this mixture to the crumbled cake, 2 tablespoons at a time, mixing with hands or a spatula after each addition until the mixture holds together when pressed (like play-dough).
- Using a cookie scoop or melon baller, portion out uniform amounts of the cake mixture. Roll each portion between your palms into a smooth ball. Place balls on a parchment-lined baking sheet. Refrigerate for at least 1 hour, or freeze for 20 minutes.
- Melt about 2 tablespoons of candy coating in the microwave. Dip the tip of each lollipop stick into the melted coating, then insert it about halfway into a cake ball. Return pops to refrigerator for 15 minutes to set the sticks.
- Place remaining pink candy melts and coconut oil in a microwave-safe bowl. Microwave in 30-second intervals at 50% power, stirring after each interval, until completely smooth and thin enough to coat the back of a spoon.
- Remove a few cake pops from the refrigerator at a time. Holding the stick, dip each cake pop into the melted coating until completely submerged. Gently tap the stick on the edge of the bowl to allow excess coating to drip off. Do not swirl or spin.
- Immediately sprinkle with decorations before the coating sets. Stand the pop upright in a styrofoam block or cake pop stand. Repeat with remaining pops. Let set completely, about 30 minutes at room temperature or 15 minutes in the refrigerator.
Notes
Cake balls need to be cold, but the coating needs to be warm. Work in small batches. If candy coating is too thick, add more coconut oil or shortening, not water. To prevent cracks, ensure cake balls are thoroughly chilled and coating is thin. This recipe works best when broken into stages: bake the cake one day, form the balls the next, and dip them the day after.
Nutrition
- Serving Size: 1 cake pop
- Calories: 180
- Sugar: 16
- Sodium: 150
- Fat: 9
- Saturated Fat: 4
- Carbohydrates: 24
- Protein: 2
Keywords: cake pops, pink velvet, kid-friendly, easy dessert, birthday party, cake balls, homemade treats