I was standing in the parking lot of a grocery store last November when the smell hit me — someone was reheating leftovers in their car, and that unmistakable scent of sage and toasted bread drifted across three rows of parked cars. And suddenly I was eight years old, standing in my neighbor Mrs. Kowalski’s kitchen on Thanksgiving morning, watching her brown butter in a battered stainless steel pan while she told me that patience was the only secret worth knowing. She passed away a few years ago, and I never got her recipe. This is my attempt to recreate that exact feeling — not just the dish, but the warmth of standing in someone else’s kitchen, learning something you didn’t even know you needed to know. Honestly, I’ve been chasing that moment ever since.
Maybe you’ve been there — that one side dish that everyone fights over, the one that disappears before the turkey even makes it to the table. For me, it’s always been stuffing. Not the kind that comes from a box, but the kind that starts with good bread and a little patience. This Best Brown Butter Sage Stuffing with Sourdough is the result of about seven failed attempts, one accidentally burnt batch of butter (the smoke alarm still haunts me), and finally, a phone call to Mrs. Kowalski’s daughter, who found a handwritten card tucked into an old cookbook. I tweaked it, I tested it, and I landed on something that makes people close their eyes after the first bite. You know that feeling when a recipe just works? This one works.
Why You’ll Love This Recipe
Let me tell you why this stuffing is different from every other version you’ve tried. I mean, I’ve tested this thing about a dozen times — for Thanksgiving, for Friendsgiving, for a random Tuesday when I needed comfort food. Every single time, it delivered.
- Crowd-Pleaser: This is the dish that gets quiet at the table. People stop talking to take another bite. I’ve seen grown adults argue over the crispy corner pieces.
- Make-Ahead Friendly: You can prep this the day before your gathering, which is basically a superpower when you’re hosting. Just assemble, cover, and bake when ready.
- Simple Ingredients: Nothing fancy here — good sourdough, fresh sage, butter, and a few pantry staples. No weird processed stuff or hard-to-find items.
- Perfect for Hosting: This recipe scales beautifully. Feeding eight or eighteen? No problem. Plus, it looks stunning on a serving platter with those golden-brown edges.
- Unbelievably Delicious: The brown butter adds this nutty, almost toasty depth that regular butter just can’t touch. Paired with fresh sage and tangy sourdough? It’s next-level comfort food.
What makes this recipe different from the rest is the technique — browning the butter until it smells like toasted hazelnuts, then blooming the sage in that hot butter to wake up all those aromatic oils. It’s not just another stuffing recipe. It’s the one that’ll have people asking for the recipe before dessert even comes out.
This isn’t just good — it’s the kind of side dish that makes you forget about the main course. Trust me on this one.
What Ingredients You Will Need
This recipe uses simple, wholesome ingredients to deliver bold flavor and satisfying texture without the fuss. Most of these are pantry staples, and the fresh ingredients are easy to find at any grocery store.
For the Stuffing Base
- 1 large loaf sourdough bread, cut into 1-inch cubes (about 12 cups) — day-old or slightly stale works best; it soaks up the broth without turning mushy
- 1 cup unsalted butter (2 sticks) — I prefer Kerrygold for its rich flavor, but any good-quality butter works
- 1/4 cup fresh sage leaves, finely chopped — about 15-20 leaves; don’t use dried sage here, the fresh stuff makes all the difference
- 2 medium yellow onions, diced (about 3 cups)
- 4 celery stalks, diced (about 2 cups)
- 4 cloves garlic, minced
- 2 cups low-sodium chicken or vegetable broth — homemade is amazing, but store-bought works great too
- 2 large eggs, lightly beaten — this helps bind everything together so it slices beautifully
- 1 teaspoon kosher salt, plus more to taste
- 1/2 teaspoon black pepper, freshly ground
- 1/2 teaspoon dried thyme — adds an earthy note that pairs perfectly with sage
- 1/4 teaspoon nutmeg, freshly grated if possible — trust me on this one, it’s subtle but magical
For the Topping (Optional but Highly Recommended)
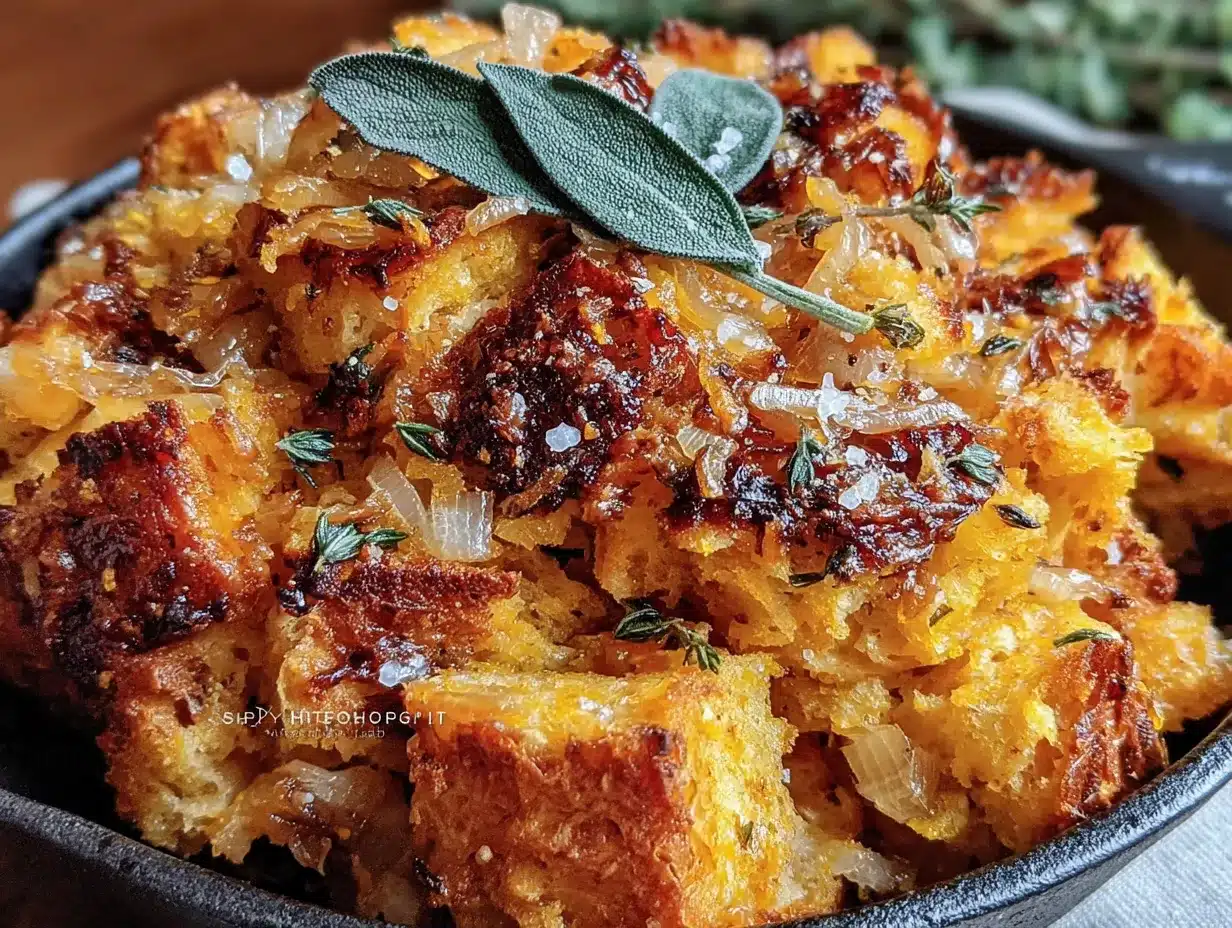
- 2 tablespoons unsalted butter, melted
- 1/4 cup fresh parsley, chopped — for garnish and freshness
- Flaky sea salt, for finishing — Maldon is my go-to
Ingredient Selection Tips: Look for a sourdough loaf with a sturdy crust and a tight crumb — avoid the super airy, holey breads because they’ll fall apart. For the sage, choose leaves that are vibrant green and fragrant, without any wilting or brown spots. If you can only find dried sage, use 1 tablespoon instead of the fresh amount, but honestly, fresh is worth the extra effort here.
Substitution Guidance: For a gluten-free version, use a good-quality gluten-free sourdough or rustic bread. For dairy-free, substitute the butter with a high-quality vegan butter stick (not margarine) — I’ve had good results with Miyoko’s. You can also swap the chicken broth for vegetable broth to make this fully vegetarian.
Equipment Needed
You don’t need a fancy kitchen to make this stuffing shine. Here’s what you’ll need:
- Large skillet or sauté pan — for browning the butter and cooking the vegetables; a 12-inch pan is ideal
- 9×13-inch baking dish — or any 3-quart casserole dish; glass or ceramic works best for even heating
- Large mixing bowl — big enough to toss all the ingredients together without spilling
- Sharp chef’s knife — for dicing onions and celery; a dull knife makes this job miserable
- Cutting board
- Wooden spoon or silicone spatula
- Measuring cups and spoons
- Whisk — for beating the eggs
- Aluminum foil — for covering the dish during baking
Budget-Friendly Alternatives: Don’t have a 9×13 dish? Use a cast-iron skillet or even a disposable aluminum pan — just adjust the baking time slightly. No whisk? A fork works fine for beating eggs. The key piece of equipment here is a good skillet for browning the butter, but honestly, any heavy-bottomed pan will do the job.
I’ve made this stuffing in a borrowed kitchen with a warped baking sheet and a butter knife — it still turned out amazing. Don’t let missing equipment stop you.
Preparation Method
This recipe takes about 45 minutes of active prep time and 45 minutes of baking. Here’s how to make it happen.
Step 1: Dry the Bread
Preheat your oven to 350°F (175°C). Spread the sourdough cubes in a single layer on two large baking sheets. Bake for 12-15 minutes, stirring halfway through, until the cubes are dry and lightly toasted but not browned. They should feel crisp on the outside but still have a little give in the center. Let them cool completely on the baking sheets. This step is crucial — if your bread is too soft, the stuffing will turn into a soggy mess. Trust me, I learned this the hard way after a particularly sad Thanksgiving.
Step 2: Brown the Butter
In a large skillet over medium heat, melt the 1 cup of butter. Swirl the pan occasionally as it melts. After about 4-5 minutes, the butter will start to foam and you’ll see little brown specks forming at the bottom. This is where the magic happens. Keep a close eye on it — the butter can go from perfectly browned to burnt in about 30 seconds. When it smells nutty and toasty and the specks are a deep amber color, remove the pan from heat immediately. Add the chopped fresh sage to the hot butter — it’ll sizzle and pop, releasing all that aromatic goodness. Let it sit for 1 minute while the sage infuses.
Step 3: Cook the Vegetables
Return the skillet to medium heat. Add the diced onions and celery, stirring to coat them in the brown butter-sage mixture. Cook for 8-10 minutes, stirring occasionally, until the onions are translucent and the celery has softened. Add the minced garlic and cook for another minute until fragrant. Remove from heat and let cool slightly — about 5 minutes. The smell at this point is absolutely intoxicating, by the way.
Step 4: Combine the Base
In your largest mixing bowl, combine the toasted sourdough cubes and the cooked vegetable mixture. Toss gently with your hands or a large spoon to distribute everything evenly. In a separate small bowl, whisk together the chicken broth, beaten eggs, salt, pepper, dried thyme, and nutmeg. Pour this mixture over the bread and vegetables. Toss gently but thoroughly — you want every piece of bread to get a little moisture without becoming waterlogged. Let the mixture sit for 10 minutes so the bread can absorb the liquid.
Step 5: Assemble and Bake
Preheat your oven to 375°F (190°C). Grease your 9×13-inch baking dish with a little butter or cooking spray. Transfer the stuffing mixture to the dish and spread it into an even layer. If you’re using the optional topping, drizzle the melted butter over the top. Cover tightly with aluminum foil and bake for 30 minutes. Then remove the foil and bake for another 15-20 minutes, until the top is golden brown and crispy. The edges should be caramelized and the center should be hot and set — you’ll see it pulling away from the sides of the dish slightly.
Step 6: Rest and Serve
Let the stuffing rest for 5-10 minutes before serving. This allows the custard to set fully so you get clean, beautiful servings. Sprinkle with fresh parsley and flaky sea salt just before bringing it to the table. Watch it disappear.
Cooking Tips & Techniques
I’ve made every mistake in the book with this recipe, so you don’t have to. Here’s what I’ve learned:
Don’t Rush the Brown Butter: This is the most important step. Keep the heat at medium — not high — and swirl the pan constantly. The butter will go through stages: melt, foam, then finally brown. When you see those brown specks form and smell that nutty aroma, pull it off the heat immediately. I once got distracted by a phone call and ended up with black butter that smelled like burnt popcorn. Not good.
Toast Your Bread Properly: Day-old bread is ideal, but if you’re using fresh bread, you absolutely must toast it in the oven. Skip this step and you’ll end up with stuffing that’s more like bread pudding — delicious, but not what we’re going for here. The toasting creates structure that holds up to the liquid.
Season in Layers: Add salt at each stage — when cooking the vegetables, when mixing the broth, and as a finishing touch. This builds depth of flavor that you can’t get from seasoning at the end only. But go easy on the salt in the broth if you’re using store-bought, since it’s already salted.
Let It Rest: I know it’s tempting to dig in immediately, but letting the stuffing rest for 10 minutes after baking makes a huge difference. The custard sets, the flavors meld, and you get cleaner servings. Plus, it gives you time to finish the gravy or pour the wine.
Make It Ahead: This is a lifesaver for hosting. Assemble the stuffing completely, cover it, and refrigerate for up to 24 hours. When you’re ready to bake, add about 10-15 minutes to the covered baking time since you’re starting from cold. The flavor actually gets better overnight — the sage really permeates the bread.
Variations & Adaptations
One of the best things about this recipe is how flexible it is. Here are some ways to make it your own.
Dietary Variations
Vegetarian/Vegan: Use vegetable broth instead of chicken broth. For vegan, substitute the butter with a high-quality vegan butter and use a flax egg (1 tablespoon ground flaxseed mixed with 3 tablespoons water, let sit for 5 minutes) instead of regular eggs. I’ve tested this version and it’s surprisingly close to the original.
Gluten-Free: Swap the sourdough for a sturdy gluten-free bread. Look for one with a tight crumb — I’ve had good luck with Against the Grain brand. Toast it a little longer since gluten-free bread tends to be more delicate.
Flavor Twists
Add Sausage: Brown 1 pound of Italian sausage (casings removed) before cooking the vegetables. Crumble it into the stuffing mixture — this makes it hearty enough to be a main dish. My husband insists this is the only way to make stuffing.
Apple & Sage: Add 1 large Granny Smith apple, peeled and diced, along with the onions and celery. The sweetness balances the savory sage beautifully. This is my go-to variation for fall gatherings.
Mushroom Lover’s: Sauté 8 ounces of cremini mushrooms, sliced, with the vegetables. They add an earthy umami that pairs perfectly with the brown butter. I accidentally discovered this when I had extra mushrooms in the fridge — now it’s a regular rotation.
Texture Adjustments
If you prefer a softer, more traditional stuffing, add an extra 1/4 cup of broth. For a crispier version, bake uncovered for the entire time and add 5 extra minutes at the end. My family is divided on this, so I usually make two smaller dishes — one for each camp.
Serving & Storage Suggestions
Serving Temperature: Serve this stuffing hot, straight from the oven. The contrast between the crispy top and the soft, custardy interior is what makes it special. If you’re hosting a big meal, you can keep it warm in a low oven (200°F) for up to 30 minutes — just tent it loosely with foil.
What to Serve Alongside: This stuffing is the perfect partner for roasted turkey or chicken, obviously. But don’t stop there — it’s amazing alongside a honey glazed ham, roasted herb pork tenderloin, or even a simple roast chicken for Sunday dinner. For a vegetarian spread, pair it with a hearty mushroom wellington or stuffed acorn squash. A crisp green salad with lemon vinaigrette cuts through the richness beautifully.
Storage Instructions: Leftover stuffing keeps well in the refrigerator for up to 4 days. Store it in an airtight container. The flavors actually deepen overnight — I’ve been known to eat cold stuffing straight from the fridge at 11 PM the day after Thanksgiving.
Reheating Methods: For best results, reheat in a 350°F oven for 10-15 minutes, covered with foil to prevent drying out. You can also microwave individual portions for 1-2 minutes, but the top won’t be as crispy. If you’re reheating a large batch, add a splash of broth to restore moisture.
Freezer Instructions: This stuffing freezes beautifully. Assemble it completely but don’t bake it. Wrap the dish tightly in plastic wrap, then foil, and freeze for up to 3 months. Thaw in the refrigerator overnight, then bake as directed, adding about 10 minutes to the covered baking time.
Flavor Development: Here’s a secret — this stuffing is even better the next day. The sage and brown butter flavors meld together overnight, creating a depth that’s hard to achieve on day one. If you can, make it a day ahead and let it rest in the fridge before baking. Your future self will thank you.
Nutritional Information & Benefits
Here’s the approximate nutritional breakdown per serving (based on 12 servings):
- Calories: 320
- Total Fat: 18g
- Saturated Fat: 11g
- Cholesterol: 65mg
- Sodium: 480mg
- Total Carbohydrates: 32g
- Dietary Fiber: 2g
- Sugars: 3g
- Protein: 7g
Health Benefits: Sage isn’t just for flavor — it’s packed with antioxidants and has anti-inflammatory properties. The sourdough bread offers some gut-friendly probiotics (more so if you use authentic fermented sourdough). Celery provides vitamin K and fiber, while the onions add quercetin, a powerful antioxidant. And hey, brown butter might not be health food, but it’s made from real ingredients — no artificial anything here.
Dietary Considerations: This recipe is vegetarian if you use vegetable broth. For gluten-free and vegan adaptations, see the variations section above. It contains dairy (butter) and eggs, plus gluten from the bread. If you’re watching sodium, use low-sodium broth and go easy on the finishing salt.
My Wellness Perspective: I believe in enjoying food without guilt. This is a holiday side dish — it’s meant to be indulgent. One serving won’t derail your health goals, and the joy of sharing a delicious meal with loved ones is good for the soul. Balance is everything.
Conclusion
This Best Brown Butter Sage Stuffing with Sourdough is more than just a side dish — it’s the one that’ll have people hovering around the serving dish, sneaking bites before dinner officially starts. It’s the recipe that makes hosting feel effortless because you know, deep down, that this dish will steal the show. And honestly? It deserves to.
I’ve made this stuffing for Thanksgivings, Friendsgivings, Christmas dinners, and even a random Sunday roast when I needed something that felt special. Every single time, someone asks for the recipe. Every single time, there are no leftovers. That’s the kind of recipe this is.
I’d love to hear how it turns out for you. Did you add sausage? Go the apple route? Make it vegan? Drop a comment below and tell me about your version — I read every single one, and your tweaks might inspire someone else’s holiday table. And if you loved it, share it with a friend who needs a showstopper side dish this year. Happy cooking, friend.
Frequently Asked Questions
Can I make this stuffing ahead of time?
Absolutely! Assemble the stuffing completely, cover it tightly, and refrigerate for up to 24 hours before baking. Add about 10-15 minutes to the covered baking time since you’re starting from cold. The flavor actually gets better overnight.
Can I use dried sage instead of fresh?
You can, but I really recommend fresh sage for this recipe. Fresh sage has a more vibrant, aromatic flavor that blooms beautifully in the brown butter. If you must use dried, use 1 tablespoon instead of the 1/4 cup fresh, and add it to the broth mixture rather than blooming it in the butter.
What’s the best bread to use for stuffing?
A sturdy sourdough with a tight crumb and a good crust is ideal. Day-old bread works perfectly because it’s already slightly dried out. Avoid soft, airy breads like brioche or supermarket white bread — they’ll turn into mush when you add the liquid.
How do I prevent my stuffing from being too dry or too soggy?
The key is toasting the bread properly and measuring your liquid carefully. Toast the bread cubes until they’re dry but not browned. When adding the broth mixture, toss gently and let it sit for 10 minutes before baking — this lets the bread absorb the liquid evenly. If it looks dry after resting, add a splash more broth. If it looks swimming in liquid, you’ve added too much.
Can I freeze this stuffing?
Yes! Assemble the stuffing completely but don’t bake it. Wrap the dish tightly in plastic wrap, then foil, and freeze for up to 3 months. Thaw in the refrigerator overnight, then bake as directed, adding about 10 minutes to the covered baking time. It’s a lifesaver for holiday prep.
Pin This Recipe!
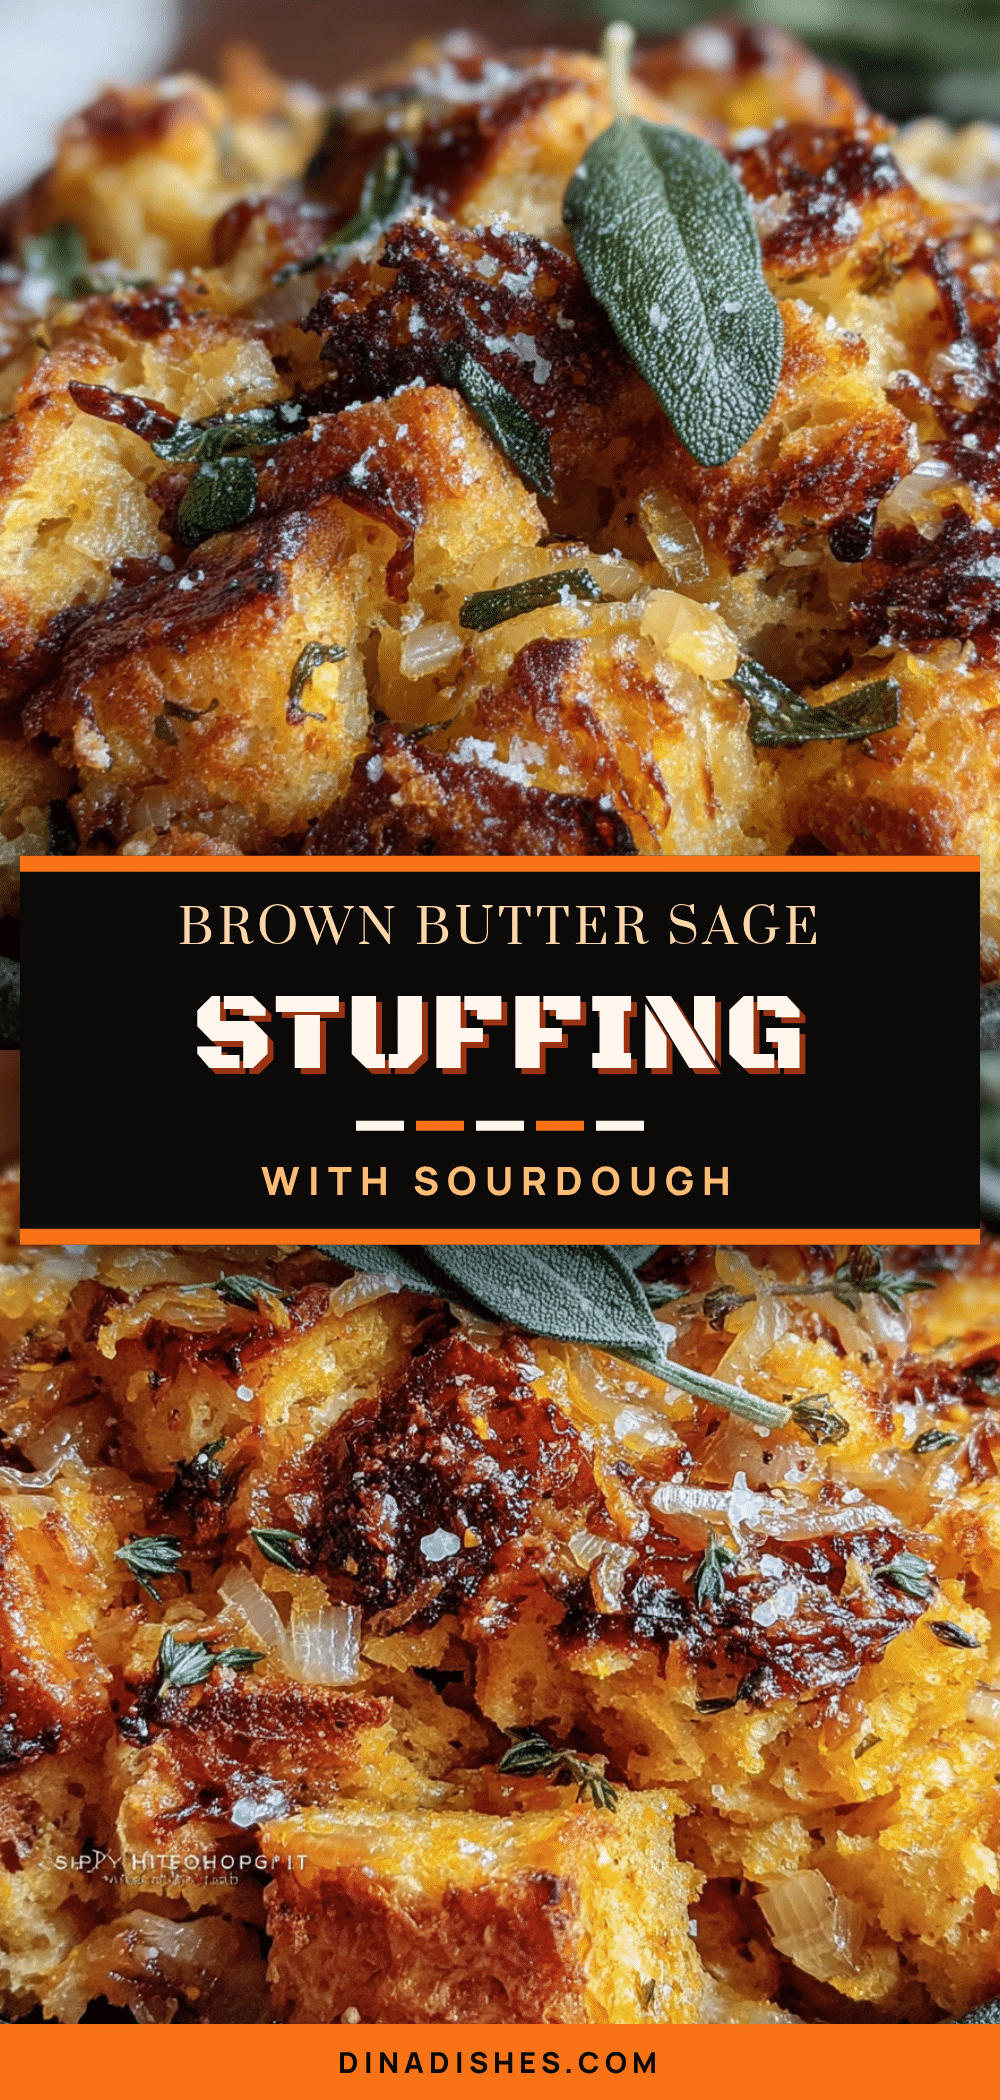
Best Brown Butter Sage Stuffing with Sourdough – Easy, Perfect Holiday Side

This Best Brown Butter Sage Stuffing with Sourdough is the ultimate holiday side dish, featuring nutty brown butter, fresh sage, and tangy sourdough bread. It’s a crowd-pleaser that can be made ahead and is perfect for Thanksgiving or any festive gathering.
- Prep Time: 45 minutes
- Cook Time: 45 minutes
- Total Time: 1 hour 30 minutes
- Yield: 12 servings 1x
- Category: Side Dish
- Cuisine: American
Ingredients
- 1 large loaf sourdough bread, cut into 1-inch cubes (about 12 cups)
- 1 cup unsalted butter (2 sticks)
- 1/4 cup fresh sage leaves, finely chopped (about 15–20 leaves)
- 2 medium yellow onions, diced (about 3 cups)
- 4 celery stalks, diced (about 2 cups)
- 4 cloves garlic, minced
- 2 cups low-sodium chicken or vegetable broth
- 2 large eggs, lightly beaten
- 1 teaspoon kosher salt, plus more to taste
- 1/2 teaspoon black pepper, freshly ground
- 1/2 teaspoon dried thyme
- 1/4 teaspoon nutmeg, freshly grated if possible
- 2 tablespoons unsalted butter, melted (for topping, optional)
- 1/4 cup fresh parsley, chopped (for garnish)
- Flaky sea salt, for finishing (optional)
Instructions
- Preheat oven to 350°F (175°C). Spread sourdough cubes in a single layer on two large baking sheets. Bake for 12-15 minutes, stirring halfway, until dry and lightly toasted but not browned. Let cool completely.
- In a large skillet over medium heat, melt 1 cup butter. Swirl occasionally. After 4-5 minutes, butter will foam and brown specks form. When it smells nutty and toasty, remove from heat immediately. Add chopped fresh sage to hot butter; let sit for 1 minute.
- Return skillet to medium heat. Add diced onions and celery, stirring to coat. Cook for 8-10 minutes until onions are translucent and celery softened. Add minced garlic and cook 1 minute more. Remove from heat and let cool about 5 minutes.
- In a large mixing bowl, combine toasted sourdough cubes and cooked vegetable mixture. Toss gently. In a separate bowl, whisk together broth, beaten eggs, salt, pepper, dried thyme, and nutmeg. Pour over bread and vegetables. Toss gently but thoroughly. Let sit for 10 minutes.
- Preheat oven to 375°F (190°C). Grease a 9×13-inch baking dish. Transfer stuffing mixture to dish and spread evenly. If using optional topping, drizzle melted butter over top. Cover tightly with foil and bake for 30 minutes. Remove foil and bake another 15-20 minutes until top is golden brown and crispy.
- Let stuffing rest for 5-10 minutes before serving. Sprinkle with fresh parsley and flaky sea salt just before serving.
Notes
For make-ahead: Assemble completely, cover, and refrigerate up to 24 hours. Add 10-15 minutes to covered baking time. For gluten-free: Use sturdy gluten-free sourdough. For vegan: Use vegan butter and flax egg. For extra crispiness, bake uncovered entire time and add 5 extra minutes. Leftovers keep in fridge up to 4 days; freeze unbaked for up to 3 months.
Nutrition
- Serving Size: 1 serving (1/12 of r
- Calories: 320
- Sugar: 3
- Sodium: 480
- Fat: 18
- Saturated Fat: 11
- Carbohydrates: 32
- Fiber: 2
- Protein: 7
Keywords: stuffing, brown butter, sage, sourdough, Thanksgiving, holiday side dish, make-ahead stuffing