I was standing in the baking aisle of our local grocery store last December, staring at a jar of marshmallow creme, when the fluorescent lights flickered and suddenly I was seven years old again in Aunt Jo’s tiny, steamy kitchen. The air smelled like burnt sugar and butter, and there she was—Aunt Jo, with flour on her cheek and that specific look of concentration she got when making her famous fudge. She’d let me lick the spatula clean, and I remember thinking that no candy in the world could ever taste as good as that sticky, sweet mess. She passed away five years ago, and I haven’t had her fudge since. But standing there in that grocery aisle, I realized I needed to figure it out myself. I mean, how hard could it be, right? I grabbed the marshmallow creme, some chocolate chips, and a can of evaporated milk, feeling like I was about to attempt something sacred. The first batch I made at home was a disaster—grainy, crumbly, and nothing like the smooth, creamy squares I remembered. But I kept at it, batch after batch, until finally, the texture clicked. That first perfect bite brought tears to my eyes. Honestly, maybe you’ve been there—chasing a taste from your past, trying to wrap your hands around a memory that keeps slipping away. This Classic Holiday Fantasy Fudge with Marshmallow Creme is my way of holding onto Aunt Jo, one square at a time. And trust me, once you make it, you’ll understand why this recipe has stayed with me all these years.
Why You’ll Love This Recipe
Let me tell you, after about seven failed attempts and one particularly memorable batch that ended up in the trash (don’t ask), I finally cracked the code on perfect fudge. This isn’t just another fudge recipe—it’s the one that will make you the star of every holiday gathering.
- Foolproof Results: Unlike traditional fudge that requires precise candy-making skills, this recipe uses marshmallow creme to prevent crystallization. You get perfectly smooth, creamy fudge every single time, no candy thermometer required.
- Simple Ingredients: You probably have most of these in your pantry right now. No fancy grocery store runs or special orders—just good old-fashioned baking staples.
- Perfect for the Holidays: Whether it’s Christmas cookie exchanges, Thanksgiving dessert tables, or New Year’s Eve parties, this fudge fits every occasion on the calendar.
- Crowd-Pleaser: I’ve brought this to countless gatherings, and people literally fight over the last piece. Kids love it, adults sneak extra pieces—it’s universal comfort food.
- Unbelievably Delicious: The texture is what gets me every time—creamy, melt-in-your-mouth, with that perfect balance of sweetness and richness. It’s the kind of fudge that makes you close your eyes after the first bite.
What makes this version different from all the others? It’s the marshmallow creme, folks. That magical ingredient gives the fudge its signature silky texture and prevents the graininess that plagues so many homemade fudge recipes. I’ve tested this with different brands, different cooking times, and different mixing methods—and this is hands-down the best version. It’s comfort food reimagined: faster, more reliable, but with the same soul-soothing satisfaction that makes holiday baking so special.
What Ingredients You Will Need
This recipe uses simple, wholesome ingredients to deliver that classic fudge flavor and unbeatable texture. Most of these are pantry staples, especially during the holiday season, so you’re probably already stocked up.
For the Fudge Base
- 3 cups granulated sugar (white sugar works best here—don’t substitute with brown sugar, as it changes the texture)
- ¾ cup unsalted butter (I prefer Land O’Lakes for consistent results; cut it into cubes so it melts evenly)
- ⅔ cup evaporated milk (not sweetened condensed milk—they’re different! Evaporated milk gives the right consistency)
- 1 (12-ounce) package semi-sweet chocolate chips (I use Ghirardelli for that rich, deep chocolate flavor)
- 1 (7-ounce) jar marshmallow creme (like Marshmallow Fluff or Jet-Puffed; don’t use mini marshmallows as a substitute)
- 1 teaspoon vanilla extract (pure vanilla extract, not imitation—it makes a difference)
- ¼ teaspoon salt (to balance the sweetness and enhance the chocolate flavor)
Optional Add-Ins
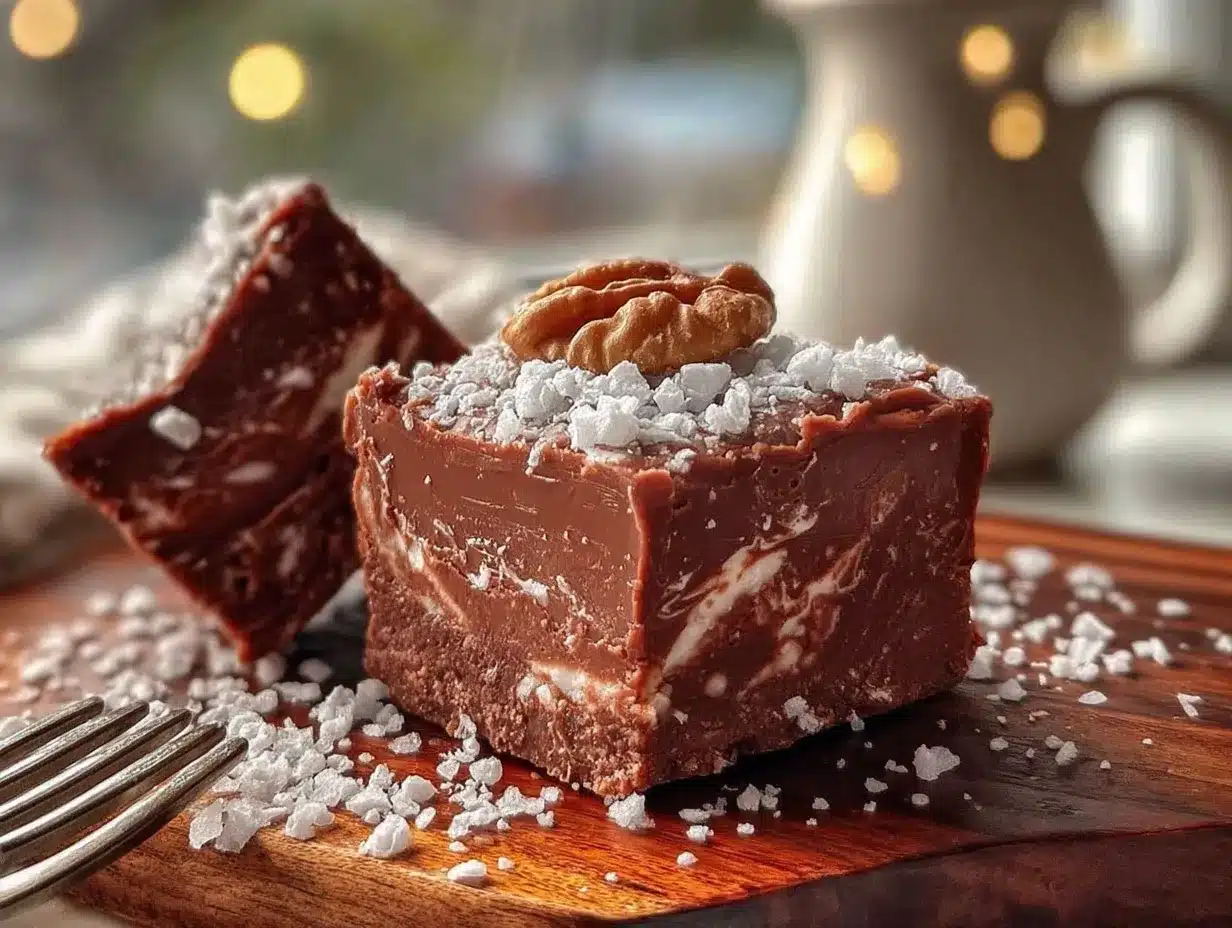
- 1 cup chopped walnuts or pecans (toasted for extra flavor; add them at the very end)
- ½ cup dried cranberries (for a festive holiday twist)
- Flaky sea salt (sprinkle on top before the fudge sets for a sweet-salty combo)
Ingredient Tips from My Kitchen: Make sure your butter is at room temperature before you start—it melts more evenly. And here’s something I learned the hard way: always use a fresh jar of marshmallow creme. If it’s been sitting in your pantry for months, it can be too stiff to incorporate properly. Also, for the best results, use a heavy-bottomed saucepan. Thin pans can cause the sugar mixture to scorch, and nobody wants burnt fudge.
If you’re looking for a dairy-free option, you can substitute the butter with a high-quality vegan butter and use full-fat coconut milk instead of evaporated milk. Just know the texture will be slightly different—still delicious, but not as creamy.
Equipment Needed
You don’t need a professional pastry kitchen for this recipe, but having the right tools makes the process so much smoother.
- Large, heavy-bottomed saucepan (at least 4-quart capacity; the heavy bottom prevents scorching)
- 8×8-inch baking pan (for setting the fudge; line it with parchment paper for easy removal)
- Parchment paper (I prefer pre-cut sheets—they save time and frustration)
- Wooden spoon or silicone spatula (for stirring; wooden spoons don’t conduct heat)
- Candy thermometer (optional but helpful; you’re looking for 234°F or soft-ball stage)
- Measuring cups and spoons (accuracy matters in candy-making)
- Sharp knife (for cutting the fudge cleanly; run it under hot water first for perfect slices)
Budget-Friendly Tip: If you don’t have a candy thermometer, don’t worry. You can test the syrup by dropping a small amount into cold water—it should form a soft ball that flattens when you pick it up. I’ve made this fudge dozens of times without a thermometer, and it turns out perfectly every time.
Preparation Method
Alright, let’s get to the fun part. Follow these steps carefully, and you’ll have perfect fudge every single time.
- Prepare your pan: Line an 8×8-inch baking pan with parchment paper, leaving some overhang on two sides. This creates “handles” that make lifting the fudge out super easy. Lightly grease the parchment with butter or non-stick spray.
- Combine the base ingredients: In your large, heavy-bottomed saucepan, combine the 3 cups of sugar, ¾ cup of cubed butter, and ⅔ cup of evaporated milk. Stir them together gently with your wooden spoon—don’t overmix, just get everything combined.
- Bring to a boil: Place the saucepan over medium heat and stir constantly until the mixture comes to a full, rolling boil. You’ll see bubbles breaking the surface all over, not just at the edges. This usually takes about 5-7 minutes. Important: Keep stirring the entire time to prevent scorching on the bottom.
- Boil for exactly 4 minutes: Once you have that rolling boil, set your timer for 4 minutes. Keep stirring gently but constantly. The mixture will thicken and turn a lovely golden color. If you’re using a candy thermometer, you’re aiming for 234°F (soft-ball stage). I once got distracted by a phone call and boiled it for 6 minutes—the fudge turned out grainy and hard. Learn from my mistake!
- Remove from heat and add chocolate: Take the pan off the heat immediately. Add the entire package of semi-sweet chocolate chips (12 ounces) and the jar of marshmallow creme (7 ounces). Don’t stir yet—just let the heat start melting everything for about 30 seconds.
- Stir until smooth: Now start stirring gently. The chocolate chips will melt into the hot mixture, and the marshmallow creme will incorporate smoothly. Keep stirring until everything is completely combined and you have a glossy, smooth fudge mixture. This takes about 2-3 minutes of steady stirring.
- Add vanilla and salt: Stir in the 1 teaspoon of vanilla extract and ¼ teaspoon of salt. If you’re adding nuts or dried cranberries, fold them in now. The mixture will start to thicken slightly as it cools, so work quickly.
- Pour into prepared pan: Pour the fudge mixture into your lined pan. Use your spatula to spread it evenly into the corners. Don’t overwork it—just smooth the top gently.
- Let it set: Allow the fudge to cool at room temperature for about 2 hours, then transfer to the refrigerator for at least 2 more hours, or until completely firm. I usually let it set overnight—the texture is even better the next day.
- Cut and serve: Once the fudge is completely set, use the parchment paper handles to lift it out of the pan. Place it on a cutting board and use a sharp knife to cut it into 1-inch squares. Run the knife under hot water between cuts for clean, neat edges.
Sensory Cue: When you’re stirring the fudge in step 6, you’ll notice it changes from looking like a separated, oily mess to a smooth, glossy, cohesive mixture. That transformation happens suddenly—keep stirring until it all comes together. The fudge should look like liquid velvet when it’s ready.
Cooking Tips & Techniques
After making this fudge more times than I can count (and failing spectacularly a few times), I’ve collected some tips that will save you from my mistakes.
Don’t rush the boil: I know it’s tempting to crank up the heat, but medium heat is your friend. High heat can cause the sugar to crystallize, and then you get grainy fudge. Trust me, I’ve been there, and it’s heartbreaking.
Humidity is the enemy: Fudge making is sensitive to humidity. If it’s a rainy or super humid day, your fudge might not set properly. Wait for a dry day, or run your air conditioner to reduce humidity in the kitchen. I learned this one the hard way when I tried making fudge during a summer thunderstorm—it never set and ended up as a delicious but messy fudge sauce.
Use a timer, not your memory: Set a timer for that 4-minute boil. I’ve made the mistake of thinking “I’ll just eyeball it” and ended up with fudge that was either too soft or too hard. The exact boiling time is crucial for the right texture.
Don’t scrape the pan: When you pour the fudge into the pan, don’t scrape the bottom of the saucepan. The mixture at the bottom might have tiny sugar crystals that could cause the whole batch to become grainy. Leave that last little bit in the pan—it’s not worth the risk.
Let it cool properly: I know you’re excited, but don’t cut into the fudge too early. It needs time to set completely. If you cut it while it’s still warm, you’ll get a sticky mess. Patience, my friend—good things come to those who wait.
Timing strategy: I like to make this fudge the day before I need it. It gives it plenty of time to set, and the flavor actually improves overnight. The chocolate becomes more pronounced, and the texture gets even creamier.
Variations & Adaptations
One of the best things about this fudge is how versatile it is. Here are some of my favorite variations:
Peppermint Bark Fudge: Add ½ teaspoon of peppermint extract along with the vanilla. After pouring the fudge into the pan, sprinkle crushed candy canes on top. It’s festive and perfect for Christmas cookie platters.
White Chocolate Cranberry Fudge: Substitute the semi-sweet chocolate chips with white chocolate chips. Fold in ½ cup of dried cranberries and ½ cup of chopped pistachios. The tartness of the cranberries balances the sweetness beautifully.
Vegan-Friendly Version: Use vegan butter, full-fat coconut milk instead of evaporated milk, and dairy-free chocolate chips. Look for a vegan marshmallow creme (Dandies makes a good one). The texture will be slightly different—a bit softer—but it’s still delicious.
Nutella Swirl Fudge: After pouring the fudge into the pan, drop spoonfuls of Nutella on top and swirl it in with a knife. It adds a hazelnut richness that’s absolutely divine.
Dark Chocolate Sea Salt: Use dark chocolate chips (60-70% cacao) instead of semi-sweet. Before the fudge sets, sprinkle flaky sea salt on top. The combination of bitter dark chocolate and salty crunch is addictive.
I personally love the peppermint variation—it’s become my signature holiday treat. My neighbor actually requests it every year, and I’ve started making double batches just for her!
Serving & Storage Suggestions
This fudge is best served at room temperature. Take it out of the refrigerator about 15-20 minutes before serving to let it soften slightly. The texture becomes perfectly creamy and melt-in-your-mouth.
Presentation Ideas: For holiday parties, I arrange the fudge squares on a festive platter, sometimes dusted with powdered sugar or cocoa powder. You can also layer them in a decorative tin lined with wax paper for gift-giving. Add a ribbon and a handwritten tag, and you’ve got a homemade gift that people will actually treasure.
Storage: Store the fudge in an airtight container at room temperature for up to 2 weeks. Yes, you read that right—it stays fresh at room temperature! The marshmallow creme helps prevent it from drying out. If you live in a warm climate, store it in the refrigerator, but let it come to room temperature before serving.
Freezing: This fudge freezes beautifully. Wrap individual pieces in wax paper, then place them in a freezer-safe bag or container. They’ll keep for up to 3 months. When you’re ready to enjoy them, thaw at room temperature for about 30 minutes. I always keep a stash in the freezer for unexpected guests or late-night cravings.
Flavor Development: Here’s a secret—the fudge actually tastes better after a day or two. The flavors meld together, and the texture becomes even creamier. So don’t worry if you make it ahead of time; it’s actually better that way.
Nutritional Information & Benefits
Let’s be real—fudge is a treat, not a health food. But that doesn’t mean we can’t enjoy it mindfully. Here’s the estimated nutritional breakdown per 1-inch square (based on 36 squares):
| Nutrient | Amount per serving |
|---|---|
| Calories | 145 |
| Total Fat | 7g |
| Saturated Fat | 4g |
| Cholesterol | 10mg |
| Sodium | 25mg |
| Total Carbohydrates | 22g |
| Sugars | 18g |
| Protein | 1g |
Health Benefits: Dark chocolate (if you use it) contains antioxidants called flavonoids that can support heart health. Nuts add healthy fats and protein. And honestly, there’s a mental health benefit too—sharing homemade treats with loved ones is good for the soul.
Dietary Considerations: This recipe contains dairy and gluten (if using vanilla extract that contains gluten, though most are gluten-free). For a gluten-free version, ensure all your ingredients are certified gluten-free. For a dairy-free version, use the substitutions mentioned in the variations section.
Allergen Warning: This fudge contains dairy and may contain tree nuts if you add them. Always check your ingredient labels if you’re serving someone with allergies.
Conclusion
This Classic Holiday Fantasy Fudge with Marshmallow Creme is more than just a recipe—it’s a piece of my heart, a connection to Aunt Jo, and a tradition I’m proud to carry on. The first time I made a successful batch, I sat there staring at the pan, feeling like I’d just unlocked a secret family heirloom. And now I’m sharing it with you.
I hope you’ll give this fudge a try, whether it’s for a holiday gathering, a gift for a friend, or just because you deserve something sweet. Don’t be afraid to make it your own—add your favorite nuts, experiment with different chocolates, or create a flavor combination that’s uniquely yours. That’s what cooking is all about, right?
I’d love to hear how your fudge turns out! Drop a comment below and tell me about your experience. Did you add any fun twists? Did it remind you of someone special? Share your fudge photos on social media and tag me—I can’t wait to see your creations. Until next time, happy baking, and remember: the best recipes are the ones made with love.
Frequently Asked Questions
Can I use mini marshmallows instead of marshmallow creme?
I wouldn’t recommend it. Marshmallow creme has a different consistency and melting properties than solid marshmallows. The creme helps prevent sugar crystallization, giving you that smooth, creamy texture. Mini marshmallows can make the fudge grainy or cause it to separate.
Why did my fudge turn out grainy?
Grainy fudge is usually caused by sugar crystallization. This can happen if you stir the mixture too vigorously during the boiling phase, if you scrape the bottom of the pan when pouring, or if the humidity is too high. Next time, try stirring gently and making sure the sugar is fully dissolved before it comes to a boil.
Can I double this recipe?
Absolutely! Just use a 9×13-inch pan instead of an 8×8-inch pan. Make sure your saucepan is large enough—you’ll need at least a 6-quart pot. The boiling time remains the same at 4 minutes. I often make double batches for holiday gift-giving.
How do I know when the fudge is done boiling?
You’re looking for a full, rolling boil—bubbles breaking all over the surface, not just at the edges. Set your timer for exactly 4 minutes once you reach that stage. If you’re using a candy thermometer, aim for 234°F (soft-ball stage). When you drop a small amount of the syrup into cold water, it should form a soft ball that flattens when you pick it up.
Can I make this fudge without a candy thermometer?
Yes! I’ve made this fudge dozens of times without one. The key is the cold water test: drop a small amount of the boiling syrup into a glass of cold water. If it forms a soft ball that flattens when you remove it from the water, it’s ready. Just remember to remove the pan from heat while you do the test, and return it to the heat if it needs more time.
Pin This Recipe!
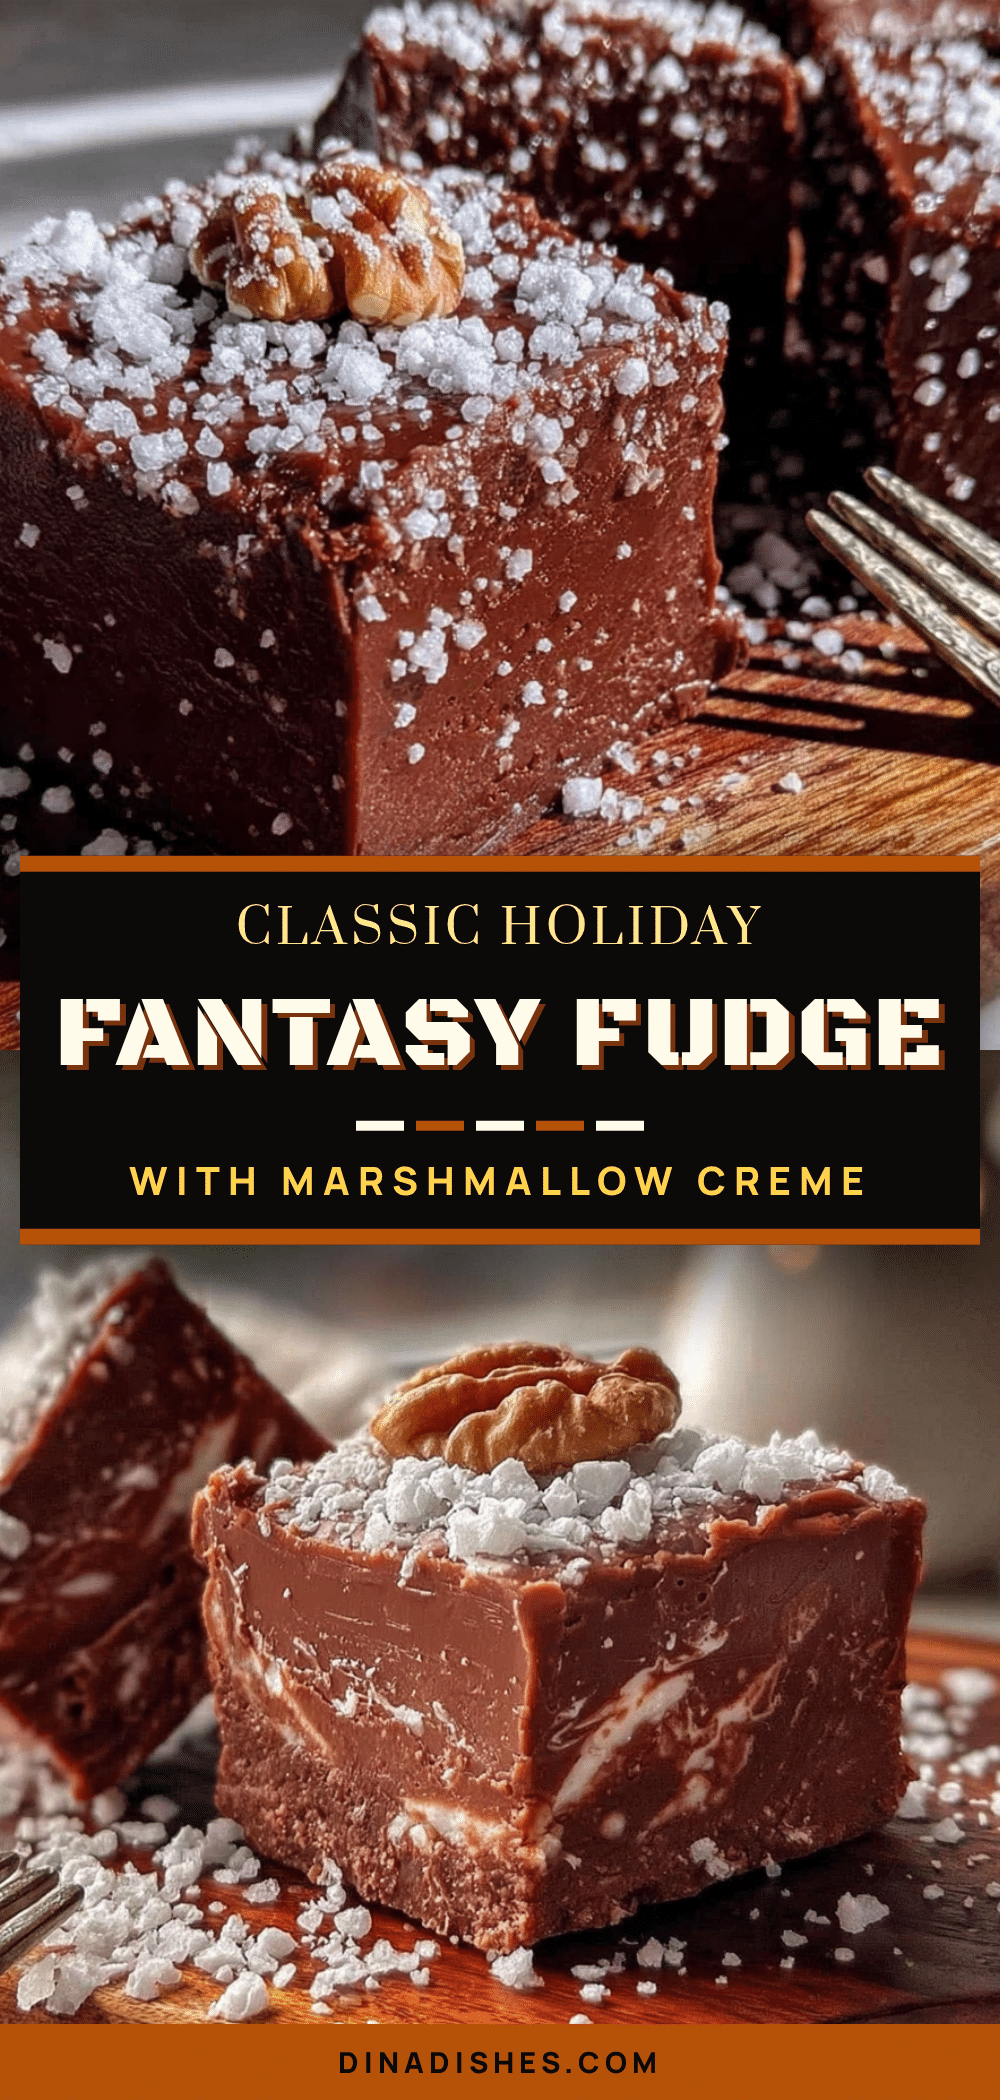
Classic Holiday Fantasy Fudge with Marshmallow Creme
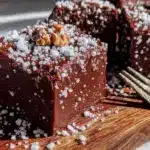
This foolproof fudge uses marshmallow creme to prevent crystallization, resulting in perfectly smooth, creamy fudge every time. It’s a nostalgic holiday treat that’s simple to make and perfect for sharing.
- Prep Time: 15 minutes
- Cook Time: 12 minutes
- Total Time: 4 hours 27 minutes (includes cooling and setting time)
- Yield: 36 servings 1x
- Category: Dessert
- Cuisine: American
Ingredients
- 3 cups granulated sugar
- ¾ cup unsalted butter, cubed
- ⅔ cup evaporated milk
- 1 (12-ounce) package semi-sweet chocolate chips
- 1 (7-ounce) jar marshmallow creme
- 1 teaspoon vanilla extract
- ¼ teaspoon salt
- 1 cup chopped walnuts or pecans (optional)
- ½ cup dried cranberries (optional)
- Flaky sea salt (optional)
Instructions
- Line an 8×8-inch baking pan with parchment paper, leaving overhang on two sides. Lightly grease the parchment with butter or non-stick spray.
- In a large, heavy-bottomed saucepan, combine sugar, cubed butter, and evaporated milk. Stir gently to combine.
- Place over medium heat and stir constantly until the mixture comes to a full, rolling boil (about 5-7 minutes).
- Once boiling, set a timer for exactly 4 minutes. Stir gently but constantly. The mixture will thicken and turn golden. If using a candy thermometer, aim for 234°F (soft-ball stage).
- Remove from heat immediately. Add chocolate chips and marshmallow creme. Let sit for 30 seconds without stirring.
- Stir gently until chocolate and marshmallow creme are fully melted and mixture is smooth and glossy (about 2-3 minutes).
- Stir in vanilla extract and salt. If adding nuts or dried cranberries, fold them in now.
- Pour fudge into prepared pan. Spread evenly into corners and smooth the top gently.
- Let cool at room temperature for 2 hours, then refrigerate for at least 2 more hours or until completely firm (overnight is best).
- Use parchment handles to lift fudge out of pan. Cut into 1-inch squares using a sharp knife (run knife under hot water between cuts for clean edges).
Notes
Don’t scrape the bottom of the saucepan when pouring to avoid sugar crystals. Humidity can affect setting; make on a dry day. Fudge tastes even better after a day or two. Store in an airtight container at room temperature for up to 2 weeks, or freeze for up to 3 months.
Nutrition
- Serving Size: 1 square (1-inch)
- Calories: 145
- Sugar: 18
- Sodium: 25
- Fat: 7
- Saturated Fat: 4
- Carbohydrates: 22
- Protein: 1
Keywords: fudge, holiday fudge, marshmallow creme fudge, classic fudge, easy fudge, Christmas fudge, fantasy fudge