My neighbor, a retired baker named Frank, asked me why I couldn’t just skip the pre-baking step for the crust. I was standing in his kitchen last November, rolling out dough for what felt like the tenth time that month. I started to explain why that wouldn’t work — something about soggy bottoms and structural integrity. Then I stopped. Frank had been baking professionally for forty years. Maybe I should just listen.
So I tried it his way. No blind baking. No pie weights. Just the raw crust, the filling, and the oven’s heat doing its thing together. And honestly? It worked perfectly. The crust came out flaky and golden on the bottom, not a hint of sogginess. I felt a little sheepish, I’ll admit. Here I was, the one who writes recipes for a living, and a retired neighbor who bakes for fun had just taught me something I should have figured out years ago.
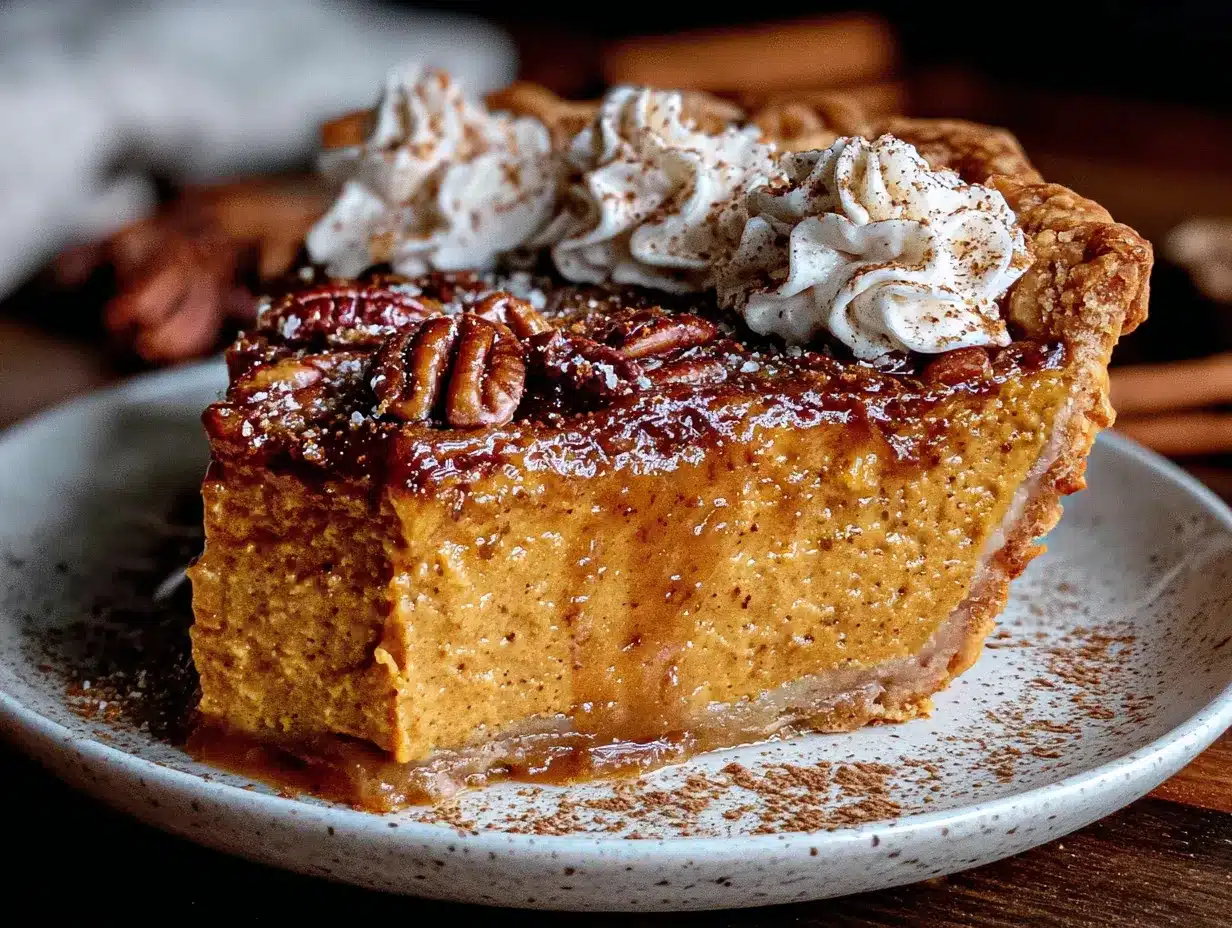
That moment changed how I make pumpkin pie forever. This classic pumpkin pie from scratch with buttery homemade crust is the result — a recipe that’s been tested, tweaked, and tasted by more friends and family than I can count. It’s the pie I bring to every Thanksgiving, the one that disappears before the apple pie even gets sliced. Maybe you’ve been there — standing over a crust that just won’t cooperate, wondering why your grandmother made it look so easy. Let me tell you, this recipe changes everything.
Why You’ll Love This Recipe
This isn’t just another pumpkin pie recipe. After years of testing, I’ve landed on a version that checks every box for what a perfect pie should be.
- Simple Ingredients : You probably have most of these in your pantry right now. No trips to specialty stores needed.
- Perfect for Thanksgiving : This pie was made for the holiday table. It’s the centerpiece that everyone gravitates toward.
- Crowd-Pleaser : I’ve served this at potlucks, family dinners, and casual get-togethers. The response is always the same — empty plates and requests for the recipe.
- Unbelievably Delicious : The filling is silky smooth with just the right amount of spice. The crust shatters when you bite into it. Together, they’re pure comfort.
- Foolproof Method : That trick Frank taught me? It saves time and guarantees a crisp bottom crust every single time.
What makes this recipe different from the rest is the attention to detail. The crust uses cold butter and ice water for maximum flakiness. The filling relies on real pumpkin puree and a careful balance of warm spices. It’s not complicated — it’s just done right. This is the kind of pie that makes you close your eyes after the first bite. It’s comfort food at its finest, and it’s easier than you think.
What Ingredients You Will Need
This recipe uses simple, wholesome ingredients that come together to create something truly special. Most of these are pantry staples, especially during the fall season.
For the Buttery Homemade Crust
- 2 ½ cups all-purpose flour (I prefer King Arthur for consistent results)
- 1 teaspoon salt
- 1 tablespoon granulated sugar (adds a touch of sweetness and helps browning)
- 1 cup cold unsalted butter, cut into small cubes (must be very cold — pop it in the freezer for 10 minutes)
- 6-8 tablespoons ice water (start with 6 and add more only if needed)
For the Pumpkin Filling
- 1 can (15 oz) pumpkin puree (not pumpkin pie filling — look for 100% pure pumpkin)
- ¾ cup granulated sugar
- ¼ cup packed brown sugar (adds depth and moisture)
- 2 large eggs, room temperature
- 1 can (12 oz) evaporated milk (or heavy cream for extra richness)
- 2 teaspoons pumpkin pie spice (or make your own with cinnamon, ginger, nutmeg, and cloves)
- 1 teaspoon ground cinnamon
- ½ teaspoon salt
- 1 teaspoon vanilla extract (my secret ingredient — it rounds out the flavors beautifully)
For the best texture, make sure your eggs are at room temperature. Cold eggs can cause the filling to seize up. If you’re in a hurry, place them in a bowl of warm water for 5 minutes. Also, I recommend using a good quality pumpkin puree like Libby’s — it has the right moisture content and consistent flavor. If you’re feeling ambitious, you can roast your own pumpkin, but canned works perfectly and saves time.
Equipment Needed
You don’t need a professional kitchen to make this pie, but a few key tools make the process smoother.
- 9-inch pie dish (glass or ceramic works best for even baking)
- Rolling pin (a wine bottle works in a pinch — I’ve done it)
- Large mixing bowls (one for the crust, one for the filling)
- Pastry cutter or food processor (for cutting butter into flour)
- Whisk
- Measuring cups and spoons
- Plastic wrap
- Baking sheet (place the pie dish on this to catch any drips)
If you don’t have a pastry cutter, two knives work fine. Just cut the butter into the flour until it resembles coarse meal. A food processor is faster, but be careful not to overmix — you want pea-sized butter pieces, not dust.
Preparation Method
Let’s walk through this step by step. Take your time, and don’t rush — good things come to those who wait.
- Make the crust: In a large bowl, whisk together the flour, salt, and sugar. Add the cold butter cubes. Using a pastry cutter or your fingertips, work the butter into the flour until it looks like coarse meal with some pea-sized butter lumps. Drizzle 6 tablespoons of ice water over the mixture and stir with a fork until the dough just comes together. If it seems dry, add the remaining water one tablespoon at a time. The dough should hold together when squeezed.
- Chill the dough: Flatten the dough into a disk, wrap it tightly in plastic wrap, and refrigerate for at least 1 hour. This relaxes the gluten and keeps the butter cold — essential for a flaky crust.
- Preheat the oven: Set your oven to 375°F (190°C). Place a baking sheet on the middle rack to preheat as well.
- Roll out the dough: On a lightly floured surface, roll the dough into a 12-inch circle, about ⅛-inch thick. Turn it frequently to prevent sticking. Carefully transfer it to your pie dish by rolling it around the rolling pin and unrolling it over the dish.
- Shape the crust: Gently press the dough into the bottom and up the sides of the dish. Trim the excess dough, leaving about a ½-inch overhang. Fold the overhang under itself and crimp the edges with your fingers or a fork. Don’t worry if it’s not perfect — rustic looks beautiful.
- Make the filling: In a large bowl, whisk together the pumpkin puree, granulated sugar, brown sugar, eggs, evaporated milk, pumpkin pie spice, cinnamon, salt, and vanilla extract. Whisk until smooth and well combined. The mixture should be silky and fragrant.
- Assemble the pie: Place the unbaked pie crust on the preheated baking sheet. Pour the filling into the crust. It will fill the dish almost to the brim — that’s fine.
- Bake: Carefully transfer the baking sheet with the pie to the oven. Bake for 50-60 minutes, or until the filling is set around the edges but still slightly jiggly in the center. The crust should be golden brown. A knife inserted near the center should come out clean.
- Cool completely: Let the pie cool on a wire rack for at least 2 hours. The filling will continue to set as it cools. Don’t rush this step — a warm pie will be too soft to slice neatly.
A note on timing: the filling will puff up slightly during baking and settle as it cools. That’s completely normal. If the edges of the crust start browning too quickly, tent them with foil strips for the last 15 minutes.
Cooking Tips & Techniques
After making this pie more times than I can count, I’ve picked up a few tricks that make a real difference.
Keep everything cold for the crust. I cannot stress this enough. Warm butter melts into the flour instead of creating those flaky layers. If your kitchen is warm, chill your bowl and flour too. I learned this the hard way after a few tough crusts in my early days.
Don’t overmix the filling. Whisk just until everything is combined. Overmixing incorporates too much air, which can cause the filling to crack as it bakes. A few small lumps are fine — they’ll disappear during baking.
Use the baking sheet trick. Placing the pie on a preheated baking sheet helps the bottom crust cook evenly. It also catches any spills, saving you from a smoky kitchen. Trust me on this one — I’ve forgotten and paid the price.
Check for doneness with a gentle jiggle. The center should wobble slightly when you shake the pan. It will continue to set as it cools. Overbaking leads to a cracked, dry filling — and nobody wants that.
Let it rest overnight. This pie actually tastes better the next day. The flavors meld together, and the texture becomes even creamier. If you can, make it a day ahead and refrigerate it uncovered for the first hour, then cover loosely with foil.
Variations & Adaptations
This classic pumpkin pie from scratch with buttery homemade crust is wonderful as-is, but it’s also easy to customize.
- Dairy-Free Version : Substitute the butter in the crust with cold coconut oil or vegan butter. Use full-fat coconut milk instead of evaporated milk. The texture will be slightly different, but still delicious.
- Gluten-Free Option : Replace the all-purpose flour with a 1:1 gluten-free flour blend. Add ½ teaspoon xanthan gum if your blend doesn’t include it. The crust will be a bit more delicate, so handle it gently.
- Spice It Up : Add a pinch of cayenne pepper or black pepper to the filling for a subtle warmth. It sounds unusual, but it really enhances the pumpkin flavor. I tried this on a whim last year and it’s now my favorite version.
- Maple Pumpkin Pie : Replace the brown sugar with ¼ cup maple syrup. Reduce the granulated sugar to ½ cup. The maple flavor pairs beautifully with the pumpkin.
- Mini Pies : Use a muffin tin to make individual pies. Reduce the baking time to about 25-30 minutes. These are perfect for parties or portion control.
Serving & Storage Suggestions
This pie is best served at room temperature or slightly warm. If you’ve refrigerated it, let it sit on the counter for about 30 minutes before serving. The flavors are more pronounced when it’s not ice-cold.
For the ultimate presentation, top each slice with a generous dollop of lightly sweetened whipped cream. A sprinkle of cinnamon or a few candied pecans adds a lovely finishing touch. I often serve it alongside a hot cup of coffee or spiced apple cider.
To store leftovers, cover the pie loosely with foil or plastic wrap and refrigerate for up to 4 days. The crust will soften slightly over time, but the flavor only gets better. You can also freeze the baked pie for up to 3 months. Wrap it tightly in plastic wrap, then foil. Thaw overnight in the refrigerator before serving.
For reheating, place individual slices in a 300°F (150°C) oven for about 10 minutes. This warms the filling without overheating the crust. Avoid the microwave — it will make the crust soggy.
Nutritional Information & Benefits
One slice (based on 8 servings) contains approximately 380 calories, 18g fat, 48g carbohydrates, and 6g protein. This is an estimate and will vary based on specific ingredients used.
Pumpkin is packed with vitamin A, fiber, and antioxidants. It’s great for eye health and immune support. The eggs provide protein, and the butter adds a small amount of vitamin A and healthy fats. While this is definitely a treat, it’s not without some nutritional merit.
If you’re watching your sugar intake, you can reduce the granulated sugar to ½ cup without significantly affecting the texture. The pie will be less sweet but still delicious. For a lower-carb option, use a nut-based crust and a sugar substitute like monk fruit sweetener.
Conclusion
This classic pumpkin pie from scratch with buttery homemade crust is more than just a dessert — it’s a tradition waiting to happen. It’s the pie that brings people together, that sparks conversations, that makes holidays feel special. I’ve made it for Thanksgivings, Friendsgivings, and random Tuesday dinners when I needed a little comfort. It never disappoints.
I hope you’ll give this recipe a try. Don’t be afraid to make it your own — add a little more cinnamon, swap in a different milk, or try that maple variation I mentioned. Cooking is about experimenting and finding what works for you. And if you do make it, I’d love to hear how it turns out. Drop a comment below or tag me in your photos. Happy baking, friends!
Frequently Asked Questions
Can I use store-bought crust instead of making it from scratch?
Absolutely. While the homemade crust is buttery and flaky, a good quality store-bought crust will work in a pinch. Just follow the same baking instructions. The filling is the star here, so don’t stress over the crust if you’re short on time.
Why is my pumpkin pie filling watery?
This usually happens if the pumpkin puree has too much moisture. Make sure you’re using 100% pure pumpkin, not pumpkin pie filling. You can also cook the puree on the stovetop for a few minutes to reduce excess liquid before mixing the filling.
How do I prevent my pie crust from shrinking?
Chilling the dough thoroughly before rolling and baking is key. Also, don’t stretch the dough when fitting it into the pie dish — gently press it in. Stretching causes it to shrink back as it bakes.
Can I make this pie ahead of time?
Yes! This pie actually tastes better the next day. Bake it, cool it completely, and refrigerate it uncovered for an hour. Then cover loosely with foil and keep refrigerated for up to 2 days. Bring to room temperature before serving.
What’s the best way to get clean slices?
Use a sharp, thin-bladed knife. Wipe the blade clean between each cut. For the cleanest slices, chill the pie for at least 4 hours or overnight before slicing. A warm pie will be too soft to cut neatly.
Pin This Recipe!
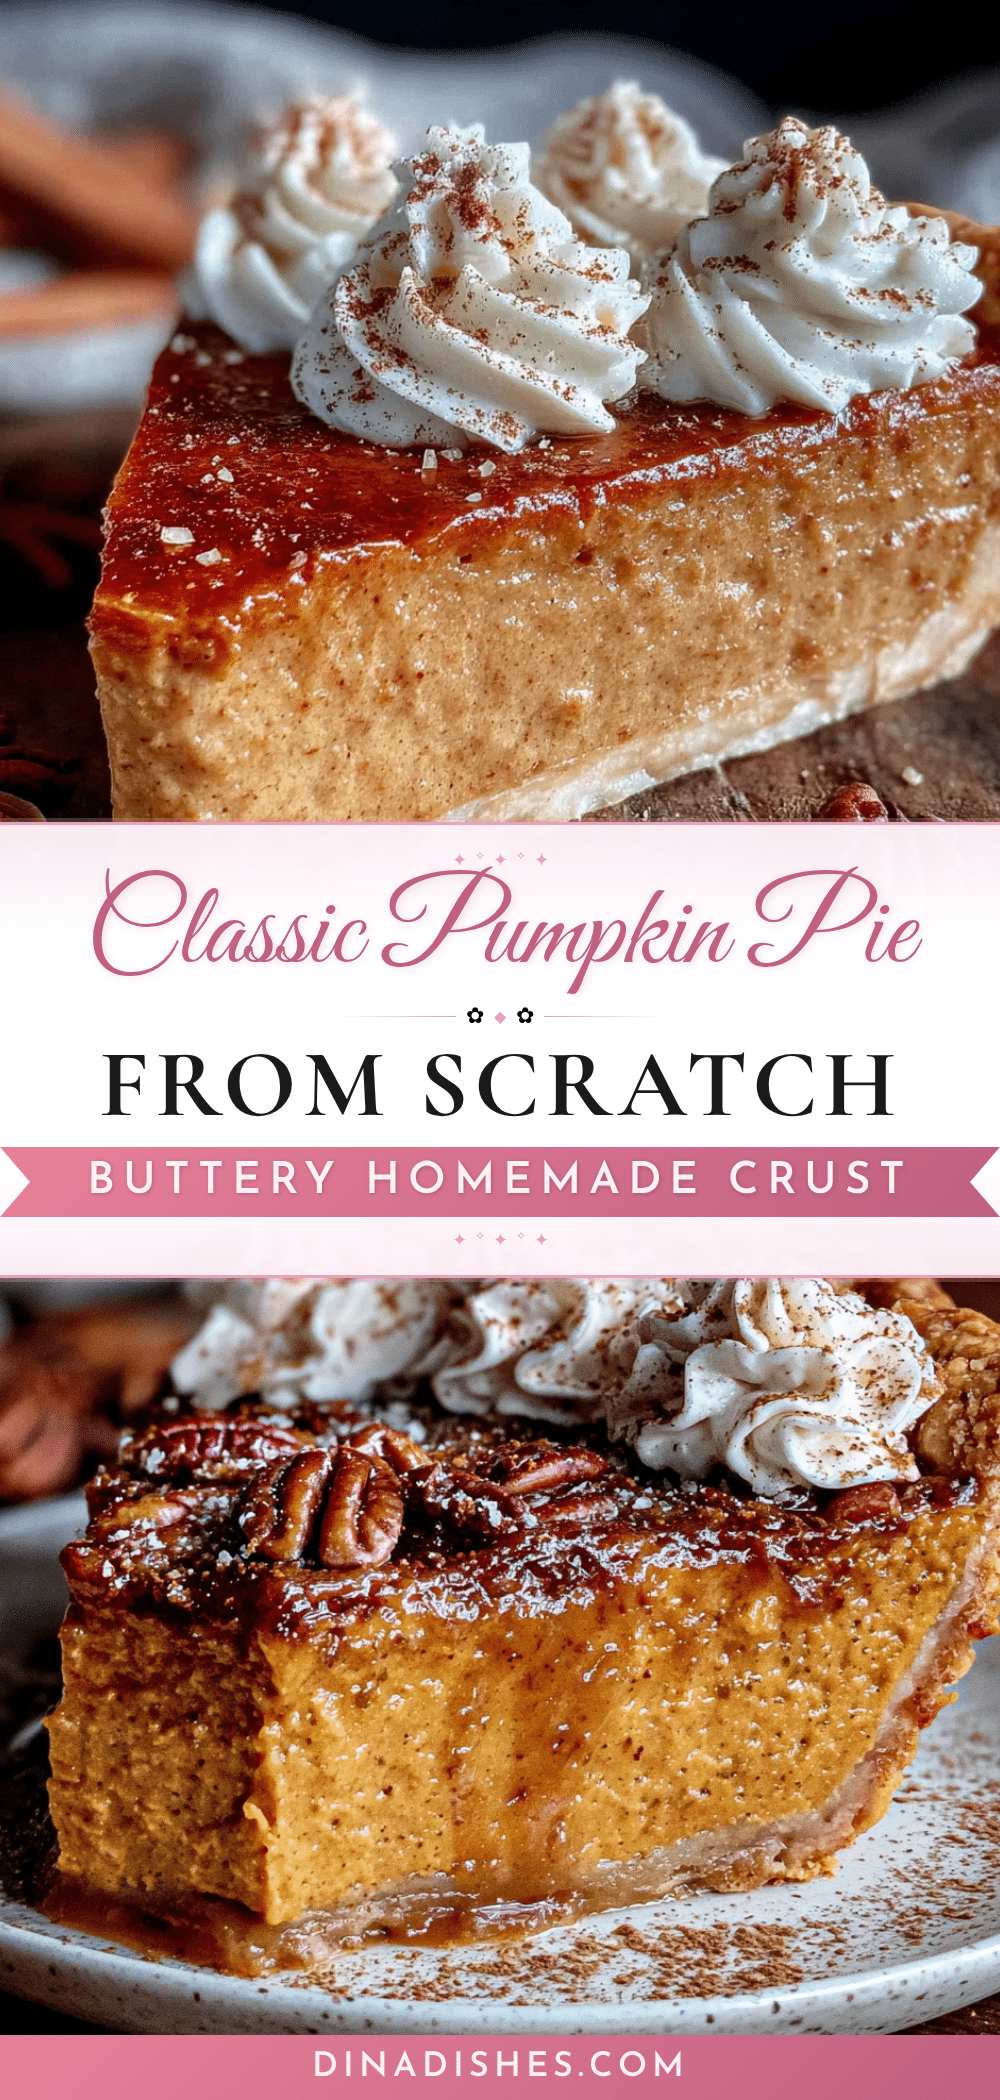
Classic Pumpkin Pie from Scratch with Buttery Homemade Crust
A classic pumpkin pie with a buttery homemade crust that’s flaky and golden. This foolproof recipe uses a no-blind-baking trick for a crisp bottom crust every time.
- Prep Time: 20 minutes
- Cook Time: 55 minutes
- Total Time: 3 hours 15 minutes
- Yield: 8 servings 1x
- Category: Dessert
- Cuisine: American
Ingredients
- 2 ½ cups all-purpose flour
- 1 teaspoon salt
- 1 tablespoon granulated sugar
- 1 cup cold unsalted butter, cut into small cubes
- 6–8 tablespoons ice water
- 1 can (15 oz) pumpkin puree
- ¾ cup granulated sugar
- ¼ cup packed brown sugar
- 2 large eggs, room temperature
- 1 can (12 oz) evaporated milk
- 2 teaspoons pumpkin pie spice
- 1 teaspoon ground cinnamon
- ½ teaspoon salt
- 1 teaspoon vanilla extract
Instructions
- Make the crust: In a large bowl, whisk together the flour, salt, and sugar. Add the cold butter cubes. Using a pastry cutter or your fingertips, work the butter into the flour until it looks like coarse meal with some pea-sized butter lumps. Drizzle 6 tablespoons of ice water over the mixture and stir with a fork until the dough just comes together. If it seems dry, add the remaining water one tablespoon at a time. The dough should hold together when squeezed.
- Chill the dough: Flatten the dough into a disk, wrap it tightly in plastic wrap, and refrigerate for at least 1 hour.
- Preheat the oven: Set your oven to 375°F (190°C). Place a baking sheet on the middle rack to preheat as well.
- Roll out the dough: On a lightly floured surface, roll the dough into a 12-inch circle, about ⅛-inch thick. Turn it frequently to prevent sticking. Carefully transfer it to your pie dish by rolling it around the rolling pin and unrolling it over the dish.
- Shape the crust: Gently press the dough into the bottom and up the sides of the dish. Trim the excess dough, leaving about a ½-inch overhang. Fold the overhang under itself and crimp the edges with your fingers or a fork.
- Make the filling: In a large bowl, whisk together the pumpkin puree, granulated sugar, brown sugar, eggs, evaporated milk, pumpkin pie spice, cinnamon, salt, and vanilla extract. Whisk until smooth and well combined.
- Assemble the pie: Place the unbaked pie crust on the preheated baking sheet. Pour the filling into the crust.
- Bake: Carefully transfer the baking sheet with the pie to the oven. Bake for 50-60 minutes, or until the filling is set around the edges but still slightly jiggly in the center. The crust should be golden brown. A knife inserted near the center should come out clean.
- Cool completely: Let the pie cool on a wire rack for at least 2 hours. The filling will continue to set as it cools.
Notes
For the best texture, make sure your eggs are at room temperature. Cold eggs can cause the filling to seize up. If you’re in a hurry, place them in a bowl of warm water for 5 minutes. Also, I recommend using a good quality pumpkin puree like Libby’s — it has the right moisture content and consistent flavor. If you’re feeling ambitious, you can roast your own pumpkin, but canned works perfectly and saves time. The pie actually tastes better the next day. The flavors meld together, and the texture becomes even creamier. If you can, make it a day ahead and refrigerate it uncovered for the first hour, then cover loosely with foil.
Nutrition
- Serving Size: 1 slice
- Calories: 380
- Sugar: 28
- Sodium: 380
- Fat: 18
- Saturated Fat: 11
- Carbohydrates: 48
- Fiber: 3
- Protein: 6
Keywords: pumpkin pie, classic pumpkin pie, homemade pie crust, Thanksgiving dessert, fall dessert, pumpkin dessert