It was 11:47 PM on a drizzly Thursday in October, and a very specific, almost demanding craving hit me. Not for just any banana bread, but for one that tasted like a warm hug from the inside out. I didn’t have the patience for a mixer, or the energy to dirty more than one bowl, honestly. But I had three overripe bananas on the counter, a stick of butter, and this wild idea that browning that butter might just be the answer to my late-night bread-shaped prayers.
The thing about late-night cooking is the rules get a little fuzzy, you know? You start thinking, “What if I just… did this?” and suddenly you’re standing in a quiet kitchen, the only sound being the butter sizzling and popping in the pan. It feels a little rebellious, a little secret. I mean, who else is browning butter at nearly midnight on a work night? Probably just me, and maybe a few other souls who understand that the best ideas show up when everyone else is asleep.
I grabbed my biggest mixing bowl—a slightly chipped ceramic one I found at a flea market—and started throwing things in. No mixer, no fuss. Just a fork, a bowl, and a whole lot of hope. The smell that filled my apartment was unreal. It was nutty, toasty, and sweet, like the coziest bakery had somehow materialized in my tiny kitchen. Let me tell you, that first slice, still warm from the oven at 1 AM, was a moment of pure, quiet triumph. It’s the kind of recipe that proves you don’t need fancy tools or a lot of time to make something truly special. You just need a late-night spark and a little bit of brown butter magic.
Why You’ll Love This Recipe
This isn’t just another banana bread recipe you’ll bookmark and forget. This is the one you’ll come back to again and again, and here’s why it’s different from the rest.
- One Bowl, No Mixer: The name says it all. Less cleanup, less effort, and zero excuses. You can whisk this together by hand in about 10 minutes flat. It’s perfect for those moments when you want homemade bread without the hassle.
- That Brown Butter Difference: This is the secret weapon. Taking five extra minutes to brown the butter transforms the entire flavor profile. It adds a deep, nutty, almost caramel-like warmth that regular butter just can’t touch. It’s the difference between good banana bread and unforgettable banana bread.
- Perfectly Cozy for Fall: With the weather turning crisp, this bread is the ultimate comfort food. It fills your house with the most incredible aroma and tastes like the season itself. It’s perfect for a rainy afternoon, a Thanksgiving morning, or a quiet Sunday with a cup of coffee.
- Simple Pantry Ingredients: You likely have everything you need right now. Overripe bananas, flour, sugar, eggs, and butter. No fancy extracts or hard-to-find flours required. It’s honest, straightforward baking at its best.
- Incredibly Moist & Tender: The combination of brown butter and ripe bananas creates a crumb that is unbelievably soft and moist. It stays that way for days—if it lasts that long. The texture is next-level comfort food, the kind that makes you close your eyes after the first bite.
This recipe is my best version of a classic. It’s comfort food reimagined—richer, toastier, but with the same soul-soothing satisfaction that makes banana bread a beloved staple. It’s perfect for impressing guests without any stress, or turning a simple Tuesday into something memorable.
What Ingredients You Will Need
This recipe uses simple, wholesome ingredients to deliver that deep, cozy flavor. Most of these are pantry staples, but a few key details make all the difference. Let’s break down what you’ll need and why each one matters.
For the Brown Butter
- Unsalted Butter: ½ cup (1 stick / 113g). Using unsalted butter lets you control the salt level in the final bread. I always use a good quality butter like Kerrygold or Plugrà for the richest flavor, but any brand will work beautifully.
For the Banana Bread Batter
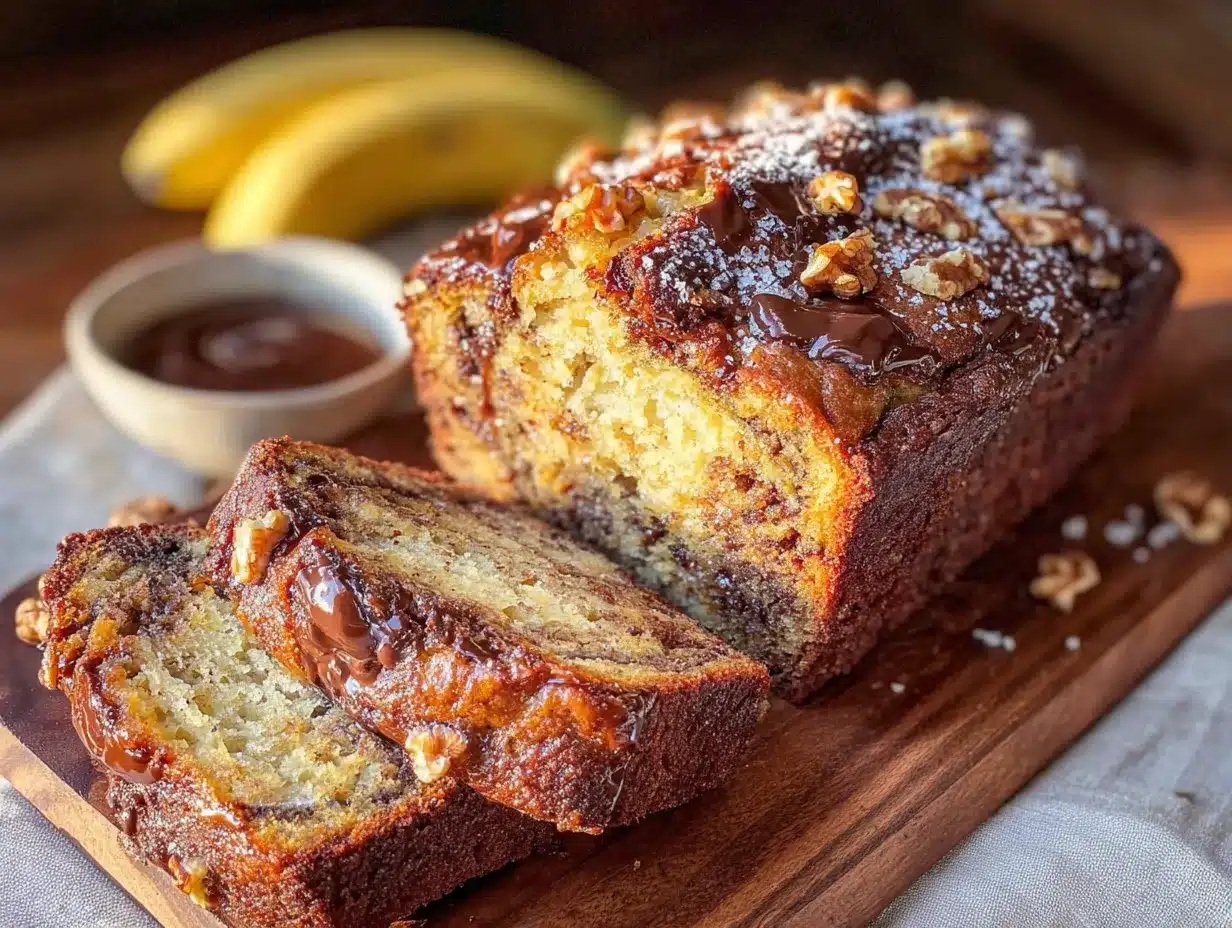
- Ripe Bananas: 3 medium, about 1 ½ cups mashed (360g). The riper, the better! Look for bananas that are heavily speckled with brown spots or even completely black. They are sweeter and easier to mash, which gives the bread its signature moisture and flavor. (Pro tip: if your bananas aren’t ripe enough, you can roast them in their skins at 300°F for 15-20 minutes to soften and sweeten them.)
- Large Eggs: 2, at room temperature. Room temperature eggs emulsify into the batter much more smoothly, creating a better texture. If you forget to take them out, place them in a bowl of warm water for 5 minutes.
- Vanilla Extract: 1 teaspoon. Pure vanilla extract is best, but imitation works in a pinch. It enhances the sweetness and rounds out the nutty flavor of the brown butter.
- Plain Greek Yogurt or Sour Cream: ¼ cup (60g). This is my secret for an ultra-moist crumb. The acidity tenderizes the gluten, making the bread incredibly soft. Full-fat works best, but low-fat is fine. You can also use buttermilk in a pinch.
- Granulated Sugar: ½ cup (100g). Adds sweetness and helps create a tender, golden crust.
- Light Brown Sugar: ½ cup (100g), packed. This adds moisture and a deeper, molasses-like flavor that pairs perfectly with the brown butter and bananas.
- All-Purpose Flour: 1 ½ cups (190g). Spoon the flour into your measuring cup and level it off with a knife. Scooping directly from the bag can pack the flour and lead to a dry, dense bread.
- Baking Soda: 1 teaspoon. This is the leavening agent that helps the bread rise. Make sure it’s fresh for the best results.
- Salt: ½ teaspoon. Salt isn’t just for savory food; it balances the sweetness and enhances all the other flavors. I use fine sea salt.
- Optional Mix-Ins: ½ cup of chopped walnuts, pecans, or chocolate chips. Fold them in at the end for extra texture and flavor. I’m partial to dark chocolate chips for a little indulgence.
Equipment Needed
One of the best things about this recipe is how little equipment you need. It’s designed to be fuss-free and accessible.
- Medium Skillet or Saucepan: For browning the butter. A light-colored pan is ideal so you can easily see the butter solids turn golden brown. I use my trusty stainless steel skillet, but a non-stick pan works too.
- Large Mixing Bowl: One big bowl is all you need for the entire batter. I love using a deep ceramic or glass bowl to prevent splashing.
- Whisk or Wooden Spoon: A whisk is great for smoothing out the wet ingredients, but a sturdy wooden spoon or spatula works just fine for mixing everything together.
- Rubber Spatula: Essential for scraping every last bit of that precious brown butter into the bowl, and for folding in your mix-ins without overmixing.
- 9×5-inch Loaf Pan: A standard loaf pan is perfect. If you use a slightly smaller pan, your bread will be taller and may need a few extra minutes to bake. A metal pan is best for even browning. Glass or ceramic pans work but may require a slightly longer bake time.
- Parchment Paper: Not strictly necessary, but it makes lifting the bread out of the pan a breeze. I always line my pan with a sling of parchment paper for easy removal and clean-up.
- Cooling Rack: Allows air to circulate around the bread as it cools, preventing the bottom from getting soggy.
If you don’t have a cooling rack, you can carefully balance the loaf pan on two upside-down ramekins. Resourcefulness is a baker’s best friend!
Preparation Method
Alright, let’s get to the good part. This recipe is incredibly straightforward, but I’ll walk you through every step with a few tips I’ve learned along the way to ensure perfect results every time.
- Preheat and Prep: First things first, preheat your oven to 350°F (175°C). Grease your 9×5-inch loaf pan with butter or non-stick spray. For extra insurance, line the pan with a strip of parchment paper, leaving a few inches of overhang on the two long sides. This creates a handy “sling” for lifting the bread out later.
- Brown the Butter: Place the ½ cup of butter in your medium skillet or saucepan over medium heat. Let it melt completely, then continue cooking, swirling the pan occasionally. The butter will start to foam and sputter—that’s normal! After a few minutes, the foam will subside, and you’ll see small golden-brown specks forming at the bottom of the pan. The butter will smell incredibly nutty and toasty. Once it reaches a rich amber color (think of the color of a hazelnut), immediately remove the pan from the heat and pour the butter into a heatproof bowl to stop the cooking process. Let it cool for 5-10 minutes. Don’t walk away from the pan—brown butter can go from perfect to burnt in seconds!
- Mash the Bananas: In your large mixing bowl, add the three ripe bananas. Using a fork or a potato masher, mash them until they are mostly smooth with a few small lumps remaining for texture. You want about 1 ½ cups of mashed banana.
- Combine the Wet Ingredients: To the mashed bananas, add the slightly cooled brown butter, 2 room-temperature eggs, 1 teaspoon of vanilla extract, and ¼ cup of Greek yogurt (or sour cream). Whisk everything together until it’s smooth and well combined. The mixture will look a little glossy and smell amazing already.
- Add the Sugars: Pour in the ½ cup of granulated sugar and the ½ cup of packed light brown sugar. Whisk vigorously for about 30 seconds to a minute. This helps dissolve the sugar and gives the crumb a beautiful, tender texture. You’ll feel the mixture get slightly thicker and smoother.
- Add the Dry Ingredients: Sprinkle the 1 ½ cups of all-purpose flour, 1 teaspoon of baking soda, and ½ teaspoon of salt over the wet ingredients. Use a rubber spatula to gently fold everything together. The key word here is gently. Stir just until you no longer see streaks of flour. A few small lumps are perfectly fine. Overmixing at this stage will develop too much gluten and make your bread tough.
- Fold in Mix-Ins (Optional): If you’re using nuts or chocolate chips, gently fold them in at the very end with just a few strokes. Don’t overdo it.
- Bake: Pour the batter into your prepared loaf pan and spread it into an even layer. Bake for 50-60 minutes, or until a wooden skewer inserted into the center comes out with a few moist crumbs (but not wet batter). The top should be a deep golden brown and cracked beautifully. Every oven is different, so start checking at the 50-minute mark.
- Cool: Place the pan on a wire cooling rack and let the bread cool in the pan for about 15 minutes. Then, using the parchment paper sling, lift the bread out of the pan and transfer it directly to the cooling rack to cool completely. This is the hardest part—waiting! But slicing into it while it’s still too warm can make it crumble. Patience, my friend.
Cooking Tips & Techniques
Over the years, I’ve made more loaves of banana bread than I can count, and I’ve definitely had my share of flops. Here are the lessons I’ve learned so you can skip the mistakes and go straight to perfect bread.
- The Brown Butter Trap: My first time browning butter, I got distracted by a phone call and ended up with burnt butter that tasted bitter and acrid. The key is to stay close and watch for the color change. As soon as you see those golden-brown specks and smell that nutty aroma, pull it off the heat immediately. Pouring it into a cool bowl also stops the cooking process instantly.
- Don’t Overmix the Batter: This is the most common mistake in quick breads. Once you add the flour, use a light hand. Mix until it just comes together. A few streaks of flour are okay. Overmixing makes the gluten develop, resulting in a tough, dense, almost rubbery loaf instead of a tender, soft one.
- Room Temperature Ingredients Matter: I know it’s tempting to use cold eggs straight from the fridge, but taking the time to bring them to room temperature makes a real difference. Cold ingredients can cause the batter to seize up and not emulsify properly, leading to a denser texture. It’s a small step with a big payoff.
- The Toothpick Test: If the top of your bread is getting too dark but the center is still raw, tent the loaf loosely with aluminum foil for the last 15-20 minutes of baking. This will prevent the crust from burning while the inside finishes cooking.
- Bake for the Right Consistency: A skewer with a few moist crumbs is perfect. If it comes out completely clean, your bread might be a little dry. If it’s wet with batter, it needs more time. Trust the skewer, not just the clock.
Variations & Adaptations
This recipe is a wonderful canvas for your own creativity. Here are a few of my favorite ways to change it up, depending on my mood or what’s in the pantry.
- Gluten-Free Version: Substitute the all-purpose flour with a good quality 1:1 gluten-free baking flour blend (like Bob’s Red Mill or King Arthur). The texture will be slightly more delicate, but it’s still incredibly delicious. Add an extra tablespoon of yogurt to help with moisture.
- Vegan Adaptation: To make this vegan, use a flax egg (1 tablespoon ground flaxseed mixed with 3 tablespoons water, let sit for 5 minutes) in place of the regular eggs. Substitute the butter with a high-quality vegan butter stick (like Miyoko’s) for browning, and use a plant-based yogurt or applesauce in place of the Greek yogurt. The brown butter flavor will be slightly different but still lovely.
- Spiced Autumn Twist: Add 1 teaspoon of ground cinnamon, ½ teaspoon of ground nutmeg, and ¼ teaspoon of ground cloves to the dry ingredients. This makes it taste like a warm autumn day. I love this version with a handful of toasted pecans folded in.
- Chocolate Lovers’ Dream: Swap ¼ cup of the all-purpose flour for ¼ cup of unsweetened cocoa powder. Fold in ½ cup of dark chocolate chips. The combination of brown butter, banana, and chocolate is utterly divine. It’s like having a brownie and banana bread in one.
- Berry Swirl: Gently fold in 1 cup of fresh or frozen blueberries or raspberries at the end. If using frozen berries, toss them in a tablespoon of flour first to prevent them from sinking to the bottom. The bursts of tart fruit are a gorgeous contrast to the sweet, nutty bread.
Serving & Storage Suggestions
This bread is wonderful in so many ways. How you serve and store it can really make a difference in your experience.
Serving: This banana bread is absolutely divine served warm, fresh from the oven. The edges are slightly crisp, and the center is soft and tender. For an extra-special treat, spread a thick slice with a pat of salted butter—the salt perfectly offsets the sweetness. It’s also incredible toasted the next day. Just pop a slice in the toaster or under the broiler for a minute until the edges are golden and the butter melts in. I love it with a hot cup of coffee for breakfast or a cold glass of milk as a late-night snack.
Storage: To keep your banana bread moist and fresh, wrap it tightly in plastic wrap or aluminum foil once it has cooled completely. Store it at room temperature for up to 4 days. Do not refrigerate it, as the cold air will actually dry it out faster. If you live in a very humid climate, you might want to store it in an airtight container instead of plastic wrap to prevent it from getting sticky.
Freezing: This bread freezes like a dream! For best results, wrap the cooled loaf (or individual slices) tightly in a layer of plastic wrap, then a layer of aluminum foil. Place it in a freezer-safe bag. It will keep for up to 3 months. When you’re ready to enjoy it, thaw it overnight in the refrigerator or on the counter for a few hours. You can also reheat a frozen slice directly in the toaster or microwave. The flavor actually seems to deepen and get even better after freezing!
Nutritional Information & Benefits
While this is definitely a treat, it does have some surprising nutritional benefits thanks to its star ingredient. Here’s a general breakdown per slice (based on 10 slices, without mix-ins). Please note these are estimates and will vary based on specific ingredients used.
- Calories: Approximately 280-320
- Fat: 14g
- Carbohydrates: 38g
- Protein: 4g
- Fiber: 2g
- Sugar: 20g
Health Highlights: Bananas are a fantastic source of potassium, which is essential for heart health and muscle function. They also provide vitamin B6 and vitamin C. The Greek yogurt adds a boost of protein and probiotics, which are great for gut health. And while brown butter is still butter, the process of browning it concentrates its flavor, meaning you can use a little less to get a big impact. Of course, this is an indulgence, but it’s one made with real, recognizable ingredients. Enjoy it mindfully as part of a balanced diet!
Conclusion
This Cozy Brown Butter Banana Bread is more than just a recipe; it’s a feeling. It’s the warmth of a quiet kitchen, the satisfaction of making something beautiful with your hands, and the pure joy of that first, perfect bite. The brown butter adds a layer of complexity that makes you wonder why you ever made it any other way, and the one-bowl, no-mixer method makes it almost too easy to whip up on a whim.
I really hope you give this a try. Don’t be afraid to make it your own—add your favorite nuts, throw in some chocolate chips, or keep it perfectly plain. The best recipes are the ones that become a part of your story. So, the next time you have a few overripe bananas on the counter and a craving for something cozy, I hope you think of this bread.
When you make it, I’d love to hear how it turned out! Leave a comment below and let me know your favorite variation, or share a photo on social media and tag me. Your feedback and creativity are what make this community so special. Happy baking, friends!
Frequently Asked Questions
Can I use frozen bananas for this recipe?
Absolutely! Frozen bananas are perfect for banana bread. Thaw them completely at room temperature, then drain off any excess liquid before mashing. They will be very soft and almost syrupy, which adds incredible moisture and sweetness.
Why did my banana bread sink in the middle?
A sunken middle is usually a sign that the bread was underbaked. Make sure your oven is fully preheated, and don’t open the oven door during the first 30 minutes of baking. Test with a skewer for doneness, and if the bread is browning too quickly on top, tent it with foil to allow the center to finish baking.
Can I make this recipe into muffins?
Yes, this batter makes excellent muffins! Simply divide the batter among a lined 12-cup muffin tin, filling each cup about ¾ full. Bake at 350°F (175°C) for 18-22 minutes, or until a toothpick inserted into the center comes out clean. The brown butter flavor is just as amazing in muffin form!
My bread is too dry. What went wrong?
The most common culprit is overmixing the batter after adding the flour. Another possibility is that your bananas weren’t ripe enough or you used too much flour. Remember to spoon and level your flour, and make sure your bananas are very ripe and spotty for maximum moisture.
Can I use salted butter instead of unsalted?
You can, but you’ll want to reduce the added salt in the recipe to about ¼ teaspoon. Salted butter has varying amounts of salt depending on the brand, so it’s harder to control the final flavor. For the most consistent and balanced results, I always recommend starting with unsalted butter.
Pin This Recipe!
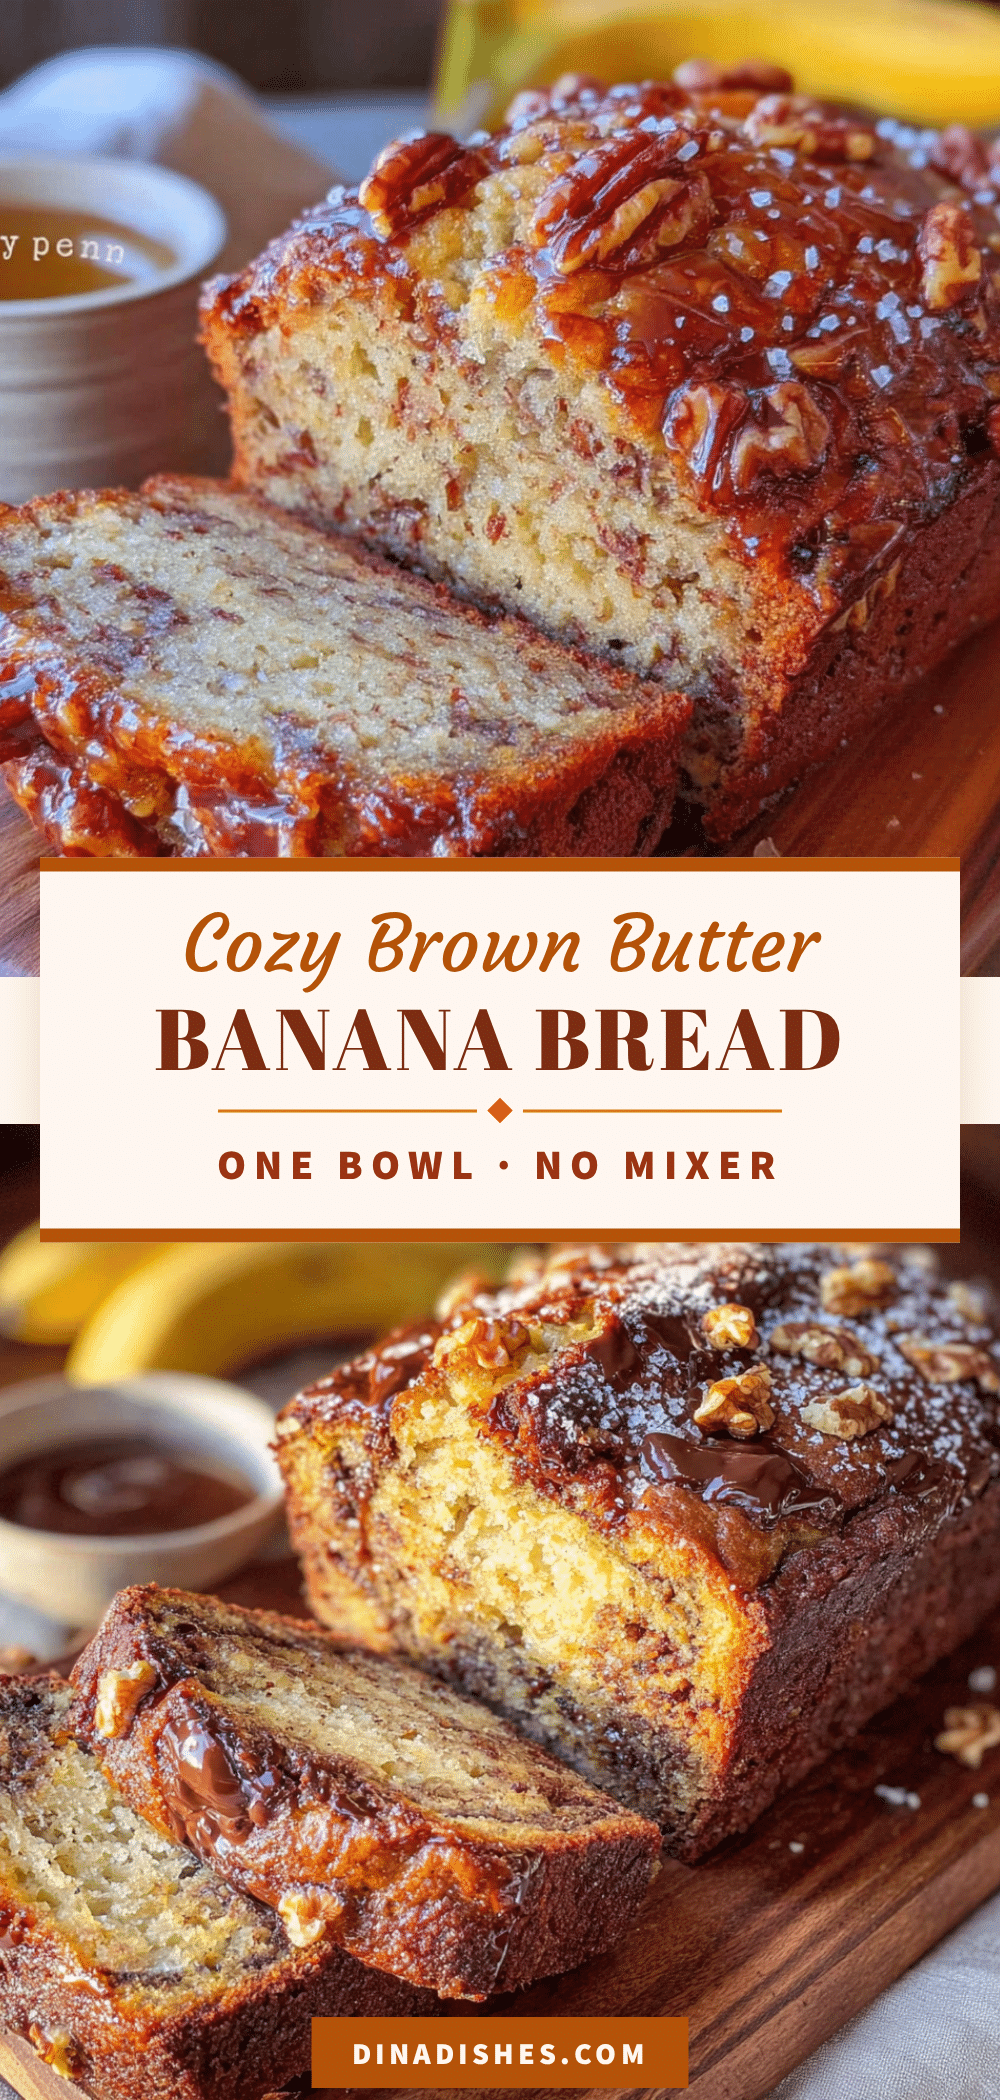
Cozy Brown Butter Banana Bread: Easy One Bowl Recipe
This one-bowl, no-mixer banana bread uses brown butter for a deep, nutty flavor. It’s incredibly moist, tender, and perfect for a cozy fall treat.
- Prep Time: 15 minutes
- Cook Time: 55 minutes
- Total Time: 1 hour 10 minutes
- Yield: 10 servings 1x
- Category: Dessert
- Cuisine: American
Ingredients
- ½ cup (1 stick / 113g) unsalted butter
- 3 medium ripe bananas (about 1½ cups / 360g mashed)
- 2 large eggs, at room temperature
- 1 teaspoon vanilla extract
- ¼ cup (60g) plain Greek yogurt or sour cream
- ½ cup (100g) granulated sugar
- ½ cup (100g) packed light brown sugar
- 1½ cups (190g) all-purpose flour
- 1 teaspoon baking soda
- ½ teaspoon salt
- ½ cup chopped walnuts, pecans, or chocolate chips (optional)
Instructions
- Preheat oven to 350°F (175°C). Grease a 9×5-inch loaf pan and line with parchment paper, leaving overhang on the long sides.
- In a medium skillet or saucepan over medium heat, melt the butter. Continue cooking, swirling occasionally, until the butter foams, subsides, and turns a rich amber color with golden-brown specks. Immediately remove from heat and pour into a heatproof bowl. Let cool for 5-10 minutes.
- In a large mixing bowl, mash the bananas with a fork until mostly smooth with a few lumps.
- Add the cooled brown butter, eggs, vanilla extract, and Greek yogurt to the mashed bananas. Whisk until smooth and well combined.
- Add the granulated sugar and packed brown sugar. Whisk vigorously for 30-60 seconds until the mixture thickens slightly.
- Sprinkle the flour, baking soda, and salt over the wet ingredients. Gently fold with a rubber spatula until just combined (a few streaks of flour are okay). Do not overmix.
- If using, gently fold in the nuts or chocolate chips.
- Pour the batter into the prepared loaf pan and spread evenly. Bake for 50-60 minutes, or until a wooden skewer inserted into the center comes out with a few moist crumbs. If the top browns too quickly, tent with foil for the last 15-20 minutes.
- Let the bread cool in the pan on a wire rack for 15 minutes. Then lift out using the parchment sling and transfer to the rack to cool completely before slicing.
Notes
For best results, use very ripe bananas (heavily speckled or black). Room temperature ingredients ensure a smooth batter. Do not overmix after adding flour to avoid a tough loaf. To test doneness, a skewer should come out with a few moist crumbs, not wet batter. Store wrapped at room temperature for up to 4 days. Freezes well for up to 3 months.
Nutrition
- Serving Size: 1 slice
- Calories: 300
- Sugar: 20
- Sodium: 220
- Fat: 14
- Saturated Fat: 8
- Carbohydrates: 38
- Fiber: 2
- Protein: 4
Keywords: brown butter banana bread, easy banana bread, one bowl banana bread, moist banana bread, fall banana bread