I was standing in the frozen foods aisle last December, just staring at a bag of frozen meatballs. It was one of those days—you know, the kind where the holidays have snuck up on you and suddenly you’re supposed to host a thing and you have no idea what to serve. The fluorescent lights were buzzing, and a kid was having a meltdown two aisles over. I felt a little like that kid, honestly. And then, out of nowhere, I remembered a Christmas Eve from when I was maybe seven years old. My aunt—my mom’s sister, who we only saw twice a year—had laid out this massive spread on her coffee table. It wasn’t fancy. It was just… a lot of good things on a board. But the centerpiece? It was shaped like a Christmas tree. I can still see the way the green grapes and rosemary sprigs formed the outline, and how the little star on top was made of cheese. I don’t remember a single thing we ate for dinner that night. But I remember that tree.
That memory hit me like a warm blanket in that cold, sad aisle. I put the meatballs back. I grabbed a bunch of green stuff—broccoli, grapes, cucumbers, herbs—and a block of good cheddar. I was going to build my own. Not for a party, not for guests. Just for me and my family on a random Tuesday night. I mean, why wait for a special occasion to make something that feels special, right?
This cozy Christmas tree charcuterie board is the result of that little grocery store epiphany. It’s not about perfection or Pinterest-perfect symmetry. It’s about the feeling of making something that looks like a lot of effort when it really, really isn’t. It’s about sitting on the floor with the people you love, picking at a tree-shaped snack, and letting the evening just happen. Maybe you’ve been there—wanting to create a moment without creating a mess. This board is your answer. It’s the recipe I keep coming back to, year after year, because it never fails to make me feel like a kid again. And honestly? That’s the whole point.
Why You’ll Love This Recipe
Let me tell you why this isn’t just another pretty appetizer. I’ve tested this board about six times now—yes, six—tweaking the shape, the ingredients, and the order of assembly. I even had my neighbor, a former caterer, give it a critical eye. She approved. So you’re getting a version that’s been chef-tested and family-approved, not just thrown together for a photo.
- Quick & Easy: This board comes together in under 20 minutes. No cooking, no baking, no stress. Perfect for last-minute holiday gatherings or a cozy night in.
- Simple Ingredients: You probably have half of these items in your fridge right now. No fancy grocery trips or obscure cheeses required.
- Perfect for Christmas Eve: Whether it’s a formal party or just you and a mug of hot cocoa, this board sets the mood instantly.
- Crowd-Pleaser: Kids love the tree shape, adults love the variety, and everyone loves that they can just grab and go.
- Unbelievably Delicious: The combination of salty, savory, fresh, and crunchy is pure comfort. It’s the kind of snack that makes you close your eyes after the first bite.
What makes this board different from the rest? It’s the technique. Instead of just piling things on a platter, you’ll build a structured tree that holds its shape. The secret is using sturdy ingredients as your base—like broccoli florets and cucumber slices—to create a foundation that doesn’t collapse. It’s not just another charcuterie board; it’s the best version of a holiday classic.
This recipe isn’t just good—it’s the kind that makes you feel like you’ve done something special, even when you barely tried. It’s comfort food reimagined: faster, simpler, but with the same soul-soothing satisfaction. Perfect for impressing guests without the stress, or turning a simple Tuesday into something memorable.
What Ingredients You Will Need
This recipe uses simple, wholesome ingredients to create a stunning visual and a balanced flavor profile. Most of these are pantry staples or easy-to-find holiday items. I’ve grouped them by their role on the board to make shopping and assembly a breeze.
For the Tree Base (The Green Stuff)
- Broccoli florets – 2 cups, fresh and cut into small, bite-sized pieces (these form the bulk of the tree’s body)
- Cucumber slices – 1 large cucumber, sliced into rounds (adds crunch and a lighter green layer)
- Green grapes – 1 cup, washed (for sweetness and color contrast)
- Fresh rosemary sprigs – 4-5 sprigs (use these to fill gaps and add that “pine tree” look)
- Fresh parsley or basil – a small handful (optional, for extra greenery)
For the Decorations (The Fun Stuff)
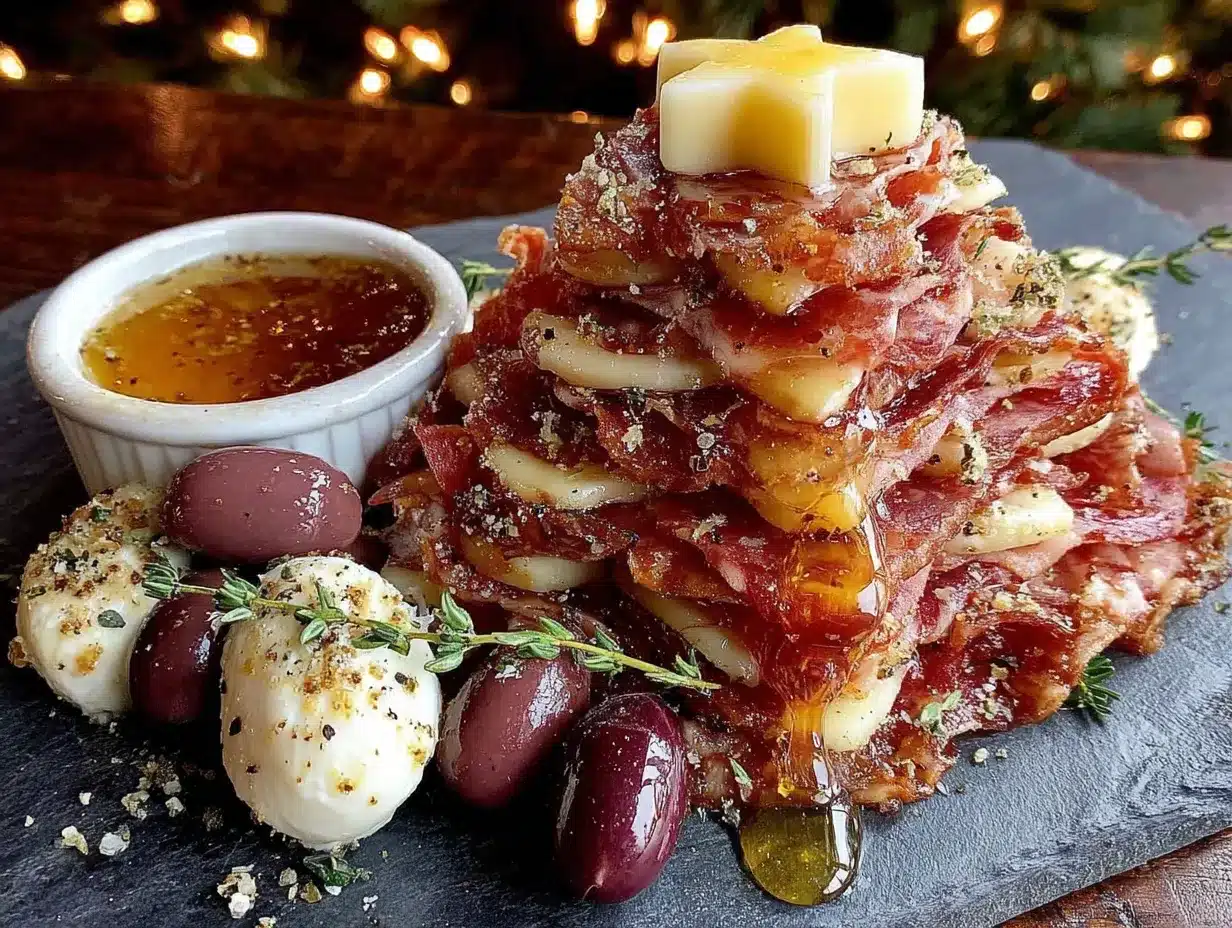
- Cheddar cheese – 6 oz, cut into small cubes or stars (I like sharp cheddar for its bold flavor)
- Pepperoni or salami slices – 4 oz, folded or cut into triangles (adds a savory, salty punch)
- Cherry tomatoes – 1/2 cup (like little ornaments—red ones work best)
- Black olives – 1/2 cup, pitted (for a darker, briny accent)
- Yellow bell pepper – 1/2 of a pepper, cut into a star shape for the top (use a small cookie cutter or just a knife)
For the Trunk and Base
- Pretzel sticks – 1/2 cup (these form the trunk at the bottom of the tree)
- Ranch or hummus – 1/2 cup, for dipping (optional, but highly recommended)
I personally recommend using Cabot cheddar for its creaminess and Boar’s Head pepperoni for consistent flavor. For the best texture, look for firm, crisp broccoli and cucumbers—not the sad, limp ones. If you’re making this in summer, feel free to swap in fresh berries instead of cherry tomatoes for a sweeter touch. And for a gluten-free option, simply skip the pretzel sticks or use veggie sticks instead.
Equipment Needed
You don’t need a lot of fancy gear for this board, which is part of its charm. Here’s what you’ll want to have on hand:
- Large wooden board or serving platter – A rectangular or round board at least 12 inches wide works best. I use a simple acacia wood board I found at a thrift store for $8. It’s got a few knife marks, and honestly, that adds character.
- Small star cookie cutter – For cutting the bell pepper into a star shape. If you don’t have one, just use a paring knife—it takes an extra minute but works fine.
- Sharp knife and cutting board – For slicing cucumbers, cheese, and bell pepper.
- Small bowls – For dips like ranch or hummus. I like using little ceramic ramekins.
- Toothpicks or small skewers – Optional, for easy grabbing. Especially helpful if you’re serving kids.
If you don’t have a large board, a sheet pan or even a clean piece of cardboard covered in parchment paper works in a pinch. I’ve done it. No judgment here. Just make sure it’s big enough to hold your tree shape without everything falling off the edges.
Preparation Method
Alright, let’s build this tree. I’ve broken it down into clear steps so you can follow along without any hiccups. Total time: about 15-20 minutes.
- Prep your ingredients (5 minutes): Wash and dry all produce. Cut the broccoli into small florets—think bite-sized, not huge chunks. Slice the cucumber into even rounds, about 1/4-inch thick. Cut the cheddar into small cubes or use the star cookie cutter to make cheese stars. Slice the bell pepper into a star shape for the top. Set everything aside in separate bowls.
- Lay the foundation (2 minutes): Place your board on a flat surface. Arrange the pretzel sticks at the bottom center of the board to form the tree trunk. They should point upward, like the base of a tree. Spread them out slightly so they look natural.
- Build the tree shape (5 minutes): Starting just above the pretzel sticks, arrange a row of cucumber slices in a horizontal line. This will be the bottom tier of your tree. Above that, add a slightly shorter row of broccoli florets. Continue alternating rows of cucumber and broccoli, making each row shorter than the last as you move upward. The goal is to create a triangular, tree-like shape. Don’t stress about perfection—it’s supposed to look organic.
- Add the green fillers (2 minutes): Tuck the rosemary sprigs between the rows of cucumber and broccoli. They’ll add that pine-like texture and a lovely fragrance. Sprinkle the green grapes around the edges of the tree, nestling them into the gaps. If you have parsley or basil, tuck a few leaves here and there for extra depth.
- Decorate the tree (3 minutes): Now for the fun part. Scatter the cheddar cubes, pepperoni slices, cherry tomatoes, and black olives over the green base. Think of them as ornaments on a Christmas tree. Don’t cover every inch—leave some green showing. You want it to look abundant but not cluttered. Place the yellow bell pepper star at the very top of the tree.
- Add the dipping bowl (1 minute): Place a small bowl of ranch or hummus at the bottom of the board, near the pretzel trunk. This gives people a place to dip their veggies and adds a creamy element.
- Final touches (1 minute): Step back and look at your board. Fill any obvious gaps with a few extra grapes, rosemary sprigs, or cheese cubes. Trust your eyes—if it looks balanced, you’re done.
A few sensory cues to watch for: the rosemary should smell fresh and piney when you crush a sprig between your fingers. The cucumber slices should feel firm, not mushy. And when you place the star on top, it should sit securely—if it wobbles, just tuck a small piece of cheese under it for support.
Cooking Tips & Techniques
I’ve made this board enough times to know what can go wrong. Here are my hard-earned tips to make yours a success.
The biggest mistake? Overloading the board. I did this my first time. I piled on so many ingredients that the tree shape just vanished into a blob of food. Less is more. You want to see the tree structure clearly, so leave some negative space. Think of it as a forest, not a jungle.
Use sturdy ingredients as your base. Broccoli and cucumber are your best friends here. They hold their shape and don’t get soggy quickly. Avoid using soft things like avocado or cooked vegetables—they’ll squish and make a mess. I learned this the hard way when I tried using roasted red peppers. It was a disaster.
Chill your ingredients beforehand. Cold cheese and veggies are easier to handle and stay fresh longer. If you’re making this ahead, assemble the board up to an hour before serving and keep it in the fridge. Just cover it loosely with plastic wrap so nothing dries out.
Timing and multitasking: While you’re washing the produce, you can be cutting the cheese. Prep everything before you start assembling—it makes the process so much smoother. And don’t be afraid to delegate. My kids love “decorating” the tree with the cherry tomatoes. It keeps them busy and builds anticipation.
For consistency: If you’re making this for a party, make two boards. One will disappear fast, and having a backup keeps the party going. Trust me on this.
Variations & Adaptations
This recipe is incredibly flexible. Here are a few ways to make it your own.
Dietary Variations
- Vegan Version: Swap the cheddar for a plant-based cheese, use vegan pepperoni (or skip it), and replace the ranch with a dairy-free dip like hummus or guacamole.
- Gluten-Free Version: Skip the pretzel sticks and use carrot sticks or celery for the trunk. Everything else is naturally gluten-free.
- Low-Carb/Keto Version: Use more cheese and meat, and reduce the grapes and pretzels. Add extra cucumber and broccoli to keep the tree shape intact.
Seasonal Swaps
- Summer Twist: Replace cherry tomatoes with fresh strawberries or blueberries. Use basil instead of rosemary for a lighter flavor.
- Fall Version: Add slices of apple or pear, and use a sharp white cheddar. Sprinkle some dried cranberries for a pop of red.
Flavor Twists
- Spicy Kick: Add jalapeño slices or use spicy salami. Serve with a chipotle ranch dip for extra heat.
- Sweet & Savory: Drizzle a little honey over the cheese cubes and add some candied pecans around the base.
I once tried a version with smoked gouda and fig jam. It was incredible. The smoky flavor paired beautifully with the fresh veggies. Don’t be afraid to experiment—that’s half the fun.
Serving & Storage Suggestions
This board is best served at room temperature, so take it out of the fridge about 15 minutes before your guests arrive. The flavors are more pronounced when the cheese isn’t ice-cold.
Presentation tips: Place the board on a low coffee table or a kitchen island where people can gather around. Add a few small plates and napkins nearby. For a festive touch, scatter a few extra rosemary sprigs around the board and add some tiny battery-operated fairy lights (just make sure they don’t touch the food).
What to serve alongside: This board pairs beautifully with a warm bowl of tomato soup or a glass of mulled wine. For a heartier spread, add a side of roasted nuts or a crusty baguette. If you’re feeling extra cozy, serve it alongside a batch of creamy tomato soup for dipping.
Storage: If you have leftovers (unlikely, but possible), separate the wet ingredients (cucumber, grapes) from the dry ones (cheese, pretzels). Store them in airtight containers in the fridge. The veggies will last 1-2 days, and the cheese and meats will keep for up to 4 days.
Reheating: There’s no reheating needed for this board, but if you’ve stored the cheese, let it come to room temperature before serving again. The pretzels might get a little soft—just pop them in a 350°F oven for 2-3 minutes to crisp them back up.
Flavor development: Honestly, this board is best the day you make it. The freshness of the veggies and the crispness of the pretzels really shine. But if you’re prepping ahead, you can wash and cut all the ingredients a day in advance and assemble just before serving.
Nutritional Information & Benefits
Here’s a rough estimate for a serving (about 1/6 of the board). Keep in mind this varies based on your specific ingredients and portions.
| Nutrient | Amount per Serving |
|---|---|
| Calories | 220-280 |
| Protein | 10-12g |
| Carbohydrates | 18-22g |
| Fat | 14-18g |
| Fiber | 4-5g |
| Sugar | 8-10g |
This board is packed with nutrients from the fresh veggies. Broccoli is rich in vitamin C and fiber, while cucumbers provide hydration and antioxidants. The cheese adds calcium and protein, and the olives offer healthy monounsaturated fats. It’s naturally gluten-free (minus the pretzels) and can easily be made dairy-free or vegan. If you’re watching your sodium, opt for low-sodium cheese and skip the olives.
I love that this board lets you indulge without feeling heavy. It’s satisfying but not over-the-top, which is exactly what I want during the holidays when rich food is everywhere.
Conclusion
This cozy Christmas tree charcuterie board is more than just a snack—it’s a little piece of holiday magic that you can create in your own kitchen. It’s the kind of thing that makes people stop and smile, that sparks conversation, that turns an ordinary evening into something special. And the best part? It’s so simple that you can make it on a whim, even on a random Tuesday when the holidays feel far away.
I hope you’ll take this recipe and make it your own. Maybe you’ll use different veggies, or swap the cheese, or add a favorite dip. That’s the beauty of a board like this—it’s a canvas, not a rulebook. I’d love to hear how it turns out. Drop a comment below and tell me about your tree. Did you use a star on top? Did the kids help decorate? Share your photos and tag me—I can’t wait to see your creations.
So go ahead. Grab a board, some greens, and a little bit of holiday spirit. Build your tree. And then, sit down with the people you love and enjoy every single bite. You’ve got this.
Frequently Asked Questions
Can I make this board ahead of time?
Yes! You can prep all the ingredients up to 24 hours in advance. Store them separately in the fridge, then assemble the board up to an hour before serving. Cover it loosely with plastic wrap and keep it chilled until you’re ready.
What if I don’t have a star-shaped cookie cutter?
No problem. Just use a paring knife to cut a star shape from a slice of bell pepper or a thick slice of cheese. It doesn’t have to be perfect—rustic stars have their own charm.
Can I use different vegetables?
Absolutely. Asparagus spears, snap peas, or even kale leaves can work. Just make sure they’re sturdy enough to hold their shape. Avoid anything too watery, like tomatoes or zucchini, as they can make the board soggy.
How do I keep the tree from falling apart?
Start with a solid base of sturdy veggies like broccoli and cucumber. Layer them tightly, and use rosemary sprigs to fill gaps and add structure. If you’re worried, you can also use toothpicks to secure larger items, but it’s usually not necessary.
Is this board suitable for a large party?
It’s perfect for small to medium gatherings (6-8 people). For a larger crowd, make two boards or double the ingredients and use a bigger platter. You can also set out extra bowls of dips and snacks on the side.
Pin This Recipe!
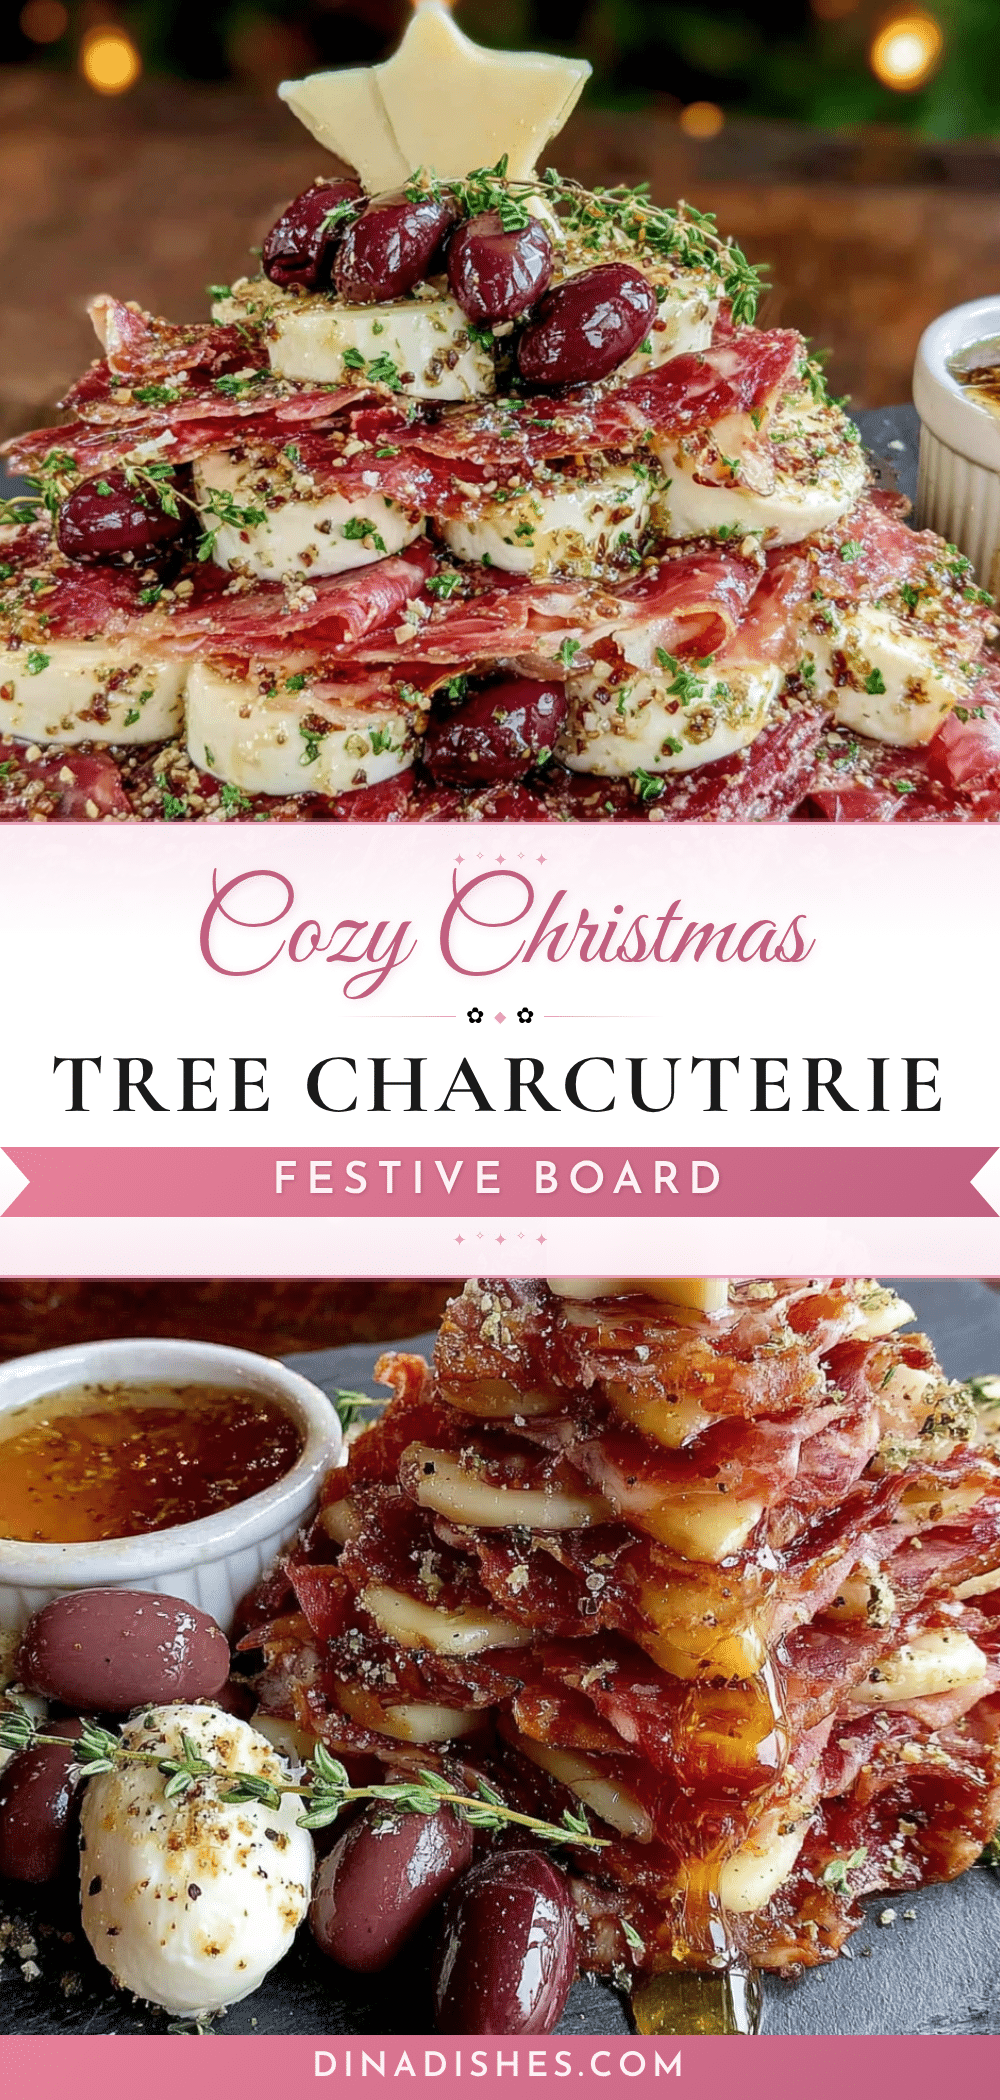
Cozy Christmas Tree Charcuterie Board: Easy DIY Idea
A festive and easy-to-assemble Christmas tree-shaped charcuterie board made with fresh vegetables, cheese, and meats. Perfect for holiday gatherings or a cozy night in, this no-cook appetizer comes together in under 20 minutes.
- Prep Time: 15 minutes
- Cook Time: 0 minutes
- Total Time: 15 minutes
- Yield: 6 servings 1x
- Category: Appetizer
- Cuisine: American
Ingredients
- 2 cups broccoli florets, fresh and cut into bite-sized pieces
- 1 large cucumber, sliced into rounds
- 1 cup green grapes, washed
- 4–5 sprigs fresh rosemary
- 1 small handful fresh parsley or basil (optional)
- 6 oz cheddar cheese, cut into small cubes or stars
- 4 oz pepperoni or salami slices, folded or cut into triangles
- 1/2 cup cherry tomatoes
- 1/2 cup black olives, pitted
- 1/2 yellow bell pepper, cut into a star shape
- 1/2 cup pretzel sticks
- 1/2 cup ranch or hummus (optional, for dipping)
Instructions
- Prep your ingredients: Wash and dry all produce. Cut broccoli into small florets. Slice cucumber into even rounds, about 1/4-inch thick. Cut cheddar into small cubes or use a star cookie cutter to make cheese stars. Slice bell pepper into a star shape. Set everything aside in separate bowls.
- Lay the foundation: Place your board on a flat surface. Arrange pretzel sticks at the bottom center of the board to form the tree trunk, pointing upward.
- Build the tree shape: Starting just above the pretzel sticks, arrange a row of cucumber slices in a horizontal line. Above that, add a slightly shorter row of broccoli florets. Continue alternating rows of cucumber and broccoli, making each row shorter than the last as you move upward to create a triangular tree shape.
- Add the green fillers: Tuck rosemary sprigs between the rows of cucumber and broccoli. Sprinkle green grapes around the edges of the tree, nestling them into gaps. Add parsley or basil leaves if using.
- Decorate the tree: Scatter cheddar cubes, pepperoni slices, cherry tomatoes, and black olives over the green base, leaving some green showing. Place the yellow bell pepper star at the very top of the tree.
- Add the dipping bowl: Place a small bowl of ranch or hummus at the bottom of the board near the pretzel trunk.
- Final touches: Step back and fill any obvious gaps with extra grapes, rosemary sprigs, or cheese cubes.
Notes
For best results, use sturdy ingredients like broccoli and cucumber as the base. Avoid soft items like avocado. Chill ingredients beforehand for easier handling. Assemble up to an hour before serving and keep refrigerated. For a vegan version, use plant-based cheese and dairy-free dip. For a low-carb version, reduce grapes and pretzels and add more cheese and meat.
Nutrition
- Serving Size: 1/6 of the board
- Calories: 250
- Sugar: 9
- Sodium: 450
- Fat: 16
- Saturated Fat: 6
- Carbohydrates: 20
- Fiber: 4.5
- Protein: 11
Keywords: Christmas tree charcuterie board, holiday appetizer, easy charcuterie board, no-cook appetizer, Christmas snack, festive board