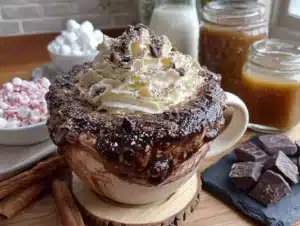
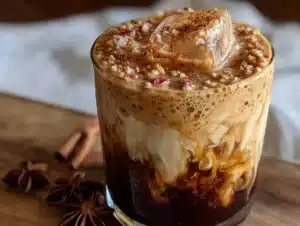
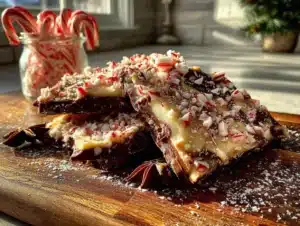
I was elbow-deep in wrapping paper, fighting with a roll of tape that had declared war on me, when my accountant started talking about hot chocolate. Not just any hot chocolate—the kind with a whole spread, a full-on topping station that he set up every Christmas Eve for his grown kids. Let me tell you, I was not expecting life advice from the man who files my quarterly taxes, but there I was, sitting on my living room floor surrounded by half-wrapped gifts, listening to him describe exactly how he arranges the marshmallows in little bowls and labels everything with those chalkboard tags from the craft store.
Honestly, the image stuck with me. It was such a simple thing, but the way he talked about it—the joy his family got from mixing and matching, from building their own perfect mugs—made me realize I had been overcomplicating holiday hosting. I mean, I had spent years stressing over multi-course dinners and elaborate desserts, and here was a man who had cracked the code to genuine family fun with a pot of cocoa and some sprinkles.
So I tried it. That very weekend, I threw together a little hot cocoa bar for some friends who came over to watch a movie. I grabbed a few toppings I had on hand—some mini marshmallows, a tube of sprinkles, a couple of candy canes—and set it all out on the counter. The result was, honestly, a little magical. People lingered. They laughed. They made second and third cups just to try different combinations. It was the coziest, most low-stress gathering I’d hosted in years.
And that’s why this recipe—okay, it’s more of a concept than a recipe—has stayed with me. It’s not about following strict instructions. It’s about creating a moment. A warm, sweet, slightly messy moment where everyone gets to play. Maybe you’ve been there, staring down a holiday gathering and wondering how to make it special without running yourself ragged. This is your answer. Grab a pot, some mugs, and let’s build the coziest DIY hot cocoa bar with toppings station you’ve ever seen.
Why You’ll Love This Cozy DIY Hot Cocoa Bar with Toppings Station
I’ve tested this setup at least a dozen times now—for birthday parties, snow days, and even a book club meeting where we were supposed to be discussing a thriller but spent most of the time debating the merits of crushed peppermint versus chocolate shavings. So trust me when I say this cozy DIY hot cocoa bar with toppings station is a winner. Here’s why it works so well:
- Incredibly Easy to Set Up: You can prep everything in under 15 minutes. Seriously. Make the cocoa base, pour it into a slow cooker or a nice pot, and arrange your toppings in small bowls. That’s it. No complicated recipes, no last-minute scrambling.
- Simple Ingredients, Big Impact: Most of the toppings are pantry staples or easy to find at any grocery store. Mini marshmallows, chocolate chips, sprinkles, candy canes—you probably already have half of them.
- Perfect for Any Occasion: Movie night, holiday party, snow day, birthday sleepover, or just a random Tuesday that needs a little warming up. This bar fits every single one.
- A True Crowd-Pleaser: Kids love the freedom to build their own mugs. Adults love the nostalgia and the chance to get creative. I’ve yet to meet someone who doesn’t light up at the sight of a toppings station.
- Unbelievably Delicious: The magic is in the combination. A base of rich, creamy hot cocoa topped with crunchy, chewy, minty, and sweet add-ons? It’s next-level comfort in a mug.
What makes this different from just serving hot chocolate with a few marshmallows on the side? It’s the experience. The act of choosing, of layering, of creating something uniquely yours. It turns a simple drink into an event. And honestly, in a world that moves too fast, giving people permission to slow down and play with their food is a gift in itself.
What Ingredients You Will Need for Your Hot Cocoa Bar
This cozy DIY hot cocoa bar with toppings station uses a handful of simple ingredients to create a rich, indulgent base and a stunning array of toppings. The beauty is in the variety, not the complexity. Here’s what you’ll need:
For the Hot Cocoa Base
- 4 cups whole milk (or any milk you prefer—oat milk works great for a dairy-free version)
- 1/2 cup heavy cream (adds richness; you can skip this or use full-fat coconut milk for a dairy-free option)
- 1/2 cup unsweetened cocoa powder (I recommend Ghirardelli or Valrhona for the deepest chocolate flavor)
- 1/2 cup granulated sugar (adjust to your sweetness preference)
- 1 teaspoon vanilla extract (pure, not imitation, if you can swing it)
- Pinch of salt (trust me on this—it makes the chocolate taste more chocolatey)
- 1 cup semi-sweet chocolate chips (optional, but they make the cocoa extra velvety; I like Guittard)
For the Toppings Station (10 Ideas to Get You Started)
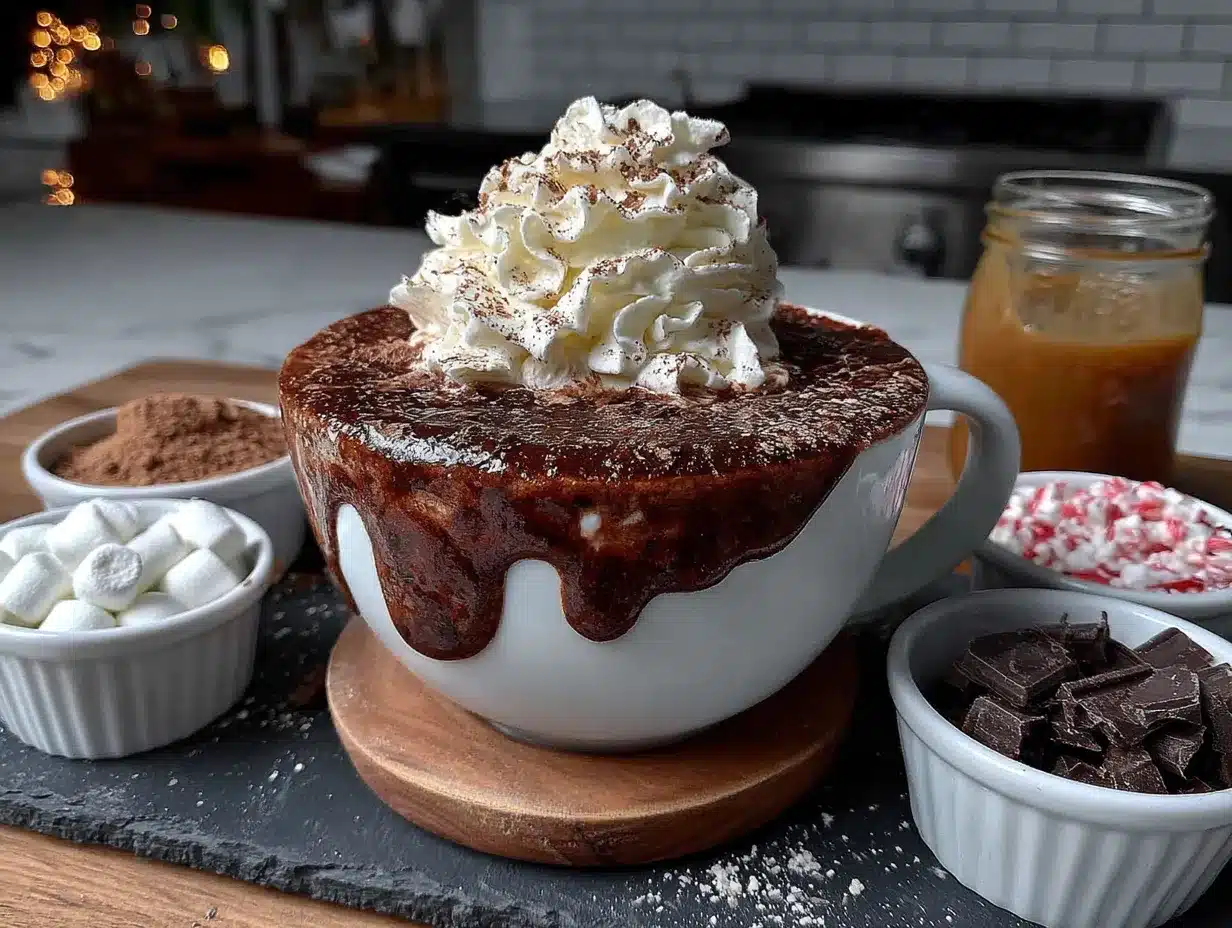
- Mini Marshmallows: The classic. Go for the name-brand ones; they hold their shape better.
- Crushed Candy Canes: Adds a festive crunch and a hit of peppermint. Just pop them in a bag and whack them with a rolling pin—it’s oddly satisfying.
- Chocolate Shavings or Curls: Use a vegetable peeler on a bar of dark or milk chocolate. Looks fancy, takes zero effort.
- Whipped Cream: Homemade is best (just whip heavy cream with a little sugar and vanilla), but the canned stuff works in a pinch.
- Caramel Sauce: Drizzle it over the top or swirl it into the cocoa. Store-bought is fine, but warm it slightly so it pours easily.
- Sprinkles: Rainbow, holiday-themed, or chocolate jimmies—anything goes. Kids go wild for these.
- Toasted Coconut Flakes: Adds a subtle tropical note that pairs surprisingly well with chocolate.
- Crushed Pretzels: For that sweet-and-salty vibe. I’m obsessed with this combination.
- Mini Chocolate Chips: White, milk, or dark—they all melt beautifully into the hot cocoa.
- Cinnamon Sticks or Ground Cinnamon: A warm, spicy kick that elevates the whole experience.
Pro tip: Set out small bowls or ramekins for each topping. Use spoons or tiny tongs for serving. And don’t forget the mugs—big, cozy ones that you can wrap both hands around.
Equipment Needed
You don’t need a lot of fancy gear to pull off this cozy DIY hot cocoa bar with toppings station. Here’s what I use:
- A large pot or Dutch oven: For making the cocoa base. I prefer a heavy-bottomed pot to prevent scorching.
- A whisk: Essential for getting the cocoa powder to dissolve smoothly. A silicone whisk is my favorite—it won’t scratch your pot.
- Small bowls or ramekins: For holding the toppings. I’ve used everything from mason jars to vintage teacups. Anything works.
- Labels or chalkboard tags: Not necessary, but they add a cute, organized touch. You can just write on masking tape with a Sharpie.
- A ladle: For serving the cocoa into mugs. A small one works best.
- A slow cooker: Optional, but great for keeping the cocoa warm for hours without it burning. Just transfer the finished cocoa to the slow cooker set on “warm.”
- Mugs: Big, sturdy mugs that hold at least 10 ounces. The cozier, the better.
Budget-friendly tip: You don’t need to buy special bowls. Use what you have—small cereal bowls, ramekins from a ramen kit, even clean yogurt containers. The toppings don’t care what they’re served in.
Preparation Method
Making the base for your cozy DIY hot cocoa bar with toppings station is simple, but a few details make all the difference. Follow these steps, and you’ll have a silky, rich cocoa that’s the perfect canvas for all those toppings.
- Combine the dry ingredients: In your large pot, whisk together the cocoa powder, sugar, and salt. This step prevents lumps later. I learned the hard way that adding cocoa powder directly to hot milk is a recipe for disaster—you’ll end up with floating clumps.
- Add a splash of milk: Pour in about 1/2 cup of the milk and whisk it into the dry ingredients until you have a smooth, thick paste. This is called a “slurry,” and it’s the secret to lump-free cocoa. It should look like chocolate pudding at this point.
- Add the remaining milk and cream: Slowly pour in the rest of the milk and the heavy cream, whisking constantly. Don’t dump it all in at once—take your time. The mixture should be smooth and uniform.
- Heat gently: Place the pot over medium heat. Whisk occasionally, but don’t walk away. You want to heat it until it’s steaming hot, but not boiling. Boiling can cause the milk to scorch and the cocoa to turn grainy. This takes about 5-7 minutes.
- Add the chocolate chips (optional): If you’re using them, stir in the semi-sweet chocolate chips once the cocoa is hot. Keep stirring until they’re completely melted and incorporated. This step gives the cocoa a velvety texture that’s almost like drinking a melted chocolate bar.
- Stir in the vanilla: Remove the pot from the heat and stir in the vanilla extract. Taste it. Adjust the sweetness if needed—add a little more sugar or a pinch more salt.
- Transfer to a serving vessel: Pour the hot cocoa into a slow cooker set to “warm” or leave it in the pot on the stove over the lowest possible heat. If using the stove, stir it every 15 minutes or so to prevent a skin from forming.
- Set up your toppings station: While the cocoa is heating, arrange your toppings in small bowls. Put the bowls on a tray or directly on the counter. Add labels if you’re feeling fancy. Place spoons or tongs in each bowl.
- Serve and enjoy: Let guests ladle their own cocoa into mugs and go to town on the toppings. Encourage them to layer—marshmallows first, then a drizzle of caramel, then a sprinkle of crushed candy canes. It’s all about the build.
Sensory cue: When the cocoa is ready, the kitchen should smell like a chocolate shop. The surface should have a slight sheen, and when you lift the whisk, the cocoa should coat it lightly. If it looks thin, let it simmer a minute longer to reduce slightly.
Cooking Tips & Techniques
After a few rounds of trial and error (and one particularly sad batch of grainy cocoa), I’ve gathered some tips that will make your cozy DIY hot cocoa bar with toppings station foolproof.
- Low and slow is the way to go: High heat is the enemy of milk-based drinks. It can cause the milk proteins to separate, leaving you with a weird, slightly curdled texture. Keep the heat at medium or medium-low, and stir often.
- Don’t skip the salt: I know it sounds weird, but a pinch of salt doesn’t make the cocoa salty—it makes the chocolate taste more intense. It’s a trick professional bakers use all the time.
- Make it ahead of time: You can prepare the cocoa base up to two days in advance. Just let it cool, store it in a covered container in the fridge, and reheat it gently on the stove or in the slow cooker. The flavors actually meld and get better overnight.
- Keep the toppings separate: Don’t mix everything together in one big bowl. Part of the fun is the visual display and the act of choosing. Plus, some toppings (like pretzels) get soggy if they sit in the cocoa too long.
- Watch for the “marshmallow float”: If you’re using large marshmallows, they can sink to the bottom of the mug. For maximum float-age, use mini marshmallows or cut larger ones in half.
My biggest failure: The first time I made this, I tried to keep the cocoa warm in a metal thermos. Big mistake. The cocoa scorched on the bottom, and the whole batch tasted burnt. Stick with a slow cooker or a heavy pot on the stove.
Variations & Adaptations
One of the best things about this cozy DIY hot cocoa bar with toppings station is how adaptable it is. Here are a few ways to switch it up:
- Dairy-Free Version: Use oat milk or almond milk instead of whole milk, and swap the heavy cream for full-fat coconut cream. The coconut cream adds a lovely richness, and you won’t miss the dairy at all.
- Spiced Hot Cocoa: Add a cinnamon stick, a star anise, and a pinch of cayenne pepper to the milk as it heats. Strain them out before serving. The warmth of the spices is incredible on a cold night.
- Peppermint Twist: Stir in 1/2 teaspoon of peppermint extract along with the vanilla. Then load up the toppings station with extra crushed candy canes and white chocolate shavings. It’s like drinking a candy cane.
- Adult Version: Set out a small bottle of peppermint schnapps, bourbon, or Irish cream liqueur. Let guests add a splash to their mugs. It’s a cozy grown-up treat.
- Mexican Hot Chocolate: Use a pinch of cinnamon and a tiny pinch of cayenne in the base. Serve with a side of whipped cream and a sprinkle of cinnamon sugar. It’s bold and unforgettable.
Personal variation: I once made a “s’mores” version by adding crushed graham crackers, mini marshmallows, and a drizzle of melted chocolate as toppings. I toasted the marshmallows with a kitchen torch right at the station. It was messy, ridiculous, and absolutely the best decision I’ve ever made.
Serving & Storage Suggestions
This cozy DIY hot cocoa bar with toppings station is designed to be served immediately, but a little planning goes a long way.
- Serving temperature: Serve the cocoa piping hot, but not boiling. Aim for around 160°F (71°C). It should be warm enough to melt the toppings but not so hot that it burns tongues.
- Presentation: Arrange the toppings in a rainbow or gradient order—light to dark, or sweet to salty. It looks gorgeous and makes it easy for guests to find what they want.
- Complementary dishes: Serve with a plate of sugar cookies, shortbread, or biscotti for dipping. A bowl of fresh fruit (like strawberries or raspberries) adds a bright, fresh contrast.
- Storage: Leftover cocoa can be stored in an airtight container in the fridge for up to 3 days. Reheat it gently on the stove, whisking to recombine. Don’t microwave it—it can get grainy.
- Freezer: You can freeze the cocoa base in a freezer-safe container for up to 3 months. Thaw it in the fridge overnight, then reheat. The texture might be slightly thinner, but it’s still delicious.
- Flavor development: Honestly, the cocoa tastes even better the next day. The flavors meld together, and the chocolate becomes deeper and more rounded. So don’t be afraid to make it ahead.
Nutritional Information & Benefits
Let’s be real—hot cocoa with a toppings station is a treat. But that doesn’t mean it can’t have some redeeming qualities. Here’s the breakdown for one serving (about 1 cup of cocoa with 2 tablespoons of toppings):
- Calories: Approximately 350-400 (depending on toppings)
- Fat: 18-22g (from the milk, cream, and chocolate)
- Carbohydrates: 40-50g (mostly from sugar and milk)
- Protein: 8-10g (from the milk)
- Calcium: About 30% of your daily needs (from the milk)
Health benefits: Cocoa is rich in antioxidants called flavonoids, which can support heart health and reduce inflammation. Milk provides calcium and vitamin D for strong bones. And let’s be honest—taking a moment to slow down, sip something warm, and connect with loved ones is good for your mental health, too.
Dietary considerations: This recipe can easily be made dairy-free, gluten-free (just check your toppings), and nut-free. It’s not low-carb or sugar-free, but you can use a sugar substitute like monk fruit sweetener in the cocoa base if needed.
Potential allergens: Dairy, gluten (if using certain toppings like pretzels or cookies), and tree nuts (if using coconut). Always label your toppings clearly for guests.
Conclusion
This cozy DIY hot cocoa bar with toppings station is more than just a drink setup—it’s an invitation to pause, to play, and to share something warm and sweet with the people you care about. It’s the kind of simple, joyful tradition that turns an ordinary evening into a memory. I love it because it requires almost no skill, yet it makes everyone feel like a kid again. You can make it as simple or as extravagant as you want. Add your favorite toppings, skip the ones you don’t like, and don’t be afraid to get creative. Maybe you’ll discover that crushed potato chips are amazing on hot cocoa (I’m not saying they are, but I’m not saying they aren’t).
So go ahead—grab a pot, raid your pantry, and set up your own hot cocoa bar. I’d love to hear what toppings you come up with. Leave a comment below and tell me your favorite combination. And if you share a photo on social media, tag me—I want to see your cozy creation. Here’s to warm mugs, sweet toppings, and the best kind of togetherness.
Frequently Asked Questions
Can I make the hot cocoa base in a slow cooker from scratch?
Absolutely. Just whisk the dry ingredients with a splash of milk in the slow cooker insert first, then add the remaining milk and cream. Cook on low for 2-3 hours, stirring occasionally. Add the chocolate chips and vanilla in the last 30 minutes. It’s the ultimate set-it-and-forget-it method.
How do I keep the toppings from getting soggy?
Keep the toppings in separate bowls and only add them to the mug right before serving. If you’re setting up a self-serve station, use small spoons or tongs so guests can grab what they want. Avoid pre-loading mugs with toppings—they’ll turn into a sad, mushy mess.
What if I don’t have a slow cooker?
No problem. Just keep the cocoa in the pot on the stove over the lowest possible heat. Stir it every 10-15 minutes to prevent a skin from forming. Or transfer it to a thermal carafe—it will stay hot for about 2 hours.
Can I use hot chocolate mix instead of making it from scratch?
You can, but I don’t recommend it. Most store-bought mixes are loaded with sugar and lack the rich, creamy texture of homemade. If you’re in a pinch, use a high-quality mix like Ghirardelli or Godiva, and prepare it with milk instead of water for a better result.
How many people does this recipe serve?
This recipe makes about 6 cups of cocoa, which is enough for 4-6 people (assuming 1 cup per person). If you’re hosting a party, double or triple the recipe. The toppings station is easy to scale up—just buy larger bags of marshmallows and candy canes.
Pin This Recipe!
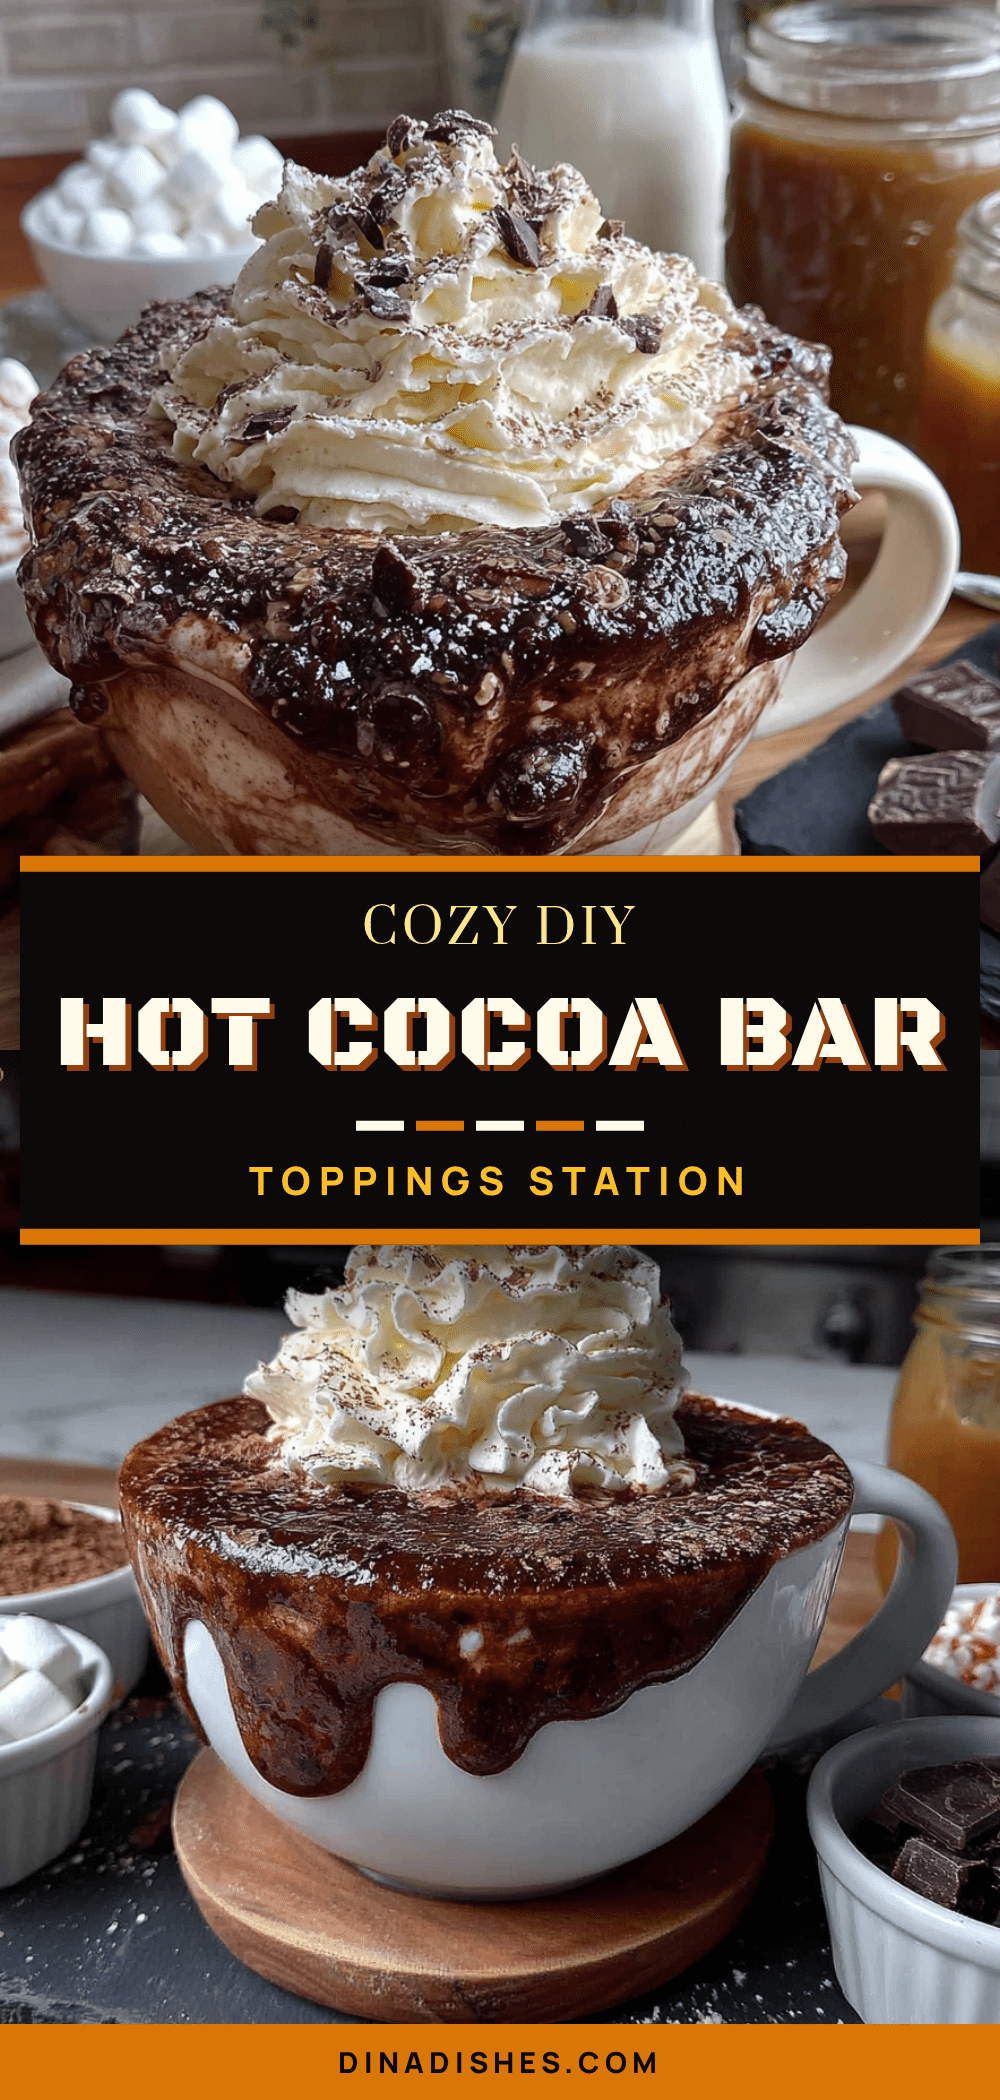
Cozy DIY Hot Cocoa Bar with 10 Toppings Station Ideas
Create a warm, sweet, and slightly messy moment with this cozy DIY hot cocoa bar. It’s an incredibly easy-to-set-up toppings station that turns a simple drink into an event, perfect for any occasion.
- Prep Time: 15 minutes
- Cook Time: 10 minutes
- Total Time: 25 minutes
- Yield: 4-6 servings 1x
- Category: Beverage
- Cuisine: American
Ingredients
- 4 cups whole milk (or oat milk for dairy-free)
- 1/2 cup heavy cream (or full-fat coconut milk for dairy-free)
- 1/2 cup unsweetened cocoa powder (Ghirardelli or Valrhona recommended)
- 1/2 cup granulated sugar (adjust to taste)
- 1 teaspoon vanilla extract (pure preferred)
- Pinch of salt
- 1 cup semi-sweet chocolate chips (optional, Guittard recommended)
- Mini marshmallows
- Crushed candy canes
- Chocolate shavings or curls
- Whipped cream (homemade or canned)
- Caramel sauce (warmed slightly)
- Sprinkles (rainbow, holiday-themed, or chocolate jimmies)
- Toasted coconut flakes
- Crushed pretzels
- Mini chocolate chips (white, milk, or dark)
- Cinnamon sticks or ground cinnamon
Instructions
- Combine the dry ingredients: In a large pot, whisk together the cocoa powder, sugar, and salt.
- Add a splash of milk: Pour in about 1/2 cup of the milk and whisk into the dry ingredients until you have a smooth, thick paste (a slurry).
- Add the remaining milk and cream: Slowly pour in the rest of the milk and the heavy cream, whisking constantly.
- Heat gently: Place the pot over medium heat. Whisk occasionally and heat until steaming hot, but not boiling (about 5-7 minutes).
- Add the chocolate chips (optional): If using, stir in the semi-sweet chocolate chips once the cocoa is hot until completely melted and incorporated.
- Stir in the vanilla: Remove the pot from the heat and stir in the vanilla extract. Taste and adjust sweetness if needed.
- Transfer to a serving vessel: Pour the hot cocoa into a slow cooker set to ‘warm’ or leave it in the pot on the stove over the lowest possible heat.
- Set up your toppings station: While the cocoa is heating, arrange your toppings in small bowls on a tray or counter. Add labels if desired and place spoons or tongs in each bowl.
- Serve and enjoy: Let guests ladle their own cocoa into mugs and add toppings as desired.
Notes
For best results, use low heat to prevent scorching. Don’t skip the salt—it enhances the chocolate flavor. The cocoa base can be made up to 2 days ahead and reheated. Keep toppings separate to prevent sogginess. For a dairy-free version, use oat milk and full-fat coconut cream.
Nutrition
- Serving Size: 1 cup of cocoa with
- Calories: 350400
- Sugar: 3040
- Sodium: 150200
- Fat: 1822
- Saturated Fat: 1014
- Carbohydrates: 4050
- Fiber: 23
- Protein: 810
Keywords: hot cocoa bar, DIY hot cocoa, toppings station, holiday drink, cozy drink, hot chocolate bar, winter drink, party idea