The power went out halfway through the second round of Christmas cookie baking. My grandmother’s KitchenAid just stopped mid-cream, and there I was, standing in a suddenly silent kitchen with butter and sugar staring back at me. My neighbor Carol, who’d come over to borrow vanilla extract, looked at the dark mixer and then at me. “Why don’t you just make a cheesecake instead?” she said. “No mixer needed for a good one.”
I started to explain that cheesecake absolutely needed a mixer for that silky texture — then stopped. Honestly, she had a point. Before electric mixers existed, people still made cheesecake. They just used elbow grease and patience. So I grabbed a wooden spoon, a bowl, and the carton of eggnog sitting in my fridge, and I got to work. Twenty minutes of enthusiastic stirring later, I had a batter that looked suspiciously perfect. That night, when the power came back and we sliced into that cozy homemade eggnog cheesecake with nutmeg, I had to admit it: Carol was right. And I’ve never gone back to my mixer for this recipe since.
There’s something about the aroma of nutmeg and eggnog baking in the oven that just screams Christmas. Maybe you’ve been there — standing in your kitchen, wondering what dessert will actually impress your holiday guests without leaving you stressed out. This is that recipe. It’s the one that looks like you spent hours fussing, when really it comes together with simple ingredients and a little faith in the process.
Why You’ll Love This Recipe
This isn’t just another holiday dessert. This cozy homemade eggnog cheesecake with nutmeg has earned a permanent spot on my Christmas table, and here’s why it’ll earn one on yours too:
- No Mixer Required — I mean it. A bowl and a sturdy spoon are all you need. Less cleanup, more holiday cheer.
- Simple Ingredients — You probably have most of these already. Eggnog is the star, and nutmeg is the supporting actor that steals the show.
- Perfect for Holiday Gatherings — This cheesecake feeds a crowd and slices beautifully. It’s the centerpiece dessert that makes everyone ooh and aah.
- Crowd-Pleaser — Even people who say they don’t like eggnog love this cheesecake. The baking transforms the flavor into something warm and custardy.
- Make-Ahead Friendly — You can make this two days ahead. The flavors actually get better as they meld in the fridge.
What makes this recipe different from every other cheesecake out there? It’s the texture. By using room temperature ingredients and folding by hand, you get a denser, creamier cheesecake that doesn’t crack. No water bath needed, no complicated techniques. It’s comfort food in its purest form — the kind that makes you close your eyes after the first bite and forget about the chaos of the holidays for just a moment.
What Ingredients You Will Need
This recipe uses simple, wholesome ingredients to deliver that signature holiday flavor without any fuss. Most of these are pantry staples during December, which makes this an easy last-minute dessert.
For the Crust:
- 1 ½ cups graham cracker crumbs (about 12 full sheets, crushed fine)
- ¼ cup granulated sugar
- 6 tablespoons unsalted butter, melted (I use Land O’Lakes for consistent results)
- ½ teaspoon ground nutmeg (freshly grated if you have it — the difference is real)
For the Filling:
- 32 ounces cream cheese, softened to room temperature (four 8-ounce blocks — Philadelphia is my go-to for reliability)
- 1 cup granulated sugar
- 3 tablespoons all-purpose flour (helps stabilize the cheesecake and prevent cracking)
- 4 large eggs, room temperature (cold eggs will seize the batter)
- 1 ½ cups eggnog (use full-fat for the richest flavor; low-fat works but the texture will be slightly less luxurious)
- 2 teaspoons vanilla extract
- 1 teaspoon ground nutmeg (plus extra for garnish)
- ½ teaspoon ground cinnamon
- ¼ teaspoon salt
For the Topping (optional but highly recommended):
- 1 cup heavy cream
- 2 tablespoons powdered sugar
- ½ teaspoon vanilla extract
- Freshly grated nutmeg for dusting
When selecting your eggnog, go for a good quality brand. I’ve tried this with several, and the thicker, creamier eggnogs produce a noticeably better cheesecake. If you’re feeling ambitious, homemade eggnog works beautifully here too. For the nutmeg, please spring for whole nutmeg and grate it fresh. The flavor is brighter and more aromatic — honestly, it’s the secret weapon in this recipe.
Equipment Needed
The beauty of this recipe is that it doesn’t demand much from your kitchen. Here’s what you’ll need:
- 9-inch springform pan — This is non-negotiable for cheesecake. The removable sides make releasing the cheesecake a breeze. I’ve had my Nordic Ware for years and it’s never let me down.
- Large mixing bowl — Any large bowl works. I use a ceramic one because it doesn’t slide around on the counter.
- Wooden spoon or sturdy spatula — For all that hand-mixing. A silicone spatula is great for scraping the bowl clean.
- Measuring cups and spoons — Precise measurements matter in cheesecake.
- Parchment paper — For lining the pan bottom. This guarantees clean slices.
- Roasting pan or large baking dish — For the water bath, if you choose to use one (I’ll explain why you might not need it).
- Aluminum foil — To wrap the springform pan if using a water bath.
- Cooling rack — For gradual cooling, which prevents cracking.
If you don’t have a springform pan, you can use a deep 9-inch cake pan lined with parchment paper, but removing the cheesecake cleanly will be trickier. A hand mixer can substitute for arm power if you really want, but honestly, the hand-mixing gives you better control over the texture.
Preparation Method
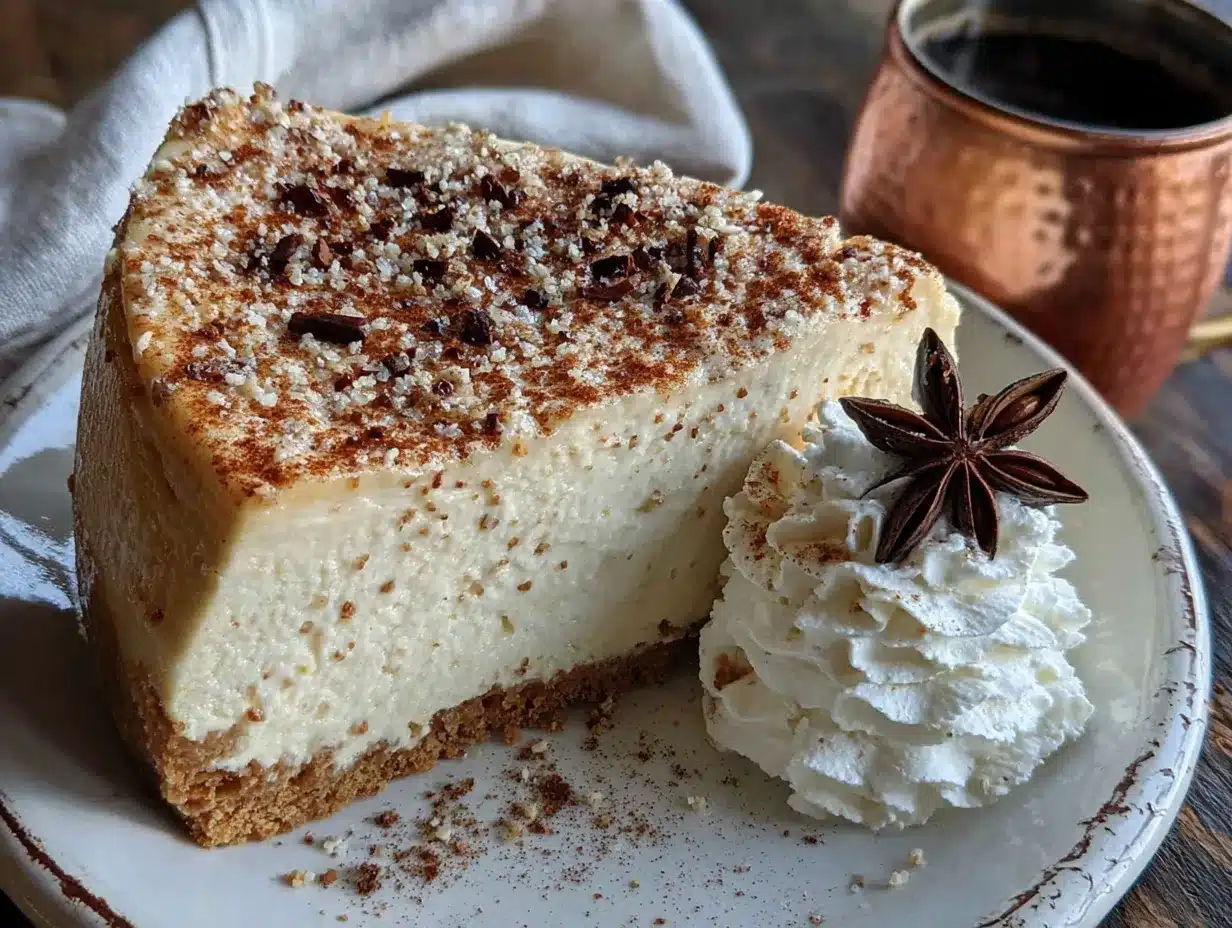
Let’s walk through this together. Take your time — cheesecake rewards patience.
Step 1: Prep Your Pan and Preheat
Preheat your oven to 325°F (163°C). Cut a circle of parchment paper to fit the bottom of your springform pan. Lightly grease the sides with butter or non-stick spray. This little step saves so much frustration later.
Step 2: Make the Crust
In a medium bowl, combine the graham cracker crumbs, ¼ cup sugar, and ½ teaspoon nutmeg. Pour in the melted butter and stir until every crumb is moistened. It should look like wet sand. Press this mixture firmly into the bottom of your prepared pan — use the bottom of a glass or measuring cup to get it even. Bake for 10 minutes, then set aside to cool while you make the filling. Your kitchen will already start smelling like Christmas.
Step 3: Get Your Cream Cheese Ready
This is the most important step. Your cream cheese must be at room temperature. Take it out of the fridge at least 2 hours before you start. Cold cream cheese creates lumps that no amount of mixing will fix. I learned this the hard way during a particularly stressful Thanksgiving.
Step 4: Mix the Filling by Hand
In your large bowl, add the softened cream cheese and sugar. Using your wooden spoon or spatula, stir until smooth and creamy. This takes about 3-4 minutes of steady stirring. Scrape the sides and bottom of the bowl frequently. Add the flour and salt, and stir until just combined.
Step 5: Add the Eggs One at a Time
Crack one egg into the bowl and stir until you can’t see it anymore. Then add the next. Repeat with all four eggs. Going slowly prevents the batter from becoming too aerated, which causes cracks during baking. The mixture should look thick and glossy.
Step 6: Pour in the Eggnog and Spices
Add the eggnog, vanilla extract, 1 teaspoon nutmeg, and cinnamon. Stir gently until everything is uniform. Don’t overmix — stop as soon as it looks smooth. The batter will be thinner than a standard cheesecake batter, and that’s perfectly fine.
Step 7: Assemble and Bake
Pour the filling over your cooled crust. Give the pan a gentle tap on the counter to release any air bubbles. Place the springform pan on a baking sheet (to catch any drips) and bake for 55-65 minutes. The edges should look set and slightly puffed, but the center will still jiggle like Jell-O when you gently shake the pan. That jiggle is your friend — it means you won’t have a dry, overbaked cheesecake.
Step 8: Cool Slowly
Turn off the oven and crack the door open. Let the cheesecake sit in the cooling oven for 1 hour. Then remove it to a cooling rack and let it come to room temperature completely. This gradual cooling is the secret to a crack-free top. Once cool, cover with plastic wrap and refrigerate for at least 6 hours, but overnight is best. The wait is hard, I know, but it’s worth it.
Cooking Tips & Techniques
After making this cozy homemade eggnog cheesecake with nutmeg more times than I can count, I’ve collected a few tricks that make the process smoother.
Room temperature is not optional. I cannot stress this enough. Cold ingredients create a lumpy, curdled-looking batter that bakes unevenly. Set your cream cheese, eggs, and eggnog on the counter for a full two hours before starting. If you’re in a rush, you can cut the cream cheese into cubes and let them sit for 45 minutes, but the slow method is better.
Don’t skip the parchment paper. I once thought I could get away without it. The bottom slice stuck, I had to serve a mangled cheesecake, and my mother-in-law still brings it up. Just line the pan.
Trust the jiggle. The biggest mistake people make is overbaking cheesecake. When the center wobbles like a wave pool, it’s done. The residual heat will finish cooking it as it cools. Overbaked cheesecake cracks and tastes dry — and nobody wants that.
Wrap it tight for a water bath. If you want extra insurance against cracks, use a water bath. Wrap the bottom and sides of your springform pan in a double layer of heavy-duty aluminum foil. Place it in a roasting pan and pour hot water halfway up the sides. The steam creates a humid environment that prevents cracking. I don’t always use one, but it’s a good technique for beginners.
Use freshly grated nutmeg. Pre-ground nutmeg loses its volatile oils quickly. A whole nutmeg keeps for months, and grating it fresh over your cheesecake right before serving releases an aroma that will have everyone asking what you did differently.
Variations & Adaptations
This recipe is wonderfully flexible. Here are some ways I’ve adapted it over the years:
Boozy Eggnog Cheesecake
Add 2 tablespoons of dark rum or bourbon to the filling along with the eggnog. The alcohol cooks off, leaving behind a warm, spiced depth that pairs beautifully with the nutmeg. I tried this one Christmas Eve when I had leftover bourbon from making cocktails, and it was a revelation.
Gluten-Free Version
Swap the graham cracker crust for one made with gluten-free ginger snaps or shortbread cookies. The filling is naturally gluten-free since the small amount of flour can be replaced with cornstarch or omitted entirely. I’ve made this for friends with celiac disease and they couldn’t tell the difference.
Gingersnap Crust
Instead of graham crackers, use crushed gingersnap cookies for the crust. The molasses and ginger in the cookies add another layer of holiday spice that complements the eggnog filling. This has become my personal favorite variation.
Lower Sugar Option
Reduce the granulated sugar to ¾ cup and use a sugar substitute like monk fruit sweetener in the same proportion. The texture will be slightly less creamy, but the flavor still shines. I tested this for a friend watching her sugar intake, and she asked for the recipe twice.
Chocolate Swirl Eggnog Cheesecake
Melt 4 ounces of semi-sweet chocolate and swirl it into the batter before baking. Use a knife to create gentle figure-eight patterns. The chocolate and eggnog combination is unexpectedly perfect — like a chocolate eggnog latte in cheesecake form.
Serving & Storage Suggestions
This cheesecake is best served cold, straight from the refrigerator. Let it sit at room temperature for about 10 minutes before slicing for the cleanest cuts. Use a sharp knife dipped in hot water and wiped dry between slices — this gives you those beautiful, bakery-style pieces.
For the whipped cream topping, whip the heavy cream, powdered sugar, and vanilla until soft peaks form. Dollop or pipe it onto each slice, then finish with a generous grating of fresh nutmeg. The contrast between the cold, creamy cheesecake and the light, airy whipped cream is pure magic.
Storage: Cover the cheesecake (or individual slices) tightly with plastic wrap or store in an airtight container in the refrigerator for up to 5 days. The flavor actually deepens on days 2 and 3 as the spices meld with the cream cheese.
Freezing: This cheesecake freezes beautifully. Wrap the completely cooled (and chilled) cheesecake in a layer of plastic wrap, then a layer of aluminum foil. Freeze for up to 3 months. To thaw, move it to the refrigerator overnight. The texture remains remarkably creamy — I often make two and freeze one for New Year’s.
Reheating: I don’t recommend reheating cheesecake. It’s meant to be enjoyed cold. If you absolutely want a warm element, serve it with a warm caramel sauce or a hot cup of spiced coffee alongside.
Nutritional Information & Benefits
Let’s be honest — cheesecake is a treat, not a health food. But here’s what you’re getting in each slice (based on 12 servings):
- Calories: Approximately 420 per slice
- Protein: 8 grams
- Fat: 28 grams
- Carbohydrates: 36 grams
- Sugar: 28 grams
On the bright side, this dessert does offer some nutritional perks. The cream cheese provides calcium and protein, while the eggs contribute choline for brain health. Nutmeg has been used in traditional medicine for its anti-inflammatory properties, and cinnamon may help regulate blood sugar. The eggnog adds vitamin A and riboflavin.
This recipe contains dairy, eggs, and gluten (from the graham crackers). For a dairy-free version, use vegan cream cheese and a plant-based eggnog — I’ve tested this with Miyoko’s cream cheese and So Delicious eggnog with good results. The texture is slightly less dense but still delicious.
I believe in balance. This cheesecake is for celebrations, for moments when you want something special. Enjoy it without guilt, savor every bite, and maybe take a walk afterward. That’s my wellness philosophy in a nutshell.
Conclusion
This cozy homemade eggnog cheesecake with nutmeg has become my signature holiday dessert, and I think it’s about to become yours too. It’s proof that sometimes the best recipes come from being wrong — from letting someone else’s simple suggestion change the way you cook. Carol’s idea to skip the mixer wasn’t just practical; it was the beginning of a tradition.
I love this recipe because it brings people together. It’s the dessert that gets passed around the table with “oh, you have to try this” and “can I get the recipe?” It’s the one that makes the house smell like Christmas morning, even when the power goes out and plans fall apart.
So go ahead — make this your own. Swap the crust, add some bourbon, or keep it classic. However you make it, it will be delicious. And when you take that first bite, with the nutmeg hitting your nose and the creamy filling melting on your tongue, I hope you remember that sometimes the best things happen when you let go of control and just stir.
I’d love to hear how yours turns out. Leave a comment below, share your photos, and tell me what variation you tried. Happy baking, friend. Here’s to cozy kitchens and full hearts.
Frequently Asked Questions
Can I use low-fat cream cheese for this recipe?
You can, but the texture won’t be as rich and creamy. The higher fat content in full-fat cream cheese is what gives cheesecake its signature silky texture. If you’re watching calories, I’d suggest using full-fat and just having a smaller slice.
Why did my cheesecake crack on top?
Cracks usually happen from overbaking, rapid temperature changes, or overmixing the batter. Make sure you take the cheesecake out while the center still jiggles, cool it gradually in the oven, and mix gently by hand. If it does crack, don’t worry — the whipped cream topping covers it beautifully.
Can I make this cheesecake without a springform pan?
Yes, but it’s trickier. Use a deep 9-inch cake pan lined with parchment paper that extends above the edges. After chilling, lift the cheesecake out using the parchment. The slices won’t be as clean, but the taste is the same.
How far ahead can I make this cheesecake?
You can make it up to 3 days in advance. In fact, I recommend making it at least one day ahead because the flavors meld and deepen overnight. Just keep it covered in the refrigerator.
Can I use store-bought eggnog in this recipe?
Absolutely. Store-bought eggnog works perfectly. Just choose a full-fat, high-quality brand for the best flavor and texture. Avoid low-fat or light versions, as they have more water content and can make the cheesecake less creamy.
Pin This Recipe!
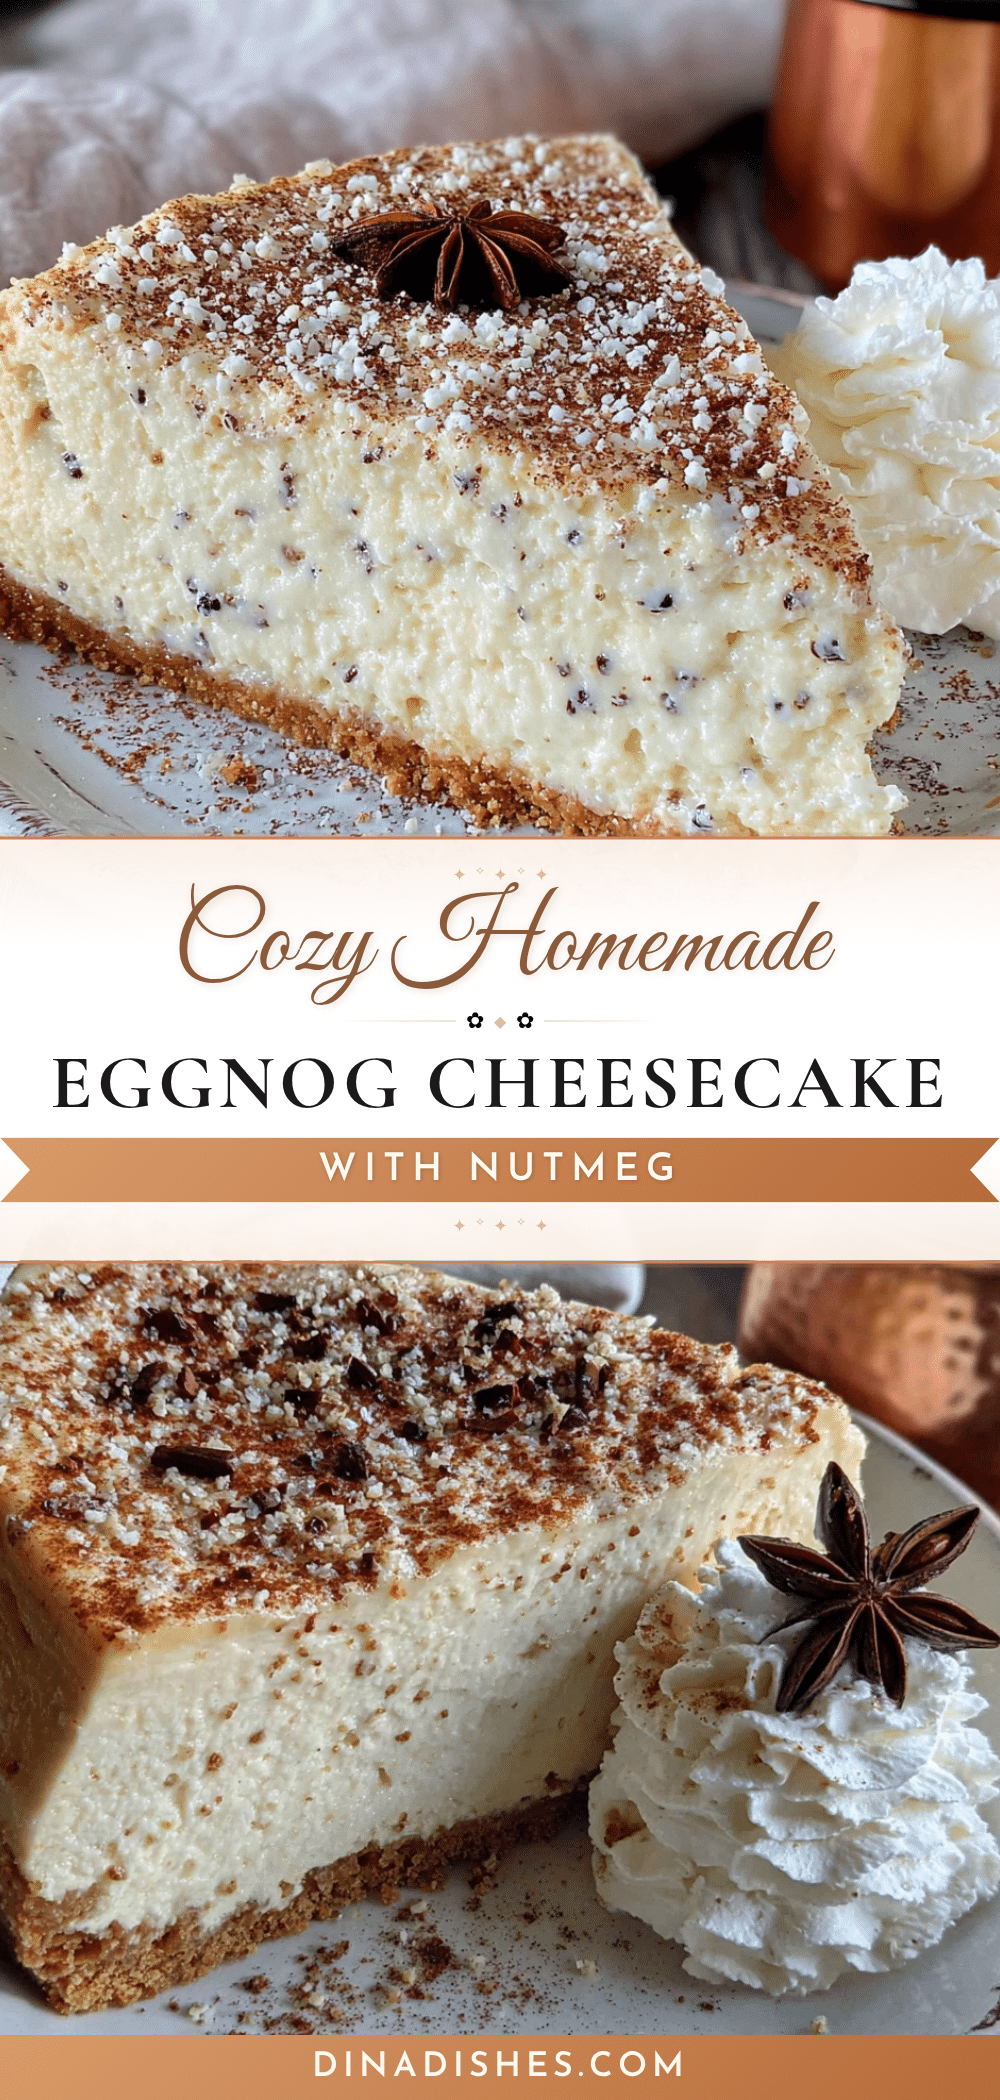
Cozy Homemade Eggnog Cheesecake: Easy Nutmeg Recipe
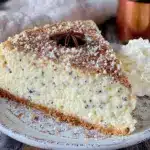
A creamy, no-mixer-required eggnog cheesecake with a spiced graham cracker crust and fresh nutmeg. Perfect for holiday gatherings, this make-ahead dessert is rich, custardy, and crack-free.
- Prep Time: 20 minutes
- Cook Time: 55-65 minutes
- Total Time: 8 hours (includes chilling)
- Yield: 12 servings 1x
- Category: Dessert
- Cuisine: American
Ingredients
- 1 ½ cups graham cracker crumbs (about 12 full sheets, crushed fine)
- ¼ cup granulated sugar
- 6 tablespoons unsalted butter, melted
- ½ teaspoon ground nutmeg (freshly grated if possible)
- 32 ounces cream cheese, softened to room temperature (four 8-ounce blocks)
- 1 cup granulated sugar
- 3 tablespoons all-purpose flour
- 4 large eggs, room temperature
- 1 ½ cups eggnog (full-fat recommended)
- 2 teaspoons vanilla extract
- 1 teaspoon ground nutmeg
- ½ teaspoon ground cinnamon
- ¼ teaspoon salt
- 1 cup heavy cream (for topping)
- 2 tablespoons powdered sugar (for topping)
- ½ teaspoon vanilla extract (for topping)
- Freshly grated nutmeg (for garnish)
Instructions
- Preheat oven to 325°F (163°C). Line the bottom of a 9-inch springform pan with parchment paper and lightly grease the sides.
- In a medium bowl, combine graham cracker crumbs, ¼ cup sugar, and ½ teaspoon nutmeg. Stir in melted butter until moistened. Press firmly into the bottom of the prepared pan. Bake for 10 minutes, then set aside to cool.
- In a large bowl, stir softened cream cheese and 1 cup sugar with a wooden spoon or sturdy spatula until smooth and creamy (about 3-4 minutes). Scrape sides and bottom frequently. Add flour and salt; stir until just combined.
- Add eggs one at a time, stirring until each is fully incorporated before adding the next. The mixture should be thick and glossy.
- Add eggnog, vanilla extract, 1 teaspoon nutmeg, and cinnamon. Stir gently until smooth. Do not overmix.
- Pour filling over cooled crust. Gently tap the pan on the counter to release air bubbles. Place pan on a baking sheet.
- Bake for 55-65 minutes, until edges are set and slightly puffed but center still jiggles when shaken.
- Turn off oven and crack the door open. Let cheesecake cool in the oven for 1 hour. Then remove to a cooling rack and cool completely to room temperature.
- Cover with plastic wrap and refrigerate for at least 6 hours, preferably overnight.
- For topping: Whip heavy cream, powdered sugar, and vanilla until soft peaks form. Serve on slices with freshly grated nutmeg.
Notes
Room temperature ingredients are essential for a smooth batter. Do not overbake; the center should jiggle. For a crack-free top, cool gradually in the oven. Cheesecake can be made up to 3 days ahead and freezes well for up to 3 months.
Nutrition
- Serving Size: 1 slice (1/12 of che
- Calories: 420
- Sugar: 28
- Sodium: 320
- Fat: 28
- Saturated Fat: 16
- Carbohydrates: 36
- Protein: 8
Keywords: eggnog cheesecake, holiday dessert, no mixer cheesecake, nutmeg cheesecake, Christmas cheesecake, homemade cheesecake