My neighbor Maria asked me why I couldn’t just use melted butter instead of creaming it with sugar. I started to explain why that wouldn’t work — then stopped. Honestly, I had no good reason other than “that’s how we’ve always done it.” So I tried her way. The cookies came out softer, more tender, and honestly better than any batch I’d made in years. That was the Tuesday I learned that sometimes the person you’re teaching ends up teaching you.
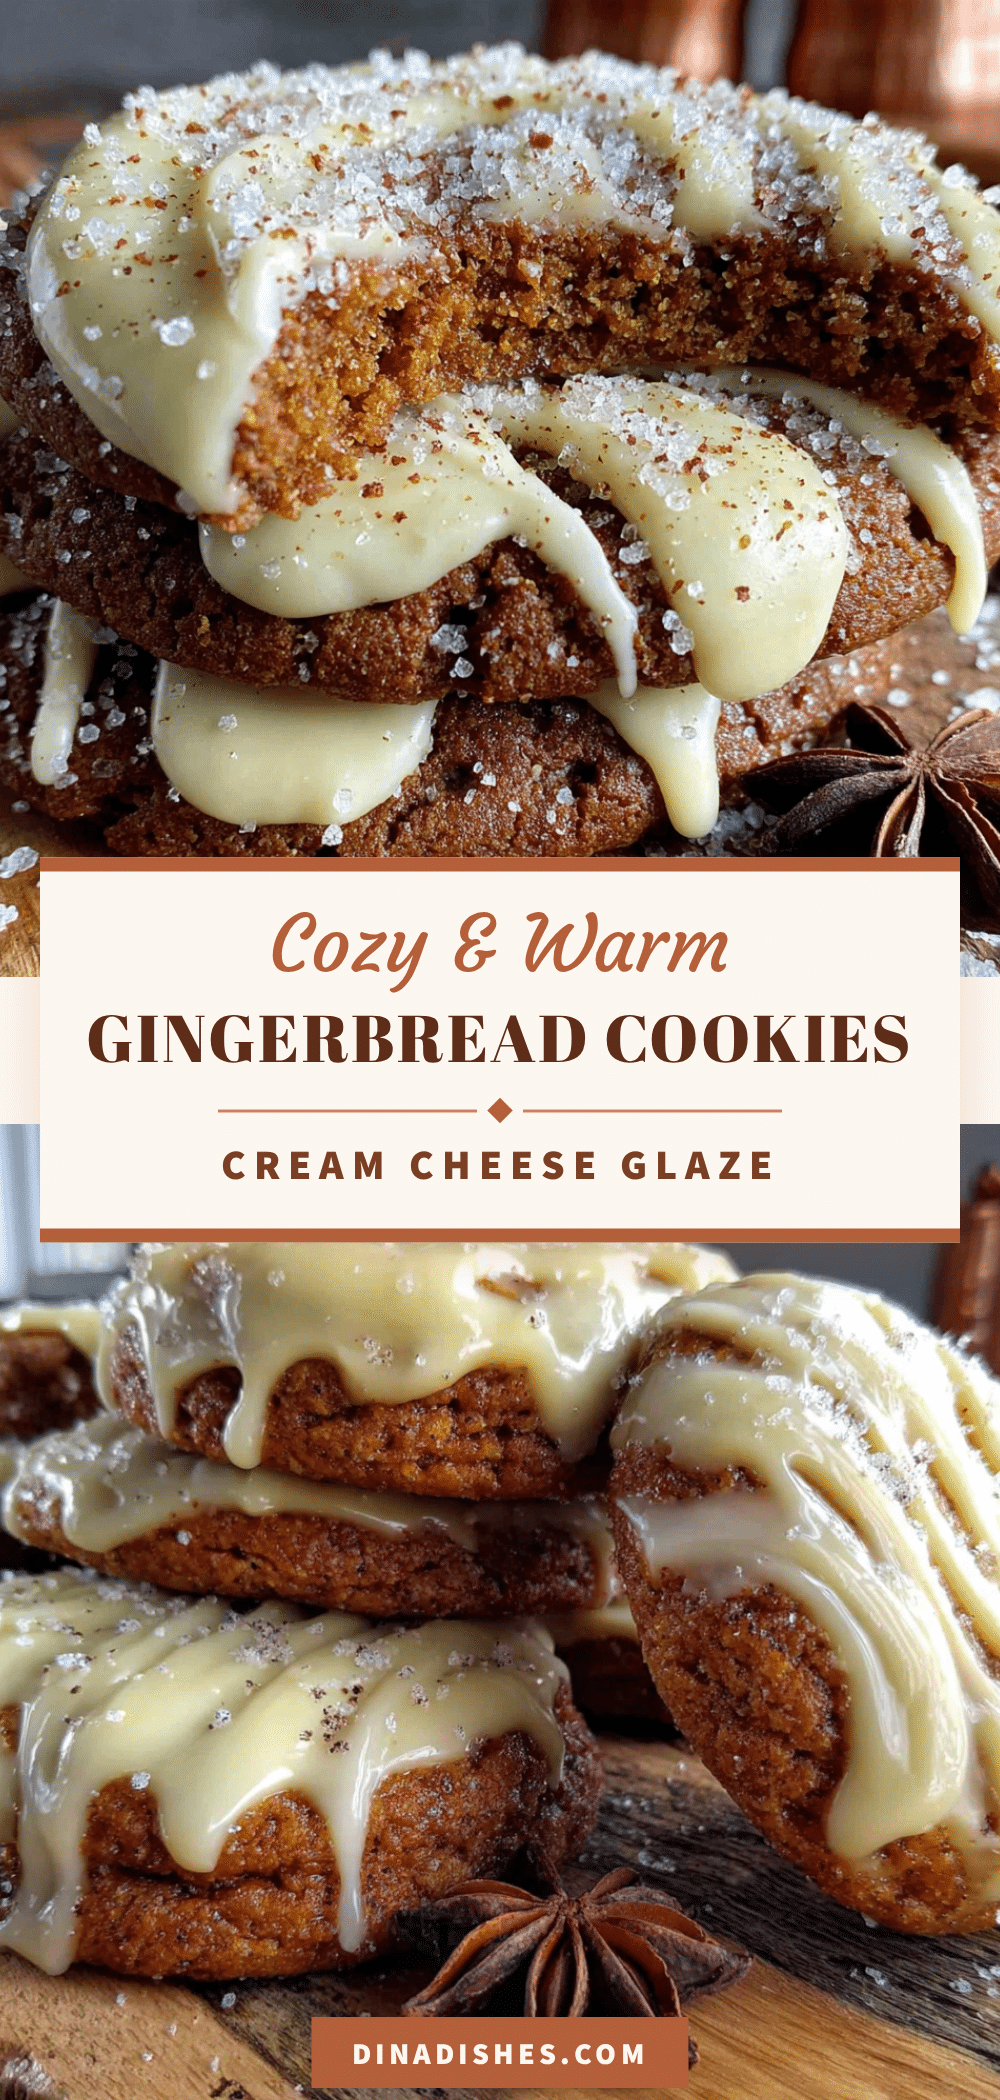
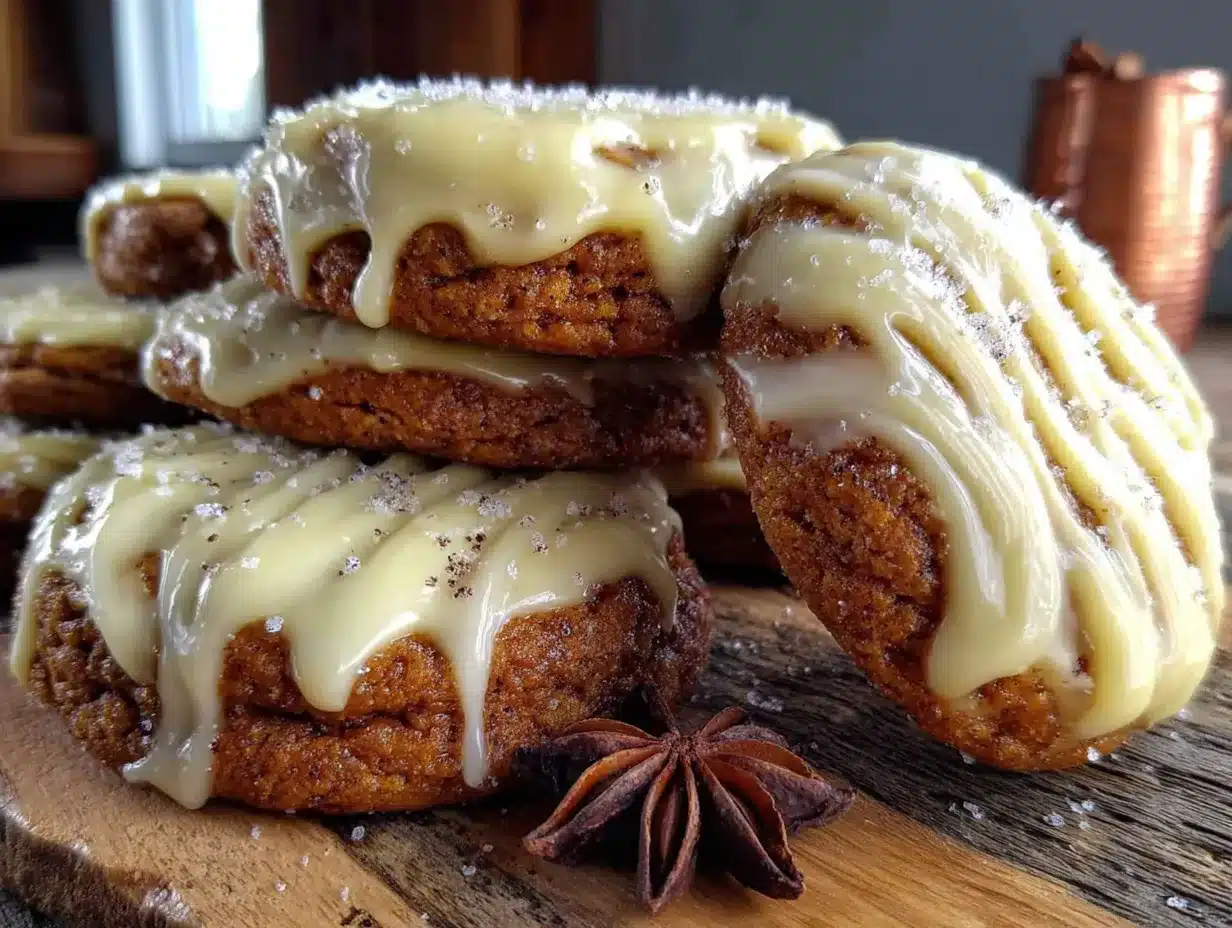
These cozy soft gingerbread cookies with cream cheese glaze are the result of that humbling moment. They’re not the crisp, snap-in-half kind of gingerbread. No, these are the kind you bite into and the edges give way like a pillow. The glaze drips down the sides in thick, creamy ribbons. I mean, let me tell you — I’ve made a lot of cookie recipes in my time, but this one surprised me. Maybe you’ve been there, where a simple suggestion from someone else changes everything you thought you knew.
The smell of ginger, cinnamon, and cloves filling my kitchen that afternoon was pure December magic. I remember standing there with flour on my jeans and a spatula in my hand, thinking, “Why didn’t I try this sooner?” The cookies cooled just enough for the glaze to set, and I handed one to Maria over the fence. She took a bite and just nodded. That nod said it all. This recipe stayed with me because it proved that good cooking isn’t about being right — it’s about being open. And these cookies? They’re worth being wrong about.
Why You’ll Love This Recipe
Let me be straight with you — I’ve tested more gingerbread recipes than I care to count. Some were too hard, others too dry, and a few just didn’t have that warm, spicy kick we all crave. This one hit the sweet spot on the first try, and I’ve made it at least a dozen times since to make sure it wasn’t a fluke. It wasn’t.
- Quick & Easy: From start to finish, you’re looking at about 30 minutes. No chilling the dough overnight, no complicated techniques. Perfect for those after-school baking sessions or when you suddenly remember the holiday bake sale is tomorrow.
- Simple Ingredients: You probably have most of this in your pantry right now. Molasses, butter, sugar, flour, and spices. No trips to three different stores for obscure ingredients.
- Perfect for Family Baking: This is the recipe you pull out when the kids want to help. The dough is forgiving, the rolling is fun, and the glazing is pure messy joy. Every family member can get involved.
- Crowd-Pleaser: I’ve brought these to potlucks, school events, and neighbor gifts. They disappear faster than anything else on the table. Kids love the soft texture, and adults appreciate the balanced spice.
- Unbelievably Delicious: The cream cheese glaze is the real star here. It cuts through the warm spices with a tangy sweetness that makes you close your eyes after the first bite. This isn’t just another gingerbread cookie — it’s the one you’ll make every year from now on.
What makes this recipe different from the rest? It’s the texture. Most gingerbread cookies are either rock-hard or cakey. These are somewhere in between — soft but sturdy enough to hold a thick layer of glaze without falling apart. The melted butter trick Maria taught me gives them a tenderness that creaming just can’t match. And that glaze? It’s a simple blend of cream cheese, powdered sugar, and a splash of vanilla. Nothing fancy, but somehow it’s exactly right.
What Ingredients You Will Need
This recipe uses simple, wholesome ingredients to deliver bold flavor and satisfying texture without the fuss. Most of these are pantry staples, so you can whip up a batch whenever the craving hits.
For the Cookies
- Unsalted butter, melted (1 cup / 226g) — Melting the butter is the key to that soft texture. I use Land O’Lakes, but any good brand works fine.
- Brown sugar, packed (1 cup / 200g) — Light or dark brown sugar works here. Dark gives a deeper molasses flavor, while light keeps it milder. Both are delicious.
- Molasses (1/2 cup / 170g) — Use unsulphured molasses for the best flavor. Grandma’s brand is my go-to. Don’t use blackstrap molasses — it’s too bitter and will make the cookies taste harsh.
- Large egg (1) — Room temperature egg blends more evenly into the melted butter mixture. If you forgot to take it out of the fridge, place it in warm water for 5 minutes.
- Vanilla extract (1 teaspoon) — Pure vanilla extract adds warmth. Imitation works in a pinch, but pure is worth the splurge here.
- All-purpose flour (2 1/2 cups / 312g) — Spoon and level your flour for accurate measuring. Scooping directly from the bag packs in too much flour and makes dry cookies.
- Baking soda (1 teaspoon) — This helps the cookies spread just enough and keeps them tender.
- Ground ginger (1 1/2 teaspoons) — Freshly ground ginger from a high-quality brand makes a difference. I prefer Simply Organic for their strong, aromatic spice.
- Ground cinnamon (1 teaspoon) — Saigon cinnamon is more potent and adds a sweet, warm note. Regular cinnamon works fine too.
- Ground cloves (1/2 teaspoon) — A little goes a long way. Cloves add that classic holiday warmth.
- Salt (1/4 teaspoon) — Fine sea salt balances the sweetness and enhances the spices.
For the Cream Cheese Glaze
- Cream cheese, softened (4 oz / 113g) — Full-fat cream cheese gives the richest, creamiest glaze. Let it sit at room temperature for at least 30 minutes before using.
- Powdered sugar (1 cup / 120g) — Sift it if you can to avoid lumps. No one wants a lumpy glaze on their beautiful cookies.
- Vanilla extract (1/2 teaspoon) — Adds depth to the glaze.
- Milk (2-3 tablespoons) — Whole milk gives the best consistency, but any milk works. Add it slowly until the glaze reaches a thick but pourable texture.
Equipment Needed
You don’t need a fancy kitchen to make these cookies. Here’s what I use every time:
- Large mixing bowls (2) — One for wet ingredients, one for dry. Glass or stainless steel work best.
- Whisk — For combining the dry ingredients and smoothing out the glaze.
- Wooden spoon or spatula — A sturdy spatula handles the thick dough better than a whisk.
- Baking sheets (2) — Rimmed baking sheets prevent the cookies from sliding off. I use Nordic Ware for even heat distribution.
- Parchment paper or silicone baking mats — These prevent sticking and make cleanup a breeze. Silicone mats are reusable and cost-effective in the long run.
- Cookie scoop or tablespoon — A 1.5-tablespoon scoop gives consistent cookie sizes. If you don’t have one, use a regular tablespoon and shape the dough into balls with your hands.
- Cooling rack — Essential for letting the cookies cool before glazing. Stackable racks save counter space.
- Small offset spatula — Makes spreading the glaze look professional. A butter knife works in a pinch.
I’ve made these cookies with just a bowl and a spoon when my kitchen was being renovated. They turned out fine. Don’t let missing equipment stop you — adapt and bake anyway.
Preparation Method
- Preheat your oven to 350°F (175°C). Line two baking sheets with parchment paper or silicone mats. This ensures even baking and easy removal.
- Mix the wet ingredients. In a large bowl, whisk together the melted butter and brown sugar until smooth and well combined. It should look like wet sand. Add the molasses, egg, and vanilla extract. Whisk vigorously for about 30 seconds until everything is fully incorporated and the mixture is glossy. I usually let my kids do this part — it’s hard to mess up, and they feel involved.
- Combine the dry ingredients. In a separate bowl, whisk together the flour, baking soda, ginger, cinnamon, cloves, and salt. Make sure the spices are evenly distributed. I like to give it an extra whisk just to be safe.
- Form the dough. Pour the dry ingredients into the wet mixture. Stir with a wooden spoon or spatula until just combined. The dough will be thick and slightly sticky — that’s exactly what you want. Don’t overmix, or the cookies will be tough. Scrape the bottom of the bowl to make sure no flour is hiding there.
- Shape the cookies. Using a cookie scoop or tablespoon, portion out rounded tablespoons of dough (about 1.5 tablespoons each). Roll them into smooth balls between your palms. Place them on the prepared baking sheets about 2 inches apart. They’ll spread slightly during baking. I usually fit 12 cookies per sheet.
- Bake. Bake for 10-12 minutes, rotating the pans halfway through. The cookies should look puffed and set around the edges but still soft in the center. The tops might look slightly cracked — that’s normal. For softer cookies, bake closer to 10 minutes. For slightly firmer cookies, go to 12 minutes. My oven runs hot, so I check at 9 minutes just to be safe.
- Cool completely. Let the cookies rest on the baking sheet for 5 minutes. This allows them to set without breaking. Then transfer them to a cooling rack to cool completely. Don’t skip this step — warm cookies will melt the glaze right off.
- Make the glaze. While the cookies cool, beat the softened cream cheese in a medium bowl until smooth. Add the powdered sugar and vanilla extract, then beat again until combined. Add milk one tablespoon at a time, stirring after each addition, until the glaze is thick but pourable. It should look like thick pancake batter. If it’s too thin, add more powdered sugar. Too thick? Add a splash more milk.
- Glaze the cookies. Once the cookies are completely cool, spoon about a teaspoon of glaze onto the center of each cookie. Use the back of the spoon or an offset spatula to spread it gently toward the edges. The glaze will set slightly as it sits, creating a beautiful matte finish. Let the glazed cookies rest for about 15 minutes before serving.
Cooking Tips & Techniques
I’ve made plenty of mistakes with gingerbread cookies over the years, so let me save you some trouble. Here’s what I’ve learned:
- Don’t overbake. This is the number one mistake. Gingerbread cookies continue to set as they cool on the baking sheet. If they look done in the oven, they’re already overbaked. Pull them out when the edges are set but the centers still look slightly underdone. Trust me on this one — I ruined three batches before I figured it out.
- Use room temperature cream cheese. Cold cream cheese creates lumpy glaze. Let it sit on the counter for at least 30 minutes before making the glaze. If you’re in a hurry, microwave it for 10 seconds on low power. Just watch it carefully — you want it soft, not melted.
- Measure flour correctly. Spoon the flour into your measuring cup and level it off with a knife. Scooping directly from the bag packs in up to 25% more flour, which makes dry, dense cookies. I learned this the hard way when my cookies came out like hockey pucks.
- Chill the dough if needed. If the dough feels too sticky to handle, pop it in the fridge for 15-20 minutes. This makes it easier to roll into balls. But don’t chill it longer than that, or the cookies won’t spread as nicely.
- Bake one sheet at a time. If you put both sheets in the oven at once, the heat circulates unevenly. The top sheet bakes faster than the bottom one. Bake one sheet on the middle rack, then switch the position when you rotate. It takes a bit longer, but the results are worth it.
- Double the glaze recipe. I always make extra glaze because I like a thick layer. The recipe above gives a moderate coating, but if you’re like me and want those thick, creamy ribbons, just double the glaze ingredients. No shame in that.
Variations & Adaptations
One of the best things about this recipe is how flexible it is. Here are some ways I’ve adapted it over the years:
- Gluten-Free Version: Substitute the all-purpose flour with a 1:1 gluten-free baking flour blend. I’ve used Bob’s Red Mill with great results. The cookies might spread a tiny bit more, so chill the dough for 20 minutes before baking. The texture stays soft and delicious.
- Vegan Adaptation: Use melted coconut oil or vegan butter instead of dairy butter. Replace the egg with a flax egg (1 tablespoon ground flaxseed mixed with 3 tablespoons water, let sit for 5 minutes). For the glaze, use vegan cream cheese and plant-based milk. The cookies are slightly less tender but still very good.
- Spice It Up: Add 1/4 teaspoon of black pepper or cardamom to the spice mix. It sounds weird, but black pepper actually enhances the ginger flavor. I tried this on a whim after reading about it in an old cookbook, and it was a pleasant surprise.
- Citrus Twist: Add 1 tablespoon of orange zest to the cookie dough and 1/2 teaspoon to the glaze. The orange pairs beautifully with the warm spices. I made these for a holiday party once, and everyone asked for the recipe.
- Chocolate Drizzle: Instead of cream cheese glaze, melt 1/2 cup of dark chocolate chips with 1 tablespoon of coconut oil and drizzle over the cookies. It’s a completely different cookie but equally addictive.
- Cut-Out Cookies: If you want to use cookie cutters, chill the dough for at least 1 hour, then roll it out to 1/4-inch thickness between two sheets of parchment paper. Cut out shapes and bake for 8-10 minutes. The edges will be slightly less soft, but they hold their shape beautifully.
Serving & Storage Suggestions
These cookies are best served at room temperature with a tall glass of cold milk or a warm cup of spiced tea. The glaze should be set but still slightly soft — that perfect moment when it’s not sticky but hasn’t hardened completely. If you’re serving them at a party, arrange them on a platter with fresh cranberries and rosemary sprigs for a festive look. They’re also wonderful crumbled over vanilla ice cream for a quick dessert.
For storage, place the cookies in an airtight container with a piece of bread. The bread absorbs excess moisture and keeps the cookies soft. I know it sounds strange, but it works. They’ll stay fresh at room temperature for up to 5 days. If you stack them, place a layer of parchment paper between each layer to prevent the glaze from sticking.
These cookies freeze beautifully. Place the unglazed cookies in a single layer on a baking sheet and freeze for 1 hour. Then transfer them to a freezer-safe bag or container. They’ll keep for up to 3 months. When you’re ready to enjoy them, thaw at room temperature for about 30 minutes, then glaze as directed. The glaze doesn’t freeze well, so always add it fresh. I usually make a double batch of dough and freeze half for last-minute holiday visitors.
One thing I love about these cookies is that the flavors actually deepen after a day or two. The spices meld together and become more rounded. So if you can resist eating them all on day one, you’re in for a treat on day three.
Nutritional Information & Benefits
Here’s the honest truth — these are cookies, not health food. But they do have some redeeming qualities. Molasses is a good source of iron, calcium, and magnesium. Ginger has anti-inflammatory properties and can help with digestion. And the cream cheese glaze provides a small amount of protein and calcium. Every little bit counts, right?
Per cookie (based on 24 cookies): approximately 180 calories, 8g fat, 26g carbohydrates, 2g protein, 15g sugar. These numbers are estimates and will vary based on exact ingredients and portion sizes. The cookies are not gluten-free, vegan, or low-carb as written, but I’ve included variations above for those dietary needs.
If you’re watching your sugar intake, you can reduce the brown sugar to 3/4 cup and use a sugar-free powdered sugar alternative in the glaze. The cookies won’t be as soft, but they’ll still taste great. I’ve made them this way for a friend with diabetes, and she said they were the best gingerbread cookies she’d had in years. That meant a lot.
Conclusion
These cozy soft gingerbread cookies with cream cheese glaze are more than just a recipe — they’re a reminder that sometimes the best things come from being willing to try something different. That Tuesday with Maria changed how I approach baking. I’m less rigid now, more open to suggestions, and honestly, my cooking is better for it.
I hope you give these cookies a try. Make them with your kids, your neighbors, or just for yourself on a quiet winter evening. Customize them with your favorite spices or a different glaze. That’s the beauty of baking — there’s no one right way. If you make them, I’d love to hear how they turned out. Drop a comment below, share a photo, or tag me in your post. And if you have your own kitchen story about being proven wrong by a beginner’s instinct, I’d love to hear that too. Happy baking, friends!
Frequently Asked Questions
Can I use blackstrap molasses instead of unsulphured molasses?
I wouldn’t recommend it. Blackstrap molasses is much more bitter and less sweet than unsulphured molasses. It will make the cookies taste harsh and less balanced. Stick with unsulphured molasses for the best flavor. If that’s all you have, use only 1/3 cup and add an extra 2 tablespoons of brown sugar to compensate.
Why did my cookies turn out hard?
Most likely, they were overbaked. Remember, pull them out when the edges are set but the centers still look slightly underdone. They’ll continue to set as they cool on the baking sheet. Another common cause is overmixing the dough, which develops too much gluten. Mix until just combined, and you’ll get softer cookies.
Can I make the dough ahead of time?
Absolutely. You can prepare the dough, shape it into balls, and refrigerate them on a baking sheet for up to 24 hours. When you’re ready to bake, just pop them in the oven straight from the fridge. You might need to add 1-2 minutes to the baking time. You can also freeze the dough balls for up to 3 months — bake from frozen, adding 2-3 minutes to the time.
How do I get the glaze to look smooth and professional?
The key is making sure your cream cheese is fully softened before you start. Beat it until completely smooth before adding the powdered sugar. Sift the powdered sugar to remove any lumps. And add the milk slowly — you can always add more, but you can’t take it out. If the glaze seems too thick, add a tiny splash of milk. Too thin? Add a bit more powdered sugar.
Can I skip the glaze?
Of course! The cookies are delicious on their own. The glaze adds sweetness and tang, but the cookies are perfectly enjoyable without it. If you’re cutting back on sugar or just want a simpler cookie, feel free to leave the glaze off. You can also sprinkle the warm cookies with coarse sugar or cinnamon sugar for a simple finish.
Pin This Recipe!