I was standing in the produce aisle last Tuesday, staring at a pile of lemons like they held the answer to something I couldn’t quite name. The fluorescent lights hummed overhead, and a kid two carts over was whining about wanting a snack. Then this woman walked past me — she was maybe in her sixties, carrying a bag of fresh herbs, and the smell hit me. It was faint, almost not there, but it was unmistakable. Lemon and thyme and something green and growing. And suddenly I was seven years old at my Aunt Rose’s kitchen table, watching her rub herb paste into chicken skin with her bare hands, her gold bracelet clinking against the metal bowl.
Aunt Rose wasn’t my real aunt — she was my mom’s best friend from nursing school. She had this way of cooking that made you feel like you were interrupting something private. She never used recipes, never measured anything, and she’d shoo you out of the kitchen if you asked too many questions. But that chicken she made, with the crispy skin and the bright lemon flavor that cut through everything rich and heavy — I’ve been chasing it for twenty years. I mean, honestly, I’ve made some sad attempts. Dry chicken. Soggy skin. Lemon flavor that disappeared like it was never there.
This spring, I finally cracked it. And let me tell you, the air fryer was the missing piece I didn’t know I needed. Maybe you’ve been there — standing in your kitchen with a bag of chicken thighs, wondering why they never turn out as good as you remember. This crispy lemon herb air fryer chicken is the version I’ve been trying to recreate since I was seven. It’s bright and herby and the skin gets so shatteringly crisp you’ll hear it when you bite in. It’s spring on a plate, and honestly, I think Aunt Rose would have approved. Even if she’d never admit it.
Why You’ll Love This Recipe
I’ve tested this crispy lemon herb air fryer chicken about eight times in the last month. My neighbors have become very familiar with the smell of lemon and garlic floating through the hallway, and my boyfriend has started asking “chicken again?” with a tone that’s half complaint, half hope. The answer is always yes, because this recipe genuinely works, and here’s why you’re going to love it too:
- Quick & Easy: From fridge to table in under 35 minutes. No marinating overnight, no complicated techniques. The air fryer does the heavy lifting while you maybe make a salad or pour yourself a glass of wine.
- Simple Ingredients: You probably have most of this stuff already. Lemons, garlic, dried herbs, olive oil, salt, pepper. The only thing you might need to grab is fresh thyme or rosemary, and honestly, dried works fine in a pinch.
- Perfect for Spring: This is the dinner you make when the weather finally turns and you want something that tastes like sunshine. It’s light enough for a warm evening but satisfying enough that you won’t be hungry an hour later.
- Crowd-Pleaser: I served this at a small Easter dinner last week, and my cousin who “doesn’t like chicken” asked for seconds. It’s one of those recipes that converts people.
- Unbelievably Delicious: The skin gets so crispy it crackles when you bite it. The meat stays juicy. The lemon and herb flavor is bright but not overpowering. It’s comfort food that doesn’t weigh you down.
What makes this different from every other lemon chicken recipe out there? It’s the technique. Most recipes tell you to just toss everything together and throw it in the air fryer, but that gives you soggy skin and uneven flavor. I figured out that patting the chicken completely dry, then letting it rest in the fridge uncovered for just 15 minutes, makes the skin exponentially crispier. And mixing the herbs into the oil instead of just sprinkling them on top means every single bite has that bright, fresh flavor. It’s not just another version — it’s the best version I’ve ever made.
This is the kind of dinner that makes you close your eyes after the first bite. It’s spring reimagined — faster, easier, but with the same soul-soothing satisfaction of a meal that took hours. Perfect for impressing guests without any stress, or turning a regular Tuesday into something worth remembering.
What Ingredients You Will Need
This recipe uses simple, fresh ingredients that come together to create something that tastes way more complicated than it is. Everything is easy to find at any grocery store, and most of it is probably already in your kitchen. Here’s what you’ll need:
For the Chicken
- 4 bone-in, skin-on chicken thighs (about 1.5 pounds total) — I prefer thighs because they stay juicier than breasts, but you can use drumsticks or even a mix. The bone-in part matters for flavor and moisture.
- 2 tablespoons olive oil — Use a good quality extra virgin here. It’s the base that carries all the herb flavor into the meat.
- 3 cloves garlic, minced — Fresh garlic is non-negotiable for this recipe. The jarred stuff won’t give you the same punch.
- 1 tablespoon fresh lemon zest — From about 1 large lemon. Make sure you zest it before you juice it, and try to avoid the white pith (that’s the bitter part).
- 2 tablespoons fresh lemon juice — From that same lemon. Fresh juice makes a huge difference here — bottled lemon juice tastes flat and artificial.
- 1 teaspoon dried thyme — Or 1 tablespoon fresh thyme leaves. I’ve used both, and honestly, dried works beautifully if that’s what you have.
- 1 teaspoon dried rosemary — Crush it between your fingers before adding to release the oils. Fresh rosemary works too, just chop it finely.
- 1 teaspoon dried oregano — This adds that subtle Mediterranean undertone that makes the chicken taste like it came from a fancy restaurant.
- 1 teaspoon salt — I use kosher salt. If you’re using table salt, cut back to 3/4 teaspoon.
- 1/2 teaspoon black pepper — Freshly ground is always better, but pre-ground works in a pinch.
- 1/4 teaspoon red pepper flakes (optional) — This adds a tiny kick of heat that plays beautifully with the lemon. Leave it out if you’re sensitive to spice.
For Garnish (Optional but Recommended)
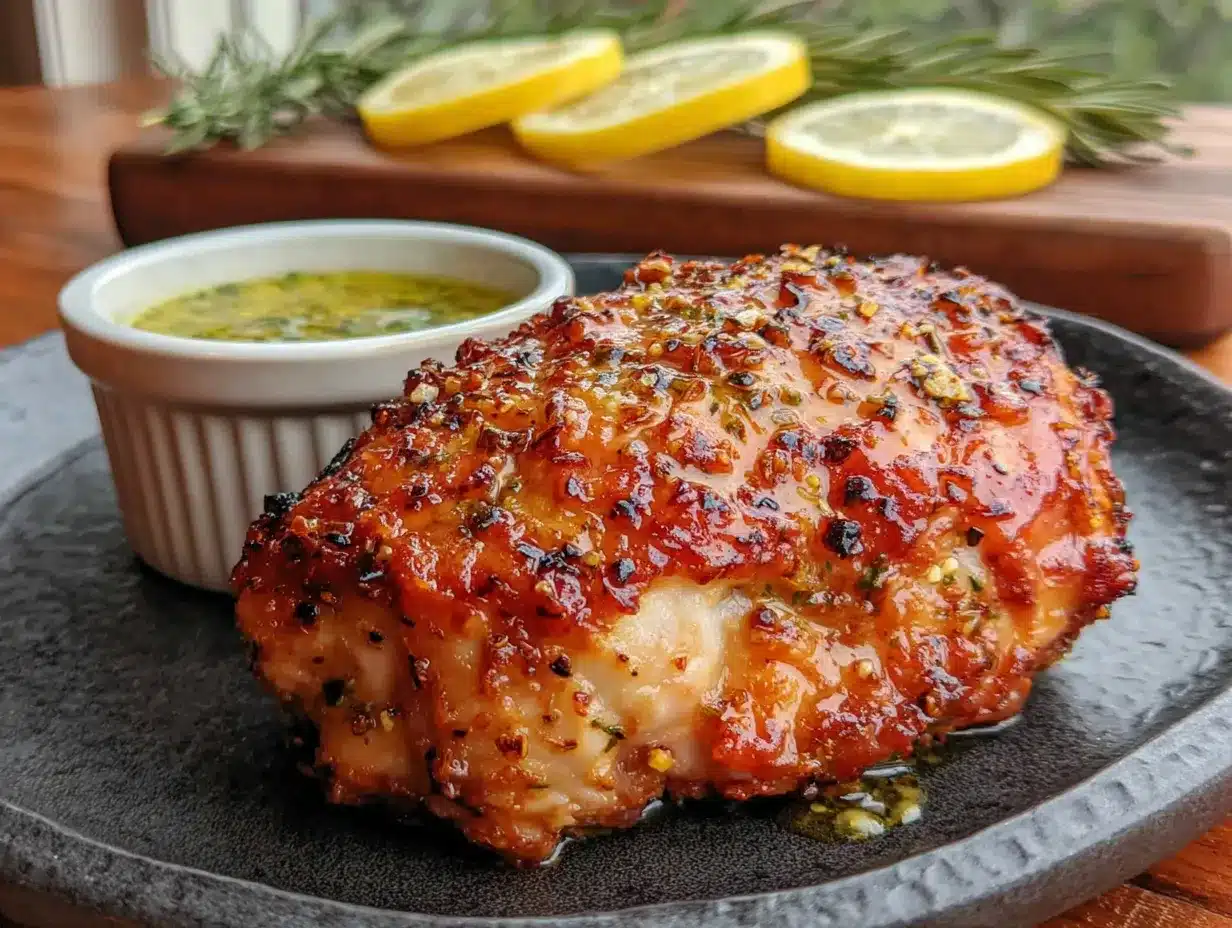
- Fresh lemon slices — For serving. They make the plate look gorgeous and add an extra squeeze of brightness.
- Fresh parsley or thyme sprigs — For that pop of green that says “I tried” even when you didn’t try that hard.
- Flaky sea salt — A sprinkle right before serving makes the crispy skin even more irresistible.
I recommend using lemons that feel heavy for their size — that means they’re full of juice. And if you can find Meyer lemons, they’re sweeter and less acidic, which makes the chicken taste even more spring-like. For the herbs, I usually grab whatever looks freshest at the store, but dried herbs honestly work perfectly here because they get bloomed in the oil. One thing I learned the hard way: don’t skip the step of zesting the lemon. The zest is where all the aromatic oils live, and it’s what gives the chicken that intense lemon flavor without making it sour.
Equipment Needed
You don’t need much for this recipe, which is part of why I love it. Here’s what you’ll need:
- Air fryer — Any brand works. I use a 5.8-quart Cosori, but I’ve also made this in a smaller Ninja and it turned out great. Just make sure the chicken fits in a single layer without touching.
- Mixing bowl — Medium-sized, for mixing the herb oil and tossing the chicken.
- Microplane or zester — For getting the lemon zest. You can use the small side of a box grater if you don’t have one, but a microplane gives you fluffier zest that integrates better.
- Sharp knife and cutting board — For mincing the garlic and any fresh herbs.
- Tongs — For flipping the chicken in the air fryer basket without burning your fingers.
- Paper towels — For patting the chicken dry. This step is more important than you think.
- Instant-read thermometer (optional but recommended) — Chicken is done at 165°F, but I pull mine at 160°F and let it rest. The carryover cooking takes it to the right temp without drying it out.
If you don’t have an air fryer, you can absolutely make this in the oven. Bake at 425°F on a wire rack set over a baking sheet for about 30-35 minutes, flipping halfway through. The skin won’t be quite as crispy, but it’ll still be delicious. I’ve also used a convection toaster oven with good results — just watch the cooking time since it might cook faster.
Preparation Method
Alright, let’s make some chicken. This whole process takes about 35 minutes from start to finish, and most of that is hands-off cooking time. Here’s exactly how to do it:
- Pat the chicken completely dry. This is the most important step, and I cannot stress this enough. Take your chicken thighs out of the package and pat them dry with paper towels on both sides. Get under the skin too if you can. Any moisture on the surface will steam instead of crisp, and you’ll end up with sad, flabby skin. I usually pat, wait 30 seconds, and pat again with a fresh towel. Yes, it uses more paper towels. Yes, it’s worth it.
- Season the chicken. In a medium mixing bowl, combine the olive oil, minced garlic, lemon zest, lemon juice, dried thyme, dried rosemary, dried oregano, salt, black pepper, and red pepper flakes if using. Whisk it all together until it’s well combined. The oil should look slightly cloudy from the lemon juice and herbs. Add the chicken thighs to the bowl and toss them with your hands, making sure every piece is well coated. Get the herb mixture under the skin too — just lift the skin gently and rub some in. This is where the flavor lives.
- Let it rest (optional but recommended). If you have 15 extra minutes, place the seasoned chicken on a plate and put it in the fridge, uncovered. This lets the skin dry out even more, which means even crispier results. I do this step whenever I remember, and the difference is noticeable. If you’re in a hurry, skip it — the chicken will still be good.
- Preheat your air fryer. Set it to 380°F (193°C) and let it preheat for 3-5 minutes. Most air fryers preheat pretty quickly, but starting with a hot basket helps the chicken start crisping immediately.
- Arrange the chicken in the basket. Place the chicken thighs skin-side down in the air fryer basket. Make sure they’re in a single layer with a little space between each piece. If they’re touching, they won’t crisp evenly. If your air fryer is small, cook in batches. I know it’s annoying, but crowding the basket is the fastest way to soggy chicken.
- Cook for 12 minutes. Set a timer and let the chicken cook undisturbed. You’ll start to smell the lemon and herbs filling your kitchen, and that’s a good sign. The skin should be starting to turn golden brown at this point.
- Flip and cook again. Using tongs, carefully flip each chicken thigh so the skin side is facing up. Cook for another 10-12 minutes, or until the internal temperature reaches 160°F (71°C) when inserted into the thickest part of the thigh (not touching the bone). The skin should be deep golden brown and shatteringly crisp. If it’s not quite there, cook for 2-3 more minutes and check again.
- Rest before serving. Remove the chicken from the air fryer and let it rest on a cutting board or plate for 5 minutes. This is crucial — the juices need time to redistribute, and the carryover cooking will bring the temperature up to the safe 165°F (74°C). If you cut into it immediately, all those beautiful juices will run out onto the board instead of staying in the meat.
- Garnish and serve. Transfer the chicken to a serving platter. Squeeze a little extra fresh lemon juice over the top, sprinkle with flaky sea salt if you have it, and garnish with fresh herbs and lemon slices. Serve immediately while the skin is still crispy.
One thing I learned the hard way: don’t walk away during the last few minutes of cooking. Air fryers can vary wildly in temperature, and that last minute can be the difference between perfect golden crispy skin and burnt skin. I burned my first batch because I got distracted folding laundry. The kitchen smelled like a campfire for two days. So stay close, keep an eye on it, and trust your eyes more than the timer.
Cooking Tips & Techniques
After making this crispy lemon herb air fryer chicken about eight times in the last month, I’ve picked up a few things that make the difference between good chicken and unforgettable chicken. Here’s what I’ve learned:
Patience with the skin is everything. I cannot tell you how many times I’ve rushed through the drying step and regretted it. The science is simple: water creates steam, steam creates soggy skin. If you want that shatteringly crisp texture, you have to start with dry chicken. I’ve started patting, then letting the chicken sit on a paper towel-lined plate for 5 minutes, then patting again. It feels excessive, but the results speak for themselves.
Don’t skip the zest. The first time I made this, I used only lemon juice and wondered why the lemon flavor was so faint. The zest is where the essential oils are, and those oils are what make the chicken taste intensely lemony without being sour. Plus, the tiny bits of zest get crispy in the air fryer and add these little bursts of flavor that are just incredible.
Temperature matters more than time. Every air fryer runs a little differently. My friend’s air fryer cooks everything 5 minutes faster than mine. That’s why I always recommend using an instant-read thermometer instead of relying solely on the timer. Chicken is done at 165°F, but I pull mine at 160°F and let it rest. The carryover cooking takes it to the right temp without drying it out. This one trick changed my chicken game completely.
Let the herbs bloom. If you’re using dried herbs, let them sit in the olive oil for a few minutes before adding the chicken. This rehydrates them and releases their flavors. I usually mix the oil and herbs first, then zest the lemon and mince the garlic while they hang out together. It’s a small step, but it makes the herb flavor more pronounced and complex.
Batch cooking is better than crowding. I know it’s tempting to cram all the chicken into the basket to save time, but crowded chicken steams instead of crisps. If you’re cooking for a crowd, cook in batches and keep the finished pieces warm in a 200°F oven on a wire rack. The wire rack is important — if you put hot crispy chicken on a plate, the steam trapped underneath will soften the skin.
Variations & Adaptations
One of the best things about this recipe is how easy it is to adapt. Here are some of my favorite variations:
Herb Swap: Not a fan of thyme and rosemary? Try using tarragon and chives for a more delicate, almost anise-like flavor. Or go with basil and oregano for an Italian twist. The ratio stays the same — 1 teaspoon each of dried herbs, or 1 tablespoon each of fresh. I made a version with dill and lemon zest last week, and it was incredible with roasted potatoes.
Spicy Lemon Chicken: Add an extra teaspoon of red pepper flakes and a minced fresh serrano pepper to the herb oil. The heat plays beautifully with the bright lemon flavor. My boyfriend loves this version, and I’ve started making it whenever we have guests who like spice. Just be careful not to touch your eyes after handling the peppers — learned that one the hard way.
Dairy-Free and Gluten-Free: This recipe is naturally both, which makes it perfect for guests with dietary restrictions. Just make sure your dried herbs don’t contain any added fillers or anti-caking agents (most don’t, but it’s worth checking). If you’re serving someone with celiac disease, double-check that your spices are certified gluten-free, as cross-contamination can happen during processing.
Oven Method: As I mentioned earlier, you can make this in the oven if you don’t have an air fryer. Preheat your oven to 425°F and place the chicken on a wire rack set over a baking sheet (the wire rack is crucial for air circulation). Bake for 30-35 minutes, flipping halfway through. The skin won’t be quite as crispy as the air fryer version, but it’ll still be delicious. Broil for the last 2-3 minutes if you want extra crispiness.
Boneless, Skinless Option: If you’re watching calories or just prefer boneless chicken, you can use boneless, skinless thighs or breasts. Reduce the cooking time to 10-12 minutes total, flipping halfway through. The skin won’t be crispy (because there’s no skin), so I like to brush a little extra herb oil on top before serving. The flavor is still fantastic, even without the crunch.
I tried a version with orange zest instead of lemon last month, and it was surprisingly good — sweeter and more mellow, with a kind of sunny warmth that felt perfect for a rainy spring evening. It wasn’t better than the original, just different. That’s the beauty of this recipe: it’s a template you can play with.
Serving & Storage Suggestions
This chicken is versatile enough to serve with almost anything, but here are my favorite ways to enjoy it:
Serving Temperature: Serve the chicken hot, straight from the air fryer, while the skin is still at peak crispiness. The contrast between the crackling skin and the juicy meat is the whole point, and it fades as the chicken cools. If you’re serving a crowd, keep finished pieces warm in a 200°F oven on a wire rack, not on a plate.
What to Serve With It: This chicken loves spring vegetables. I usually serve it with roasted asparagus or a simple arugula salad with lemon vinaigrette. Roasted new potatoes are also a classic pairing — the crispy edges and fluffy insides soak up any extra herb oil from the chicken. For a lighter meal, try it with a Greek salad or some lemony quinoa. The bright, herby flavors work with almost anything.
Beverage Pairings: A crisp white wine like Sauvignon Blanc or Pinot Grigio is perfect with the lemon and herbs. If you prefer beer, a light pilsner or a wheat beer with a citrus note works beautifully. For non-alcoholic options, sparkling water with a squeeze of lemon or a herbal iced tea (like mint or chamomile) complements the flavors without competing with them.
Storage Instructions: Leftover chicken keeps in an airtight container in the refrigerator for up to 4 days. The skin will soften as it sits, but the flavor will actually deepen and become more complex. I’ve found that day-old chicken is amazing chopped up and tossed into a salad or used in sandwiches.
Reheating Tips: To bring back some of that crispiness, reheat the chicken in the air fryer at 350°F for 3-4 minutes. The microwave will make the skin soggy, so avoid it if you can. If you’re reheating in the oven, place the chicken on a wire rack over a baking sheet at 350°F for about 10 minutes. The wire rack lets air circulate around the chicken, which helps the skin crisp up again.
Freezer Instructions: You can freeze the cooked chicken for up to 3 months. Let it cool completely, then wrap each piece tightly in plastic wrap and place in a freezer bag. To thaw, transfer to the refrigerator overnight. Reheat using the air fryer or oven method above. The texture won’t be quite as good as fresh, but the flavor will still be there.
One thing I love about this recipe is that the flavors actually get better after a day in the fridge. The lemon and herbs meld together into something deeper and more rounded. I’ve started making extra on purpose, just so I can have leftovers for lunch the next day. Cold, straight from the fridge, it’s almost as good as hot from the air fryer.
Nutritional Information & Benefits
Here’s the approximate nutritional breakdown for one serving (one chicken thigh with skin):
- Calories: 310
- Protein: 28g
- Fat: 22g
- Carbohydrates: 2g
- Fiber: 0g
- Sugar: 0g
- Sodium: 680mg
This recipe is naturally low-carb and keto-friendly, with zero added sugars. It’s also gluten-free and dairy-free, making it suitable for a wide range of dietary needs. The main source of fat is the olive oil, which is rich in heart-healthy monounsaturated fats and antioxidants. Chicken thighs are an excellent source of protein, B vitamins (especially B6 and B12), and minerals like selenium and phosphorus. The lemon and herbs add a boost of vitamin C and antioxidants, which support immune health — perfect for the transition between winter and spring.
If you’re watching your sodium intake, you can reduce the salt to 1/2 teaspoon without sacrificing too much flavor. The lemon and herbs do a lot of the heavy lifting here. And if you want to lower the fat content, you can use boneless, skinless chicken thighs and reduce the olive oil to 1 tablespoon. The texture will be different, but the flavor will still be bright and satisfying.
I personally love that this recipe feels indulgent (crispy skin! olive oil!) but is actually pretty balanced. It’s the kind of dinner that satisfies a craving for something rich and comforting without making you feel heavy afterward. For me, that’s the sweet spot.
Frequently Asked Questions
Can I use chicken breasts instead of thighs?
Yes, but you’ll need to adjust the cooking time. Boneless, skinless chicken breasts will cook in about 12-15 minutes total at 380°F. Bone-in breasts will take closer to 20-25 minutes. The key is to use an instant-read thermometer and pull them at 160°F. Chicken breasts dry out faster than thighs, so keep a close eye on them.
Do I have to use fresh herbs, or can I use dried?
Dried herbs work perfectly in this recipe. In fact, I often prefer them because they’re more concentrated and easier to keep on hand. Just make sure to let them sit in the olive oil for a few minutes before adding the chicken, so they have time to rehydrate and release their flavors. If you’re using fresh herbs, triple the amount (1 tablespoon fresh for every 1 teaspoon dried).
Why is my chicken skin not getting crispy?
This is usually a moisture issue. Make sure you’re patting the chicken completely dry with paper towels before seasoning. Even a little bit of moisture will create steam and prevent the skin from crisping. Also, make sure the chicken is in a single layer in the air fryer basket with space between each piece. Crowding traps steam and leads to soggy skin. Finally, check that your air fryer is preheated — starting with a hot basket makes a big difference.
Can I make this recipe ahead of time?
You can prepare the herb oil and season the chicken up to 24 hours in advance. Store the seasoned chicken in the refrigerator, covered, and let it come to room temperature for 15 minutes before cooking. The chicken will actually be more flavorful because the herbs and lemon have had more time to penetrate the meat. Just don’t cook it ahead of time — the crispy skin is best enjoyed fresh from the air fryer.
How do I store and reheat leftovers?
Store leftover chicken in an airtight container in the refrigerator for up to 4 days. To reheat, use the air fryer at 350°F for 3-4 minutes to bring back some crispiness. Avoid the microwave, as it will make the skin soggy. If you’re reheating in the oven, place the chicken on a wire rack over a baking sheet at 350°F for about 10 minutes. The wire rack is key for air circulation and crispy results.
Conclusion
This crispy lemon herb air fryer chicken is more than just a recipe — it’s the dinner I make when I want to feel like I’ve got my life together, even on days when I definitely don’t. It’s bright and herby and the skin gets so perfectly crispy that you’ll hear it from across the table. And the best part? It comes together in under 35 minutes with ingredients you probably already have in your kitchen.
I hope you make this chicken and love it as much as I do. But more than that, I hope you make it your own. Swap the herbs, adjust the spice level, serve it with whatever spring vegetables look good at the market. That’s the beauty of a simple recipe — it’s a starting point, not a rulebook. And if you figure out a variation that blows your mind, I’d love to hear about it. Drop a comment below and tell me how it went. Did you add something unexpected? Serve it with something surprising? Burn it and start over? (I’ve been there too, friend.)
Here’s to spring dinners that taste like sunshine and memories that stick around long after the last bite. Now go make some chicken — Aunt Rose would want you to.
Pin This Recipe!
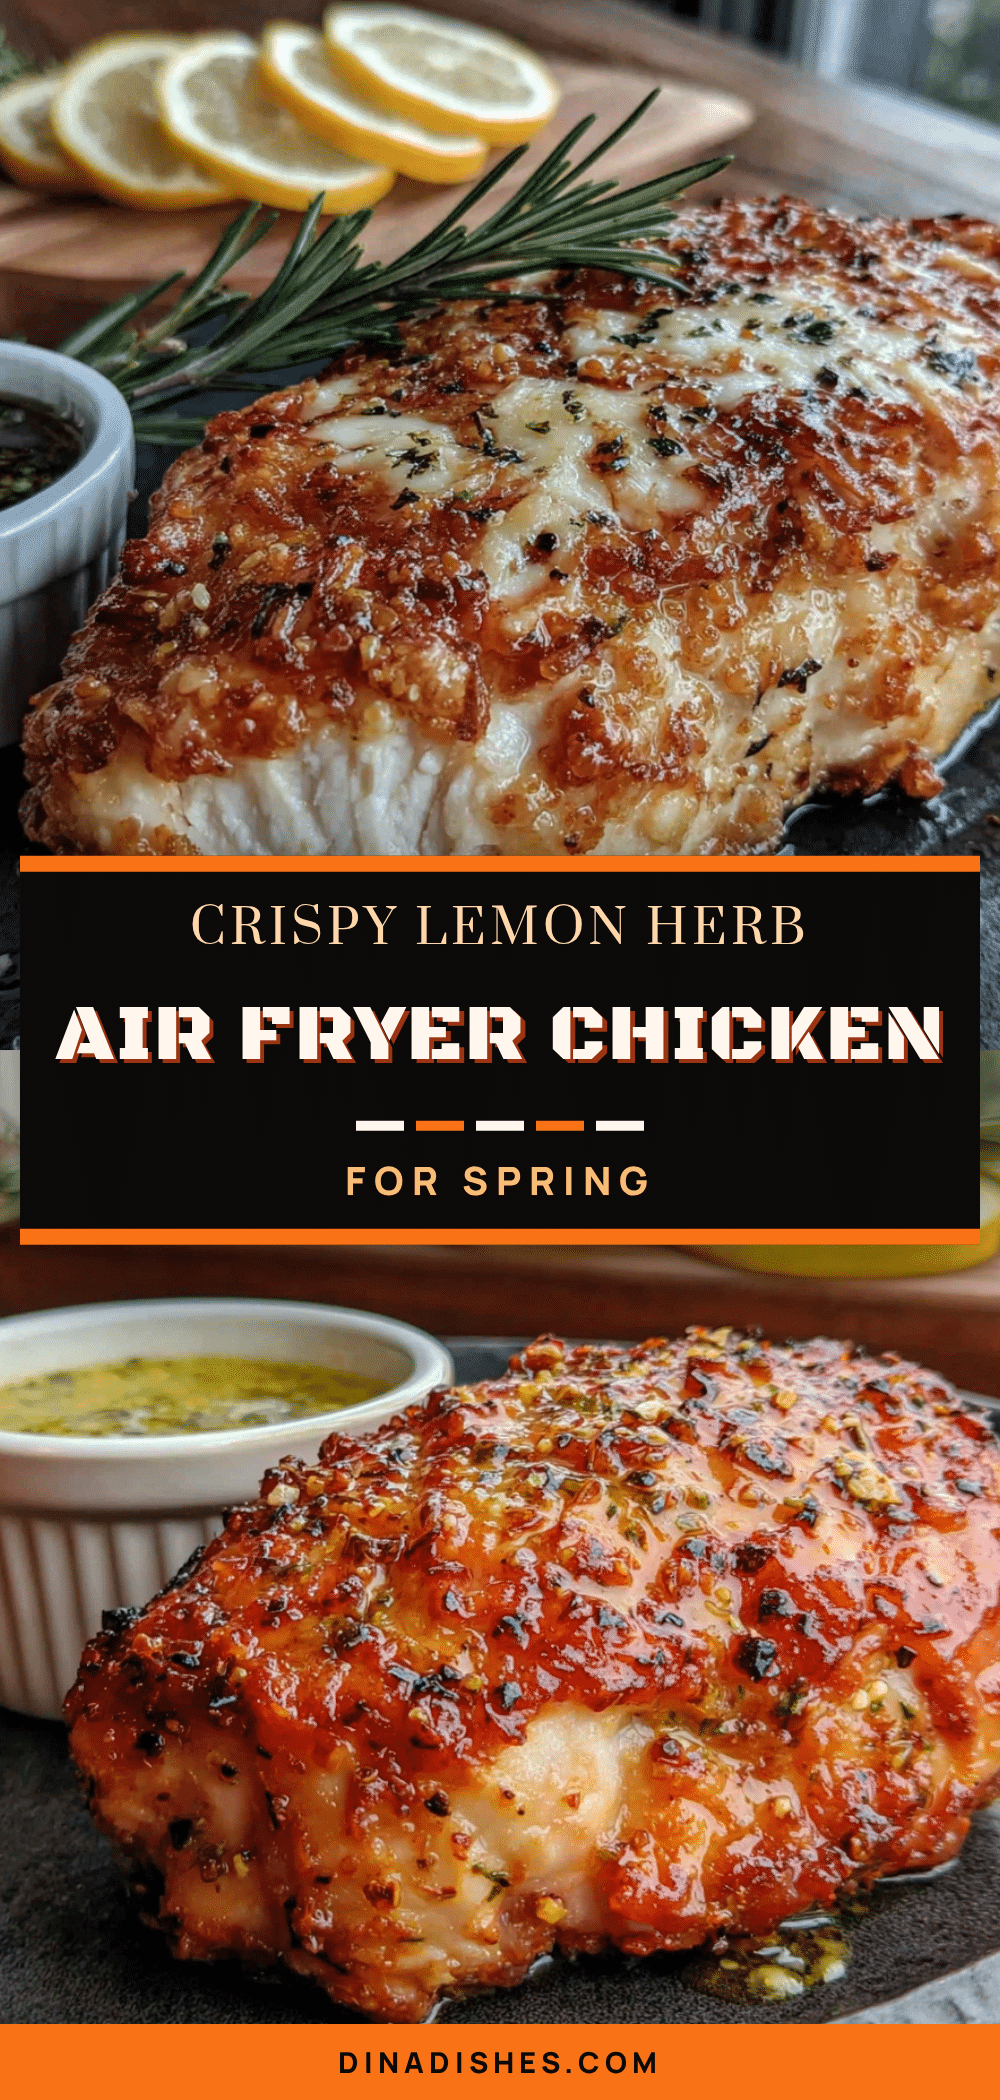
Crispy Lemon Herb Air Fryer Chicken

This crispy lemon herb air fryer chicken is bright, herby, and the skin gets so shatteringly crisp you’ll hear it when you bite in. It’s spring on a plate, ready in under 35 minutes with simple ingredients.
- Prep Time: 15 minutes
- Cook Time: 22-24 minutes
- Total Time: 35 minutes
- Yield: 4 servings 1x
- Category: Main Course
- Cuisine: American
Ingredients
- 4 bone-in, skin-on chicken thighs (about 1.5 pounds total)
- 2 tablespoons olive oil
- 3 cloves garlic, minced
- 1 tablespoon fresh lemon zest
- 2 tablespoons fresh lemon juice
- 1 teaspoon dried thyme
- 1 teaspoon dried rosemary
- 1 teaspoon dried oregano
- 1 teaspoon kosher salt
- 1/2 teaspoon black pepper
- 1/4 teaspoon red pepper flakes (optional)
- Fresh lemon slices (for garnish, optional)
- Fresh parsley or thyme sprigs (for garnish, optional)
- Flaky sea salt (for garnish, optional)
Instructions
- Pat the chicken completely dry with paper towels on both sides, including under the skin.
- In a medium mixing bowl, combine olive oil, minced garlic, lemon zest, lemon juice, dried thyme, dried rosemary, dried oregano, salt, black pepper, and red pepper flakes (if using). Whisk until well combined.
- Add the chicken thighs to the bowl and toss with your hands, making sure every piece is well coated. Get the herb mixture under the skin as well.
- Optional: Place the seasoned chicken on a plate and refrigerate uncovered for 15 minutes to dry the skin further for extra crispiness.
- Preheat the air fryer to 380°F (193°C) for 3-5 minutes.
- Arrange the chicken thighs skin-side down in the air fryer basket in a single layer with space between each piece. Cook in batches if necessary.
- Cook for 12 minutes undisturbed.
- Flip the chicken using tongs so the skin side is facing up. Cook for another 10-12 minutes, or until the internal temperature reaches 160°F (71°C) in the thickest part (not touching bone). The skin should be deep golden brown and crispy.
- Remove the chicken from the air fryer and let it rest for 5 minutes. The carryover cooking will bring the temperature to 165°F (74°C).
- Transfer to a serving platter, squeeze extra lemon juice over the top, sprinkle with flaky sea salt, and garnish with fresh herbs and lemon slices. Serve immediately.
Notes
Pat the chicken completely dry for crispy skin. Let the seasoned chicken rest in the fridge uncovered for 15 minutes if time allows. Use an instant-read thermometer for best results; pull chicken at 160°F and let rest to reach 165°F. Do not crowd the air fryer basket. For oven method, bake at 425°F on a wire rack over a baking sheet for 30-35 minutes, flipping halfway.
Nutrition
- Serving Size: 1 chicken thigh with
- Calories: 310
- Sodium: 680
- Fat: 22
- Saturated Fat: 6
- Carbohydrates: 2
- Protein: 28
Keywords: air fryer chicken, lemon herb chicken, crispy chicken thighs, spring dinner, easy chicken recipe


