I was scraping ice off my windshield last Tuesday morning—the kind of wet, heavy snow that makes you question why you live somewhere with four seasons—when a single flake landed on my lip and melted. And just like that, I was seven years old again, standing on a step stool in my Aunt Carol’s tiny yellow kitchen, watching her pour sweetened condensed milk over a bowl of fresh snow she’d scooped off the back porch. She passed away three winters ago, but I swear I could smell her coffee and hear her saying, “Hurry up before it melts, kiddo.”
I stood there in the parking lot, ice scraper dangling from my hand, and realized I had never actually made snow ice cream myself. Isn’t that funny? I’d spent dozens of snow days eating the stuff, but somehow it felt like a magic trick only she could pull off. So I marched back inside, grabbed the biggest mixing bowl I own, and decided it was time to figure it out. And honestly? It’s almost too easy. You don’t need fancy equipment or a long ingredient list—just snow, a few pantry staples, and maybe a little patience while the kids argue over who gets to scoop.
This easy 3-ingredient snow ice cream is the kind of recipe that makes you feel like a hero on a snow day. No grocery run required, no complicated steps, and it comes together in about five minutes flat. Let me tell you, watching my own kids’ faces light up when I handed them a bowl of this stuff? That’s the kind of moment that makes all the shoveling worth it.
Why You’ll Love This Recipe
Look, I’ve tested a lot of snow ice cream recipes over the past few weeks—some with eggs, some with cream, some that required actual cooking before you even got to the snow part. This one wins every single time, and here’s why.
- Only 3 Ingredients: You probably already have everything in your kitchen right now. No special trips to the store, no hunting for obscure ingredients.
- Takes 5 Minutes: From bowl to spoon in less time than it takes to find matching mittens. Seriously.
- Kid-Approved: My kids devoured theirs before I even got a photo. Picky eaters? They’ll be asking for seconds.
- Budget-Friendly: Snow is free, and the other ingredients cost pennies. Perfect for families watching their grocery budget.
- Customizable: Vanilla, chocolate, strawberry—you can switch up the flavor with whatever you have on hand.
What makes this recipe different from all the others? It’s the texture. Most snow ice cream turns into a sad, watery mess before you even sit down. But this version—thanks to the sweetened condensed milk—stays creamy and scoopable, just like the real stuff you’d buy at the store. I’ve tried adding milk, half-and-half, even evaporated milk, and nothing works as well as that little blue can.
This isn’t just a fun snow day activity. It’s the kind of treat that makes you close your eyes after the first bite and remember being a kid yourself. And on a tight budget, when you’re trying to stretch every dollar, being able to whip up something this special from almost nothing? That’s a win for everyone at the table.
What Ingredients You Will Need
This recipe uses the simplest ingredients you can imagine—nothing fancy, nothing expensive, just three staples that most of us already have in the pantry and fridge. Here’s what you need and why each one matters.
- 8 cups fresh, clean snow (packed lightly into measuring cups) — This is obviously the star. The key is getting it fresh. I’m talking snow that fell within the last few hours, not the crusty stuff that’s been sitting for days. Scoop from the top layer, avoiding any snow that’s touched the ground or has debris in it. If you’re worried about cleanliness, you can use shaved ice from a clean ice machine, but honestly, fresh snow from a clean bowl works beautifully.
- 1 can (14 ounces) sweetened condensed milk — This is the magic ingredient. It adds sweetness, creaminess, and just the right consistency. I’ve tried using regular milk with sugar, but it gets icy and watery. The condensed milk keeps everything smooth and scoopable. I prefer the Eagle Brand, but any brand works fine. If you’re dairy-free, there are coconut-based sweetened condensed milk options that work surprisingly well.
- 1 teaspoon vanilla extract — Pure vanilla makes a difference here. Imitation works in a pinch, but pure vanilla adds a warmth and depth that makes this taste like real ice cream. I use Nielsen-Massey when I can find it on sale, but store brand is totally fine.
Optional add-ins (not required, but fun):
- Chocolate syrup for drizzling
- Rainbow sprinkles for color
- Crushed cookies or candy canes for crunch
- A pinch of salt to balance the sweetness
Substitution guidance: If you don’t have sweetened condensed milk, you can mix 1 cup of whole milk with 1/2 cup of sugar and a tablespoon of cornstarch, whisked together and heated until slightly thickened. Let it cool completely before using. It’s not quite as creamy, but it works in a pinch. For a dairy-free version, use canned coconut cream mixed with 1/3 cup of maple syrup or honey.
Equipment Needed
You don’t need much for this recipe, which is part of the beauty. Here’s what I use:
- Large mixing bowl — Go bigger than you think you need. You’ll be stirring snow into the milk mixture, and you don’t want it spilling everywhere. I use my grandmother’s old ceramic bowl, but any large bowl works.
- Measuring cups — For the snow. I use a 2-cup measure to make it quick.
- Measuring spoons — For the vanilla.
- A sturdy spoon or spatula — A wooden spoon works great. Avoid using a whisk—it’ll pack the snow down too much.
- Freezer-safe container — If you’re not eating it all right away (good luck with that).
Budget-friendly tip: Don’t have a big mixing bowl? A clean plastic storage container works just fine. I’ve used a salad bowl, a stockpot, even a clean cat litter bucket (don’t judge—it was thoroughly washed). The container doesn’t care what it holds.
Preparation Method
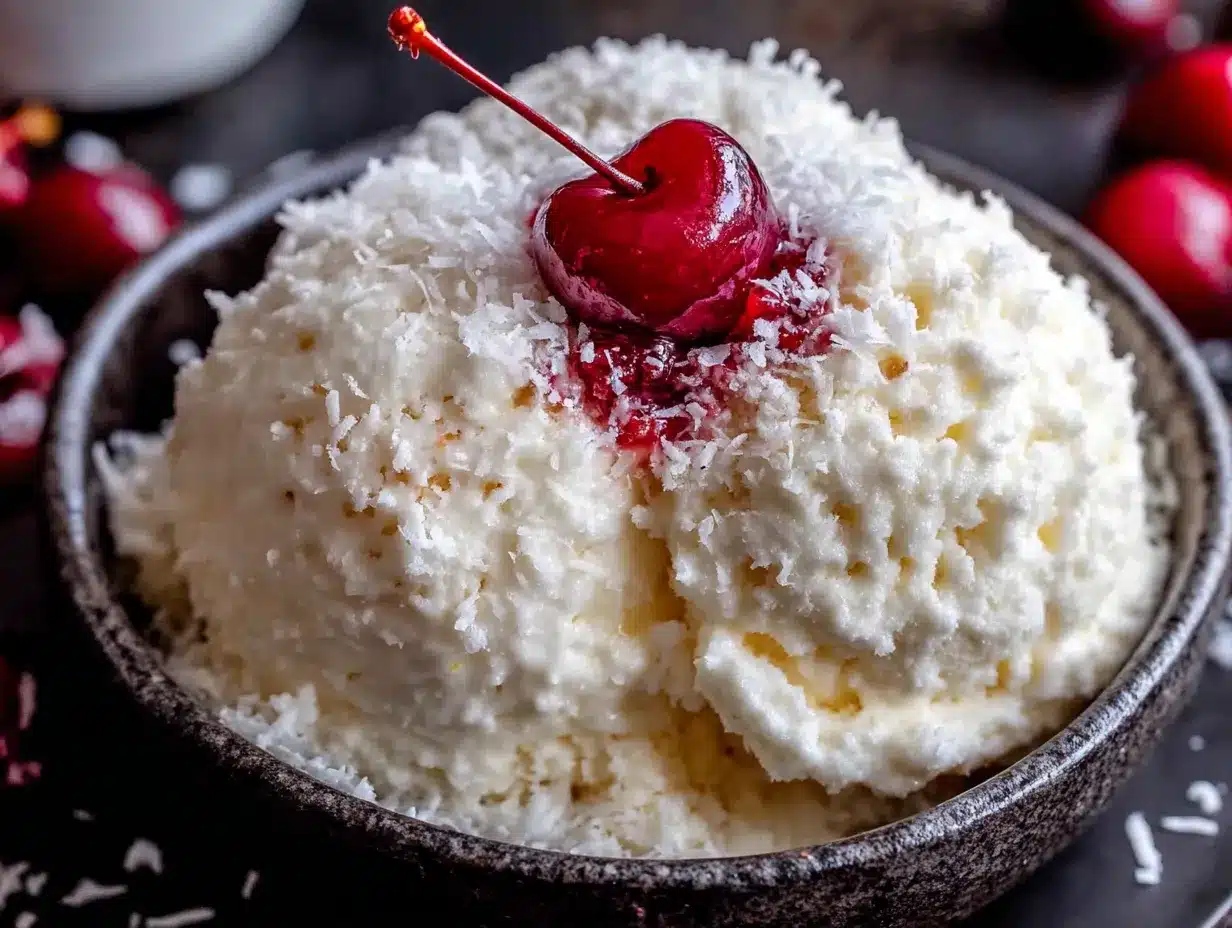
Alright, let’s make this happen. The whole process takes about five minutes, but I’ll walk you through each step so you get perfect snow ice cream every time.
- Go scoop your snow. Head outside with your largest bowl and collect about 8 cups of fresh, clean snow. I like to scoop from the top of a clean snowbank or off a table that hasn’t been treated with salt. Avoid snow that’s discolored, has leaves or twigs in it, or has been sitting for more than a few hours. Pack it lightly—don’t compress it down. If you’re doing this with kids, let them help scoop. It’s half the fun. (Just be prepared for them to taste-test the snow before you even get inside.)
- Mix the base. In a separate small bowl, stir together the sweetened condensed milk and vanilla extract. Mix until it’s smooth and well combined. This is your “ice cream base.” At this point, you can add any extra flavorings—a tablespoon of cocoa powder for chocolate, a teaspoon of almond extract for a different flavor, or even a few drops of food coloring if you’re feeling festive.
- Combine slowly. Now, here’s the important part: pour the milk mixture over the snow a little at a time, stirring gently as you go. Don’t dump it all in at once—you’ll end up with soup. Add about a third of the mixture, fold it into the snow, then add more. The goal is to coat every flake without melting everything. You want the snow to stay fluffy and light.
- Check the consistency. Keep stirring until the snow is evenly coated and looks like soft-serve ice cream. If it’s too thick, add a tiny splash of milk. If it’s too thin, add a little more snow. You’re looking for a texture that holds its shape when you scoop it. It should look like you just pulled a container of premium ice cream out of the freezer.
- Serve immediately. This is not a “make ahead” kind of recipe. Snow ice cream is best eaten within minutes of making it. Scoop it into bowls, add any toppings you like, and hand out spoons. I like to top mine with a drizzle of chocolate syrup and a few sprinkles, but my kids prefer it plain with extra sprinkles on top.
- Freeze leftovers (if any). If you somehow don’t finish it all, transfer the snow ice cream to a freezer-safe container and press a piece of plastic wrap directly onto the surface. It’ll keep for about 24 hours, but the texture won’t be quite as fluffy. It’ll be more like a frozen block you’ll need to let sit at room temperature for a few minutes before scooping.
Troubleshooting tip: If your snow ice cream turns out watery, you probably used snow that was too wet or you added the milk mixture too quickly. Next time, try using fluffier, drier snow and add the milk slowly. If it’s already too thin, you can stir in a handful of fresh snow to thicken it up.
Cooking Tips & Techniques
I learned a few things the hard way so you don’t have to. Here’s what I wish someone had told me before my first attempt.
Snow quality matters more than you think. The best snow for this recipe is light and fluffy—the kind that falls when it’s really cold outside, around 20°F or below. Heavy, wet snow (the kind that makes perfect snowballs) has more water content and will make your ice cream slushy. I learned this after a particularly wet snowfall turned my first batch into snow soup. Not my finest moment.
Work fast but don’t rush. Snow starts melting the second you bring it inside, so you want to work efficiently. Have your milk mixture ready before you go scoop the snow. That way, you can combine everything immediately and get it into bowls. But don’t rush so much that you dump everything in at once—that’s the fastest way to a melted mess.
Let the kids help strategically. If you’re making this with little ones, have them scoop the snow and pick out any leaves or twigs. Let them stir the vanilla into the condensed milk. But maybe handle the final combining yourself—it’s easy to overmix, and little arms get tired fast. I let my daughter add the sprinkles at the end, which she takes very seriously.
Don’t use a metal bowl. Metal conducts cold and heat, so your snow will melt faster in a metal bowl. Stick with ceramic, glass, or plastic. I keep a specific plastic mixing bowl just for snow ice cream—it lives in the pantry all year, waiting for winter.
Make extra base. I learned to mix up double the milk mixture and keep it in the fridge. That way, when the kids come running in from playing in the snow, I can scoop fresh snow and have ice cream ready in under a minute. The base keeps for about a week in a sealed jar.
Variations & Adaptations
Once you’ve mastered the basic recipe, the possibilities are endless. Here are some of my favorite twists.
- Chocolate Snow Ice Cream: Add 2 tablespoons of unsweetened cocoa powder to the condensed milk mixture before combining with the snow. Stir until smooth. My son says this tastes like a frozen hot chocolate, and I can’t argue with that.
- Strawberry Snow Ice Cream: Mash 1/2 cup of frozen strawberries (thawed) and stir them into the milk mixture. You’ll get pretty pink ice cream with little fruit flecks. Fresh strawberries work too, but frozen ones are softer and blend in better.
- Vegan/Dairy-Free Version: Use canned coconut cream instead of sweetened condensed milk, and add 1/4 cup of maple syrup or agave for sweetness. The texture is slightly different—more icy, less creamy—but it’s still delicious. My dairy-free friend swears by this version.
- Peppermint Snow Ice Cream: Add 1/2 teaspoon of peppermint extract instead of vanilla, and fold in some crushed candy canes at the end. This is our Christmas morning tradition now. The red and white specks make it look so festive.
- Cookies and Cream: Crush up 4-5 chocolate sandwich cookies and fold them into the finished ice cream. It adds a nice crunch and makes it feel extra special.
Serving & Storage Suggestions
Snow ice cream is best served immediately, but here’s how to make the experience special and how to handle leftovers.
Serving: Scoop into chilled bowls if you have them—it helps the ice cream stay firm a little longer. I like to serve it with a drizzle of chocolate syrup, a sprinkle of rainbow jimmies, and maybe a cherry on top. My kids think this is the height of fancy dining. For a grown-up version, try a drizzle of caramel sauce and a pinch of flaky sea salt.
What to serve with it: This ice cream is sweet enough on its own, but it pairs beautifully with warm cookies or a slice of brownie. The hot-and-cold contrast is incredible. I’ve also served it alongside a cup of hot cocoa for the ultimate snow day combo.
Storage: If you have leftovers (which, let’s be honest, is rare), transfer the ice cream to a freezer-safe container. Press a piece of plastic wrap directly onto the surface to prevent ice crystals from forming. It’ll keep for about 24 hours, but the texture will change—it becomes denser and more like a frozen block. To serve, let it sit at room temperature for 5-10 minutes, then scoop. It won’t be as fluffy as fresh, but it’s still pretty good.
Reheating tip: You can’t really “reheat” ice cream, but if it’s frozen solid, let it soften on the counter for a bit. I’ve also microwaved individual servings for about 10 seconds to make them scoopable. Just don’t overdo it or you’ll end up with soup.
Nutritional Information & Benefits
I’m not going to pretend this is health food—it’s a snow day treat, after all. But here’s what you should know.
Estimated nutrition per serving (about 1 cup): Calories: 220, Fat: 5g, Carbs: 40g, Protein: 4g, Sugar: 36g. These numbers will vary based on what add-ins you use.
Healthier twist: To cut down on sugar, use a sugar-free sweetened condensed milk or make your own with whole milk and a sugar substitute like allulose or monk fruit. You can also use unsweetened vanilla almond milk mixed with a little honey—it won’t be as creamy, but it’ll still taste good.
Allergen notes: This recipe contains dairy. For a dairy-free version, see the variations section above. It’s also gluten-free as written, but check your add-ins (some sprinkles contain wheat).
My perspective: Look, I’m a firm believer that food should be enjoyed, especially on snow days when the whole world feels a little magical. One bowl of this isn’t going to derail anyone’s healthy eating goals. It’s about making memories, not macros. So go ahead, enjoy it. Your kids will remember the snow ice cream, not the sugar content.
Conclusion
This easy 3-ingredient snow ice cream is more than just a recipe—it’s a snow day ritual, a budget-friendly treat, and a way to turn a cold, gray afternoon into something special. With just three ingredients and five minutes, you can create a dessert that makes everyone at the table smile. And honestly? In a world that’s complicated enough, sometimes you need a recipe that’s simple, joyful, and a little bit silly.
I’d love to hear how yours turns out. Did your kids help scoop the snow? Did you add any fun toppings? Drop a comment below and let me know—I read every single one, and your ideas might end up in a future post. And if you’re looking for more easy winter treats, check out my hot chocolate bombs recipe or these easy peppermint bark for more snow day fun.
Now go grab a bowl and some snow—before it melts!
Frequently Asked Questions
Can I use snow that’s been on the ground for a few days?
I wouldn’t recommend it. Snow that’s been sitting for a while collects dirt, debris, and who knows what else from the air. Stick with fresh snow that fell within the last few hours. Scoop from the top layer, and avoid any snow that’s discolored or has visible particles in it.
What if I don’t have sweetened condensed milk?
You can make a substitute by heating 1 cup of whole milk with 1/2 cup of sugar and a tablespoon of cornstarch until it thickens slightly. Let it cool completely before using. It won’t be quite as creamy, but it’ll work in a pinch. You can also use heavy cream mixed with maple syrup or honey.
Can I make this ahead of time for a party?
Snow ice cream is really best made fresh and served immediately. If you make it ahead, it’ll freeze into a solid block and lose its fluffy texture. But you can prep the milk mixture ahead of time and keep it in the fridge, then just combine it with fresh snow when you’re ready to serve.
Is it safe to eat snow?
Generally, yes, as long as you’re using fresh, clean snow from a safe area. Avoid snow that’s been plowed, treated with salt or chemicals, or is near roads or driveways. Scoop from a clean surface like a table, bench, or untouched snowbank. If you’re concerned, you can use shaved ice from a clean ice maker instead.
Can I use this recipe with shaved ice instead of snow?
Absolutely. If you live somewhere without snow (lucky you!), you can use shaved ice from a clean ice machine or even crushed ice from your freezer. The texture will be a little different—more like a snow cone than ice cream—but it’s still delicious. You might need to add a little extra milk to get the right consistency.
Pin This Recipe!
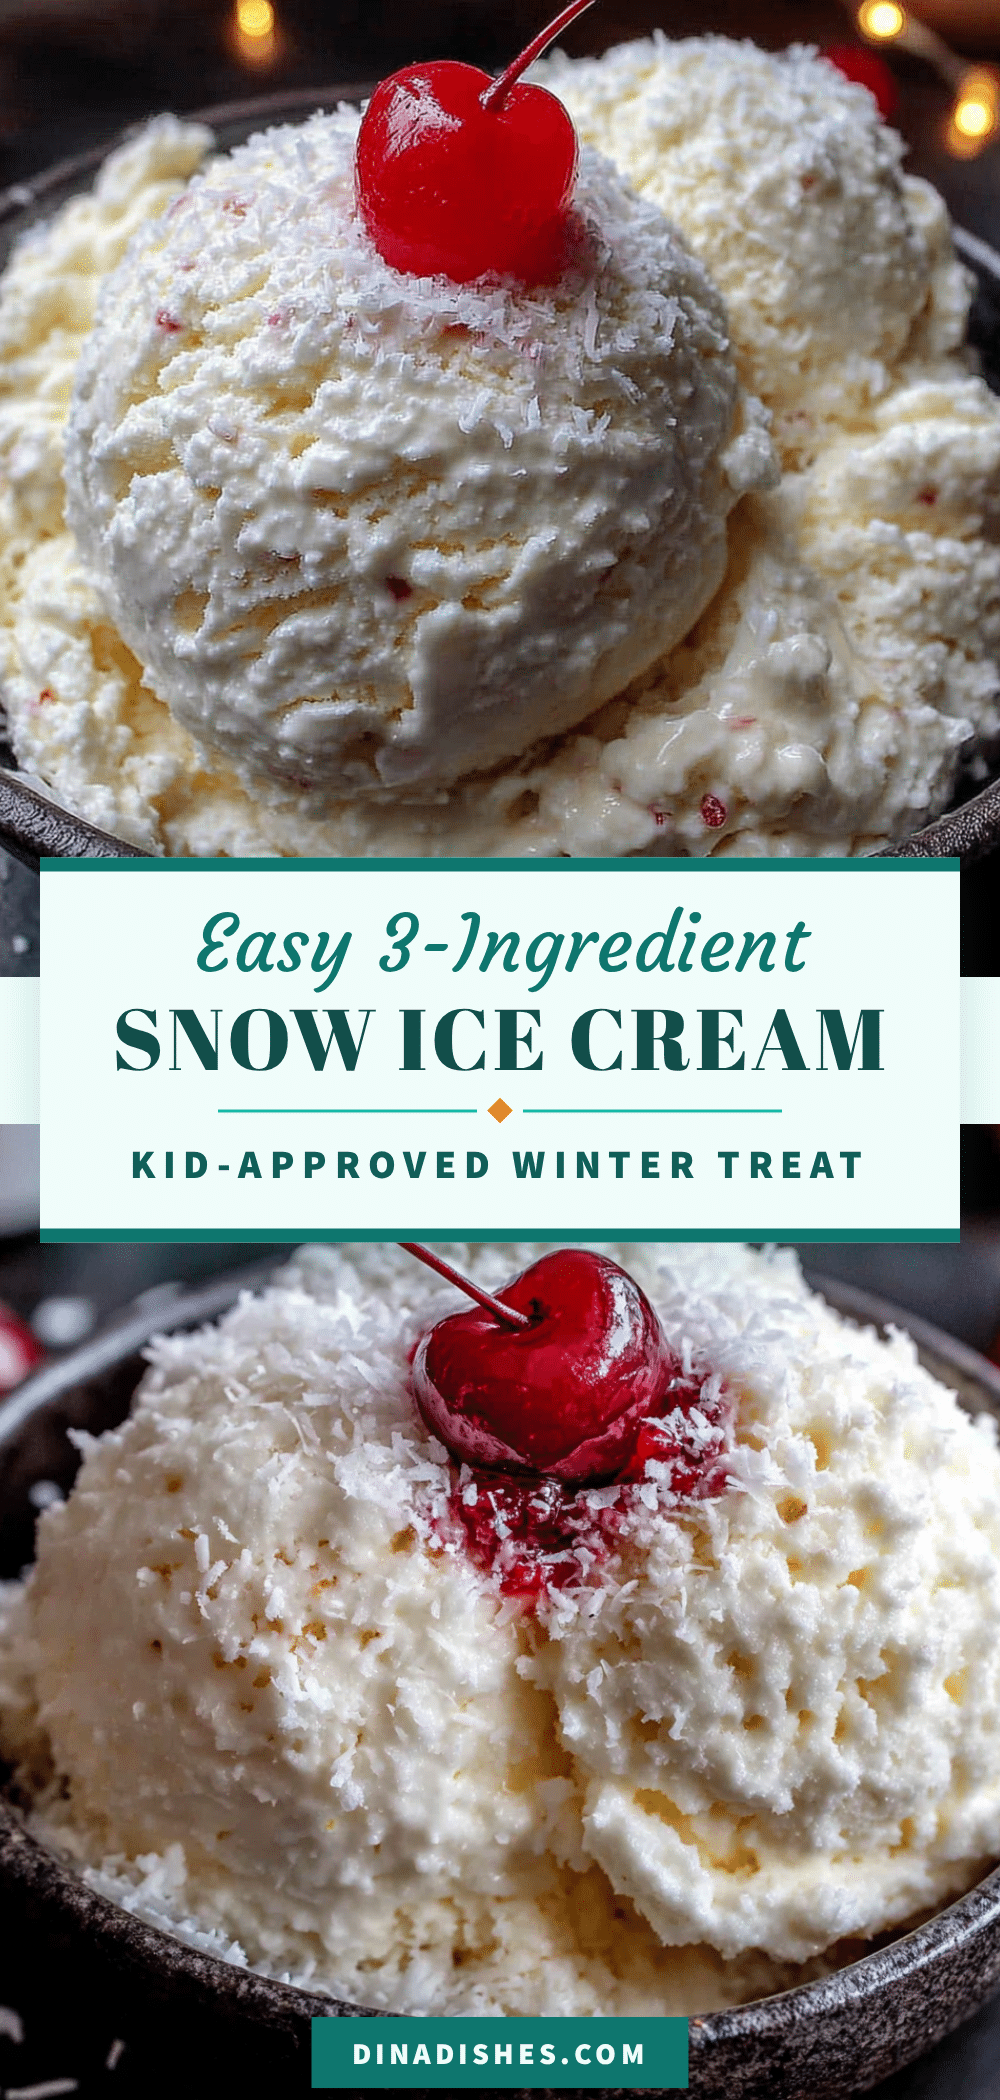
Easy 3-Ingredient Snow Ice Cream – Best Winter Treat

This easy 3-ingredient snow ice cream is the kind of recipe that makes you feel like a hero on a snow day. No grocery run required, no complicated steps, and it comes together in about five minutes flat.
- Prep Time: 5 minutes
- Cook Time: 0 minutes
- Total Time: 5 minutes
- Yield: 4 servings 1x
- Category: Dessert
- Cuisine: American
Ingredients
- 8 cups fresh, clean snow (packed lightly into measuring cups)
- 1 can (14 ounces) sweetened condensed milk
- 1 teaspoon vanilla extract
Instructions
- Go scoop your snow. Head outside with your largest bowl and collect about 8 cups of fresh, clean snow. Pack it lightly—don’t compress it down.
- Mix the base. In a separate small bowl, stir together the sweetened condensed milk and vanilla extract until smooth and well combined.
- Combine slowly. Pour the milk mixture over the snow a little at a time, stirring gently as you go. Add about a third of the mixture, fold it into the snow, then add more.
- Check the consistency. Keep stirring until the snow is evenly coated and looks like soft-serve ice cream. If it’s too thick, add a tiny splash of milk. If it’s too thin, add a little more snow.
- Serve immediately. Scoop into bowls, add any toppings you like, and hand out spoons.
- Freeze leftovers (if any). Transfer to a freezer-safe container and press plastic wrap directly onto the surface. It’ll keep for about 24 hours.
Notes
Use fresh, clean snow from the top layer. Avoid snow that has been sitting for more than a few hours or has debris. Work quickly as snow melts fast. For best texture, use light, fluffy snow. Do not use a metal bowl as it will melt the snow faster. The milk mixture can be prepared ahead and stored in the fridge for about a week.
Nutrition
- Serving Size: 1 cup
- Calories: 220
- Sugar: 36
- Sodium: 80
- Fat: 5
- Saturated Fat: 3
- Carbohydrates: 40
- Protein: 4
Keywords: snow ice cream, 3-ingredient recipe, winter treat, snow day dessert, easy ice cream, kid-friendly dessert, budget-friendly dessert