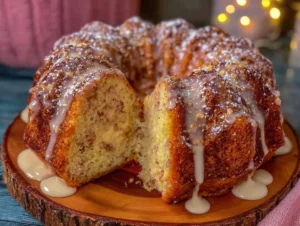
My neighbor Carol watched me wrestling with a piping bag at my kitchen counter last December. She didn’t say anything at first—just stood there in the doorway holding a container of homemade fudge she’d brought over. Then she set down the fudge, picked up my sad, lopsided cake pop, and said, “Honey, sometimes you’ve got to stop trying so hard.”
She pulled out her phone and showed me a photo of a bowl of creamy, sprinkle-covered dip that looked exactly like the inside of a Little Debbie Christmas Tree Cake. No baking. No piping. No stressing over melted chocolate that seizes up on you. I mean, honestly—why had I been torturing myself with those fussy little cake balls for years?
That afternoon, Carol and I stood in my kitchen and whipped up this copycat dip in about ten minutes flat. She told me she’d learned it from her daughter, who was a busy mom of three and didn’t have time for anything that required more than one bowl. The recipe had been passed around their church potluck circuit for years before Carol decided it was too good to keep secret.
I tweaked the frosting ratio a bit—Carol’s version was a little too sweet for me, and I wanted that cream cheese tang to come through—but the heart of it is all her. Now I make this dip every December, and honestly? It gets more compliments than anything I’ve ever baked from scratch. Maybe you’ve been there too—spending hours on a dessert that disappears in five minutes while something this simple steals the show. There’s a lesson in there somewhere.
Why You’ll Love This Recipe
Let me tell you why this dip has become my secret weapon for every holiday gathering. It’s the dessert that makes people think you spent way more time than you actually did.
- Ready in 10 Minutes: No joke—from pantry to table in under ten minutes. That’s faster than driving to the store to buy something.
- Just 5 Ingredients: You probably already have most of these in your kitchen right now. No special trips to three different grocery stores.
- Perfect for Holiday Parties: Bring this to any Christmas gathering and watch it disappear. It’s a total crowd-pleaser for kids and adults alike.
- No Baking Required: Zero oven time. Zero stress. Zero chance of burning anything.
- Tastes Exactly Like the Real Thing: Seriously—close your eyes and you’ll swear you’re biting into a Little Debbie Christmas Tree Cake. But better, honestly.
What makes this dip different from every other dessert dip you’ve tried is the texture. It’s not too thick or too thin—it’s that perfect scoopable consistency that clings to graham crackers and pretzels without dripping everywhere. The cream cheese gives it a subtle tang that cuts through the sweetness, so you don’t feel like you’re eating straight frosting.
This is the kind of recipe that makes you close your eyes after the first bite. It’s comfort food reimagined—faster, simpler, but with the same soul-soothing satisfaction. Perfect for impressing guests without stress, or turning a Tuesday night into something special. Honestly, I’ve made this for no reason at all in July, and nobody complained.
What Ingredients You Will Need
This recipe uses simple, everyday ingredients to deliver that nostalgic Little Debbie flavor without any fuss. Most of these are pantry staples, which makes this perfect for those moments when you need a dessert fast.
- 8 ounces cream cheese, softened (Let it sit out for 30 minutes—cold cream cheese makes lumpy dip. I use Philadelphia because it’s consistently creamy.)
- 1/2 cup unsalted butter, softened (Salted butter works too, just skip the pinch of salt later. I’ve used both and honestly can’t tell the difference.)
- 2 cups powdered sugar (Don’t skip sifting it if your powdered sugar is lumpy. Nobody wants crunchy dip.)
- 1 teaspoon vanilla extract (Pure vanilla makes a difference here. Save the imitation stuff for baking.)
- 1/4 cup holiday sprinkles (Get the little round jimmies, not the big chunky ones. They mix in better and look more like the real cake.)
- Green food coloring (Gel food coloring works best—you only need a tiny drop. Liquid works too, but you’ll need more.)
- Pinch of salt (Optional, but it balances the sweetness beautifully.)
For serving, you’ll want graham crackers, vanilla wafers, pretzels, or even apple slices. The salty-sweet combo with pretzels is honestly my favorite, but graham crackers feel the most nostalgic.
If you’re dairy-free, you can use plant-based cream cheese and butter—just make sure they’re the block-style cream cheese, not the spreadable kind. The spreadable kind makes the dip too thin. I learned that one the hard way.
Equipment Needed
You don’t need much for this recipe, which is honestly the best part. Here’s what you’ll grab:
- Large mixing bowl (Any bowl works. I use my grandmother’s old ceramic one because it makes me feel fancy.)
- Hand mixer or stand mixer (A hand mixer is perfect. You can do it by hand with a whisk, but your arm will hate you.)
- Rubber spatula (For scraping down the sides. Don’t skip this—lumpy dip is sad dip.)
- Serving bowl (Something festive if you’ve got it. A red or green bowl makes it look extra Christmas-y.)
- Measuring cups and spoons (Standard set works fine.)
If you don’t have a hand mixer, a sturdy whisk and some elbow grease will work. Just make sure your cream cheese and butter are really soft first. I’ve made this with just a fork in a pinch, and it turned out fine—just a little more rustic looking.
Preparation Method
Follow these steps, and you’ll have the easiest holiday dessert of your life. I promise.
- Soften the cream cheese and butter: Take them out of the fridge about 30 minutes before you start. If you forgot (I forget every single time), microwave the cream cheese for 10 seconds and the butter for 8 seconds. Just don’t melt them—you want soft, not liquid.
- Beat the cream cheese and butter together: Put both in your mixing bowl and beat on medium speed for about 2 minutes until it’s smooth and fluffy. Scrape down the sides halfway through. You want zero lumps here.
- Add the vanilla and salt: Pour in the vanilla extract and that tiny pinch of salt. Beat for another 30 seconds until it’s all combined. The salt is optional, but honestly, it makes the sweetness taste more balanced.
- Add the powdered sugar gradually: This is important—don’t dump it all in at once unless you want a powdered sugar cloud all over your kitchen. Add it about half a cup at a time, beating on low speed after each addition. Once it’s all in, crank the speed to medium and beat for 2 minutes until it’s light and fluffy.
- Add the green food coloring: Start with one tiny drop of gel food coloring. Beat it in, then check the color. You want a pale green—like the inside of a Little Debbie cake, not a shamrock. Add more drop by drop until it looks right. I usually end up using about 3 drops of gel coloring.
- Fold in the sprinkles: Use your rubber spatula to gently fold in about 3 tablespoons of the sprinkles. Save the rest for topping. Don’t overmix or the colors from the sprinkles will bleed and turn your dip gray-ish. Trust me on this one.
- Chill for 30 minutes: This step is optional but highly recommended. The dip thickens up and the flavors meld together. If you’re in a rush, you can serve it right away—it’ll just be a little softer.
- Top and serve: Transfer the dip to your serving bowl and sprinkle the remaining sprinkles on top. Arrange your dippers around it and watch everyone lose their minds.
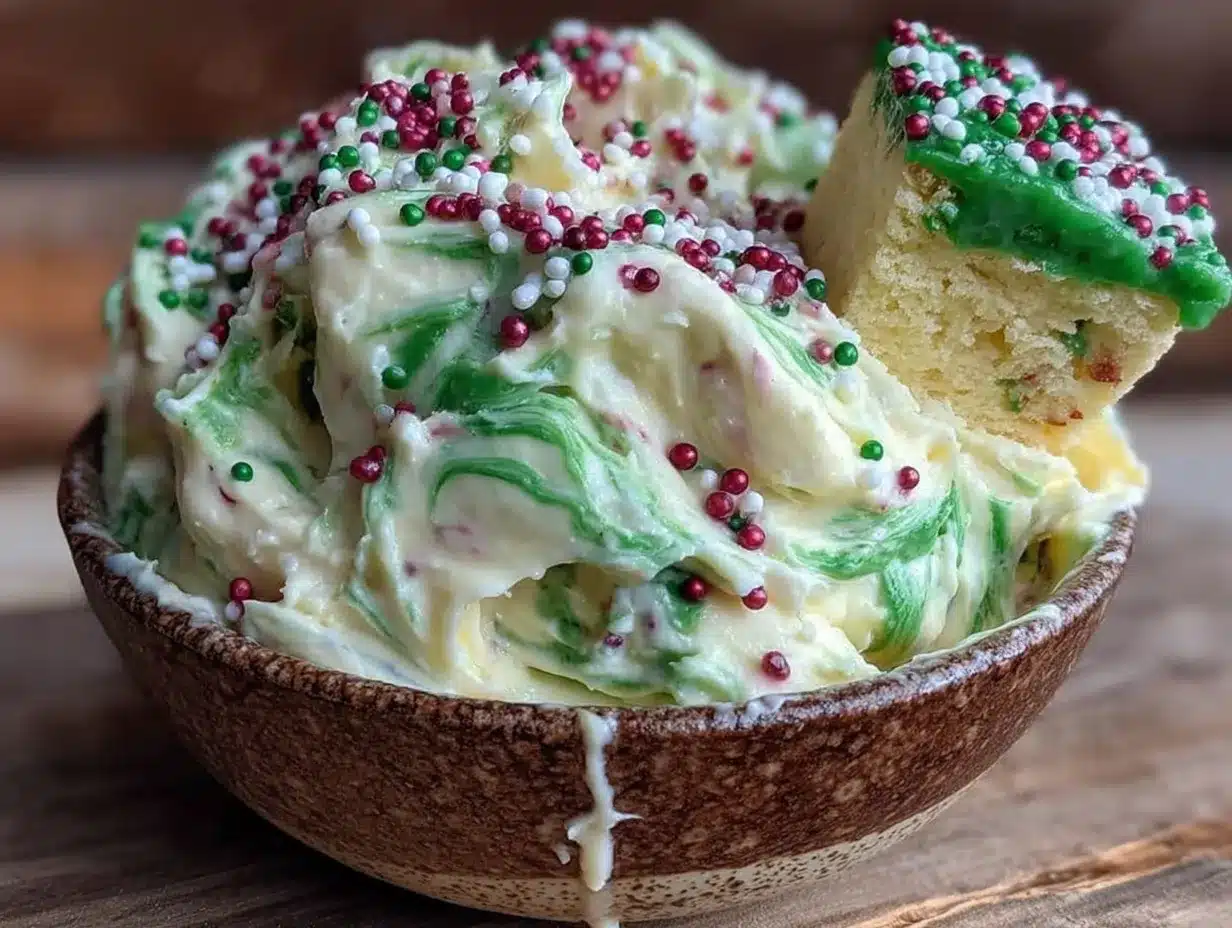
Your dip should look pale green, creamy, and studded with little pops of red, green, and white sprinkles. It should smell sweet and vanilla-y—exactly like the holidays in a bowl.
Cooking Tips & Techniques
I’ve made this dip about a dozen times now, and I’ve learned a few things the hard way so you don’t have to.
Don’t overmix the sprinkles. I know I said this already, but I’m saying it again because I ruined an entire batch by getting too enthusiastic with my spatula. The sprinkles bleed their color when they’re overworked, and suddenly your pretty green dip looks like swamp water. Fold gently, just until they’re distributed.
Room temperature ingredients aren’t optional. Cold cream cheese creates lumps that no amount of beating will fix. I learned this when I was rushing to make dip for a party and ended up with little white chunks floating in it. Not cute. Set a timer and let everything sit out for 30 minutes.
Taste as you go. Everyone’s sweetness preference is different. I like mine with a little tang from the cream cheese, so I use the full 8 ounces. My sister prefers it sweeter and adds an extra quarter cup of powdered sugar. Adjust it to your taste.
Make it ahead of time. This dip actually gets better after a few hours in the fridge. The flavors meld together and the texture firms up perfectly. You can make it the night before, just hold the sprinkles on top until right before serving so they stay bright and crunchy.
If your dip is too thick, add a tablespoon of milk or heavy cream and beat it in. If it’s too thin, pop it in the fridge for an hour. Simple fixes for simple problems.
Variations & Adaptations
This recipe is super flexible, which is one of the reasons I love it so much. Here are some ways to switch it up:
Chocolate version: Swap the vanilla extract for peppermint extract and add 2 tablespoons of cocoa powder. It tastes like a Thin Mint dipped in frosting. I made this for a cookie exchange and people literally asked for the recipe before they finished eating.
Peppermint bark dip: Stir in 1/4 cup of crushed candy canes along with the sprinkles. The little crunchy bits of mint are amazing with graham crackers. Just crush the candy canes in a ziploc bag with a rolling pin—it’s oddly satisfying.
Dairy-free option: Use plant-based cream cheese and butter. I’ve tried this with Kite Hill cream cheese and Miyoko’s butter, and it worked beautifully. Just make sure your dairy-free cream cheese is the block kind, not the spreadable kind.
Different holiday versions: Use red and pink sprinkles for Valentine’s Day, orange and black for Halloween, or pastel colors for Easter. The base recipe works year-round—just change the sprinkle colors and you’ve got a new holiday tradition.
Brownie version: Fold in 1/2 cup of crushed brownie pieces for a cookies-and-cream type texture. It’s dangerously good. I accidentally ate half a batch this way.
Serving & Storage Suggestions
This dip is best served chilled or at room temperature—both work great. I prefer it cold because it’s thicker and holds up better on dippers, but if you forget to take it out of the fridge, just let it sit for 15 minutes before serving.
What to dip: Graham crackers are the classic choice, but vanilla wafers, shortbread cookies, pretzel sticks, animal crackers, and apple slices all work beautifully. For a low-carb option, try celery sticks or cucumber rounds—the sweet-salty contrast is actually amazing.
Storage: Keep leftovers in an airtight container in the fridge for up to 5 days. The dip will firm up as it chills, so let it sit at room temperature for about 15 minutes before serving again. Don’t freeze it—the texture gets weird and grainy when thawed.
Make ahead tip: This dip is perfect for make-ahead prep. Assemble it completely (minus the top sprinkles) up to 2 days in advance. Add the sprinkles right before serving so they stay bright and crunchy.
Flavor development: Honestly, this dip tastes even better the next day. The vanilla flavor deepens, and the cream cheese tang mellows out into something perfectly balanced. I’ve been known to make it just for myself on a Sunday and eat it all week.
Nutritional Information & Benefits
Let’s be real—this is a treat, not a health food. But here’s what you’re working with per serving (about 2 tablespoons):
- Calories: Approximately 180
- Fat: 12g
- Carbohydrates: 18g
- Protein: 2g
- Sugar: 16g
The cream cheese does add a little protein and calcium, which is more than you’d get from straight frosting. And honestly, if you’re dipping apple slices in it, you’re basically eating a balanced snack, right? That’s what I tell myself anyway.
For those watching their sugar intake, you can reduce the powdered sugar to 1 1/2 cups—it’ll be slightly less sweet but still delicious. Or try using a sugar-free powdered sugar substitute, though the texture will be a bit different.
This recipe contains dairy and gluten (if served with graham crackers). For a gluten-free option, serve with gluten-free pretzels or fresh fruit.
Conclusion
This Easy Copycat Little Debbie Christmas Tree Cake Dip is the kind of recipe that makes you wonder why you ever stressed about holiday desserts. It’s simple, fast, and tastes like childhood in a bowl. Carol was right—sometimes you’ve got to stop trying so hard and just enjoy the easy stuff.
I’d love to hear how this turns out for you! Did you try any fun variations? Did your family devour it in five minutes like mine does every single time? Drop a comment below and let me know—I read every single one and I love seeing your creative twists. And if you share a photo on Pinterest or Instagram, tag me so I can see your beautiful dip in all its sprinkle-covered glory.
Here’s to easy desserts, good neighbors, and the kind of recipes that bring people together without any stress. Happy holidays, friends—go make some dip!
Frequently Asked Questions
Can I make this dip ahead of time?
Absolutely! Make it up to 2 days in advance. Just hold the top sprinkles until right before serving so they stay bright and crunchy. The flavor actually gets better after a day in the fridge.
Can I use low-fat cream cheese?
You can, but the dip won’t be as creamy or thick. Low-fat cream cheese has more water content, which can make the dip a bit runny. If you’re watching calories, it still works—just expect a slightly different texture.
How do I get the perfect green color?
Start with one tiny drop of gel food coloring and mix it in thoroughly before adding more. You want a pale, soft green—like the inside of a Little Debbie cake. Too much coloring and it’ll look artificial and unappetizing. Less is definitely more here.
Can I freeze this dip?
I don’t recommend it. The cream cheese base gets grainy and separates when thawed, and the sprinkles bleed their color everywhere. This dip is best made fresh or stored in the fridge for up to 5 days.
What if I don’t have a hand mixer?
No problem! Make sure your cream cheese and butter are really soft (almost room temperature), and use a sturdy whisk. It’ll take about 5 minutes of vigorous whisking, but it works. A fork in a pinch works too—just be prepared for a little arm workout.
Pin This Recipe!
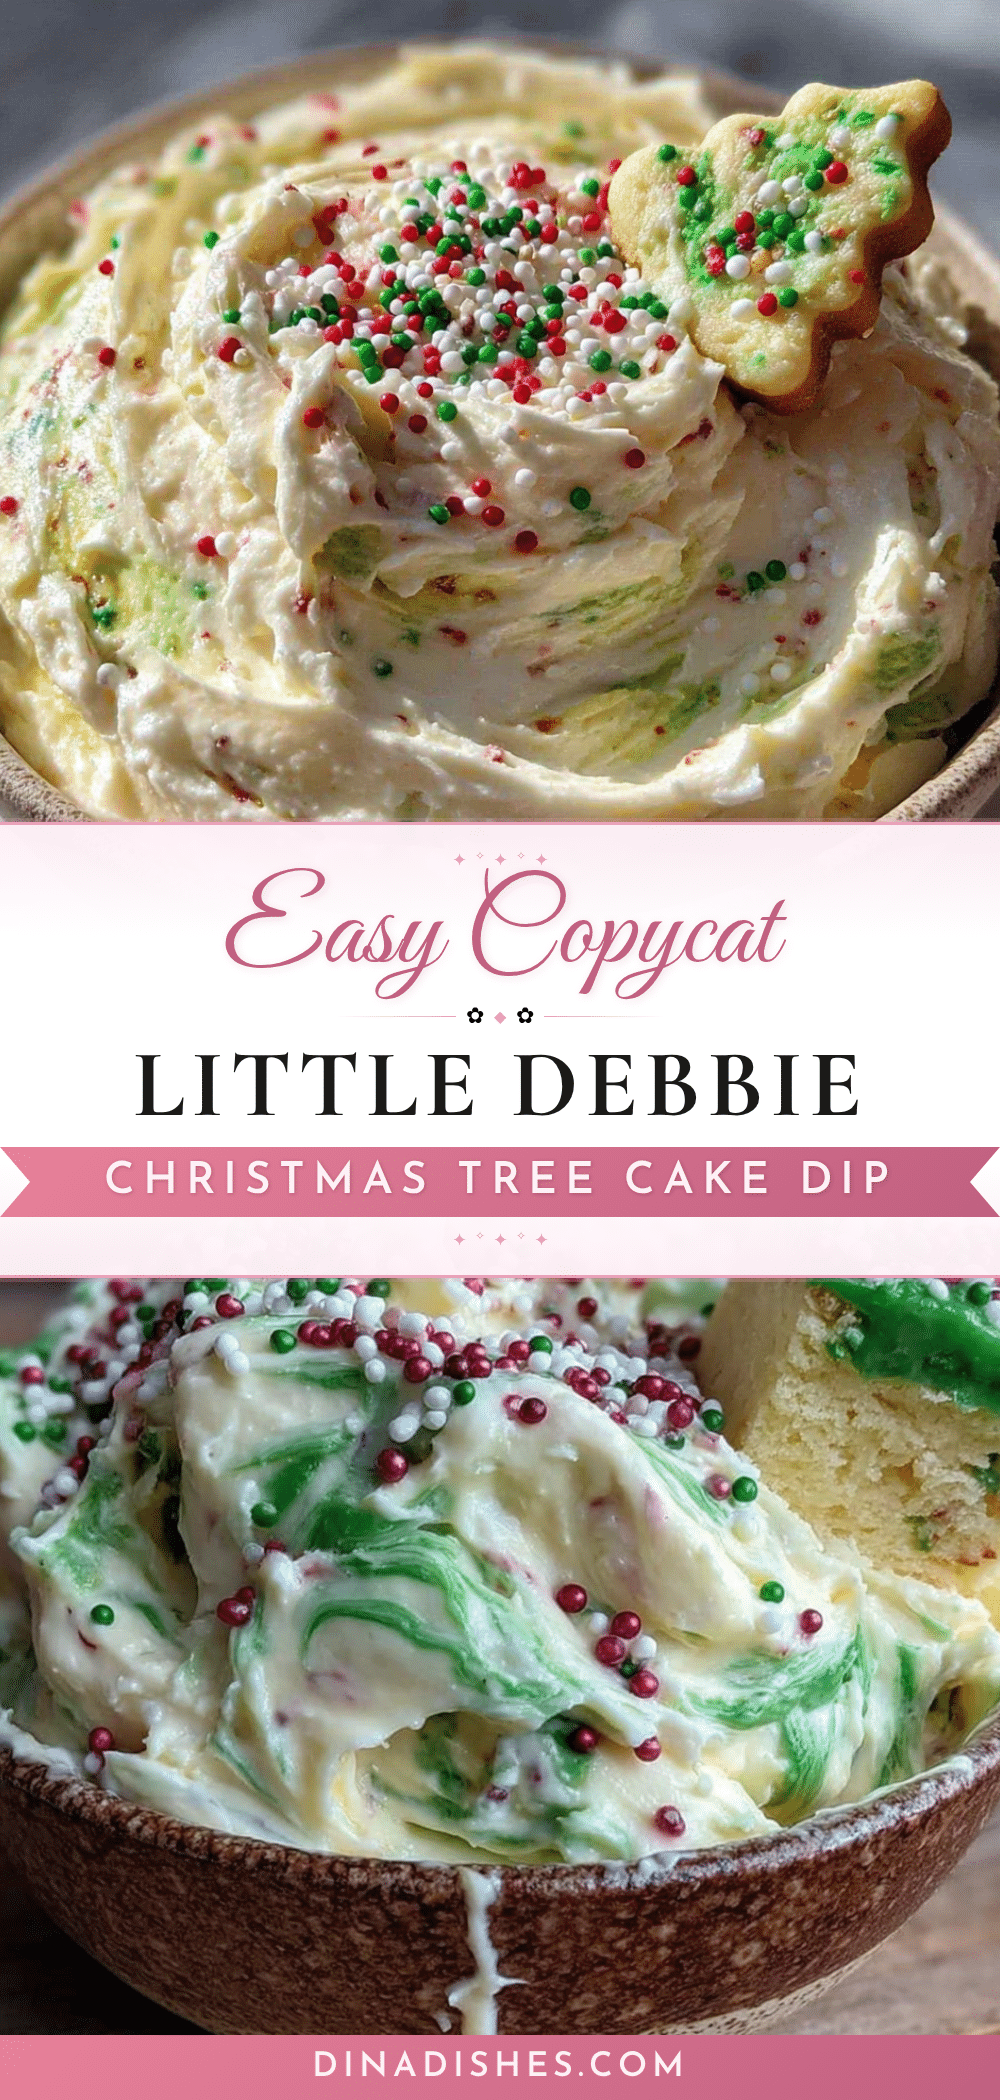
Easy Copycat Little Debbie Christmas Tree Cake Dip You’ll Love

This creamy, sprinkle-covered dip tastes exactly like the inside of a Little Debbie Christmas Tree Cake. Ready in 10 minutes with just 5 ingredients, it’s the perfect no-bake holiday dessert that will steal the show at any gathering.
- Prep Time: 10 minutes
- Cook Time: 0 minutes
- Total Time: 40 minutes (includes 30 minutes chilling)
- Yield: 8 servings 1x
- Category: Dessert
- Cuisine: American
Ingredients
- 8 ounces cream cheese, softened
- 1/2 cup unsalted butter, softened
- 2 cups powdered sugar
- 1 teaspoon vanilla extract
- 1/4 cup holiday sprinkles
- Green food coloring (gel preferred)
- Pinch of salt (optional)
Instructions
- Soften the cream cheese and butter: Take them out of the fridge about 30 minutes before you start. If you forgot, microwave the cream cheese for 10 seconds and the butter for 8 seconds. Just don’t melt them—you want soft, not liquid.
- Beat the cream cheese and butter together: Put both in your mixing bowl and beat on medium speed for about 2 minutes until it’s smooth and fluffy. Scrape down the sides halfway through. You want zero lumps here.
- Add the vanilla and salt: Pour in the vanilla extract and that tiny pinch of salt. Beat for another 30 seconds until it’s all combined.
- Add the powdered sugar gradually: Add it about half a cup at a time, beating on low speed after each addition. Once it’s all in, crank the speed to medium and beat for 2 minutes until it’s light and fluffy.
- Add the green food coloring: Start with one tiny drop of gel food coloring. Beat it in, then check the color. You want a pale green—like the inside of a Little Debbie cake. Add more drop by drop until it looks right.
- Fold in the sprinkles: Use your rubber spatula to gently fold in about 3 tablespoons of the sprinkles. Save the rest for topping. Don’t overmix or the colors from the sprinkles will bleed and turn your dip gray-ish.
- Chill for 30 minutes: This step is optional but highly recommended. The dip thickens up and the flavors meld together. If you’re in a rush, you can serve it right away—it’ll just be a little softer.
- Top and serve: Transfer the dip to your serving bowl and sprinkle the remaining sprinkles on top. Arrange your dippers around it and serve.
Notes
For best results, use room temperature cream cheese and butter. Don’t overmix the sprinkles to prevent color bleeding. The dip can be made up to 2 days ahead; add top sprinkles just before serving. For a dairy-free version, use plant-based block-style cream cheese and butter.
Nutrition
- Serving Size: 2 tablespoons
- Calories: 180
- Sugar: 16
- Sodium: 95
- Fat: 12
- Saturated Fat: 7
- Carbohydrates: 18
- Protein: 2
Keywords: copycat, Little Debbie, Christmas tree cake, dip, no-bake, holiday, dessert, easy, 5 ingredients