I was standing in line at the hardware store last November, clutching a weirdly shaped pipe fitting and feeling completely out of my depth, when the man behind me—an older gentleman in a flannel shirt with paint splattered on his boots—started talking about cookies. Not just any cookies, mind you. He was describing a recipe his wife used to make that involved beating egg whites until they were stiff, folding in chocolate chips, and then just turning off the oven and leaving them in there. “You just forget about them,” he said with a shrug. “That’s the whole trick.”
Honestly, I thought he was pulling my leg. Forget about them? In my kitchen, forgetting about something usually means burning it to a crisp. But there was something about the way he said it—like it was the most natural thing in the world—that stuck with me. I scribbled the vague instructions on the back of my receipt, right between “galvanized nails” and “wood glue.”
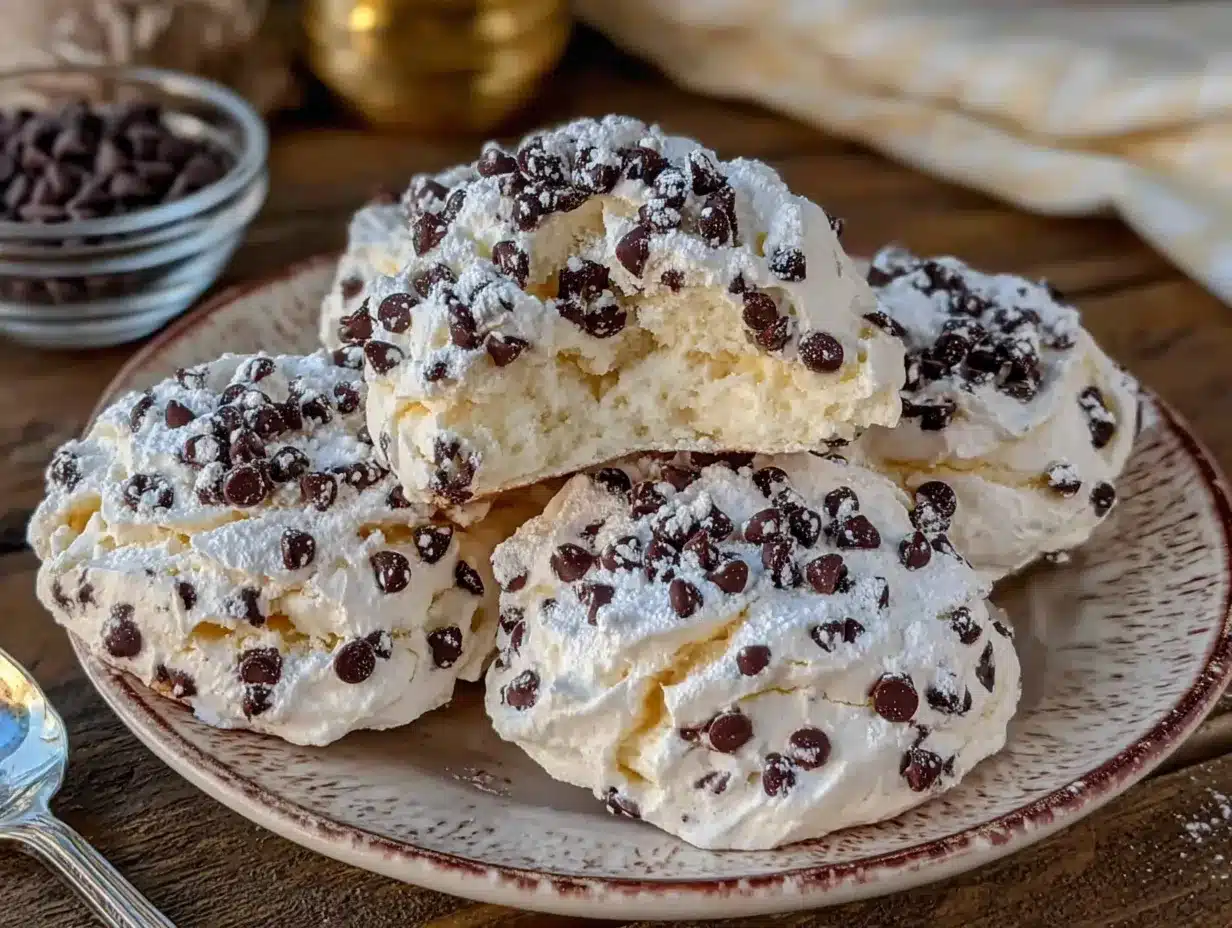
That night, I tried it. I had three egg whites left from making hollandaise earlier that week, a bag of chocolate chips I’d stashed for a rainy day, and a whole lot of skepticism. The kitchen was quiet. The snow was falling outside. And I just… made them. Then I turned off the oven, closed the door, and went to fold laundry. An hour later, I opened the oven, and there they were—light, airy, melt-in-your-mouth little clouds of sweetness with tiny pockets of melted chocolate. I mean, I actually laughed out loud. It felt like magic, but it was just meringue.
You know that feeling when you stumble onto something so simple and so good that you can’t believe you’ve been missing out your whole life? That was this cookie for me. The hardware store guy’s name was Frank, and I’ve never seen him again, but every time I make these cozy forgotten meringue cookies with chocolate chips, I think about him standing there in his paint-stained boots, sharing a secret I didn’t know I needed.
Why You’ll Love This Recipe
These aren’t your average cookies. There’s no butter, no flour, no fuss—just a handful of ingredients that come together in a way that feels almost like a science experiment. But the best part? You don’t have to watch them. You literally turn off the oven and walk away. That’s the kind of baking I can get behind on a busy Tuesday or a lazy Sunday afternoon.
- Quick & Easy: Active prep time is about 10 minutes. The oven does the rest while you do literally anything else.
- Simple Ingredients: Egg whites, sugar, vanilla, chocolate chips, and a pinch of salt. That’s it. No trips to a specialty store.
- Perfect for Cozy Nights: These cookies are light, not heavy, so they’re ideal for a post-dinner treat when you want something sweet but not overly rich.
- Crowd-Pleaser: Kids love them (they’re basically edible clouds with chocolate), and adults appreciate the delicate texture and not-too-sweet flavor.
- Unbelievably Delicious: The outside is crisp, the inside is chewy-soft, and the chocolate chips add just the right amount of richness. It’s comfort food at its simplest.
What makes this recipe different from other meringue cookies is the “forgotten” method. Most meringue recipes have you bake them at a low temperature and then watch them like a hawk. Here, you crank the oven, pop them in, turn it off, and let the residual heat do the work. The result is a cookie that’s perfectly dried out on the outside but still has that soft, marshmallowy center. It’s not just another cookie recipe—it’s a technique that saves you time and stress.
I’ve tested this with different ovens, different sugar types, and even different chip sizes. This version is the one that works every single time. It’s the kind of recipe that makes you feel like a genius, even if you’re just standing in your pajamas waiting for the kettle to boil.
What Ingredients You Will Need
This recipe uses simple, humble ingredients that probably live in your kitchen right now. There’s no heavy cream, no fancy extracts, no complicated stuff. Just the basics, doing their best work.
- 3 large egg whites, at room temperature (this is important—cold eggs won’t whip up as high or as stable)
- ¾ cup (150g) granulated sugar (regular white sugar works perfectly; avoid superfine unless you have it on hand)
- 1 teaspoon vanilla extract (pure vanilla makes a difference, but imitation works in a pinch)
- ¼ teaspoon cream of tartar (this stabilizes the egg whites and helps them hold their shape; you can substitute with ½ teaspoon lemon juice or white vinegar)
- Pinch of salt (just a tiny bit to balance the sweetness)
- ½ cup (85g) mini chocolate chips (I prefer mini chips because they distribute more evenly and don’t sink to the bottom; regular chips work too, just chop them roughly first)
Ingredient Tips from My Kitchen:
- For the best volume, make sure your bowl and whisk are completely clean and free of any grease. A tiny bit of oil or yolk can ruin the whole batch. I wipe my bowl with a little lemon juice on a paper towel before starting—old pastry chef trick.
- I’ve tried this with organic cane sugar and it works, but the texture is slightly grainier. Stick with regular granulated sugar for that perfect melt-in-your-mouth feel.
- If you only have large chocolate chips, give them a rough chop. It helps them stay suspended in the meringue instead of falling to the bottom.
- For a flavor twist, try using dark chocolate chips or even white chocolate chips with a sprinkle of freeze-dried raspberries. But the classic version is hard to beat.
Equipment Needed
You don’t need a fancy kitchen to make these cookies. Here’s what you’ll need:
- Electric hand mixer or stand mixer (you can whisk by hand, but your arm will get a workout—I don’t recommend it unless you’re feeling ambitious)
- Large mixing bowl (glass or metal is best; plastic can sometimes hold onto grease)
- Rubber spatula (for folding in the chocolate chips gently)
- Baking sheet (a light-colored, rimmed sheet works best; dark sheets can cause the bottoms to brown too much)
- Parchment paper or silicone baking mat (don’t skip this—meringue sticks to bare metal like glue)
- Cooling rack (for letting the cookies cool completely after they come out of the oven)
- Measuring cups and spoons (accuracy matters here, especially with the sugar)
If you don’t have a stand mixer, a hand mixer works perfectly. I actually prefer my hand mixer for small batches like this because it’s easier to scrape the sides. And if you don’t have cream of tartar, a splash of lemon juice does the same job. Don’t overthink the equipment—just use what you’ve got.
Preparation Method
This is where the magic happens. Follow these steps carefully, and you’ll have perfect forgotten meringue cookies every time.
- Preheat your oven to 350°F (175°C). Line a baking sheet with parchment paper or a silicone mat. Set aside.
- Separate your eggs. Make sure no yolk gets into the whites. If you’re nervous, separate each egg into a small bowl first, then add the white to your mixing bowl. One bad egg can ruin the whole batch, so take your time.
- Start whipping the egg whites on medium speed until they become frothy and bubbly. This takes about 30–45 seconds. You’ll see lots of tiny bubbles forming.
- Add the cream of tartar and salt. Continue whipping on medium-high speed until soft peaks form. When you lift the whisk, the egg whites should form a peak that flops over gently. This takes about 2–3 minutes.
- Start adding the sugar, one tablespoon at a time, while the mixer is running on medium-high speed. This is the most important step—don’t dump it all in at once. Adding it slowly helps the sugar dissolve completely, which gives you that smooth, glossy texture. Keep scraping down the sides of the bowl with a spatula as needed.
- Once all the sugar is added, increase the speed to high and whip until the meringue is stiff and glossy. You’ll know it’s ready when you rub a little between your fingers and it feels smooth, not gritty. This usually takes 5–7 minutes total from when you started adding sugar. The meringue should hold a stiff peak that doesn’t droop.
- Add the vanilla extract and beat for another 10 seconds, just to combine.
- Remove the bowl from the mixer. Gently fold in the chocolate chips using a rubber spatula. Use a light hand here—you want to keep as much air in the meringue as possible. Fold just until the chips are evenly distributed, about 10–15 strokes.
- Drop spoonfuls of meringue onto the prepared baking sheet. I use a small cookie scoop (about 1.5 tablespoons) for even-sized cookies. Space them about 2 inches apart—they don’t spread much, but they need a little breathing room.
- Place the baking sheet in the oven and immediately turn the oven OFF. Do not open the door. Do not peek. Just close it and walk away.
- Let the cookies sit in the turned-off oven for at least 1 hour, or overnight. I usually leave them for 2–3 hours for the best texture. The residual heat slowly dries them out, creating that perfect crisp exterior with a soft center.
- Remove the cookies from the oven. They should lift easily off the parchment paper. If they stick, they need more time—pop them back in the turned-off oven for another 30 minutes. Let them cool completely on a wire rack before serving.
My Personal Timing Tip: I like to make these right before I go to bed. I mix them up, pop them in the oven, turn it off, and go to sleep. In the morning, I have perfect cookies waiting for me. It feels like a gift from my past self.
Cooking Tips & Techniques
Over the years, I’ve made my share of mistakes with meringue. Here’s what I’ve learned so you don’t have to repeat my failures.
- Don’t over-whip the egg whites. I did this once while distracted by a phone call, and the meringue turned grainy and started weeping liquid. If you see the mixture looking curdled or separated, you’ve gone too far. Start over—it’s not salvageable.
- Humidity is the enemy. Meringue absorbs moisture from the air, which makes it sticky and soft. Try to make these on a dry day. If it’s raining, your cookies might not crisp up as well. I’ve made them on humid summer days and they still work, but they’re definitely chewier.
- Don’t open the oven door. I know it’s tempting. But every time you open it, you let heat escape and introduce moisture. Trust the process. The cookies are doing their thing in there.
- If your cookies are sticky after cooling, they might need more time in the oven. Pop them back in the turned-off oven for another 30 minutes. Alternatively, you can leave them out on the counter uncovered overnight—they’ll dry out on their own.
- For perfectly shaped cookies, use a piping bag with a large round tip instead of dropping spoonfuls. I do this when I’m feeling fancy, but honestly, the rustic spoonfuls have more charm.
One time, I forgot to add the cream of tartar entirely. The cookies still worked, but they were flatter and less stable. So if you’re out, don’t panic—just add a few drops of lemon juice instead. Baking is about adapting, not perfection.
Variations & Adaptations
This recipe is endlessly flexible. Here are some of my favorite ways to change it up.
- Chocolate Mint: Swap the vanilla extract for ½ teaspoon peppermint extract and use mini chocolate chips. It’s like a thin mint cookie in cloud form.
- Citrus Dream: Add 1 teaspoon of lemon or orange zest along with the vanilla. Fold in white chocolate chips instead of dark. The brightness is perfect for spring.
- Nutty Crunch: Fold in ¼ cup of finely chopped toasted almonds or pecans along with the chocolate chips. The texture contrast is lovely.
- Vegan Version: Use aquafaba (the liquid from a can of chickpeas) instead of egg whites. Three tablespoons of aquafaba equals one egg white. Whip it the same way—it works surprisingly well.
- Spiced Chai: Add ½ teaspoon of cinnamon, ¼ teaspoon of cardamom, and a pinch of ginger to the sugar before whipping. It gives the cookies a warm, cozy flavor that’s perfect for fall.
I once made a batch with crushed freeze-dried strawberries and white chocolate chips. They looked like little pink clouds and tasted like summer. Don’t be afraid to experiment—meringue is forgiving as long as you stick to the basic ratios.
Serving & Storage Suggestions
These cookies are delicate, so handle them with care. Here’s how to serve and store them.
- Serving temperature: Room temperature is best. The texture is at its peak—crisp on the outside, soft on the inside.
- Presentation: Arrange them on a pretty plate or in a tin lined with parchment paper. They look beautiful with a dusting of powdered sugar or a drizzle of melted chocolate.
- Pairings: Serve with a cup of hot coffee, a mug of tea, or a glass of cold milk. They’re also lovely alongside a bowl of fresh berries or a scoop of vanilla ice cream.
- Storage: Store in an airtight container at room temperature for up to 5 days. Do not refrigerate—the moisture will ruin them. If your kitchen is humid, add a silica gel packet (the kind you find in shoe boxes) to the container to keep them crisp.
- Freezing: These freeze beautifully. Place them in a single layer in a freezer-safe container with parchment paper between layers. They’ll keep for up to 3 months. Thaw at room temperature for 15 minutes before serving.
- Flavor development: Honestly, these cookies are best within the first 2 days. After that, they start to soften slightly. But I’ve never had a batch last long enough to test that theory.
Nutritional Information & Benefits
These cookies are lighter than most desserts, but they’re still a treat. Here’s the breakdown per cookie (based on 24 cookies).
- Calories: Approximately 45–55 calories per cookie
- Fat: 1–2g (mostly from the chocolate chips)
- Carbohydrates: 9–10g
- Sugar: 8–9g
- Protein: 1g
- Fiber: 0.5g
Health Highlights:
- Egg whites are a great source of lean protein and contain no fat or cholesterol.
- This recipe is naturally gluten-free and dairy-free (depending on your chocolate chips).
- Dark chocolate chips add antioxidants and a little bit of iron.
- Compared to traditional cookies, these are much lower in calories and fat, making them a lighter option when you’re craving something sweet.
Dietary Considerations:
- Gluten-free: Yes, as written.
- Dairy-free: Use dairy-free chocolate chips.
- Nut-free: Yes, as written.
- Vegan: Use aquafaba instead of egg whites.
- Potential allergens: Eggs (unless using aquafaba).
I’m not a nutritionist, but I’ve always felt good about serving these to my family. They’re sweet enough to feel indulgent but light enough that you don’t regret having two (or three).
Conclusion
These cozy forgotten meringue cookies with chocolate chips are proof that the best recipes don’t have to be complicated. They come from a chance encounter at a hardware store, a scribbled note on a receipt, and a technique that feels almost too simple to work. But it does work, every single time.
I love that this recipe lets me step away from the oven and do something else—read a book, take a walk, or just sit and watch the snow fall. It’s baking without the stress, and that’s a rare gift. Whether you’re making them for a holiday cookie swap, a cozy night in, or just because you have three egg whites to use up, I hope they bring you the same quiet joy they’ve brought me.
Try them once, and I think you’ll see why Frank in the paint-stained boots couldn’t stop talking about them. And when you do, come back and tell me how they turned out. Did you add anything fun? Did you leave them in overnight? I’d love to hear your story. Drop a comment below, share a photo, or tag me on social media. Let’s keep the conversation going—one forgotten cookie at a time.
Frequently Asked Questions
Can I use a sugar substitute in this recipe?
I wouldn’t recommend it. Sugar isn’t just for sweetness here—it provides structure and stability to the meringue. Artificial sweeteners or natural alternatives like coconut sugar don’t dissolve the same way and can cause the cookies to collapse or turn out grainy. Stick with granulated sugar for the best results.
Why are my meringue cookies sticky?
Sticky meringue usually means they weren’t dried out enough. This can happen if the oven wasn’t hot enough when you turned it off, or if you opened the door too soon. Try leaving them in the turned-off oven for another 30–60 minutes. On humid days, they may need extra time to dry out completely.
Can I make these cookies in a convection oven?
Yes, but you’ll need to adjust. Convection ovens circulate air and can dry out meringue faster. Preheat to 325°F (160°C) instead of 350°F, then turn off the oven and proceed as usual. Keep an eye on them the first time you try it to see how your oven behaves.
How do I know when the meringue is stiff enough?
Lift the whisk attachment straight up. The meringue should form a peak that stands straight up without drooping. If it flops over, keep whipping. Also, rub a little between your fingers—if it feels smooth and not gritty, the sugar is dissolved and you’re good to go.
Can I add food coloring to these cookies?
Absolutely! Gel food coloring works best because it doesn’t add extra liquid. Add it along with the vanilla extract at the end of whipping. Fold it in gently until the color is even. Liquid food coloring can deflate the meringue, so stick with gel or powder if you want vibrant colors.
Pin This Recipe!
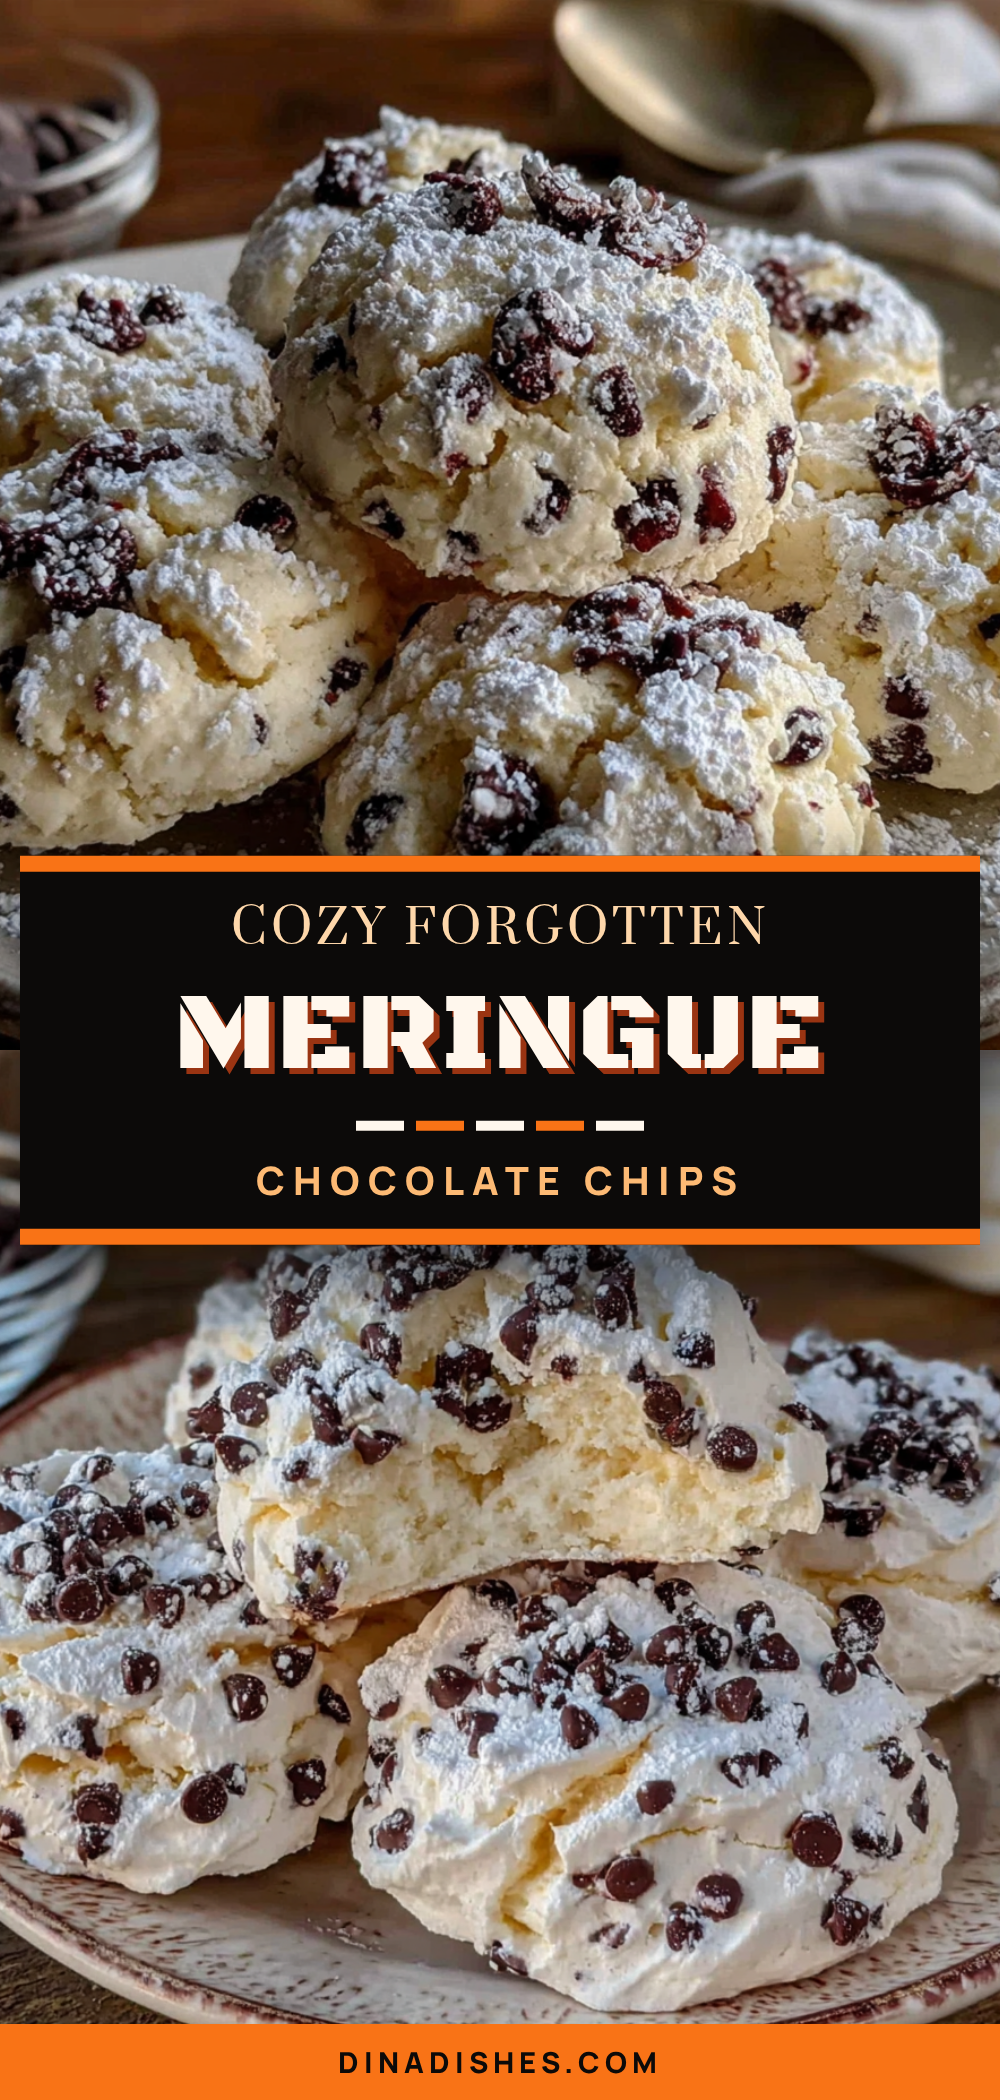
Easy Forgotten Meringue Cookies with Chocolate Chips
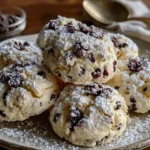
These light, airy, melt-in-your-mouth meringue cookies are made with just a handful of simple ingredients. The unique ‘forgotten’ method means you turn off the oven and walk away, letting the residual heat do all the work for a perfectly crisp exterior and soft, marshmallowy center.
- Prep Time: 10 minutes
- Cook Time: 1 hour (in turned-off oven)
- Total Time: 1 hour 10 minutes (or overnight)
- Yield: 24 cookies 1x
- Category: Dessert
- Cuisine: American
Ingredients
- 3 large egg whites, at room temperature
- 3/4 cup (150g) granulated sugar
- 1 teaspoon vanilla extract
- 1/4 teaspoon cream of tartar
- Pinch of salt
- 1/2 cup (85g) mini chocolate chips
Instructions
- Preheat your oven to 350°F (175°C). Line a baking sheet with parchment paper or a silicone mat. Set aside.
- Separate your eggs. Make sure no yolk gets into the whites. If you’re nervous, separate each egg into a small bowl first, then add the white to your mixing bowl.
- Start whipping the egg whites on medium speed until they become frothy and bubbly, about 30–45 seconds.
- Add the cream of tartar and salt. Continue whipping on medium-high speed until soft peaks form, about 2–3 minutes.
- Start adding the sugar, one tablespoon at a time, while the mixer is running on medium-high speed. Keep scraping down the sides of the bowl with a spatula as needed.
- Once all the sugar is added, increase the speed to high and whip until the meringue is stiff and glossy, about 5–7 minutes total from when you started adding sugar. The meringue should hold a stiff peak that doesn’t droop.
- Add the vanilla extract and beat for another 10 seconds, just to combine.
- Remove the bowl from the mixer. Gently fold in the chocolate chips using a rubber spatula. Fold just until the chips are evenly distributed, about 10–15 strokes.
- Drop spoonfuls of meringue onto the prepared baking sheet. Use a small cookie scoop (about 1.5 tablespoons) for even-sized cookies. Space them about 2 inches apart.
- Place the baking sheet in the oven and immediately turn the oven OFF. Do not open the door. Do not peek. Just close it and walk away.
- Let the cookies sit in the turned-off oven for at least 1 hour, or overnight. I usually leave them for 2–3 hours for the best texture.
- Remove the cookies from the oven. They should lift easily off the parchment paper. If they stick, they need more time—pop them back in the turned-off oven for another 30 minutes. Let them cool completely on a wire rack before serving.
Notes
For best volume, ensure bowl and whisk are completely clean and free of grease. Humidity is the enemy of meringue; try to make these on a dry day. Do not open the oven door while the cookies are drying. If cookies are sticky after cooling, return them to the turned-off oven for another 30 minutes. Store in an airtight container at room temperature for up to 5 days; do not refrigerate. Freeze for up to 3 months.
Nutrition
- Serving Size: 1 cookie
- Calories: 50
- Sugar: 8.5
- Sodium: 15
- Fat: 1.5
- Saturated Fat: 1
- Carbohydrates: 9.5
- Fiber: 0.5
- Protein: 1
Keywords: forgotten cookies, meringue cookies, chocolate chip meringue, easy meringue, no-bake cookies, gluten-free cookies, dairy-free cookies