My neighbor, a seven-year-old named Leo, asked why I couldn’t just brown the butter in the microwave. I was about to launch into a whole speech about even heat and the importance of watching it on the stove—the whole lecture I’d given a hundred times. But I stopped. Honestly, I was tired, and the idea of not having to stand over a hot pan sounded pretty good. So I said, “You know what, Leo? Let’s try it.” I popped a stick of butter in a Pyrex bowl and hit the button. Thirty seconds. Stir. Thirty more seconds. Stir. And you know what? It worked. It was nutty, golden, and perfect. I felt a little silly, but mostly I was just delighted. That little moment of being wrong, of letting a kid’s simple logic win, is exactly how this brown butter banana bread came to be. It’s not just a recipe; it’s a reminder that sometimes the best ideas come from the most unexpected places.
This bread has become a staple in my kitchen, and I think you’ll find it becomes one in yours, too. It’s the kind of recipe that makes you look like a hero—a warm, golden loaf that fills your home with the smell of toasted walnuts and rich, nutty butter. And the best part? It’s made with ingredients you probably already have on your counter. So, if you’ve got some spotty bananas and a stick of butter, you’re already halfway there. Maybe you’ve been there, staring at those overripe bananas, wondering what to do with them. This is the answer.
Why You’ll Love This Recipe
Let’s be real—there are a million banana bread recipes out there. But this one? It’s different. It’s the one I keep coming back to, and not just because a seven-year-old helped inspire it. Here’s why this Kid-Approved Brown Butter Banana Bread with Toasted Walnuts is a total game-changer for your family table:
- Quick & Easy: From start to finish, you’re looking at about an hour. The brown butter takes just 5 minutes in the microwave (yes, really), and the rest is a simple one-bowl situation. Perfect for a lazy Sunday morning or a Tuesday after-school snack.
- Simple Ingredients: No fancy flours or exotic extracts. You need butter, bananas, sugar, eggs, flour, baking soda, salt, and walnuts. That’s it. Things you already have.
- Perfect for Family Meals: This isn’t just a breakfast bread. It’s an after-school snack. It’s a lunchbox treat. It’s a “let’s have something cozy with our afternoon coffee” kind of bread. It pleases everyone from the toddler to the grandparent.
- Crowd-Pleaser: I’ve brought this to potlucks and school bake sales. It disappears. The toasted walnuts add a crunch that even picky eaters love, and the brown butter gives it a depth of flavor that feels fancy without any extra work.
- Unbelievably Delicious: The texture is incredibly moist and tender, with a slightly crisp, golden crust. The brown butter adds this nutty, almost caramel-like flavor that makes you close your eyes after the first bite. It’s comfort food, reimagined.
I’ve tested this recipe more times than I can count, tweaking the butter temperature and the walnut size until it was just right. This isn’t just another version of banana bread—it’s my best version, born from a happy accident and a kid’s brilliant idea.
What Ingredients You Will Need
This recipe uses simple, wholesome ingredients to deliver that incredible flavor. Most of these are pantry staples, which makes it even easier to whip up on a whim. Here’s what you’ll need to gather:
- Unsalted Butter (½ cup / 1 stick / 113g): This is the star of the show. We’re browning it to unlock a deep, nutty flavor. I use unsalted so I can control the salt level. You’ll want to cut it into a few pieces so it melts evenly.
- Ripe Bananas (3 medium, about 1 cup / 240g mashed): The riper, the better! Look for bananas with lots of brown spots. They’re sweeter and easier to mash. If you only have yellow ones, you can roast them in the oven at 300°F for 15 minutes to speed things up.
- Granulated Sugar (½ cup / 100g): Adds sweetness and helps create that tender crumb.
- Light Brown Sugar (¼ cup / 50g, packed): This adds a touch of molasses flavor that pairs beautifully with the brown butter and walnuts.
- Large Eggs (2, room temperature): They bind everything together and add richness. If you forget to take them out of the fridge, just place them in a bowl of warm water for 5 minutes.
- Vanilla Extract (1 teaspoon): Enhances all the other flavors. I prefer pure vanilla extract, but imitation works in a pinch.
- All-Purpose Flour (1 ½ cups / 180g): The structure of the bread. For a gluten-free option, you can use a 1:1 gluten-free baking flour blend.
- Baking Soda (1 teaspoon): This is our leavening agent, helping the bread rise and get fluffy.
- Salt (½ teaspoon): Balances the sweetness and brings out the flavor of the brown butter.
- Walnuts (¾ cup / 75g, chopped): I love the crunch they add. Toasting them is a must—it brings out their oils and makes them taste richer. I recommend chopping them into small, bite-sized pieces so you get some in every slice.
Ingredient Tip: For the best texture, make sure your eggs are at room temperature. Cold eggs can seize the melted butter and make the batter lumpy. Also, I’ve found that using a kitchen scale for the flour gives the most consistent results, but spooning it into your measuring cup and leveling it off works great too.
Equipment Needed
You don’t need a fancy kitchen to make this bread. Here’s what you’ll need:
- Microwave-safe bowl (for browning butter): A Pyrex glass measuring cup works perfectly. It lets you see the color change.
- Large mixing bowl: For combining your wet and dry ingredients.
- Whisk and a rubber spatula: A whisk for the wet ingredients and a spatula for folding in the flour and walnuts.
- 9×5-inch loaf pan: A standard loaf pan. If you use a metal pan, your crust will be crispier. Glass or ceramic will work, too, but you may need to add 5-10 minutes to the baking time.
- Parchment paper: I highly recommend lining your pan with parchment paper. It makes lifting the bread out so much easier, and cleanup is a breeze.
- Cooling rack: Essential for letting the bread cool evenly so it doesn’t get soggy.
- Small skillet or baking sheet (for toasting walnuts): A dry skillet on the stove works in about 3-4 minutes. A baking sheet in the oven at 350°F works in about 5-7 minutes.
Personal Note: I used to skip the parchment paper, thinking it was extra work. Then I had a loaf that stuck so badly I had to eat it out of the pan with a spoon. Not my finest moment. Trust me, the parchment paper is worth it.
Preparation Method
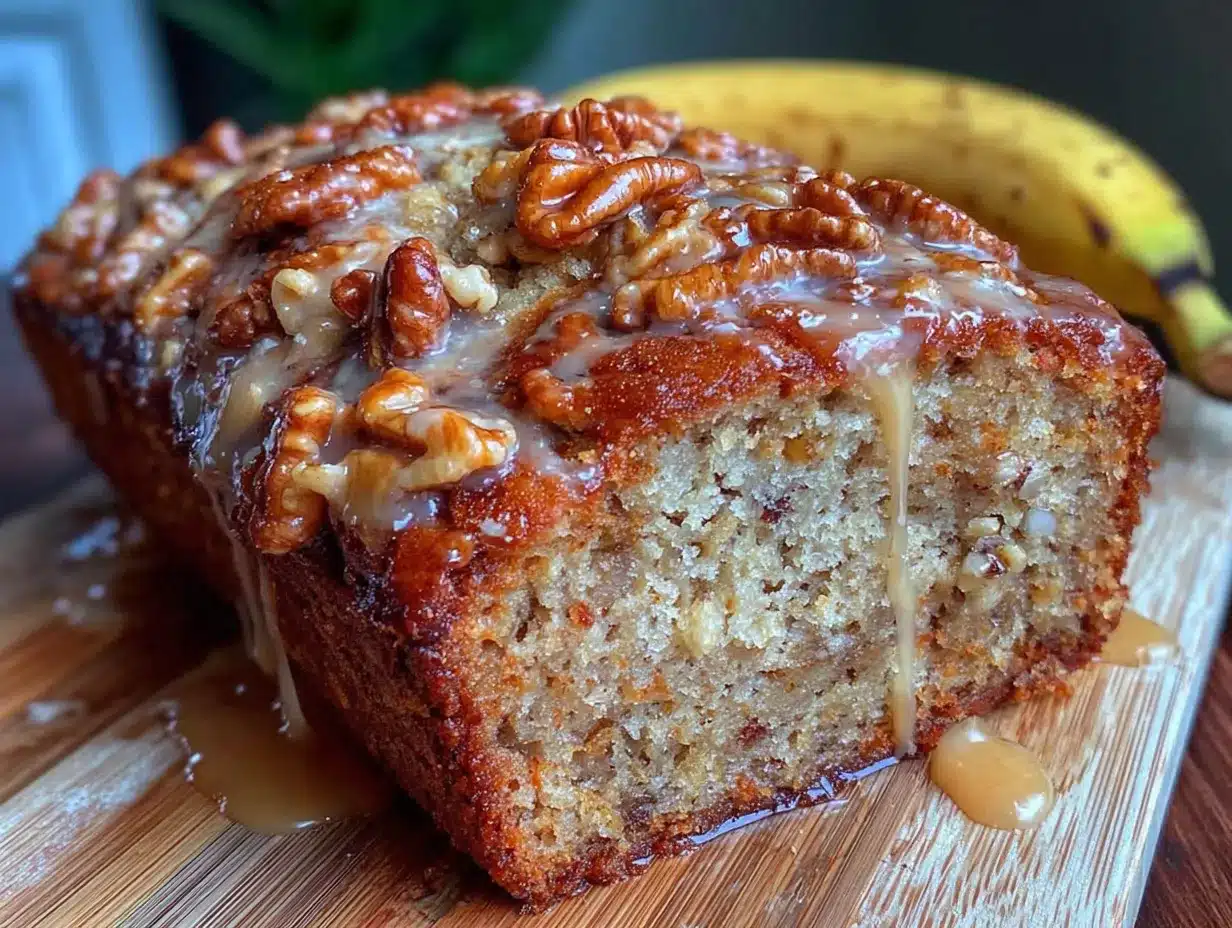
Alright, let’s get baking! This is a straightforward recipe, but a few little tricks make all the difference. Follow these steps, and you’ll have a perfect loaf every time.
- Preheat and Prep: Preheat your oven to 350°F (175°C). Grease a 9×5-inch loaf pan and line it with a strip of parchment paper, leaving an overhang on the two long sides. This will be your “handle” later.
- Toast the Walnuts: Spread the chopped walnuts on a small baking sheet. Toast them in the preheated oven for 5-7 minutes, or until they are fragrant and lightly golden. Keep an eye on them—they can burn quickly! Alternatively, toast them in a dry skillet over medium heat, stirring frequently, for 3-4 minutes. Set them aside to cool.
- Brown the Butter (The Leo Method): Place the butter in a microwave-safe bowl. Microwave on high for 30 seconds. Stir. Microwave for another 30 seconds. Stir. Continue in 15-second intervals, stirring in between, until the butter is a deep golden brown and smells nutty. This usually takes about 2-3 minutes total. Be careful—it will be very hot! Let it cool for 5 minutes. Note: If you prefer the stovetop method, melt the butter in a light-colored saucepan over medium heat, swirling occasionally, until it turns golden brown and you see brown specks at the bottom. This takes about 5-7 minutes.
- Mash the Bananas: In a large mixing bowl, mash the ripe bananas with a fork or a potato masher until they are mostly smooth with a few small lumps. You want about 1 cup of mashed banana.
- Mix the Wet Ingredients: To the mashed bananas, add the cooled brown butter, granulated sugar, brown sugar, eggs, and vanilla extract. Whisk everything together until it is smooth and well combined. The mixture will look a little shiny and smell amazing.
- Combine the Dry Ingredients: In a separate small bowl, whisk together the all-purpose flour, baking soda, and salt. This ensures the baking soda is evenly distributed.
- Fold it Together: Pour the dry ingredients into the wet ingredients. Using a rubber spatula, gently fold the mixture together until just combined. A few streaks of flour are okay—overmixing will make the bread tough. Sensory Cue: The batter should be thick and slightly lumpy, not runny.
- Add the Walnuts: Gently fold in the toasted walnuts, reserving a handful to sprinkle on top of the loaf for decoration.
- Bake the Bread: Pour the batter into your prepared loaf pan and spread it evenly. Sprinkle the reserved walnuts on top. Bake for 50-60 minutes, or until a toothpick inserted into the center comes out clean or with a few moist crumbs. Troubleshooting Tip: If the top is browning too quickly after 40 minutes, tent the loaf loosely with aluminum foil.
- Cool and Serve: Let the bread cool in the pan for 10 minutes. Then, use the parchment paper handles to lift it out and transfer it to a wire rack to cool completely before slicing. This is the hardest part—the smell will drive you crazy! But slicing it warm will make it crumble.
Cooking Tips & Techniques
Over the years, I’ve made this bread so many times that I’ve learned a few things the hard way. Here are my best tips to ensure your loaf is perfect every single time:
- Don’t Overmix the Batter: This is the number one mistake. When you mix the flour into the wet ingredients, gluten develops. Overmixing creates too much gluten, which makes the bread dense and tough. Fold gently, just until you don’t see any more dry flour. A few lumps are your friend!
- The Toothpick Test is Your Friend: Ovens vary wildly. My oven runs hot, so my loaf is usually done at 50 minutes. Yours might take 60. Start checking at the 50-minute mark. If the toothpick comes out with wet batter, give it another 5 minutes. If it comes out with a few moist crumbs, it’s perfect.
- Room Temperature Eggs Matter: I learned this lesson when I made a batch with cold eggs and the butter seized up into little clumps. The bread still tasted good, but the texture was uneven. Room temperature eggs emulsify into the batter much better, creating a smoother, more tender crumb.
- Toast Your Walnuts Twice: This is a game-changer. Toasting them once before adding them to the batter is a must. But I also like to toast a second, smaller batch to sprinkle on top. It gives the top of the bread an extra-crunchy, nutty crust that is just incredible.
- Let it Cool Completely: I know, I know. The smell is intoxicating. But slicing into a warm loaf is a recipe for a crumbly mess. The starches need time to set. If you can wait the full hour, you’ll be rewarded with clean, perfect slices.
Variations & Adaptations
This recipe is a fantastic base, and I love playing around with it. Here are a few of my favorite variations:
- Chocolate Chip Banana Bread: Omit the walnuts and fold in ½ cup of semi-sweet or dark chocolate chips. The combo of brown butter and chocolate is pure magic. My kids go absolutely crazy for this version.
- Gluten-Free Option: Use a high-quality 1:1 gluten-free baking flour blend. I’ve had great success with Bob’s Red Mill. You may need to add an extra tablespoon of milk to the batter, as gluten-free flours tend to absorb more liquid.
- Vegan & Dairy-Free: Swap the butter for a high-quality vegan butter (like Miyoko’s) and use a flax egg (1 tablespoon ground flaxseed + 3 tablespoons water, let sit for 5 minutes). The brown butter flavor will be slightly different, but it’s still delicious.
- Spiced Banana Bread: Add 1 teaspoon of ground cinnamon, ½ teaspoon of ground nutmeg, and ¼ teaspoon of ground ginger to the dry ingredients. It gives the bread a warm, cozy flavor that’s perfect for fall.
- Lower Sugar Option: You can reduce the granulated sugar to ⅓ cup and the brown sugar to 2 tablespoons. The bread will be less sweet, but the bananas and brown butter will still provide plenty of flavor.
Personal Variation: My favorite twist is to add a handful of shredded coconut along with the walnuts. The toasty coconut pairs beautifully with the brown butter, and it adds another layer of texture. It’s like a tropical vacation in a slice of bread!
Serving & Storage Suggestions
This bread is incredibly versatile. Here’s how to serve it and keep it fresh:
- Serving: Serve it warm or at room temperature. A slice with a pat of salted butter is a classic move. For a real treat, toast a slice and spread it with a little honey or maple butter. It’s also fantastic with a cup of coffee or a glass of cold milk.
- Storage: Store the bread in an airtight container at room temperature for up to 4 days. The flavors actually get better after a day or two as they meld together.
- Freezing: This bread freezes beautifully! Let it cool completely, then wrap it tightly in plastic wrap, followed by a layer of aluminum foil. Freeze for up to 3 months. To thaw, leave it on the counter overnight, or pop individual slices in the toaster for a quick treat.
- Reheating: The best way to reheat a slice is in the toaster or a 350°F oven for 5-7 minutes. It brings back the crisp crust and warms the inside perfectly.
Nutritional Information & Benefits
While this is definitely a treat, it does have some redeeming qualities! Here’s a quick look at the nutritional profile (per slice, based on 10 slices):
| Nutrient | Amount per Slice |
|---|---|
| Calories | ~280 kcal |
| Fat | 14g |
| Saturated Fat | 6g |
| Carbohydrates | 36g |
| Fiber | 2g |
| Sugar | 18g |
| Protein | 4g |
Health Benefits: Bananas are a great source of potassium and vitamin B6. Walnuts are packed with healthy omega-3 fatty acids, which are great for brain health (perfect for those growing kids!). And while butter is high in fat, the brown butter process actually creates a more flavorful product, meaning you might use less overall than in other recipes.
Dietary Considerations: This recipe can easily be adapted to be gluten-free, dairy-free, or vegan (see variations above). It is naturally nut-free if you omit the walnuts, but be sure to check your other ingredients for cross-contamination if you have a serious allergy.
Conclusion
So there you have it—my Kid-Approved Brown Butter Banana Bread with Toasted Walnuts. It’s a recipe born from a moment of humility, a seven-year-old’s clever idea, and a whole lot of love. It’s the kind of bread that makes a simple afternoon feel special, that turns overripe bananas into something magical, and that fills your home with a warmth that goes beyond the oven.
I encourage you to make this your own. Swap the walnuts for chocolate chips. Add a pinch of cinnamon. Or, if you’re feeling brave, try the microwave method for the butter and see what happens. You might be surprised. I know I was.
I’d love to hear how it turns out for you! Leave a comment below and let me know if your family loved it as much as mine does. And if you came up with a brilliant variation, please share it—I’m always looking for new ideas. Happy baking, friends!
Frequently Asked Questions
Can I use frozen bananas for this recipe?
Absolutely! Frozen bananas are perfect for banana bread. Just thaw them completely, and pour off any excess liquid before mashing. The liquid can make the bread too wet.
Why did my banana bread sink in the middle?
This usually happens if the bread is underbaked or if the oven temperature is too low. Make sure your oven is properly preheated to 350°F and use the toothpick test to ensure it’s fully baked. Also, opening the oven door too early can cause the bread to collapse.
Can I make this into muffins instead of a loaf?
Yes, you can! Grease a 12-cup muffin tin and fill each cup about ¾ full. Bake at 350°F for 18-22 minutes, or until a toothpick inserted into the center of a muffin comes out clean. This is a great option for lunchboxes.
How do I know when the brown butter is done?
You’re looking for a deep golden amber color. You’ll also see small brown specks at the bottom of the bowl, and it will smell intensely nutty and warm. Be careful not to burn it—if it smells bitter or looks black, you’ve gone too far and should start over.
Can I skip the walnuts?
Of course! This recipe is just as delicious without them. The bread will still be incredibly moist and flavorful thanks to the brown butter. You can also substitute them with pecans, chocolate chips, or even dried fruit like cranberries.
Pin This Recipe!
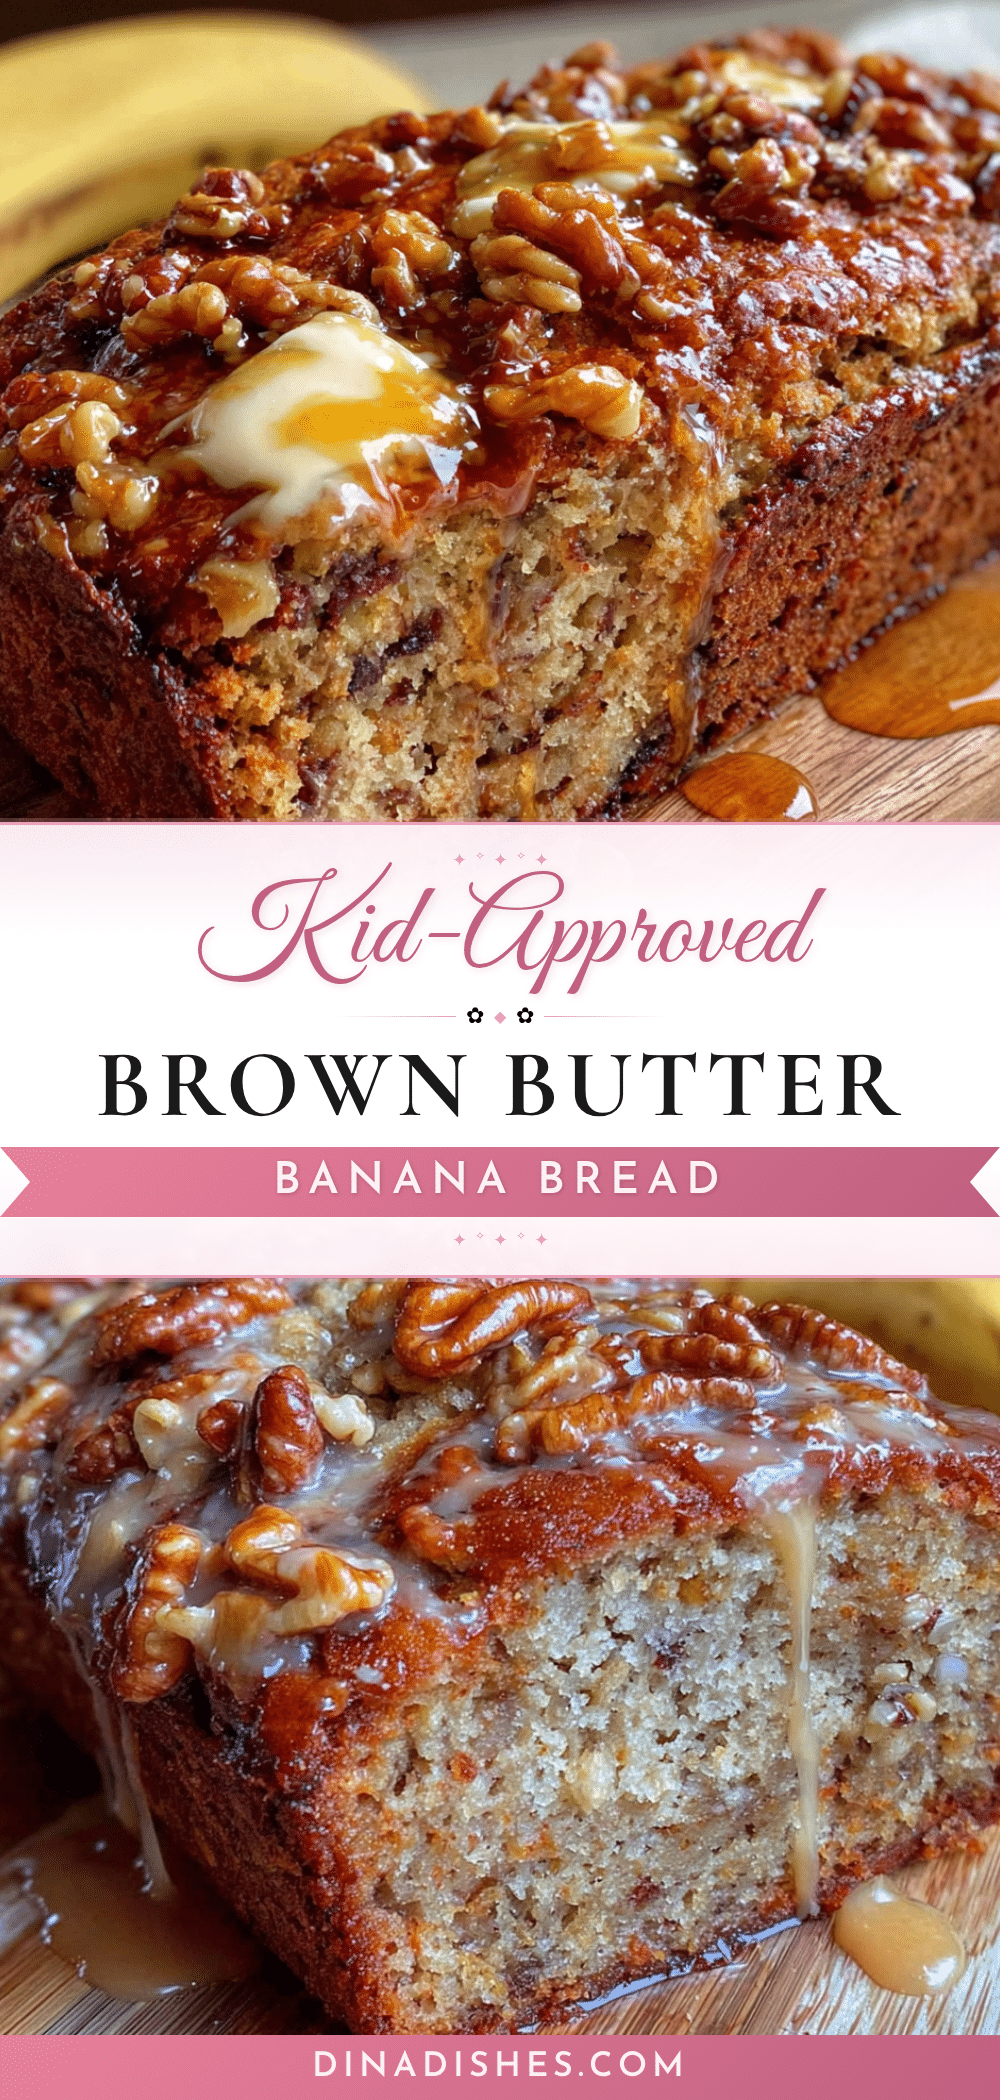
Easy Kid-Approved Brown Butter Banana Bread with Walnuts
This brown butter banana bread is incredibly moist and tender, with a slightly crisp, golden crust. The brown butter adds a nutty, almost caramel-like flavor that makes it a crowd-pleaser for all ages.
- Prep Time: 15 minutes
- Cook Time: 55 minutes
- Total Time: 1 hour 10 minutes
- Yield: 10 servings 1x
- Category: Dessert
- Cuisine: American
Ingredients
- ½ cup (1 stick / 113g) unsalted butter
- 3 medium ripe bananas (about 1 cup / 240g mashed)
- ½ cup (100g) granulated sugar
- ¼ cup (50g) light brown sugar, packed
- 2 large eggs, room temperature
- 1 teaspoon vanilla extract
- 1 ½ cups (180g) all-purpose flour
- 1 teaspoon baking soda
- ½ teaspoon salt
- ¾ cup (75g) walnuts, chopped
Instructions
- Preheat your oven to 350°F (175°C). Grease a 9×5-inch loaf pan and line it with a strip of parchment paper, leaving an overhang on the two long sides.
- Spread the chopped walnuts on a small baking sheet. Toast them in the preheated oven for 5-7 minutes, or until fragrant and lightly golden. Set aside to cool.
- Place the butter in a microwave-safe bowl. Microwave on high for 30 seconds. Stir. Microwave for another 30 seconds. Stir. Continue in 15-second intervals, stirring in between, until the butter is a deep golden brown and smells nutty (about 2-3 minutes total). Let it cool for 5 minutes.
- In a large mixing bowl, mash the ripe bananas with a fork or potato masher until mostly smooth with a few small lumps.
- To the mashed bananas, add the cooled brown butter, granulated sugar, brown sugar, eggs, and vanilla extract. Whisk until smooth and well combined.
- In a separate small bowl, whisk together the all-purpose flour, baking soda, and salt.
- Pour the dry ingredients into the wet ingredients. Using a rubber spatula, gently fold together until just combined (a few streaks of flour are okay).
- Gently fold in the toasted walnuts, reserving a handful to sprinkle on top.
- Pour the batter into the prepared loaf pan and spread evenly. Sprinkle the reserved walnuts on top. Bake for 50-60 minutes, or until a toothpick inserted into the center comes out clean or with a few moist crumbs. If the top browns too quickly after 40 minutes, tent loosely with aluminum foil.
- Let the bread cool in the pan for 10 minutes. Then, use the parchment paper handles to lift it out and transfer to a wire rack to cool completely before slicing.
Notes
For best results, use very ripe bananas with brown spots. Room temperature eggs are important to prevent the butter from seizing. Do not overmix the batter to avoid a dense loaf. Let the bread cool completely before slicing for clean pieces.
Nutrition
- Serving Size: 1 slice
- Calories: 280
- Sugar: 18
- Sodium: 200
- Fat: 14
- Saturated Fat: 6
- Carbohydrates: 36
- Fiber: 2
- Protein: 4
Keywords: banana bread, brown butter, walnuts, kid-friendly, easy banana bread, moist banana bread


