The PTA bake sale was in six hours and I’d completely forgotten. I mean, completely. I was standing in my kitchen at 7 AM, still in my pajamas, staring at the empty counter where I’d planned to have a triple-layered chocolate cake cooling. Everyone else would be bringing those elaborate Pinterest-perfect creations—the ones with handmade fondant and careful piping. I had a half-empty jar of peanut butter, some chocolate chips I’d bought on a whim, and about fifteen minutes before I needed to get the kids to school. Honestly, I was ready to just grab a box of store-bought cookies and call it a day. But then I remembered this ridiculously easy no-bake recipe my college roommate used to throw together for study groups. I figured it couldn’t hurt to try.
Let me tell you, the panic was real. I was pulling ingredients out of the pantry like a contestant on a cooking show, muttering to myself about how this was going to be a disaster. I melted the chocolate in the microwave and burned my finger on the bowl—classic move. But twenty minutes later, I had a pan of these no-bake peanut butter spiderweb bars chilling in the fridge. They looked so simple, so unassuming. I honestly considered not even bringing them. But I did.
And you know what happened? Those plain little bars were the first thing to disappear. People kept coming up to me, asking for the recipe. The lady with the fondant flowers was practically begging for a bite. I just stood there, slightly sheepish, explaining that it was a fifteen-minute recipe I’d thrown together in a panic. Maybe you’ve been there—the moment when you accidentally win at something you didn’t even try to win. That’s the story of these easy no-bake peanut butter spiderweb bars. They’re the underdog that always comes out on top, and I’ve been making them for every bake sale, potluck, and last-minute gathering ever since.
Why You’ll Love This Recipe
Let’s be real for a second. You’re busy. You’re tired. You don’t have time for complicated baking projects that leave your kitchen looking like a flour bomb went off. These easy no-bake peanut butter spiderweb bars are the answer to your weeknight dessert prayers. I’ve tested this recipe at least a dozen times—sometimes with different chocolate, once with crunchy peanut butter by accident, and even one memorable time when I had to use dark chocolate chips because that’s all I had. Every single time, they came out perfect.
- Quick & Easy: From start to finish, we’re talking fifteen minutes of active work. That’s less time than it takes to watch a sitcom. The hardest part is waiting for them to chill.
- Simple Ingredients: You probably have everything in your pantry right now. No fancy trips to specialty stores, no obscure ingredients you’ll use once and forget about. Just peanut butter, chocolate, butter, and a few pantry staples.
- Perfect for Last-Minute Everything: Bake sale tomorrow? Potluck tonight? Kid’s classroom party? These bars have saved me more times than I can count. They’re the ultimate emergency dessert.
- Crowd-Pleaser: I’ve served these to kids, grandparents, picky eaters, and even my friend who “doesn’t really like sweets.” They all go back for seconds. It’s almost embarrassing how popular they are for such a simple recipe.
- Unbelievably Delicious: The texture is what gets everyone. You’ve got that creamy, slightly salty peanut butter layer, the rich chocolate topping, and that satisfying snap when you bite into it. It’s comfort food at its finest, and it takes almost no effort.
What makes these different from every other no-bake bar out there? It’s the spiderweb design. I know, I know—it sounds fancy, but I promise it’s the easiest trick in the book. You just drizzle melted chocolate in concentric circles and drag a toothpick through it. That’s it. No piping bags, no steady hands, no stress. It looks like you spent hours on it, but you and I both know the truth. These bars are my secret weapon, and now they can be yours too.
What Ingredients You Will Need
This recipe uses simple, wholesome ingredients to deliver that perfect balance of salty and sweet. The beauty of these easy no-bake peanut butter spiderweb bars is that everything is probably already in your kitchen. I’ve tested this with different brands and variations, so I’ll share what works best.
- 1 cup creamy peanut butter (I recommend Skippy or Jif for the smoothest texture—natural peanut butter that separates can make the bars grainy. If you only have natural, just stir it really well first.)
- 1/2 cup unsalted butter, softened (Let it sit out for about 30 minutes. If you’re in a rush, you can microwave it for 10 seconds, but don’t melt it completely.)
- 2 cups powdered sugar (Also called confectioners’ sugar. Sift it if it’s clumpy, but honestly, I rarely bother and it works fine.)
- 1 teaspoon vanilla extract (Pure vanilla is better, but imitation works in a pinch. I’ve used both and can’t tell the difference once it’s mixed in.)
- 1 1/2 cups graham cracker crumbs (You can buy pre-crushed crumbs or crush about 10 full graham crackers in a zip-top bag with a rolling pin. The pre-crushed kind saves time, which is the whole point here.)
- 1 1/2 cups semi-sweet chocolate chips (I like Ghirardelli or Nestlé Toll House. Milk chocolate makes it sweeter, dark chocolate gives it a grown-up edge. Both are delicious.)
- 1 tablespoon coconut oil or vegetable shortening (This helps the chocolate melt smoothly and gives it that nice snap when it sets. Coconut oil adds a subtle flavor; shortening is neutral.)
For the spiderweb design, you’ll also need a toothpick or a wooden skewer. That’s it. No fancy tools required. I’ve made these bars with crunchy peanut butter before, and honestly, the texture was still good—just a little more rustic. If you’re gluten-free, use gluten-free graham crackers. If you’re dairy-free, swap the butter for a plant-based version and use dairy-free chocolate chips. The recipe is surprisingly forgiving.
Equipment Needed
You don’t need a professional kitchen for these easy no-bake peanut butter spiderweb bars. In fact, you probably have everything already. Here’s what you’ll need:
- 8×8-inch baking pan (A 9×9 works too, the bars will just be slightly thinner. Line it with parchment paper for easy removal—I learned this the hard way after struggling to get the first batch out.)
- Mixing bowls (One medium for the peanut butter mixture, one small for melting chocolate. Glass or ceramic works best.)
- Electric mixer or sturdy wooden spoon (The peanut butter mixture gets thick, so a hand mixer makes life easier. But I’ve made these with a spoon plenty of times when my mixer was in the dishwasher.)
- Microwave-safe bowl or double boiler (For melting chocolate. The microwave is faster, but a double boiler gives you more control. I use the microwave in 30-second bursts and stir between each.)
- Parchment paper (Trust me on this. It makes lifting the bars out so much easier. You can use foil in a pinch, but grease it well.)
- Toothpick or wooden skewer (For the spiderweb design. A chopstick works too if you’re desperate.)
- Measuring cups and spoons (Standard set. Nothing fancy.)
If you don’t have an electric mixer, your arm will get a workout, but it’s totally doable. I’ve made these in a tiny dorm room with nothing but a spoon and a cereal bowl. Where there’s a will, there’s a way.
Preparation Method
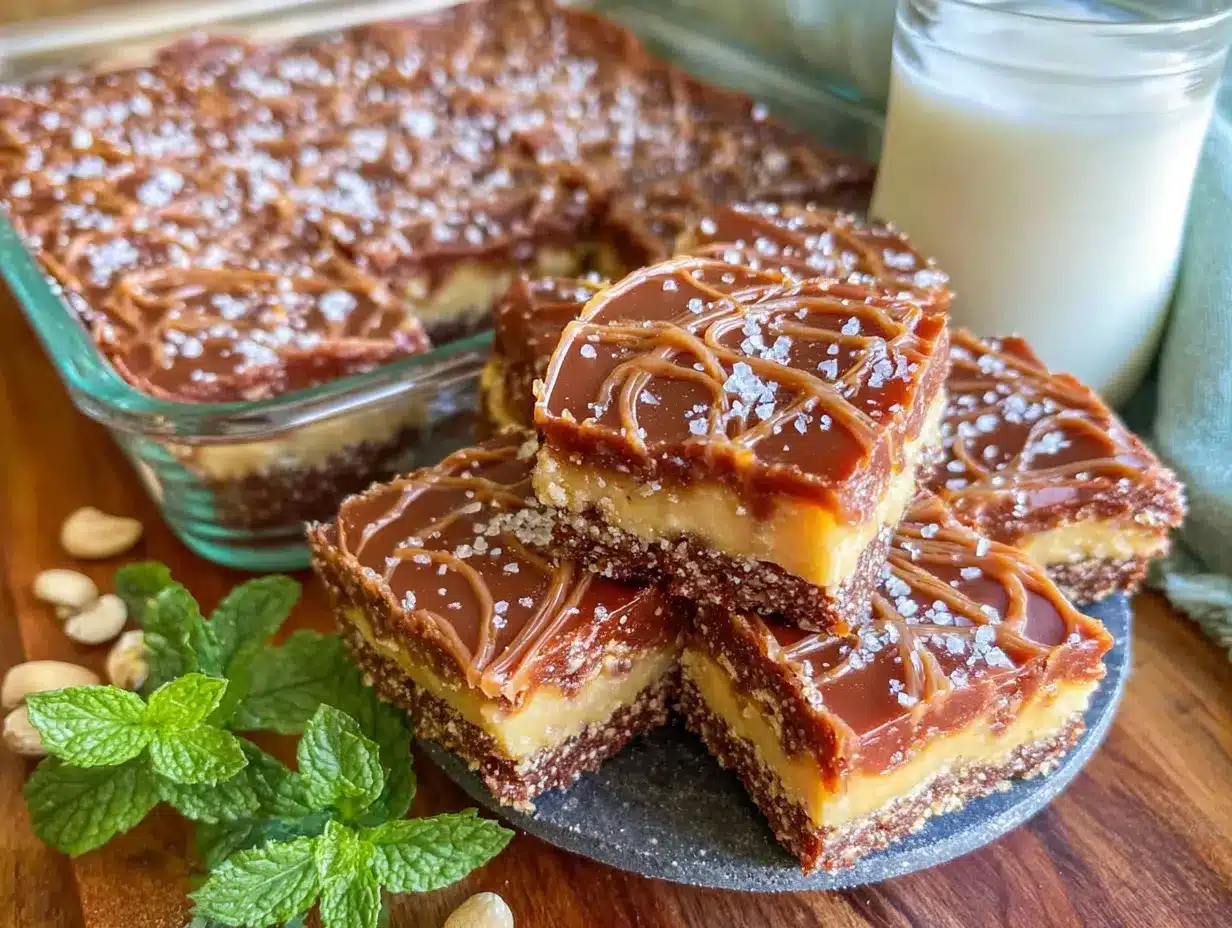
Okay, let’s get to it. I’m going to walk you through every step of these easy no-bake peanut butter spiderweb bars like we’re in the kitchen together. Trust me, it’s simpler than it looks.
- Line your pan. Take an 8×8-inch baking pan and line it with parchment paper. Leave some overhang on two opposite sides—these will be your handles later. If you don’t have parchment, lightly grease the pan with butter or non-stick spray. Set it aside.
- Make the peanut butter base. In a medium mixing bowl, combine 1 cup creamy peanut butter and 1/2 cup softened unsalted butter. Beat them together with an electric mixer on medium speed until they’re smooth and well combined. It should look like a thick, creamy paste. If your butter wasn’t soft enough, you might have some small lumps—that’s okay, they’ll disappear as you mix.
- Add the sugar and vanilla. Gradually add 2 cups powdered sugar, about 1/2 cup at a time, mixing on low speed after each addition. Once all the sugar is in, add 1 teaspoon vanilla extract. Increase the speed to medium and beat until everything is combined. The mixture will be thick and a little crumbly at first—don’t panic, that’s normal.
- Mix in the graham cracker crumbs. Add 1 1/2 cups graham cracker crumbs to the bowl. Stir them in with a spatula or wooden spoon until they’re evenly distributed. The mixture should come together into a dough that holds its shape when pressed. If it seems too dry, add a tablespoon of milk. If it’s too sticky, add a tablespoon more graham cracker crumbs.
- Press into the pan. Transfer the peanut butter mixture to your prepared pan. Use your hands or the bottom of a measuring cup to press it down firmly and evenly. Take your time with this step—you want it compact so the bars hold together when you cut them. I usually press for about a minute, making sure the corners are filled.
- Melt the chocolate. Place 1 1/2 cups semi-sweet chocolate chips and 1 tablespoon coconut oil in a microwave-safe bowl. Microwave in 30-second bursts, stirring well after each, until the chocolate is completely smooth. This usually takes about 1 to 2 minutes total. Be careful not to overheat it, or the chocolate will seize up and get grainy. If that happens, stir in another teaspoon of coconut oil to smooth it out.
- Pour the chocolate layer. Pour the melted chocolate over the peanut butter base. Use a spatula to spread it evenly all the way to the edges. Work quickly while the chocolate is still warm and runny.
- Create the spiderweb design. Here’s the fun part. While the chocolate is still wet, spoon a few small dollops of the remaining peanut butter mixture (you should have a little left over—if not, just use plain melted peanut butter) onto the chocolate in a circle pattern. Start with a small dollop in the center, then add more in a ring around it, then another ring. You should have about 4 to 5 concentric circles. Then, take a toothpick and drag it from the center outward through all the rings. Wipe the toothpick clean, then drag another line from the center outward, about an inch away from the first line. Repeat until you’ve gone all the way around. You’ll see a beautiful spiderweb pattern appear.
- Chill the bars. Place the pan in the refrigerator for at least 2 hours, or until the chocolate is completely set. If you’re in a hurry, you can pop it in the freezer for about 30 minutes. The bars should be firm to the touch.
- Cut and serve. Once set, lift the bars out of the pan using the parchment overhang. Place them on a cutting board and use a sharp knife to cut them into squares. I usually go for 16 bars (4×4 grid), but you can make them bigger or smaller depending on your crowd. For clean cuts, wipe the knife between each slice.
Cooking Tips & Techniques
I’ve made these easy no-bake peanut butter spiderweb bars more times than I can count, and I’ve learned a few things along the way. Let me save you from my mistakes.
Don’t overmix the peanut butter base. I know it’s tempting to keep beating until everything is perfectly smooth, but overmixing can make the bars greasy. Just mix until everything comes together. A few small lumps are totally fine—they add character.
Press the base firmly. This is the most common mistake I see. If you don’t press the peanut butter mixture down firmly enough, the bars will crumble when you cut them. Use the bottom of a measuring cup or a flat glass to really compact it. Your arm might get tired, but your bars will thank you.
Watch the chocolate carefully. Chocolate burns easily in the microwave. I learned this the hard way when I walked away for “just a second” and came back to a smoky kitchen. Always stir between 30-second bursts, and stop heating as soon as the chocolate is mostly melted—the residual heat will finish the job.
Work quickly with the spiderweb. The chocolate sets faster than you think, especially if your kitchen is cool. Have your toothpick ready before you start drizzling the peanut butter. If the chocolate starts to set before you finish the web, pop the pan in the microwave for 10 seconds to soften it again.
Use a hot knife for clean cuts. Run your knife under hot water, dry it off, then make your cuts. The heat helps the knife glide through the chocolate without cracking it. Wipe the knife clean between each cut for the prettiest squares.
Let them come to room temperature before serving. These bars are best when they’re chilled but not rock-hard. Let them sit out for about 5 minutes after taking them out of the fridge. The texture is creamier and the chocolate has a better snap.
Variations & Adaptations
One of the best things about these easy no-bake peanut butter spiderweb bars is how easy they are to customize. I’ve tried quite a few variations over the years, and here are my favorites.
Chocolate Peanut Butter Cup Bars: Chop up 4 to 5 Reese’s peanut butter cups and sprinkle them over the chocolate layer before it sets. Press them in gently. Every bite has little pockets of melty peanut butter cup goodness. I made these for a Super Bowl party and they were gone in ten minutes.
Gluten-Free Version: Use gluten-free graham crackers or crushed gluten-free pretzels instead of regular graham crackers. The pretzel version is actually amazing—it adds a salty crunch that balances the sweetness perfectly. I’ve made this for my gluten-sensitive cousin and she couldn’t stop eating them.
Vegan Adaptation: Swap the butter for a plant-based butter (I like Miyoko’s or Earth Balance) and use dairy-free chocolate chips. Most graham crackers are accidentally vegan, but double-check the label. The texture is slightly different—a bit softer—but still delicious. My vegan friend requests these for every gathering.
Spicy Mexican Chocolate Version: Add 1/2 teaspoon cinnamon and a pinch of cayenne pepper to the melted chocolate. The warmth of the spices pairs beautifully with the peanut butter. It sounds weird, I know, but trust me. I tried this on a whim one winter evening and it’s now my secret go-to.
White Chocolate Spiderweb: Instead of semi-sweet chocolate, use white chocolate chips for the top layer. The spiderweb design is even more striking against the white background. Drizzle dark chocolate for the web instead of peanut butter. It’s a showstopper for holiday parties.
Serving & Storage Suggestions
These easy no-bake peanut butter spiderweb bars are versatile little things. Here’s how to serve and store them like a pro.
Serving Temperature: I prefer them straight from the fridge—they’re firm and the chocolate has that satisfying snap. But if you like a softer texture, let them sit at room temperature for 10 to 15 minutes. They’re delicious either way. For a special treat, serve them with a scoop of vanilla ice cream. The warm-cold contrast is pure magic.
Presentation Ideas: Cut them into small squares for a party platter. For Halloween, arrange them on a black platter with some candy corn scattered around. For bake sales, wrap individual bars in clear cellophane bags tied with a ribbon. They look professional without the effort.
Complementary Dishes: These bars pair beautifully with a cold glass of milk, a hot cup of coffee, or a tall glass of iced tea. For dessert boards, they go well with fresh strawberries, dark chocolate-covered almonds, and salted caramel popcorn. The salty-sweet combo is irresistible.
Storage Instructions: Store the bars in an airtight container in the refrigerator for up to one week. Layer them between sheets of parchment paper so they don’t stick together. I’ve never had them last that long, but theoretically, they’ll stay fresh.
Freezer Tips: These bars freeze beautifully. Cut them into squares, place them on a baking sheet in a single layer, and freeze for about an hour. Then transfer the frozen squares to a freezer-safe bag or container. They’ll keep for up to three months. To thaw, just let them sit in the refrigerator overnight or at room temperature for about 30 minutes. I always keep a stash in my freezer for emergencies.
Flavor Development: Honestly, these bars taste even better the next day. The flavors meld together, the texture becomes creamier, and the chocolate sets perfectly. So if you can resist eating them right away, you’re in for a treat.
Nutritional Information & Benefits
Let’s be honest—these easy no-bake peanut butter spiderweb bars are a treat, not a health food. But that doesn’t mean they’re without merit. Here’s what you’re getting in each square (based on 16 servings):
| Nutrient | Amount Per Serving |
|---|---|
| Calories | 285 |
| Total Fat | 18g |
| Saturated Fat | 8g |
| Cholesterol | 15mg |
| Sodium | 150mg |
| Total Carbohydrates | 28g |
| Dietary Fiber | 2g |
| Sugars | 20g |
| Protein | 5g |
Health Benefits: Peanut butter is actually a decent source of protein and healthy fats. It also contains vitamin E, magnesium, and potassium. Dark chocolate has antioxidants called flavonoids, which are good for heart health. The graham crackers provide a little bit of fiber. So while these bars aren’t exactly a salad, they’re not empty calories either.
Dietary Considerations: This recipe is vegetarian. For gluten-free, vegan, or dairy-free options, check the variations section above. The main allergens here are peanuts, dairy, and gluten (from the graham crackers). If you’re serving these at a party, it’s always good to label them so guests with allergies know what they’re eating.
My Personal Take: I believe in balance. These bars are a treat, and treats are an important part of a happy life. I don’t feel guilty about enjoying one (or two) after a long day. Life’s too short to skip dessert, especially when it takes fifteen minutes to make.
Conclusion
So there you have it. These easy no-bake peanut butter spiderweb bars went from a last-minute panic project to my most-requested recipe. They’ve saved me at bake sales, potlucks, holiday parties, and those evenings when I just need something sweet but don’t have the energy to bake. They’re proof that you don’t need fancy ingredients, expensive equipment, or hours of free time to make something truly special.
I love that this recipe meets you exactly where you are. Maybe you’re a seasoned baker looking for a quick win, or maybe you’re someone who doesn’t bake at all but needs to bring something to a gathering. Either way, these bars have your back. They’re forgiving, adaptable, and genuinely delicious. Plus, that spiderweb design makes you look like a kitchen wizard, even though we both know it’s just a toothpick and some melted chocolate.
Now I want to hear from you. When you make these bars—and I hope you do—come back and tell me how they turned out. Did you try one of the variations? Did you create your own twist? Did they disappear as fast as mine always do? Leave a comment below and share your experience. And if you’re feeling generous, share this recipe with a friend who could use a little kitchen victory. Trust me, they’ll thank you.
Happy no-baking, my friend. You’ve got this.
Frequently Asked Questions
Can I use natural peanut butter for these bars?
You can, but the texture will be slightly different. Natural peanut butter tends to be oilier and less stable, which can make the bars softer and more prone to crumbling. If you only have natural peanut butter, stir it very well before using and expect a slightly less firm bar. I’ve done it before and it still tasted great, just not as neat.
How long do these bars need to chill?
At least 2 hours in the refrigerator. If you’re in a hurry, you can put them in the freezer for about 30 minutes. Just check that the chocolate is fully set before you try to cut them. They should feel firm to the touch, not soft or sticky.
Can I make these bars ahead of time?
Absolutely. In fact, they taste even better the next day. You can make them up to three days in advance and keep them in the refrigerator. They also freeze beautifully for up to three months. Just thaw them in the fridge overnight before serving.
My chocolate seized up while melting. What went wrong?
Chocolate seizes when it comes into contact with even a tiny amount of water. Make sure your bowl and utensils are completely dry. Also, don’t overheat the chocolate—use 30-second bursts in the microwave and stir well between each. If your chocolate does seize, you can try stirring in a tablespoon of coconut oil or vegetable shortening to smooth it out.
Can I double this recipe?
Yes! Double all the ingredients and press the mixture into a 9×13-inch pan. The chilling time might need to increase by about 30 minutes since the bars will be thicker. I’ve done this for big parties and it works perfectly. Just make sure you have enough toothpicks for the spiderweb design.
Pin This Recipe!
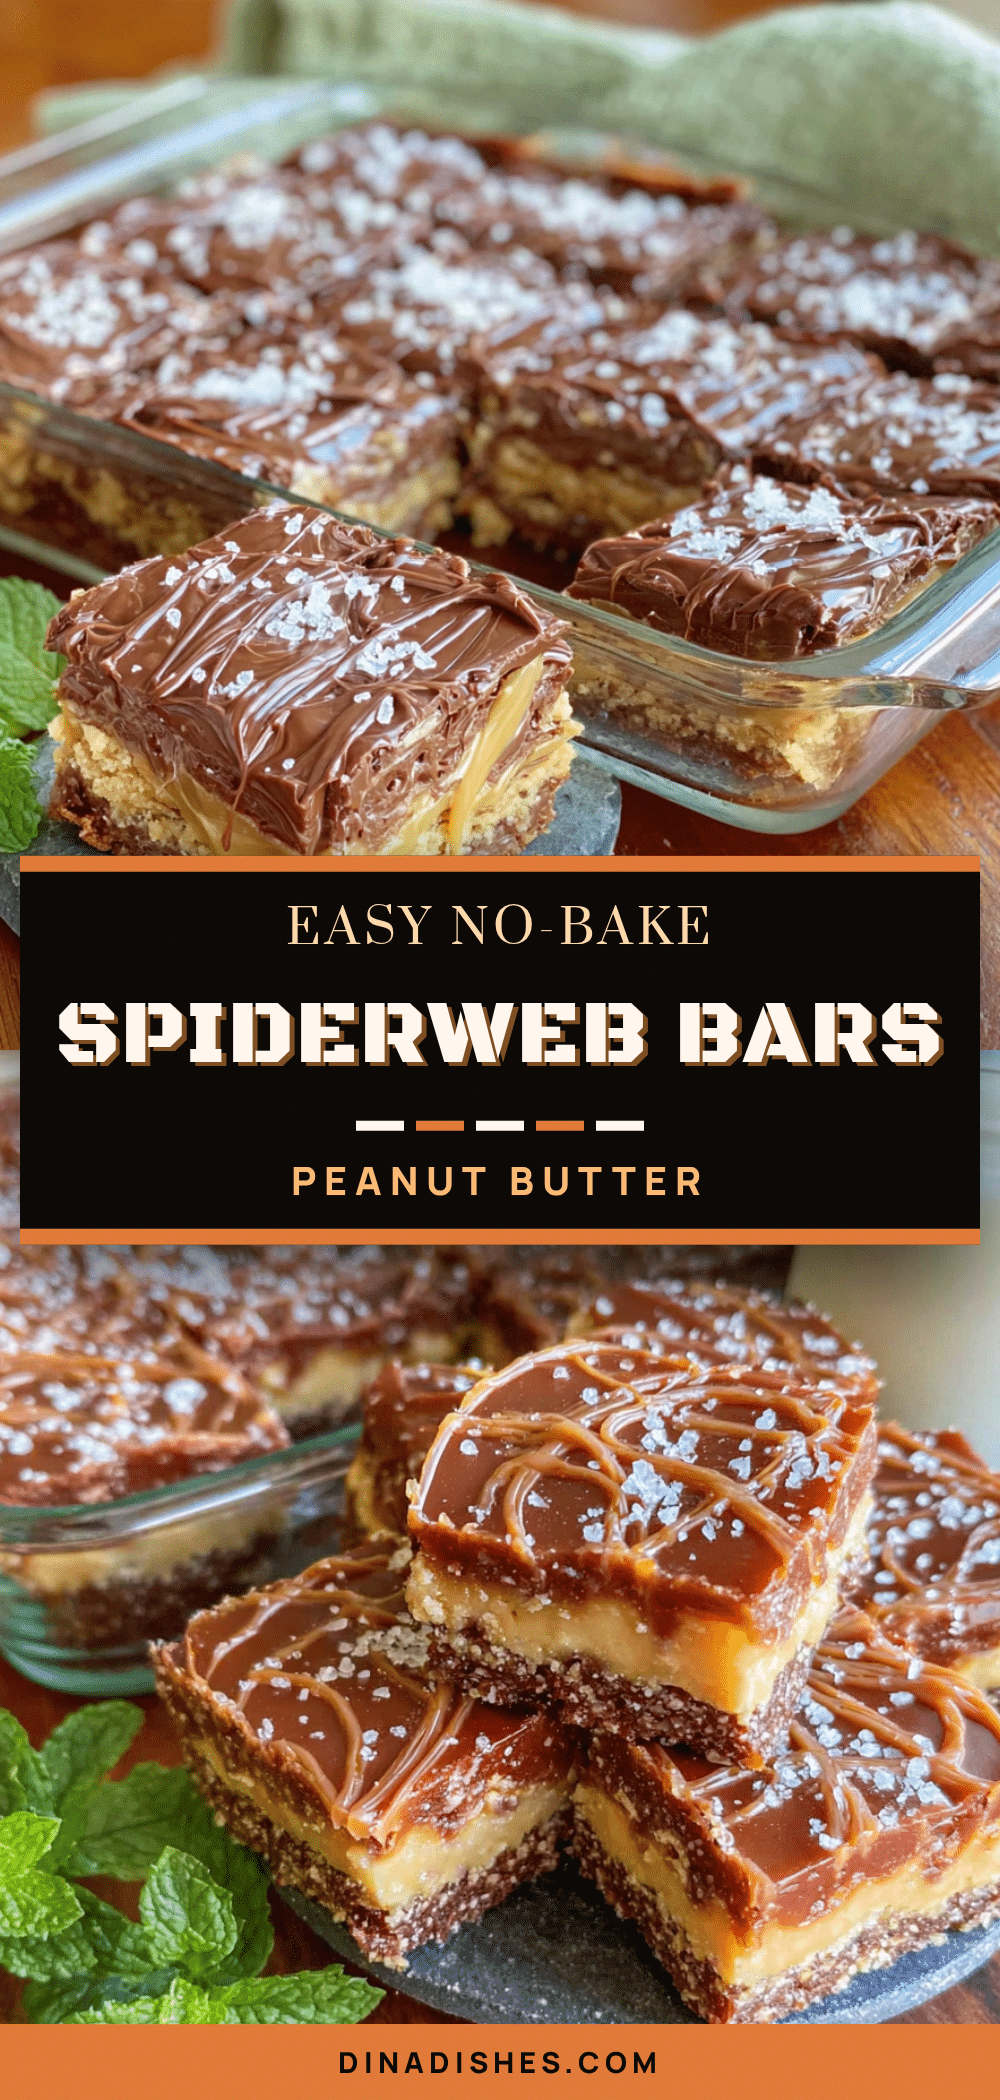
Easy No-Bake Peanut Butter Spiderweb Bars: Best 15-Minute Dessert
These no-bake peanut butter spiderweb bars are a quick and easy dessert that comes together in just 15 minutes. With a creamy peanut butter and graham cracker base topped with a rich chocolate layer and a stunning spiderweb design, they’re perfect for last-minute gatherings, bake sales, or any time you need a crowd-pleasing treat.
- Prep Time: 15 minutes
- Cook Time: 0 minutes
- Total Time: 2 hours 15 minutes (includes chilling)
- Yield: 16 servings 1x
- Category: Dessert
- Cuisine: American
Ingredients
- 1 cup creamy peanut butter (recommended: Skippy or Jif)
- 1/2 cup unsalted butter, softened
- 2 cups powdered sugar (confectioners’ sugar)
- 1 teaspoon vanilla extract
- 1 1/2 cups graham cracker crumbs (about 10 full graham crackers)
- 1 1/2 cups semi-sweet chocolate chips
- 1 tablespoon coconut oil or vegetable shortening
Instructions
- Line an 8×8-inch baking pan with parchment paper, leaving overhang on two opposite sides for easy removal. Set aside.
- In a medium mixing bowl, beat together 1 cup creamy peanut butter and 1/2 cup softened unsalted butter with an electric mixer on medium speed until smooth and well combined.
- Gradually add 2 cups powdered sugar, about 1/2 cup at a time, mixing on low speed after each addition. Add 1 teaspoon vanilla extract and beat on medium speed until combined. The mixture will be thick and slightly crumbly.
- Stir in 1 1/2 cups graham cracker crumbs with a spatula or wooden spoon until evenly distributed. The mixture should hold its shape when pressed. If too dry, add a tablespoon of milk; if too sticky, add more graham cracker crumbs.
- Transfer the peanut butter mixture to the prepared pan and press it down firmly and evenly using your hands or the bottom of a measuring cup. Ensure the corners are filled and the surface is compact.
- In a microwave-safe bowl, combine 1 1/2 cups semi-sweet chocolate chips and 1 tablespoon coconut oil. Microwave in 30-second bursts, stirring well after each, until completely smooth (about 1-2 minutes total). Be careful not to overheat.
- Pour the melted chocolate over the peanut butter base and spread it evenly to the edges with a spatula.
- To create the spiderweb design: While the chocolate is still wet, spoon small dollops of reserved peanut butter mixture (or plain melted peanut butter) onto the chocolate in concentric circles—start with a dollop in the center, then a ring around it, then another ring, until you have 4-5 circles. Take a toothpick and drag it from the center outward through all the rings. Wipe the toothpick clean, then repeat dragging from the center outward about an inch apart, going all the way around to create…
- Refrigerate the pan for at least 2 hours, or until the chocolate is fully set. For a quicker set, freeze for about 30 minutes.
- Once set, lift the bars out of the pan using the parchment overhang. Place on a cutting board and cut into squares (16 bars for a 4×4 grid). For clean cuts, wipe the knife between each slice.
Notes
For best results, press the base firmly to prevent crumbling. Watch the chocolate carefully when melting to avoid burning. Work quickly with the spiderweb design as the chocolate sets fast. Use a hot knife for clean cuts. Let bars come to room temperature for about 5 minutes before serving for optimal texture. Bars taste even better the next day.
Nutrition
- Serving Size: 1 bar (1/16 of recip
- Calories: 285
- Sugar: 20
- Sodium: 150
- Fat: 18
- Saturated Fat: 8
- Carbohydrates: 28
- Fiber: 2
- Protein: 5
Keywords: no-bake dessert, peanut butter bars, spiderweb bars, easy dessert, quick dessert, bake sale, potluck, Halloween dessert