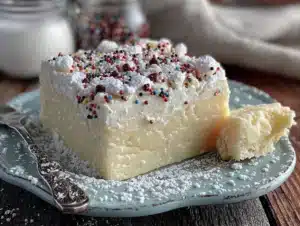
It was 10:47 PM on a freezing Tuesday in January, and I was elbow-deep in a bag of powdered sugar, trying to convince myself this wasn’t a terrible idea. The craving wasn’t for gingerbread itself, honestly—it was for the memory of building something ridiculous and sticky with my hands. I didn’t have any meringue powder left from last Christmas (because who ever does?), but I had a carton of egg whites in the fridge and a stubborn streak a mile wide. The idea just sort of arrived: what if I stopped overthinking royal icing and just made the simplest version that actually worked?
Let me tell you, that late-night kitchen experiment was a mess. I spilled sugar on the counter, cracked an egg wrong (shell bits everywhere—classic), and my first batch was so thick it could have patched drywall. But by midnight, I had a bowl of glossy, snow-white icing that piped like a dream. It held its shape, dried hard as a rock, and didn’t taste like a chemistry project. I sat there on my kitchen stool, alone, eating a broken gingerbread corner dipped in that icing, and felt this weird little victory. Maybe you’ve been there—that moment when a simple fix turns a frustrating project into something you actually want to do again.
This Easy No-Fail Gingerbread House Royal Icing is the recipe I’ve been making ever since. It’s the one I use for every holiday house, every year, without fail. It’s forgiving, it’s fast, and it doesn’t require a trip to a specialty store. Honestly, it’s the kind of recipe that makes you wonder why you ever stressed about royal icing in the first place.
Why You’ll Love This Recipe
After years of testing (and yes, failing) with royal icing, I can tell you this version is the real deal. It’s been tested by my neighbor Sarah, who is not a baker, and my niece’s third-grade class, who are the harshest critics I know. It passed both tests with flying colors.
- Quick & Easy : You can whip this up in under 10 minutes. No heating sugar, no candy thermometers, no complicated steps. Just mix and go.
- Simple Ingredients : You likely have everything in your kitchen right now. Powdered sugar, egg whites (or meringue powder), a little lemon juice, and maybe some cream of tartar. That’s it.
- Perfect for Holiday Baking : Whether you’re building a classic gingerbread house, decorating cookies for a party, or making a batch of sugar cookies with the kids, this icing is your go-to.
- Crowd-Pleaser : It dries hard and shiny, so your creations actually look professional. Kids love the piping part, and adults love that it doesn’t crumble or slide off.
- Unbelievably Reliable : This isn’t just another version—it’s the one I’ve tweaked to be foolproof. The secret is the perfect ratio of liquid to sugar, plus a tiny splash of lemon juice for stability. It works every single time.
This recipe isn’t just good—it’s the kind that makes you close your eyes after the first successful pipe. It’s holiday magic without the stress, and honestly, that’s the best kind of magic.
What Ingredients You Will Need
This recipe uses simple, pantry-friendly ingredients to deliver a smooth, stable icing that dries beautifully. Here’s what you’ll need and why each one matters.
- Powdered Sugar (Confectioners’ Sugar) : This is the base of the icing. It provides sweetness and structure. I prefer using a brand like Domino or C&H for consistent results. Sift it first to avoid lumps—trust me, it makes a difference.
- Egg Whites : You can use fresh egg whites (from a large egg) or liquid egg whites from a carton. For the no-fail version, I actually recommend liquid egg whites because they’re pasteurized and consistent. One large egg white is about 2 tablespoons.
- Lemon Juice : A tiny splash (about 1/2 teaspoon) adds acidity that helps stabilize the meringue and balances the sweetness. It also gives the icing a slight shine. Fresh is best, but bottled works in a pinch.
- Cream of Tartar : This is optional but highly recommended. It helps stabilize the egg whites, making the icing less likely to weep or crack. If you don’t have it, you can skip it, but your icing might be a little less forgiving.
- Vanilla Extract (Optional) : If you want a hint of flavor, add 1/4 teaspoon of clear vanilla extract (to keep the icing white). I usually skip it for gingerbread houses since the cookies are so flavorful, but it’s nice for sugar cookies.
- Water : You’ll need a tablespoon or two to adjust the consistency. Add it slowly—you can always add more, but you can’t take it out.
Ingredient Selection Tips : Look for powdered sugar without cornstarch if you want a super glossy finish. Some brands add cornstarch to prevent clumping, which can make the icing slightly matte. It’s not a dealbreaker, just a heads-up.
Substitution Guidance : If you’re concerned about raw eggs, use meringue powder instead. Mix 2 tablespoons of meringue powder with 2 tablespoons of warm water to replace one egg white. The result is almost identical.
Equipment Needed
You don’t need a fancy kitchen setup for this recipe. Here’s what I use every time.
- Electric Mixer : A hand mixer or stand mixer works great. You can whisk by hand, but your arm will get tired. I’ve done both—the mixer is worth it.
- Mixing Bowl : A medium-sized glass or stainless steel bowl is perfect. Make sure it’s completely clean and dry—any grease will ruin the icing.
- Rubber Spatula : For scraping down the sides and getting every last bit of icing into your piping bag.
- Piping Bags : Disposable or reusable, either works. I like the 12-inch size for better control.
- Piping Tips : A small round tip (like a Wilton #2 or #3) is perfect for outlining and detail work. A larger tip (like a #5) works for flooding larger areas.
- Couplers : These let you switch tips without changing bags. They’re cheap and save so much time.
- Toothpicks : Essential for popping air bubbles and spreading icing into tight corners.
- Damp Cloth : Keep one nearby to wipe the tip between colors to prevent clogging.
Budget-Friendly Options : If you don’t have piping bags, a zip-top bag with a tiny corner snipped off works surprisingly well. Just be careful not to cut too much off!
Preparation Method
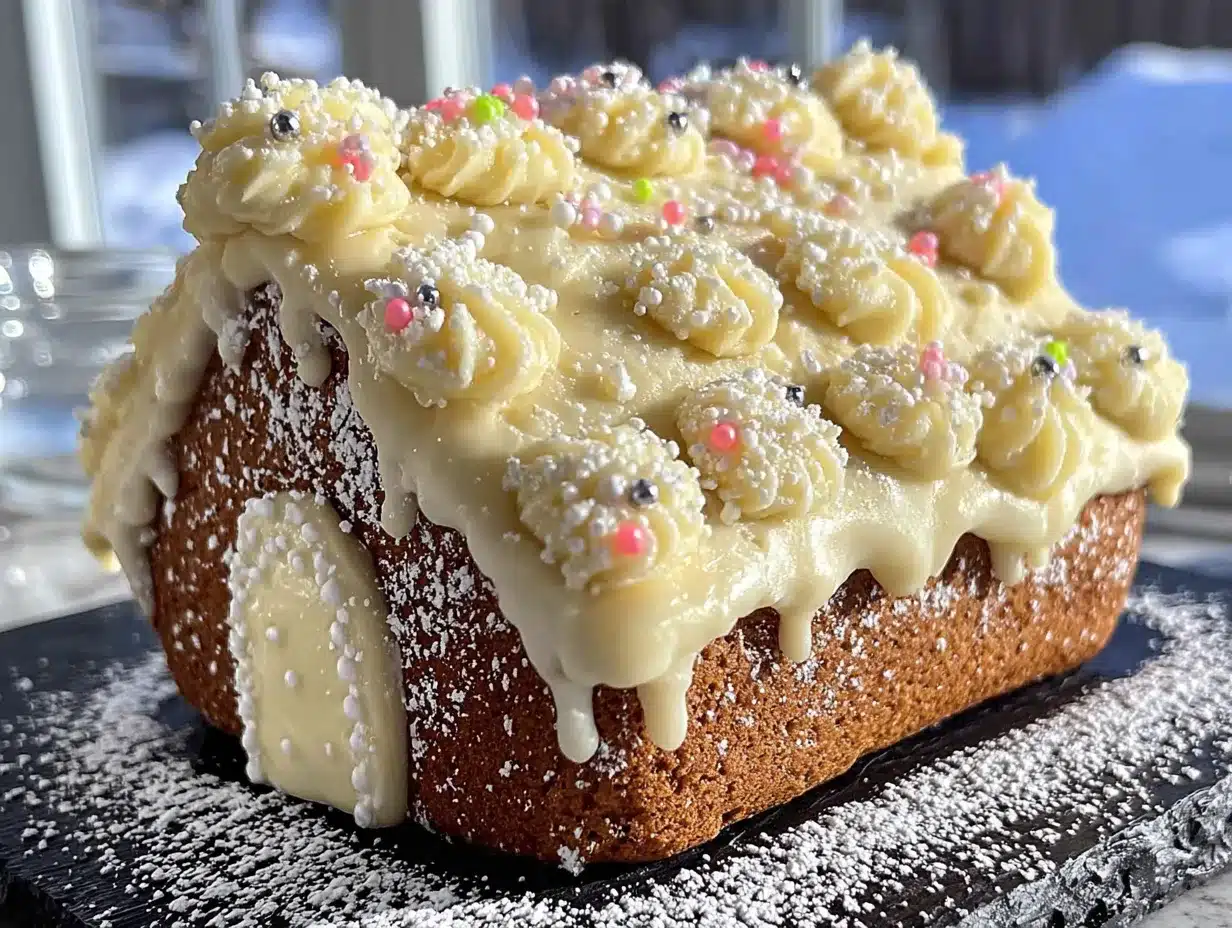
Follow these steps carefully, and you’ll have perfect royal icing every time. I’ve added all the little tricks I’ve learned from years of making this.
- Prepare Your Bowl : Make sure your mixing bowl and beaters are completely clean and free of any grease. A tiny bit of oil can prevent the icing from whipping up properly. Wipe them down with a little lemon juice or vinegar if you’re worried—I do this every time.
- Combine Wet Ingredients : In the bowl, add 2 tablespoons of liquid egg whites (or the equivalent from meringue powder) and 1/2 teaspoon of lemon juice. If you’re using cream of tartar, add 1/8 teaspoon now. Whisk them together lightly with a fork just to break up the egg white.
- Add Powdered Sugar : Sift 2 cups (about 240 grams) of powdered sugar into the bowl. Do not dump it all at once—sifting prevents those annoying little lumps that clog your piping tip. I learned this the hard way after a very frustrating batch.
- Mix Slowly : Start mixing on low speed with your electric mixer. This keeps the sugar from flying everywhere. After about 30 seconds, increase to medium speed. The mixture will look crumbly at first—that’s normal.
- Whip Until Stiff : Beat the mixture on medium-high for 3-4 minutes. You’re looking for stiff, glossy peaks. When you lift the beater, the icing should stand up in a firm peak that doesn’t droop. If it’s too soft, add a little more powdered sugar (1 tablespoon at a time). If it’s too stiff, add water (1/2 teaspoon at a time).
- Check the Consistency : For outlining and detail work, you want a stiff consistency—the icing should hold its shape when piped. For flooding (filling in large areas), you need a slightly thinner consistency. To thin it, add water drop by drop until the icing flows like thick honey and smooths out in about 10 seconds when you lift the spoon.
- Color Your Icing : If you want colored icing, divide it into separate bowls and add gel food coloring. Gel is better than liquid because it doesn’t thin the icing. Stir gently to avoid incorporating air bubbles—air bubbles are the enemy of smooth piping.
- Fill Your Piping Bag : Fold the top of the bag over your hand to create a cuff, then fill it halfway. Twist the top to seal and push the icing down toward the tip. Squeeze out a tiny bit to test the flow before you start decorating.
- Keep It Covered : Royal icing dries out fast. Keep any bowls of icing you’re not using covered with a damp paper towel and plastic wrap. If it starts to crust over, just stir in a drop of water to revive it.
Sensory Cue : When the icing is ready, it should look like marshmallow fluff—thick, glossy, and white. It should smell faintly of lemon and sugar, not eggy. If it smells eggy, your bowl might have had a trace of yolk—start over if that happens.
Cooking Tips & Techniques
I’ve made every mistake in the book with royal icing, so you don’t have to. Here are the biggest lessons I’ve learned.
The Biggest Mistake : Adding too much liquid too fast. I once added a full tablespoon of water to thin my icing, and it turned into a soupy mess. Add liquid drop by drop. Seriously, one drop can change the whole consistency.
The Air Bubble Problem : After mixing, let the icing sit for 5-10 minutes. This lets the bubbles rise to the surface. Then, gently stir it with a spatula or pop the bubbles with a toothpick. If you pipe air bubbles, they’ll leave ugly craters in your icing.
Timing Strategy : Make the icing right before you plan to use it. If you make it a day ahead, it will separate and need to be re-whipped. It’s not the end of the world, but it’s extra work.
Multitasking Tip : While the icing sits to release bubbles, get your gingerbread pieces ready. Have them laid out on a flat surface with wax paper underneath. This saves so much time.
Consistency Check : For gingerbread houses, you want the icing to be on the stiffer side for gluing pieces together. It should hold the walls in place without sliding. For decorating, thin it slightly for smooth flooding. Keep two bowls—one stiff, one flood—for best results.
Variations & Adaptations
This recipe is super flexible. Here are some ways to change it up.
- Vegan Version : Use aquafaba (the liquid from a can of chickpeas) instead of egg whites. Use 2 tablespoons of aquafaba per egg white. It whips up the same way and dries just as hard. I tried this for a friend’s vegan gingerbread party, and no one could tell the difference.
- Flavor Variations : Add a drop of peppermint extract for a holiday twist, or a pinch of cinnamon for a warmer flavor. Just be careful—extracts are strong. Start with 1/8 teaspoon and taste.
- Colorful Holiday Icing : Divide the icing into small bowls and color each one with gel food coloring. Red, green, and white are classic, but I love doing a pastel set for spring cookies.
- Gluten-Free Note : This recipe is naturally gluten-free as long as your powdered sugar is certified gluten-free (some brands add wheat starch). Always check the label.
- My Favorite Variation : I once added a tiny pinch of salt to the icing, and it was a game-changer. It balanced the sweetness perfectly without making it salty. Try it—you’ll be surprised.
Serving & Storage Suggestions
Once your gingerbread house is assembled and decorated, you’ll want to show it off. Here’s how to keep it looking great.
Serving Temperature : Royal icing sets best at room temperature. Let the house dry completely (at least 4-6 hours, or overnight) before moving it. The icing needs time to harden fully—if you move it too soon, the walls might collapse. Ask me how I know.
Presentation Ideas : Place the house on a sturdy cake board or a large platter. Add a dusting of powdered sugar for a snowy effect. You can also surround it with small candies, gumdrops, or even a little “path” made of crushed graham crackers.
Storage Instructions : A gingerbread house with royal icing can last for weeks if stored properly. Keep it in a cool, dry place away from direct sunlight. Do not refrigerate it—the moisture will make the icing sticky and the gingerbread soft.
Reheating Note : You don’t reheat a gingerbread house! But if you’re making cookies with this icing, store them in an airtight container at room temperature with wax paper between layers. They’ll stay fresh for up to two weeks.
Flavor Development : The gingerbread actually gets better after a day or two as the spices meld. The icing stays hard and crunchy, which is a great texture contrast.
Nutritional Information & Benefits
Let’s be real—this is a treat, not a health food. But here’s what you should know.
- Estimated Per Serving (2 tablespoons of icing): Calories: 120, Total Fat: 0g, Sodium: 10mg, Total Carbohydrates: 30g, Sugars: 29g, Protein: 0.5g.
- Health Highlight : The lemon juice adds a tiny bit of vitamin C, and the egg whites provide a small amount of protein. But honestly, this is about joy, not nutrition.
- Dietary Considerations : This recipe is gluten-free (check your powdered sugar), nut-free, and dairy-free. For a vegan version, use aquafaba as mentioned above.
- Allergen Warning : Contains eggs. If you’re using fresh egg whites, they are raw. Use pasteurized egg whites or meringue powder if you’re concerned about salmonella.
- My Wellness Perspective : I believe in balance. This icing is for special occasions—holidays, birthdays, cookie swaps. Enjoy it, share it, and don’t stress about the sugar. That’s what makes it special.
Conclusion
This Easy No-Fail Gingerbread House Royal Icing is the recipe I come back to year after year. It’s simple, it’s reliable, and it makes the whole gingerbread house process so much more fun. You don’t have to be a professional baker to get beautiful results—you just need this recipe and a little patience.
I love this recipe because it takes the fear out of royal icing. No more googling “why is my royal icing runny” at 11 PM on a Friday. You’ve got this. Customize it with colors, flavors, or decorations that feel like you. That’s the whole point—making something that’s yours.
I’d love to hear how your gingerbread house turns out! Leave a comment below and tell me about your design, your color choices, or your own late-night kitchen adventures. Don’t forget to share this recipe with a friend who needs a little holiday magic. Happy building, and happy holidays!
Frequently Asked Questions
Can I make this royal icing without an electric mixer?
Yes, you can whisk it by hand, but it will take about 10-15 minutes of vigorous whisking. Your arm will get a workout! The texture is the same, it just takes more effort. I’ve done it when my mixer was broken, and it worked fine.
How long does royal icing take to dry completely?
For a gingerbread house, give it at least 4-6 hours for the icing to set, but overnight is best for full hardness. The thicker the layer, the longer it takes. Humidity also affects drying time—on a rainy day, it might take longer.
Why is my royal icing not getting stiff?
This usually means you’ve added too much liquid. The fix is simple: add more powdered sugar, one tablespoon at a time, and beat again. If it’s still not stiff, you might have a greasy bowl—wipe it down with lemon juice and start over.
Can I freeze royal icing?
You can freeze royal icing in an airtight container for up to a month. Thaw it in the fridge overnight, then bring it to room temperature and re-whip it. The texture might be slightly different, but it still works for decorating.
Is this icing safe for kids to eat?
Yes, it’s safe as long as you use pasteurized egg whites or meringue powder. The sugar content is high, which helps preserve it. If you’re serving very young children or anyone with a compromised immune system, use meringue powder to be extra safe.
Pin This Recipe!
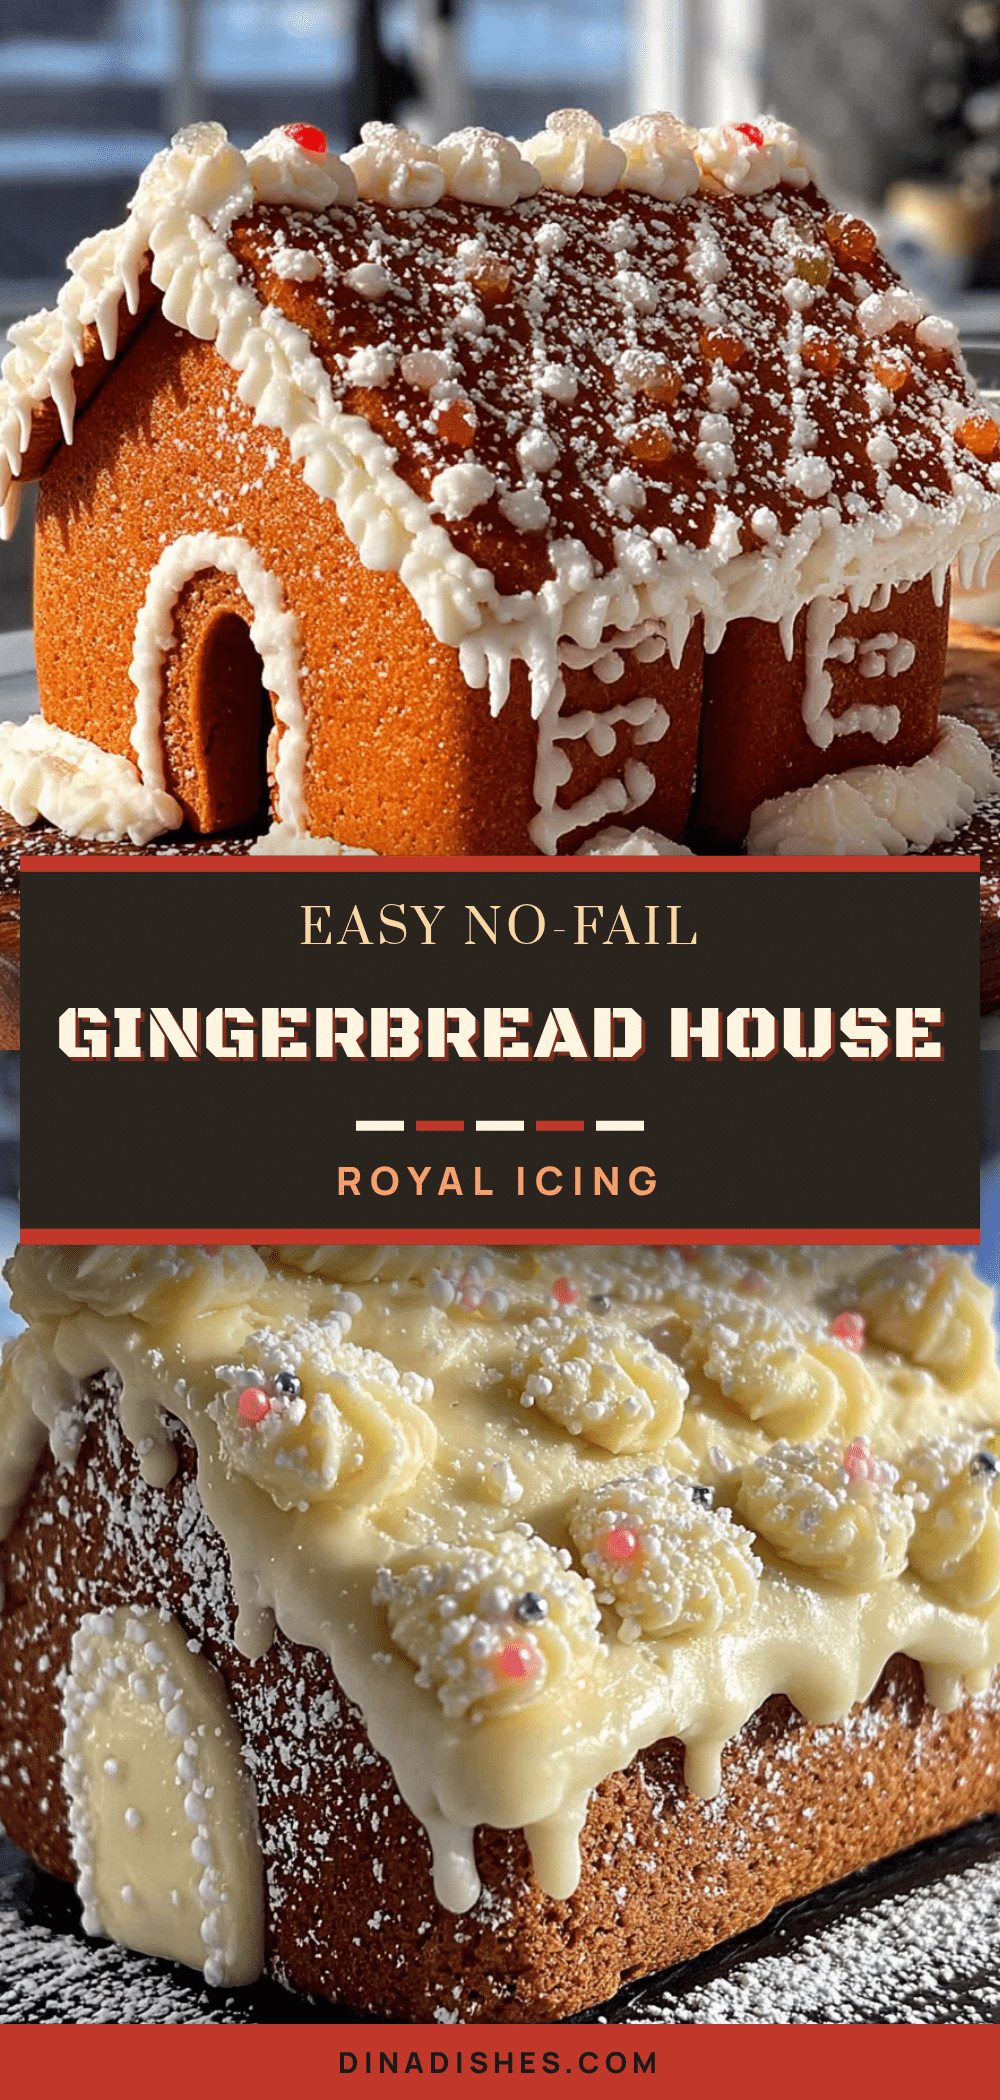
Easy No-Fail Gingerbread House Royal Icing Recipe

This simple, foolproof royal icing recipe uses pantry-friendly ingredients and comes together in under 10 minutes. It dries hard and shiny, perfect for gingerbread houses, cookies, and holiday decorating.
- Prep Time: 10 minutes
- Cook Time: 0 minutes
- Total Time: 10 minutes
- Yield: About 1 cup of icing (enough for one gingerbread house) 1x
- Category: Dessert
- Cuisine: American
Ingredients
- 2 cups (240 g) powdered sugar (confectioners’ sugar), sifted
- 2 tablespoons liquid egg whites (or 2 tablespoons meringue powder mixed with 2 tablespoons warm water)
- 1/2 teaspoon lemon juice (fresh or bottled)
- 1/8 teaspoon cream of tartar (optional, for stability)
- 1/4 teaspoon clear vanilla extract (optional, for flavor)
- 1–2 tablespoons water (to adjust consistency)
Instructions
- Prepare your bowl: Make sure your mixing bowl and beaters are completely clean and free of any grease. Wipe them down with a little lemon juice or vinegar if needed.
- Combine wet ingredients: In the bowl, add 2 tablespoons of liquid egg whites (or meringue powder mixture) and 1/2 teaspoon of lemon juice. If using cream of tartar, add 1/8 teaspoon now. Whisk lightly with a fork to break up the egg white.
- Add powdered sugar: Sift 2 cups of powdered sugar into the bowl. Do not dump it all at once—sifting prevents lumps.
- Mix slowly: Start mixing on low speed with an electric mixer for about 30 seconds, then increase to medium speed. The mixture will look crumbly at first.
- Whip until stiff: Beat on medium-high for 3-4 minutes until stiff, glossy peaks form. When you lift the beater, the icing should stand up in a firm peak. If too soft, add more powdered sugar (1 tablespoon at a time). If too stiff, add water (1/2 teaspoon at a time).
- Check consistency: For outlining and detail work, use stiff consistency. For flooding, thin with water drop by drop until it flows like thick honey and smooths out in about 10 seconds.
- Color your icing: Divide into bowls and add gel food coloring. Stir gently to avoid air bubbles.
- Fill piping bag: Fold the top of the bag over your hand, fill halfway, twist the top, and push icing down toward the tip. Test the flow before decorating.
- Keep covered: Cover any unused bowls with a damp paper towel and plastic wrap to prevent drying. If it crusts, stir in a drop of water to revive.
Notes
For a vegan version, use 2 tablespoons aquafaba (chickpea liquid) per egg white. For a stiffer consistency (for gluing gingerbread pieces), use less water. For flooding, thin gradually. Let icing sit for 5-10 minutes after mixing to release air bubbles. Store unused icing covered with a damp paper towel and plastic wrap. Royal icing dries hard in 4-6 hours; overnight is best for full hardness.
Nutrition
- Serving Size: 2 tablespoons
- Calories: 120
- Sugar: 29
- Sodium: 10
- Carbohydrates: 30
- Protein: 0.5
Keywords: royal icing, gingerbread house icing, easy royal icing, no-fail royal icing, holiday icing, cookie decorating icing