I was standing in the checkout line at the grocery store last October, staring at a bag of baby carrots, when the smell of dirt and damp leaves hit me — and suddenly I was seven years old at my Aunt Carol’s house, watching her carve a face into a pumpkin on her back porch. The air had that same crisp, earthy chill, and she was laughing about how the seeds kept sticking to her hands. She passed away a few years back, and I haven’t thought about that afternoon in forever. But there, in line, I could feel the rough wooden table under my fingers and hear her say, “You know, the best Halloween snacks don’t have to be candy.” That stuck with me.
So I went home and started messing around with veggies — not just any veggies, but ones that looked like they belonged at a spooky party. I wanted something that would make people stop and laugh, not just grab a handful of chips. And honestly, the first attempt was a disaster. I tried to make a skeleton out of celery sticks, and it looked more like a sad stick figure than anything scary. But I kept at it, because that memory of Aunt Carol’s porch wouldn’t let me go.
This Skull & Bones Halloween Veggie Tray is my way of bringing that feeling back — a little creepy, a little fun, and totally doable without stress. Maybe you’ve been there, trying to find a healthier option for a party that still feels festive. Trust me, this tray delivers. It’s the kind of thing that gets people talking before they even take a bite, and it stays with you because it’s clever without being complicated.
Why You’ll Love This Recipe
Let me tell you, I’ve tested this tray at three different Halloween gatherings now, and every time, it’s the first thing to disappear. Not the candy bowl, not the punch — the veggies. People can’t help themselves. Here’s what makes it a winner:
- Quick & Easy: You can put this together in under 20 minutes. Seriously. If you’ve got a knife and a cutting board, you’re halfway there.
- Simple Ingredients: No exotic produce or fancy tools needed. Everything on this tray comes from a standard grocery run — bell peppers, cucumbers, broccoli, cauliflower, and a few clever cuts.
- Perfect for Halloween Parties: Whether it’s a potluck, a kid’s costume party, or a grown-up gathering, this tray fits right in. It’s spooky without being gross, which is the sweet spot.
- Crowd-Pleaser: I’ve watched kids pick up a “bone” and giggle before eating it. Adults love the presentation too. It’s a conversation starter.
- Unbelievably Delicious: The dip is key here. I use a creamy ranch or a spicy hummus, and the veggies stay crunchy and fresh. The texture combo is next-level comfort food — crisp, cool, and satisfying.
What sets this apart from other veggie trays? It’s the design. Most trays are just a pile of vegetables thrown on a plate. This one looks like a skeleton — a skull made from a bell pepper and cauliflower, bones from cucumber and celery. It’s not just another version; it’s your best version. And honestly, it makes you feel like a kitchen wizard without the stress.
This recipe isn’t just good — it’s the kind that makes you close your eyes after the first bite. It’s comfort food reimagined: healthier, faster, but with the same soul-soothing satisfaction. Perfect for impressing guests without stress, or turning a simple snack into something memorable.
What Ingredients You Will Need
This recipe uses simple, wholesome ingredients to deliver bold flavor and satisfying texture without the fuss. Most of these are pantry staples or easy to find at any grocery store. Here’s what you’ll need:
For the Skull & Bones Design
- 1 large red bell pepper — (for the skull shape; look for a square-ish one for easier carving)
- 1 head of cauliflower — (broken into medium florets; these form the top of the skull and add texture)
- 3–4 large cucumbers — (sliced into thick rounds; use these for the “bones” — I prefer English cucumbers for fewer seeds)
- 1 bunch of celery — (cut into 3-inch sticks; these become the long bones like arms and legs)
- 1 head of broccoli — (broken into small florets; fills in around the skull for a “graveyard” look)
- 1 cup of cherry tomatoes — (optional; I use them as “blood drops” around the tray for extra spookiness)
- 1 cup of baby carrots — (these can be arranged as small bones or just filler)
For the Dip
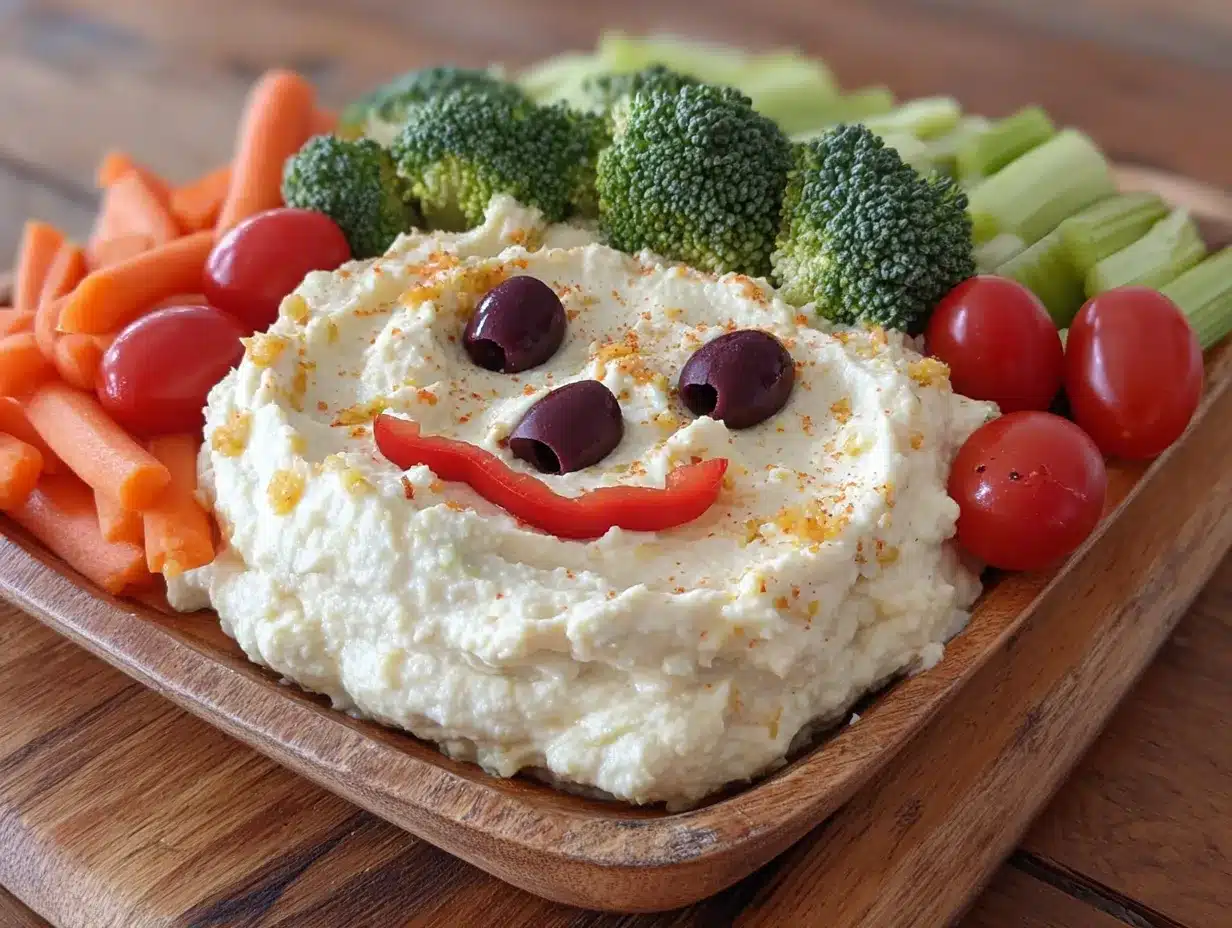
- 1 cup of ranch dressing — (I recommend Hidden Valley for that classic taste, but any creamy ranch works)
- OR 1 cup of hummus — (roasted red pepper or garlic hummus adds a nice twist)
- Optional: black food coloring — (to tint the dip for a spooky look; just a drop or two)
Substitution Guidance
- Dairy-free option: Use a vegan ranch or dairy-free yogurt-based dip.
- Low-carb option: Swap carrots for more cucumber or bell pepper slices.
- Seasonal swap: In fall, add roasted pumpkin seeds or small squash pieces around the tray.
- For the skull: If red bell peppers are too pricey, use an orange one — it still looks great.
I personally like to use organic vegetables when I can, especially for the bell pepper since it’s the star. But honestly, conventional works fine. Just wash everything well. The key is to pick firm, fresh veggies — limp celery or soft cucumbers won’t hold the shape.
Equipment Needed
You don’t need much for this tray, which is part of the beauty. Here’s what I use:
- A sharp chef’s knife — (8-inch is perfect; a dull knife will crush the bell pepper instead of cutting cleanly)
- A cutting board — (preferably large, so you have room to arrange everything)
- A small paring knife — (for carving the skull face into the bell pepper; a serrated knife also works)
- A large serving platter or tray — (I use a rectangular white platter for contrast, but any flat surface works)
- A small bowl — (for the dip; a black or dark bowl looks spooky)
- Paper towels — (to pat veggies dry so they don’t slide around)
If you don’t have a paring knife, a sturdy vegetable peeler can work for carving, but it’s trickier. For budget-friendly options, any basic knife set from a department store will do — just keep it sharp. I once tried using a butter knife out of desperation, and let me tell you, it was a mess. The bell pepper looked like it got in a fight. So invest in a decent knife, even a $10 one, and you’ll save yourself frustration.
Maintenance tip: After carving the pepper, rinse the knife immediately to prevent staining. Bell pepper juice can discolor blades over time.
Preparation Method
Here’s how to build this creepy tray step by step. Take your time — it’s easier than it looks.
- Prep the vegetables (10 minutes): Wash all your veggies thoroughly. Pat them dry with paper towels — this helps the dip stick and prevents slipping. Cut the cucumbers into thick rounds, about 1/2-inch thick. Cut the celery into 3-inch sticks. Break the cauliflower and broccoli into medium florets. Halve the cherry tomatoes if using. Set everything aside in separate bowls.
- Carve the skull (5 minutes): Take the red bell pepper and cut off the top (stem end) with a sharp knife. Remove the seeds and white membrane inside. Now, turn the pepper upside down — the flat bottom becomes the top of the skull. Use the paring knife to carve two eye sockets (small triangles or circles), a nose hole (a small triangle), and a mouth (a jagged line with a few teeth). Don’t worry about perfection — a lopsided mouth looks scarier. I messed up the first time and made one eye bigger than the other, and it actually looked cooler.
- Assemble the skull (2 minutes): Place the carved bell pepper in the center of your serving platter. Arrange the cauliflower florets around the top and sides of the pepper to look like a brain or skull cap. Press them gently so they stay in place. This creates the “head” of your skeleton.
- Create the bones (5 minutes): Arrange the cucumber rounds in two columns below the skull — these are the ribcage. Use 4–5 rounds per column, slightly overlapping. Then place the celery sticks radiating outward from the skull like arms and legs. I like to angle them so they look like the skeleton is reaching out. For extra effect, place a few baby carrots at the ends as “fingers.”
- Fill the graveyard (3 minutes): Scatter the broccoli florets and cherry tomatoes around the edges of the tray. This creates a creepy, uneven landscape. Don’t overcrowd — you want the skull and bones to stand out. Leave a gap near the top or side for the dip bowl.
- Prepare the dip (2 minutes): Pour the ranch dressing or hummus into the small bowl. If you want it spooky, add a drop of black food coloring and stir. Place the bowl on the tray where it fits naturally — I put it at the top right corner, like a tombstone.
- Final touches (2 minutes): Step back and look at your tray. Adjust any veggies that look out of place. Sprinkle a few extra cucumber rounds around the skull for a “scattered bones” effect. Serve immediately or cover with plastic wrap and refrigerate until party time.
Sensory cue: When you’re done, the tray should look like a skeleton resting in a field of vegetables. The red bell pepper skull pops against the white cauliflower and green veggies. It’s almost too pretty to eat — almost.
Cooking Tips & Techniques
After making this tray a few times, I’ve picked up some tricks that make a big difference. Here’s what I wish I knew the first time:
- Keep veggies cold: If you’re prepping ahead, store the cut vegetables in the fridge for up to 4 hours. Cold veggies are crunchier and hold their shape better. I once left them out for an hour, and the cucumbers got a little limp — not ideal.
- Carve the pepper carefully: The bell pepper skin is tough, so use a sawing motion with the paring knife. Don’t push too hard or you’ll crack it. If you do crack it (happened to me), just rotate the pepper so the crack is hidden in back.
- Use a template if needed: For the skull face, draw the eyes and mouth on a piece of paper first, then lightly trace onto the pepper with a toothpick. This helps if you’re nervous about freehanding it.
- Multitasking tip: While you’re carving the pepper, have the kids or a friend break the cauliflower and broccoli. It speeds things up and makes it a group activity.
- Common mistake to avoid: Don’t overfill the tray. Too many veggies make the skull disappear. Leave some empty space — it looks more intentional and spooky.
- Consistency trick: Cut all cucumber rounds the same thickness so the ribs look uniform. I use a mandoline slicer for this, but a steady hand works too.
One time, I forgot to pat the veggies dry, and the dip slid right off the cucumbers. Learn from my mistake — dry them well. It’s a small step that saves a lot of frustration.
Variations & Adaptations
This tray is super flexible. Here are some ways to make it your own:
- Dietary variation: Make it vegan by using a plant-based ranch or hummus. Everything else is already plant-based. For gluten-free, check your dip label — most are fine.
- Seasonal swap: In summer, add grilled zucchini slices or roasted corn kernels around the skull. In winter, use roasted root veggies like parsnips or beets for a darker, earthier look.
- Flavor twist: Swap the ranch for a spicy sriracha mayo or a cilantro-lime dressing. The heat contrasts nicely with the cool veggies. I tried a buffalo ranch once, and it was a hit.
- Different skull shape: Use a yellow or orange bell pepper for a “golden skull” effect. Or try a mini pumpkin for a different look — just carve it the same way.
- Allergen-friendly: If you’re avoiding nightshades, skip the bell pepper and use a large turnip or daikon radish for the skull. It’s a little harder to carve, but it works.
- Personal variation: I once added a ring of black olives around the skull for a “witch’s necklace” effect. It looked amazing and added a salty bite. My kids still ask for it that way.
Serving & Storage Suggestions
This tray is meant to be served cold, straight from the fridge. The contrast between the chilled veggies and room-temperature dip is perfect. Here’s how to make it shine:
- Serving temperature: Keep the tray refrigerated until 10 minutes before serving. This keeps the veggies crisp. If it’s a warm party, place the tray on a bed of ice for extra chill.
- Presentation: Set the tray on a dark tablecloth or black doily to make the colors pop. Add a few fake spiders or cobwebs around the platter for a fun touch — just keep them away from the food.
- Complementary dishes: Serve alongside a bowl of popcorn “ghosts” or spooky Halloween punch for a full spread. It also pairs well with creepy crawly jalapeno poppers for a savory contrast.
- Storage: Cover the tray tightly with plastic wrap and refrigerate for up to 24 hours. The veggies may release some moisture overnight, so pat them dry again before serving. The dip can be stored separately in an airtight container for up to 3 days.
- Reheating: Don’t — this is a cold dish. If you’re using a warm dip like melted cheese, serve it on the side and refresh the veggies as needed.
- Flavor development: The veggies actually taste better after a few hours in the fridge as the flavors meld. The dip soaks into the edges of the cucumbers slightly, making them even more flavorful.
Nutritional Information & Benefits
Here’s a rough estimate per serving (based on 8 servings, with ranch dip):
- Calories: ~120
- Protein: 3g
- Fat: 7g (mostly from dip)
- Carbohydrates: 12g
- Fiber: 4g
- Sugar: 5g (natural from veggies)
The health benefits here are solid. Bell peppers are loaded with vitamin C — one pepper gives you over 100% of your daily needs. Cucumbers are hydrating and low in calories. Broccoli and cauliflower are cruciferous powerhouses with fiber and antioxidants. The dip adds some fat, but it’s balanced by all the fresh produce.
This tray is naturally gluten-free, dairy-free (if you choose the right dip), and vegetarian. It’s also low-carb friendly if you skip the carrots. I love that I can serve this at a party without worrying about dietary restrictions — everyone can grab a handful.
From a wellness perspective, this tray lets you enjoy Halloween without the sugar crash. It’s a guilt-free way to indulge in the fun while still feeling good about what you’re eating.
Conclusion
Honestly, this Skull & Bones Halloween Veggie Tray has become my go-to for every October gathering. It’s the perfect mix of creepy and cute, healthy and indulgent. I love that it starts conversations — people always ask, “Did you really carve that pepper?” And when they taste the crunchy veggies with the cool dip, they’re sold.
Don’t be afraid to customize it. Swap in your favorite veggies, try a different dip, or add your own spooky touches. The beauty of this recipe is that it’s forgiving. Even if the skull ends up a little lopsided, it’ll still look amazing — and taste even better.
I’d love to hear how yours turns out! Leave a comment below with your variations, or share a photo of your tray on social media. Tag me so I can see your creepy creations. And if you’re looking for more Halloween inspiration, check out my easy Halloween dessert ideas for a sweet finish. Happy haunting, and happy snacking!
Frequently Asked Questions
Can I make this tray a day ahead of time?
Yes! You can prep all the vegetables and carve the bell pepper up to 24 hours in advance. Just store everything separately in airtight containers in the fridge. Assemble the tray an hour before serving to keep it fresh and crisp.
What if I can’t find a red bell pepper for the skull?
No problem! Use an orange, yellow, or even green bell pepper. The color will just change the vibe — orange looks like a pumpkin skull, green gives it a zombie feel. A large tomato or a turnip also works in a pinch.
How do I keep the veggies from getting soggy?
Pat them dry thoroughly after washing, and don’t assemble the tray too early. If you’re making it ahead, keep the dip separate and add it just before serving. Also, avoid cutting veggies too thin — thicker pieces stay crunchier.
Can I use a different dip?
Absolutely! This tray works with any creamy dip — blue cheese, green goddess, tzatziki, or even a warm queso. Just make sure the dip is thick enough to cling to the veggies. A thin dip will slide off and make a mess.
Is this recipe kid-friendly?
Very! Kids love the skeleton design. Let them help arrange the veggies or carve the pepper (with supervision). The fun shapes make them more likely to eat vegetables, which is a win for parents.
Pin This Recipe!
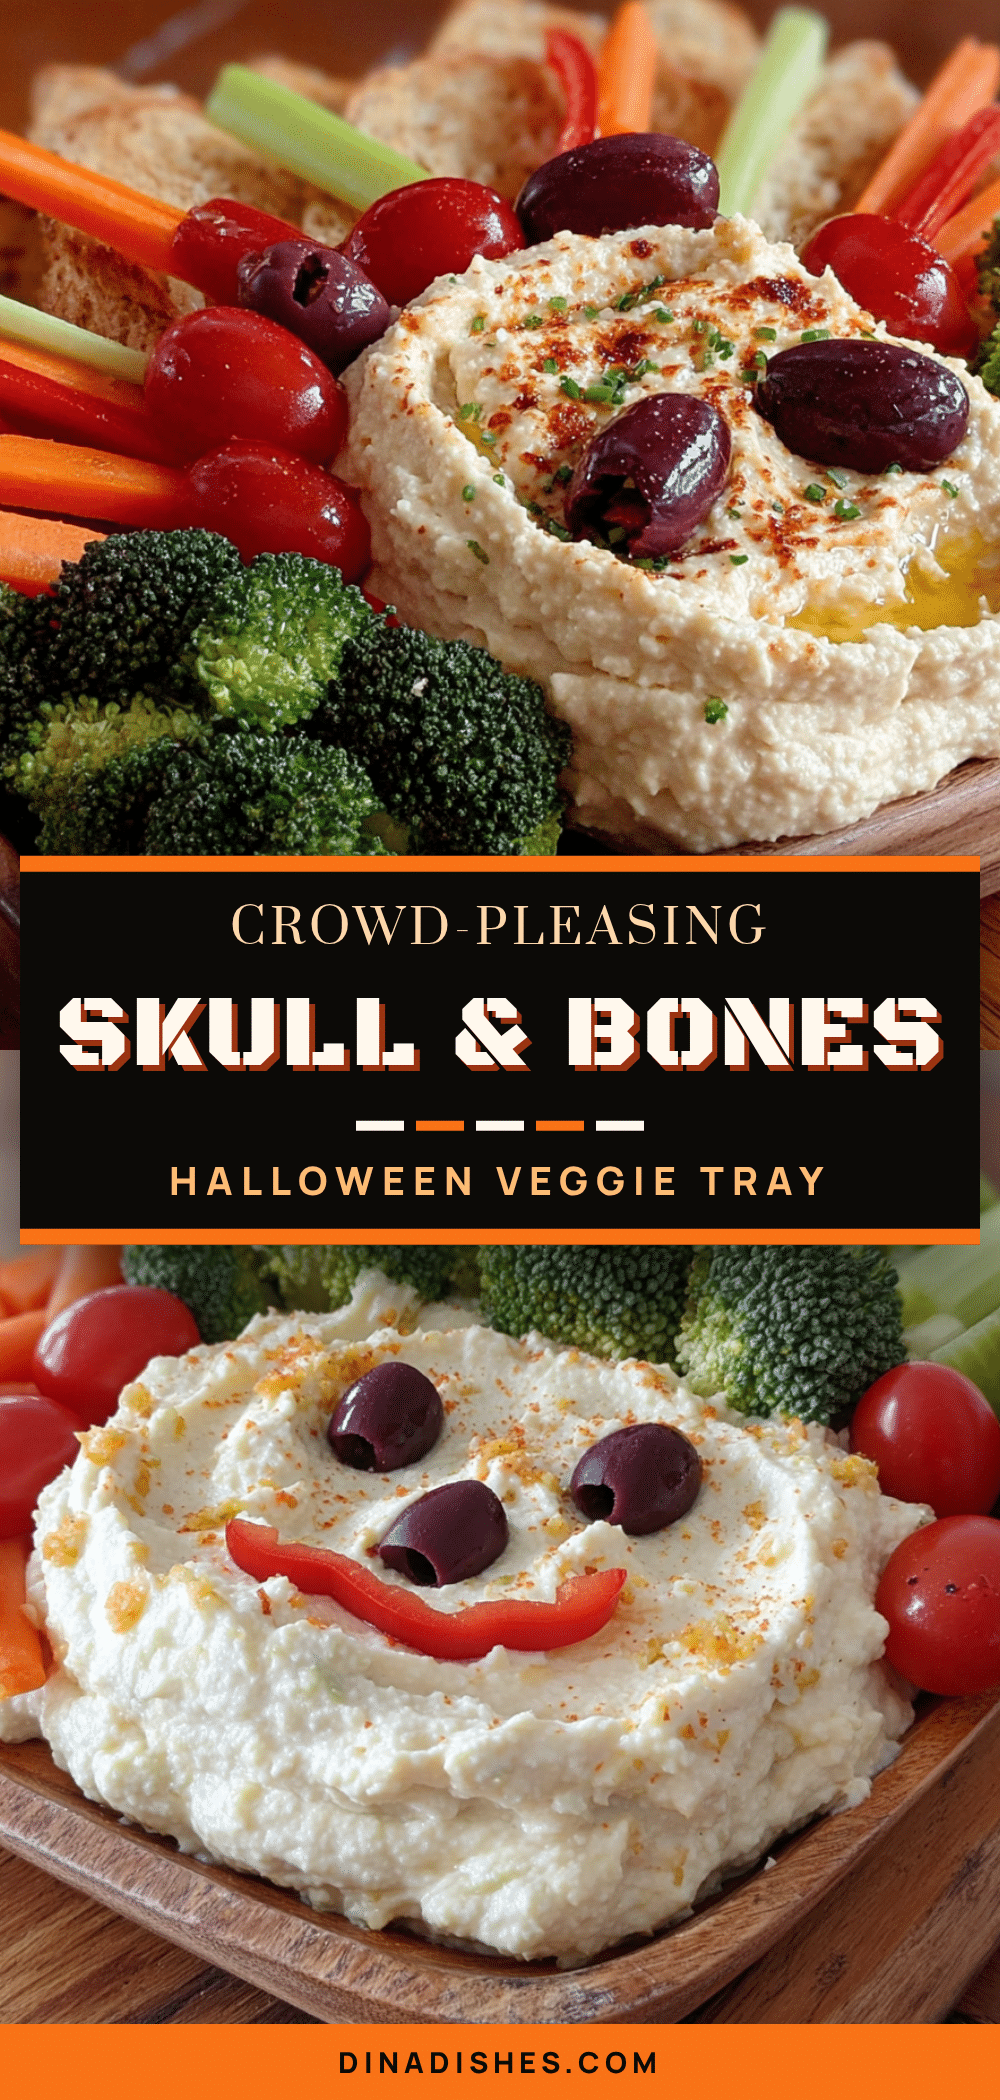
Easy Skull & Bones Halloween Veggie Tray
A spooky and fun Halloween veggie tray shaped like a skeleton, featuring a carved bell pepper skull, cucumber bones, and a creamy dip. Perfect for parties and healthier snacking.
- Prep Time: 20 minutes
- Cook Time: 0 minutes
- Total Time: 20 minutes
- Yield: 8 servings 1x
- Category: Appetizer
- Cuisine: American
Ingredients
- 1 large red bell pepper
- 1 head of cauliflower
- 3–4 large cucumbers
- 1 bunch of celery
- 1 head of broccoli
- 1 cup of cherry tomatoes (optional)
- 1 cup of baby carrots
- 1 cup of ranch dressing
- OR 1 cup of hummus
- Optional: black food coloring
Instructions
- Prep the vegetables (10 minutes): Wash all veggies thoroughly. Pat dry with paper towels. Cut cucumbers into thick rounds (1/2-inch thick). Cut celery into 3-inch sticks. Break cauliflower and broccoli into medium florets. Halve cherry tomatoes if using. Set aside.
- Carve the skull (5 minutes): Cut off the top of the red bell pepper, remove seeds and membrane. Turn pepper upside down. Use a paring knife to carve two eye sockets, a nose hole, and a jagged mouth.
- Assemble the skull (2 minutes): Place carved bell pepper in center of serving platter. Arrange cauliflower florets around top and sides to look like a brain or skull cap.
- Create the bones (5 minutes): Arrange cucumber rounds in two columns below the skull for ribcage. Place celery sticks radiating outward like arms and legs. Add baby carrots at ends as fingers.
- Fill the graveyard (3 minutes): Scatter broccoli florets and cherry tomatoes around edges of tray. Leave space for dip bowl.
- Prepare the dip (2 minutes): Pour ranch dressing or hummus into small bowl. Add black food coloring if desired and stir. Place bowl on tray.
- Final touches (2 minutes): Adjust any veggies. Sprinkle extra cucumber rounds around skull. Serve immediately or cover and refrigerate.
Notes
Keep veggies cold for crunch. Carve bell pepper carefully using a sawing motion. Use a template if needed. Don’t overfill the tray. Pat veggies dry to help dip stick.
Nutrition
- Serving Size: 1 serving (approx. 1
- Calories: 120
- Sugar: 5
- Sodium: 200
- Fat: 7
- Saturated Fat: 1
- Carbohydrates: 12
- Fiber: 4
- Protein: 3
Keywords: Halloween, veggie tray, skull, bones, healthy snack, party appetizer, spooky