I was standing in the checkout line at the hardware store—of all places—last December, holding a new snow shovel and a pack of lightbulbs, when the woman behind me started talking about Christmas truffles. She was maybe seventy, wearing a faded flannel shirt and holding a single replacement window screen. Not exactly who you’d expect dessert advice from. But she saw the Oreos in my cart—I’d grabbed them for a totally different purpose—and she just started talking. “You know what I make every year for my grandkids?” she said, leaning in like we were old friends. “Oreo truffle balls. No baking, no fuss, and they disappear before I can wrap them up.”
I wasn’t planning to make truffles that day. Honestly, I had a million other things to do. But she told me the recipe right there between the paint samples and the gardening gloves, scribbling the key measurements on the back of a receipt she fished from her pocket. I stuffed it in my coat, forgot about it for a week, and then found it crumpled up when I was digging for gloves. So I gave it a shot. And let me tell you—those little Oreo truffle balls became the star of our Christmas plate. My kids, who usually pick at fancy desserts, ate six of them before dinner. My husband asked for the recipe three times. I’ve made them every year since.
Maybe you’ve been there—needing a holiday treat that doesn’t require a culinary degree, a stand mixer, or an hour of cleanup. Something that actually tastes incredible and makes everyone happy without breaking your grocery budget. That’s exactly what these no-bake Christmas Oreo truffle balls deliver. They’re simple enough for a five-year-old to help roll, impressive enough to gift in a tin, and honestly? They’re the kind of thing you’ll find yourself sneaking from the fridge at 10 p.m. long after the kids are asleep.
Why You’ll Love This Recipe
Look, I’ve tested a lot of holiday desserts over the years. Some are beautiful but taste like cardboard. Others taste amazing but require three days of prep. These Oreo truffle balls hit the sweet spot—pun intended. Here’s why they’ve earned a permanent spot in my Christmas rotation:
- No baking required. Your oven stays free for the turkey or the cookies that actually need heat. All you need is a bowl, a spoon, and some fridge space.
- Budget-friendly ingredients. Oreos, cream cheese, and melting chocolate. That’s it. No expensive extracts, no hard-to-find specialty items. You probably have most of this in your kitchen right now.
- Perfect for little helpers. My four-year-old can crush the Oreos (with supervision) and roll the balls. It’s a legit Christmas activity that keeps them busy and proud of what they made.
- Always a crowd-pleaser. I’ve brought these to cookie swaps, school parties, and family gatherings. They vanish. Adults love them, kids devour them, and even picky eaters ask for seconds.
- Freezer-friendly. Make them weeks ahead and pull them out when you need a last-minute dessert. They taste just as good after a month in the freezer—I’ve tested this personally.
What makes these different from every other Oreo truffle recipe out there? It’s the ratio. I’ve tweaked it over the years to get that perfect texture—creamy on the inside, snappy on the outside, not too sweet, not too dense. The cream cheese-to-cookie ratio is key, and I’ll walk you through exactly how to get it right so your truffles hold their shape and taste like something you’d pay good money for at a bakery.
This is the kind of recipe that makes you close your eyes after the first bite. It’s comfort food, holiday magic, and a little bit of childhood all rolled into one. And the best part? You can make a batch in under thirty minutes of active time. That’s a win in my book.
What Ingredients You Will Need
This recipe uses simple, everyday ingredients to create something that tastes surprisingly fancy. No weird stuff, no hunting down obscure items. Here’s what you’ll need:
For the Truffle Filling
- 1 (14.3-ounce) package regular Oreo cookies (about 36 cookies) — Don’t use Double Stuf or Thins for this. The regular ones have the perfect cookie-to-creme ratio. I’ve tried both, and regular Oreos give the best texture.
- 8 ounces full-fat cream cheese, softened to room temperature — This is non-negotiable. Low-fat cream cheese makes the filling too soft and the truffles won’t hold their shape. Let it sit on the counter for about 30 minutes before you start.
- 1/4 teaspoon vanilla extract (optional, but adds a nice depth)
- Pinch of salt — Sounds weird, I know, but it balances the sweetness beautifully.
For the Coating
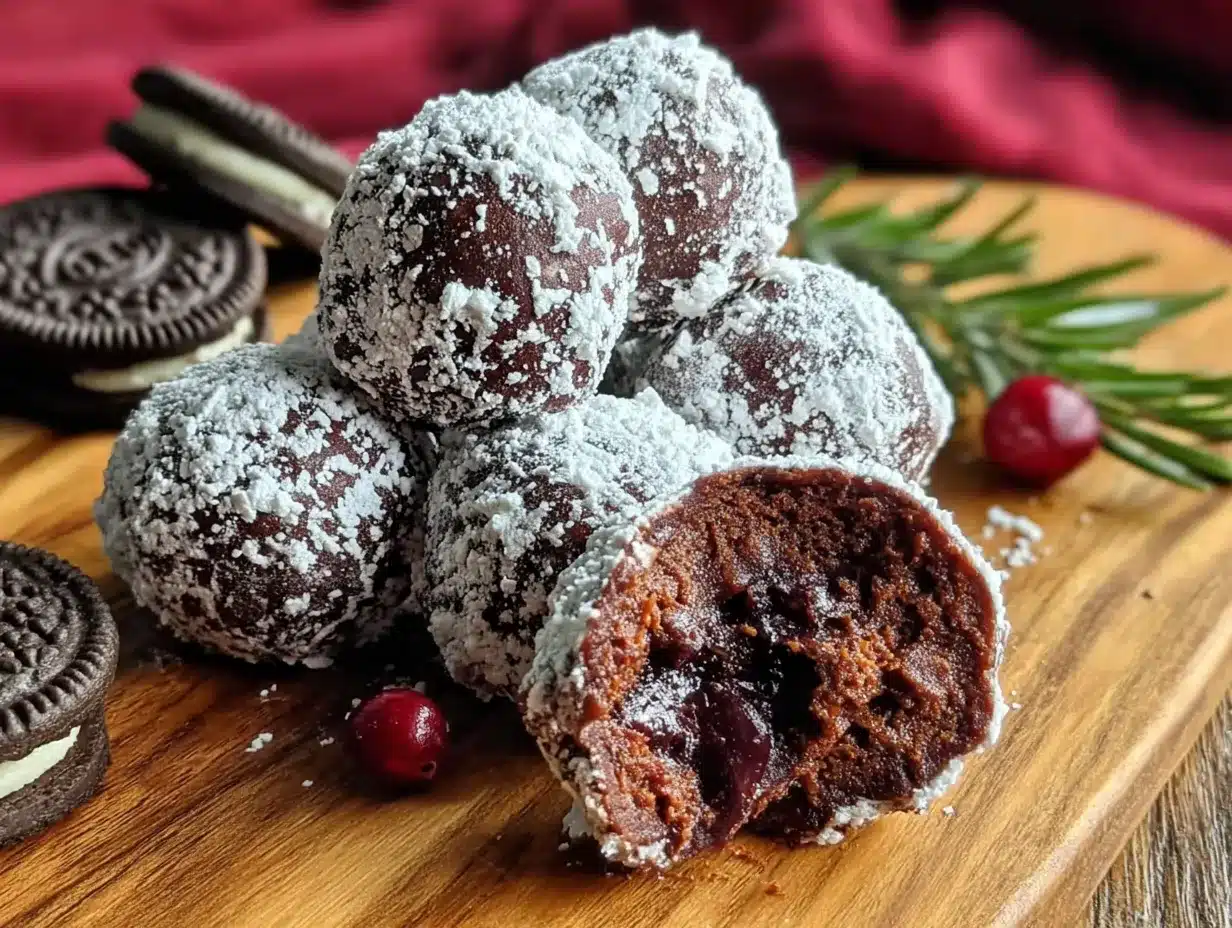
- 12 ounces white melting chocolate or candy melts — I prefer Ghirardelli white melting wafers for the smoothest finish, but any brand works. Don’t use white chocolate chips—they don’t melt as smoothly and can seize up on you.
- 1 tablespoon coconut oil or vegetable shortening (optional, helps thin the chocolate for easier dipping)
- Christmas sprinkles, crushed candy canes, or red and green sanding sugar for decoration
Ingredient Tips from My Kitchen
Let me save you some frustration. I once used generic sandwich cookies instead of Oreos, thinking it wouldn’t matter. It did. The filling was gummy and the truffles tasted off. Stick with name-brand Oreos for this one—they have that specific crumb texture that works perfectly.
For the cream cheese, Philadelphia is my go-to. Make sure it’s truly softened, not cold. Cold cream cheese leaves lumps in your filling, and nobody wants a lumpy truffle. If you forget to set it out, microwave it for about 10 seconds—but watch it carefully.
As for the chocolate coating, I’ve learned the hard way that tempering matters. Candy melts are the most forgiving option for beginners. They melt smoothly, set firmly, and come in festive colors. If you’re using real white chocolate, chop it finely and melt it slowly in 30-second bursts, stirring between each.
Equipment Needed
You don’t need a fancy kitchen for these. Here’s what you’ll actually use:
- Food processor or blender — For crushing the Oreos into fine crumbs. A food processor works best, but a blender will do in a pinch. If you have neither, put the cookies in a ziplock bag and crush them with a rolling pin. It’s a great arm workout and the kids love helping.
- Large mixing bowl — Any bowl works, but I like using a stainless steel one because it stays cool.
- Hand mixer or sturdy spatula — A hand mixer makes combining the cream cheese and crumbs effortless, but a strong spatula and some elbow grease work too.
- Small cookie scoop or tablespoon — For portioning even truffle balls. A #70 scoop (about 1 tablespoon) is perfect.
- Baking sheet lined with parchment or wax paper — For holding the truffles while they set.
- Microwave-safe bowl — For melting the chocolate.
- Fork or dipping tool — For coating the truffles. I use a regular dinner fork; it lets the excess chocolate drip off nicely.
- Piping bag or ziplock bag (optional) — For drizzling extra chocolate on top.
If you don’t have a food processor, don’t stress. The ziplock-and-rolling-pin method works beautifully, and it’s actually what my kids prefer because they get to whack the bag. Just make sure you crush the cookies really fine—no big chunks or your truffles will be crumbly.
Preparation Method
Alright, let’s make these truffles. I’ll walk you through every step so you get perfect results the first time.
Step 1: Crush the Oreos
Place the entire package of Oreos—creme filling and all—into your food processor. Pulse until you have fine, sand-like crumbs. This should take about 30 seconds. If you’re using the ziplock method, seal the bag tightly (seriously, check for holes) and crush until no large pieces remain. You want about 3 cups of fine crumbs.
Sensory cue: The crumbs should look like dark brown sand, with no visible chunks of cookie or white streaks of creme. If you see big pieces, keep crushing.
Step 2: Mix the Filling
In a large mixing bowl, beat the softened cream cheese with a hand mixer until smooth and fluffy, about 1 minute. Add the vanilla extract and salt, and beat again. Pour in the Oreo crumbs and mix on low speed until everything is fully combined. The mixture will look like dark, crumbly dough. Scrape down the sides of the bowl halfway through.
My tip: If the mixture seems too dry and won’t come together, add a teaspoon of milk. If it’s too sticky to handle, add a few more crushed Oreos. The texture should be like stiff cookie dough—it holds together when you squeeze it but doesn’t stick to your hands.
Step 3: Chill the Dough
Cover the bowl with plastic wrap and refrigerate for at least 30 minutes. This step is crucial. Chilling firms up the cream cheese and makes the dough easy to roll. If you skip this, your truffles will be sticky messes. I usually chill mine for a full hour while I clean up the kitchen.
Step 4: Roll the Truffle Balls
Line your baking sheet with parchment paper. Using a cookie scoop or tablespoon, portion out the chilled dough. Roll each portion between your palms to form smooth, round balls about 1 inch in diameter. Place them on the prepared baking sheet. You should get about 30 to 36 truffles.
Pro tip: Wash your hands halfway through if the dough starts sticking. Cold hands make smoother balls. If you have time, pop the rolled truffles back in the fridge for 15 minutes while you melt the chocolate. Cold truffles are easier to coat.
Step 5: Melt the Chocolate
Place the white melting chocolate in a microwave-safe bowl. Microwave in 30-second intervals, stirring thoroughly after each, until fully melted and smooth. This usually takes about 2 minutes total. If you’re using coconut oil, stir it in after the chocolate is melted—it helps thin the coating for easier dipping.
Warning: White chocolate burns easily. If you see any lumps or the chocolate looks grainy, you’ve overheated it. Start over with fresh chocolate—it’s not worth salvaging.
Step 6: Dip the Truffles
Drop one chilled truffle into the melted chocolate. Use a fork to gently turn it until fully coated. Lift it out with the fork, tapping the handle gently on the edge of the bowl to let excess chocolate drip off. Slide the truffle off the fork onto the parchment-lined baking sheet using a toothpick or your finger.
Work quickly—the cold truffles will start to warm the chocolate, and you want a smooth finish. If the chocolate thickens as you work, microwave it for 10 seconds to thin it again.
Step 7: Decorate
While the chocolate is still wet, sprinkle your decorations on top. I like to use red and green sprinkles for Christmas, but crushed candy canes or a drizzle of dark chocolate also look gorgeous. Work in batches of three or four truffles so the chocolate doesn’t set before you can decorate.
Step 8: Set and Serve
Let the truffles sit at room temperature until the chocolate sets, about 30 minutes. If you’re in a hurry, pop them in the fridge for 15 minutes. Once set, they’re ready to serve.
Cooking Tips & Techniques
I’ve made these truffles at least a dozen times, and I’ve learned a few things the hard way. Here’s what I wish someone had told me:
Don’t overmix the filling. I know it’s tempting to keep beating until everything is perfectly smooth, but overmixing can make the cream cheese too soft and the truffles won’t hold their shape. Mix just until combined—a few small streaks of cream cheese are fine.
Chill between steps. This is the single most important tip. Cold dough rolls better. Cold truffles dip better. If at any point your mixture gets too soft to work with, pop it back in the fridge for 10 minutes. I’ve had batches that started melting on me, and a quick chill saved them every time.
Use a fork for dipping, not a spoon. A fork lets the excess chocolate drip through the tines, giving you a thinner, more even coating. A spoon leaves too much chocolate pooled on the bottom, which can make your truffles look lumpy.
Work in small batches. Don’t take all the truffles out of the fridge at once. Work with 5 or 6 at a time, keeping the rest chilled. This prevents the dough from softening and the chocolate from thickening too quickly.
My biggest failure: The first time I made these, I forgot to chill the dough. I tried to roll it anyway, and it was a sticky disaster. The truffles were misshapen, the coating was a mess, and I ended up with chocolate-covered hands and a very frustrated attitude. Learn from my mistake—chill the dough. It’s not optional.
Variations & Adaptations
One of the best things about this recipe is how easy it is to customize. Here are some variations I’ve tried and loved:
Flavor Variations
- Mint Chocolate: Swap the vanilla extract for 1/4 teaspoon peppermint extract. Crush candy canes and sprinkle them on top. It tastes like a thin mint cookie in truffle form.
- Peanut Butter: Add 2 tablespoons of creamy peanut butter to the cream cheese mixture. Roll the truffles and dip them in dark chocolate. My husband says these are the best thing I’ve ever made.
- Cookies and Cream: Reserve 1/4 cup of crushed Oreos and mix them into the cream cheese mixture before rolling. You’ll get little cookie chunks in every bite.
Dietary Adaptations
- Gluten-Free: Use gluten-free sandwich cookies (like Glutino or Kinnikinnick brand). The recipe works exactly the same way.
- Dairy-Free: Use dairy-free cream cheese (I like Kite Hill or Violife) and dairy-free chocolate chips for coating. The texture will be slightly softer, so chill them well before serving.
- Lower Sugar: Use reduced-fat Oreos and sugar-free white chocolate. The taste is still great, just slightly less sweet.
Seasonal Twists
These truffles aren’t just for Christmas. For Easter, use pastel-colored candy melts and sprinkle with mini eggs. For Halloween, use orange and black sprinkles. For Valentine’s Day, dip in pink chocolate and top with heart sprinkles. The base recipe stays the same—just change the coating and decorations.
I once made a batch with crushed gingerbread cookies mixed into the Oreo crumbs. It was a little risky, but the spicy-sweet combo was incredible. Don’t be afraid to experiment.
Serving & Storage Suggestions
These truffles are incredibly versatile when it comes to serving. Here’s how I handle them:
Serving
Serve the truffles chilled or at room temperature. I prefer them straight from the fridge—the coating snaps when you bite into it, and the filling is firm and creamy. If you’re serving them at a party, arrange them on a festive platter or in mini cupcake liners. They look gorgeous on a Christmas cookie tray alongside gingerbread men and sugar cookies.
For a fun presentation, stack them in a clear glass jar tied with a ribbon. They make fantastic homemade gifts for neighbors, teachers, or coworkers. I’ve given them as hostess gifts and they’re always a hit.
Storage
- Refrigerator: Store in an airtight container for up to 2 weeks. Layer them between sheets of wax paper to prevent sticking.
- Freezer: These freeze beautifully. Place the truffles in a single layer on a baking sheet and freeze until solid, about 1 hour. Transfer to a freezer-safe bag or container. They’ll keep for up to 3 months. Thaw in the refrigerator overnight before serving.
- Room Temperature: If you’re serving them within a few hours, they can sit out. But for longer storage, always keep them chilled.
Flavor note: These truffles actually taste better the next day. The flavors meld together overnight, and the texture becomes perfectly creamy. So don’t stress about making them ahead—it’s actually better that way.
Nutritional Information & Benefits
Let’s be real—these are a treat, not a health food. But knowing what’s in them helps you enjoy them mindfully. Here’s the approximate nutritional breakdown per truffle (based on 32 truffles):
| Nutrient | Amount per Truffle |
|---|---|
| Calories | 145 |
| Total Fat | 9g |
| Saturated Fat | 5g |
| Carbohydrates | 16g |
| Sugar | 12g |
| Protein | 2g |
On the plus side, the cream cheese adds a small amount of calcium and protein. The Oreos, well, they bring joy. And honestly, that counts for something during the holidays. If you’re watching your sugar intake, you can use sugar-free Oreos and sugar-free chocolate—the taste is slightly different, but still satisfying.
These truffles are vegetarian and can easily be made gluten-free or dairy-free with the substitutions I mentioned earlier. They contain dairy and wheat in their standard form, so keep that in mind if you’re serving guests with allergies.
My personal philosophy? Enjoy the holidays. Make these truffles. Share them with people you love. And don’t stress about the calories—life is too short.
Conclusion
These no-bake Christmas Oreo truffle balls have become a tradition in my house, and I think they deserve to be in yours too. They’re simple enough for a busy weeknight, fun enough for a holiday baking session with the kids, and impressive enough to gift to anyone on your list. The best recipes are the ones that bring people together, and these little truffles do exactly that.
I’d love to hear how they turn out for you. Did you try a fun variation? Did your kids help roll them? Did they disappear as fast as mine do? Drop a comment below and let me know. And if you share a photo on social media, tag me—I love seeing your creations.
Here’s to a holiday season filled with sweet treats, happy memories, and maybe a little bit of chocolate on your fingers. Happy baking, friend!
Frequently Asked Questions
Can I use Double Stuf Oreos instead of regular ones?
I wouldn’t recommend it. Double Stuf Oreos have too much creme filling, which makes the truffle mixture too soft and sticky. Stick with regular Oreos for the best texture. If you only have Double Stuf on hand, scrape off some of the creme before crushing them.
Why are my truffles too soft to roll?
This usually happens for two reasons: either the cream cheese wasn’t fully softened (which creates lumps that make the mixture uneven) or the dough wasn’t chilled long enough. Pop the mixture back in the fridge for at least 30 minutes, and make sure your cream cheese is at room temperature next time.
Can I make these truffles ahead of time?
Absolutely. In fact, they taste better the next day. You can make the truffle balls and store them in the fridge for up to 3 days before dipping. Or freeze the finished truffles for up to 3 months. Thaw overnight in the fridge before serving.
My chocolate coating is lumpy. What went wrong?
You likely overheated the chocolate. White chocolate is sensitive—it burns easily and becomes grainy when overheated. Always melt it in short 30-second bursts, stirring well between each. If it’s already lumpy, unfortunately you’ll need to start over with fresh chocolate.
Can I use dark chocolate instead of white chocolate?
Yes, and it’s delicious. Dark chocolate pairs beautifully with the sweet Oreo filling. Use the same melting method, and consider adding a drizzle of white chocolate on top for a pretty contrast. Semisweet or milk chocolate also work great.
Pin This Recipe!
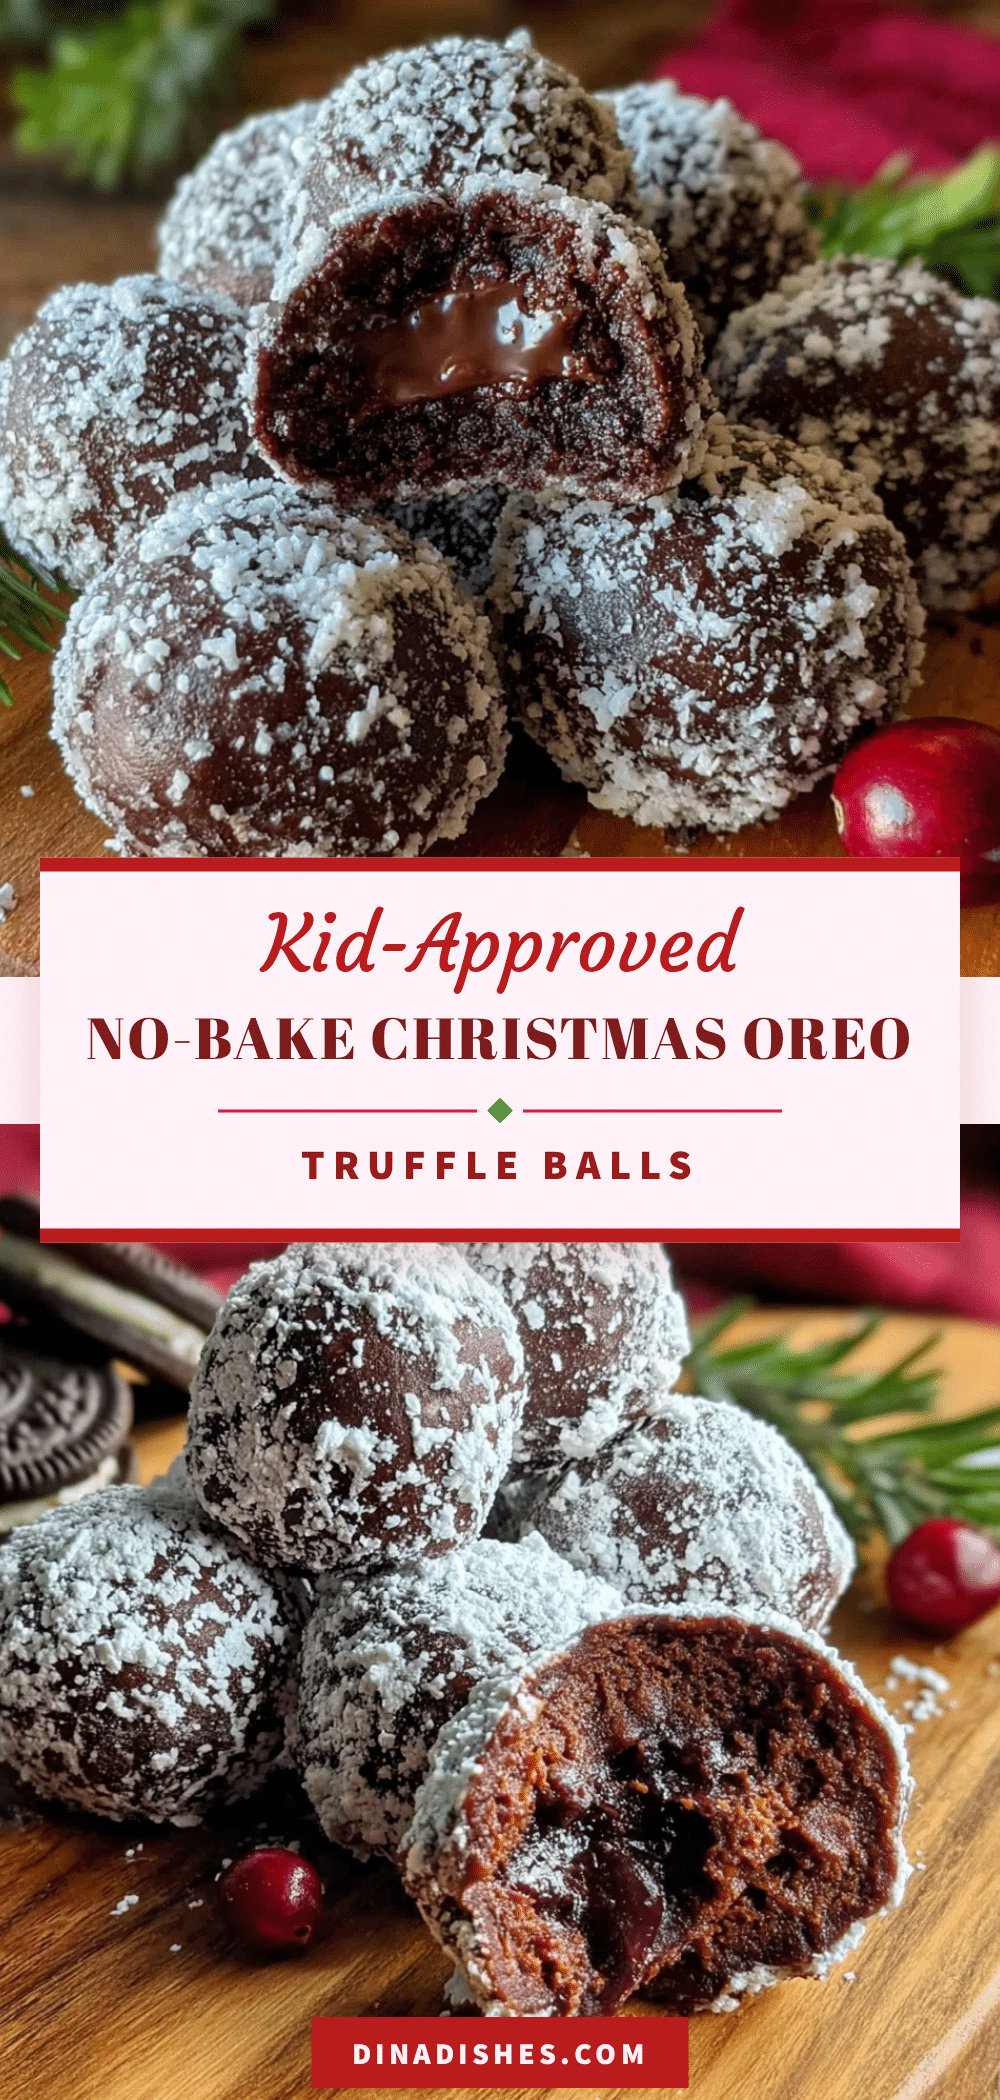
Kid-Approved No-Bake Christmas Oreo Truffle Balls

These no-bake Oreo truffle balls are a simple, budget-friendly holiday treat made with just Oreos, cream cheese, and white chocolate. They’re creamy on the inside, snappy on the outside, and always a crowd-pleaser.
- Prep Time: 20 minutes
- Cook Time: 0 minutes
- Total Time: 1 hour 20 minutes (includes chilling time)
- Yield: 30-36 truffles 1x
- Category: Dessert
- Cuisine: American
Ingredients
- 1 (14.3-ounce) package regular Oreo cookies (about 36 cookies)
- 8 ounces full-fat cream cheese, softened to room temperature
- 1/4 teaspoon vanilla extract (optional)
- Pinch of salt
- 12 ounces white melting chocolate or candy melts
- 1 tablespoon coconut oil or vegetable shortening (optional)
- Christmas sprinkles, crushed candy canes, or red and green sanding sugar for decoration
Instructions
- Crush the Oreos: Place the entire package of Oreos (creme filling and all) into a food processor. Pulse until you have fine, sand-like crumbs (about 30 seconds). Alternatively, seal the cookies in a ziplock bag and crush with a rolling pin until fine.
- Mix the filling: In a large mixing bowl, beat the softened cream cheese with a hand mixer until smooth and fluffy, about 1 minute. Add the vanilla extract and salt, and beat again. Pour in the Oreo crumbs and mix on low speed until fully combined. The mixture should look like dark, crumbly dough.
- Chill the dough: Cover the bowl with plastic wrap and refrigerate for at least 30 minutes (or up to 1 hour) until firm.
- Roll the truffle balls: Line a baking sheet with parchment paper. Using a cookie scoop or tablespoon, portion out the chilled dough. Roll each portion between your palms to form smooth, round balls about 1 inch in diameter. Place on the prepared baking sheet. You should get about 30 to 36 truffles. Chill the rolled truffles for 15 minutes while you melt the chocolate.
- Melt the chocolate: Place the white melting chocolate in a microwave-safe bowl. Microwave in 30-second intervals, stirring thoroughly after each, until fully melted and smooth (about 2 minutes total). If using coconut oil, stir it in after the chocolate is melted.
- Dip the truffles: Drop one chilled truffle into the melted chocolate. Use a fork to gently turn it until fully coated. Lift it out with the fork, tapping the handle gently on the edge of the bowl to let excess chocolate drip off. Slide the truffle off the fork onto the parchment-lined baking sheet. Work quickly and in small batches.
- Decorate: While the chocolate is still wet, sprinkle decorations on top. Work in batches of three or four truffles so the chocolate doesn’t set before decorating.
- Set and serve: Let the truffles sit at room temperature until the chocolate sets, about 30 minutes, or refrigerate for 15 minutes. Serve chilled or at room temperature.
Notes
Chill the dough for at least 30 minutes before rolling to prevent stickiness. Use regular Oreos, not Double Stuf, for the best texture. White chocolate burns easily—melt in short bursts. For best results, chill truffles between steps. These taste even better the next day.
Nutrition
- Serving Size: 1 truffle
- Calories: 145
- Sugar: 12
- Sodium: 85
- Fat: 9
- Saturated Fat: 5
- Carbohydrates: 16
- Protein: 2
Keywords: no-bake Christmas Oreo truffle balls, Oreo truffles, Christmas dessert, no-bake dessert, holiday treat, Oreo balls, white chocolate truffles


