There used to be a little bakery and café in my town called The Gilded Crumb that made this incredible savory cheese spread, shaped into the most adorable little hedgehogs for their fall menu. When they closed their doors two summers ago, I felt a real pang of loss—not just for their amazing coffee, but for those little cheese hedgehogs that my kids would beg for every October. After six tries—some that crumbled apart, one that looked more like a sad potato than any woodland creature—I finally cracked the code. Honestly, I got a little obsessed with getting it right, and let me tell you, this mummy cheese ball version is even better than the original.
You know that feeling when you find the perfect party appetizer that actually makes your kids eat vegetables without a fight? That’s this recipe. I was determined to recreate that bakery magic, but I wanted something that felt more Halloween-appropriate. The mummy idea came to me at 2 AM, which is when all my best kitchen ideas happen. After a few messy attempts involving too much cream cheese and not enough chilling time, I finally nailed the texture and the look. The best part? My five-year-old helped me wrap the “bandages” and declared it “the spookiest snack ever.” When your kids are fighting over who gets to dip a pretzel stick into a cheese ball, you know you’ve won Halloween dinner.
Why You’ll Love This Recipe
This isn’t just another cheese ball recipe you’ll find online. I’ve tested this version with my own family—picky eaters, vegetable skeptics, and all—and it passed the ultimate test. It’s a crowd-pleaser that looks like you spent hours on it, but comes together in under 30 minutes of active prep time.
- Quick & Easy: You can have this ready in about 20 minutes of hands-on work. The hardest part is waiting for it to chill.
- Simple Ingredients: No fancy grocery store trips needed. You probably have most of these in your fridge right now.
- Perfect for Halloween Parties: It’s the centerpiece of any spooky spread, but it’s not too scary for little ones.
- Crowd-Pleaser: Kids love the mummy look, and adults love that it’s not just another sugary Halloween treat.
- Unbelievably Delicious: The blend of cream cheese, cheddar, and a secret ingredient—a pinch of garlic powder—makes it irresistibly savory.
What makes this recipe different is the texture. I’ve learned that letting the cream cheese sit out for exactly 30 minutes makes all the difference—it blends so smoothly that you don’t get any lumps. Plus, using a mix of shredded cheddar and Monterey Jack gives it a creamier melt-in-your-mouth feel. This is the kind of appetizer that makes you close your eyes after the first bite, even while your kids are giggling at the googly eyes staring back at you.
What Ingredients You Will Need
This recipe uses simple, wholesome ingredients that come together to create something truly special. Most of these are pantry staples, which means you can whip this up on a whim for any Halloween gathering.
- For the Cheese Ball Base:
- 16 oz cream cheese, softened (I recommend Philadelphia for the best creamy texture)
- 1 ½ cups shredded sharp cheddar cheese (about 6 oz)
- ½ cup shredded Monterey Jack cheese (adds extra creaminess)
- ¼ cup finely chopped green onions (about 3-4 stalks)
- 1 teaspoon garlic powder
- ½ teaspoon onion powder
- ¼ teaspoon salt
- ¼ teaspoon black pepper
- 2 tablespoons milk (helps with consistency; use a dairy-free milk if needed)
- For the Mummy Wrapping:
- 8 oz cream cheese, softened (for the bandages)
- 2-3 tablespoons milk (to thin the cream cheese for wrapping)
- For Decoration:
- 2 candy eyes (or use small black olives, cut into rounds)
- 1 small pretzel stick (for the mummy’s arms, optional)
- Fresh parsley or chives (for a grassy base, optional)
- For Serving (Suggestions):
- Assorted crackers (I prefer buttery Ritz or sturdy wheat crackers)
- Vegetable sticks (carrots, celery, bell peppers)
- Pretzel sticks
When choosing your cream cheese, look for blocks, not the spreadable tub kind—the blocks have a firmer texture that holds up better for shaping. For the shredded cheese, I’ve found that pre-shredded bags work fine, but freshly shredded from a block gives you a much smoother melt and better flavor. If you’re feeding a crowd with allergies, you can easily swap the dairy ingredients for vegan alternatives, though the texture will be slightly different.
Equipment Needed
You don’t need any fancy gadgets for this recipe, which is part of its charm. Here’s what you’ll need:
- Large mixing bowl – A standard 3-quart bowl works perfectly.
- Hand mixer or stand mixer – A hand mixer is easiest, but you can absolutely do this by hand with a sturdy spatula. I’ve done both, and the hand mixer just saves your arm from a good workout.
- Plastic wrap – Essential for shaping the cheese ball and for chilling it.
- Parchment paper – Makes cleanup a breeze when you’re working with the “bandages.”
- Spatula – A rubber spatula for scraping every last bit of cheesy goodness.
- Serving platter – A flat plate or wooden board works best for the mummy presentation.
- Small piping bag or zip-top bag – For applying the cream cheese bandages. A zip-top bag with a tiny corner snipped off works perfectly and costs nothing.
If you don’t have a piping bag, don’t stress. I’ve used a butter knife to spread the cream cheese into thin strips before, and it still looked great. The key is just to make it look like bandages, not a smooth finish.
Preparation Method
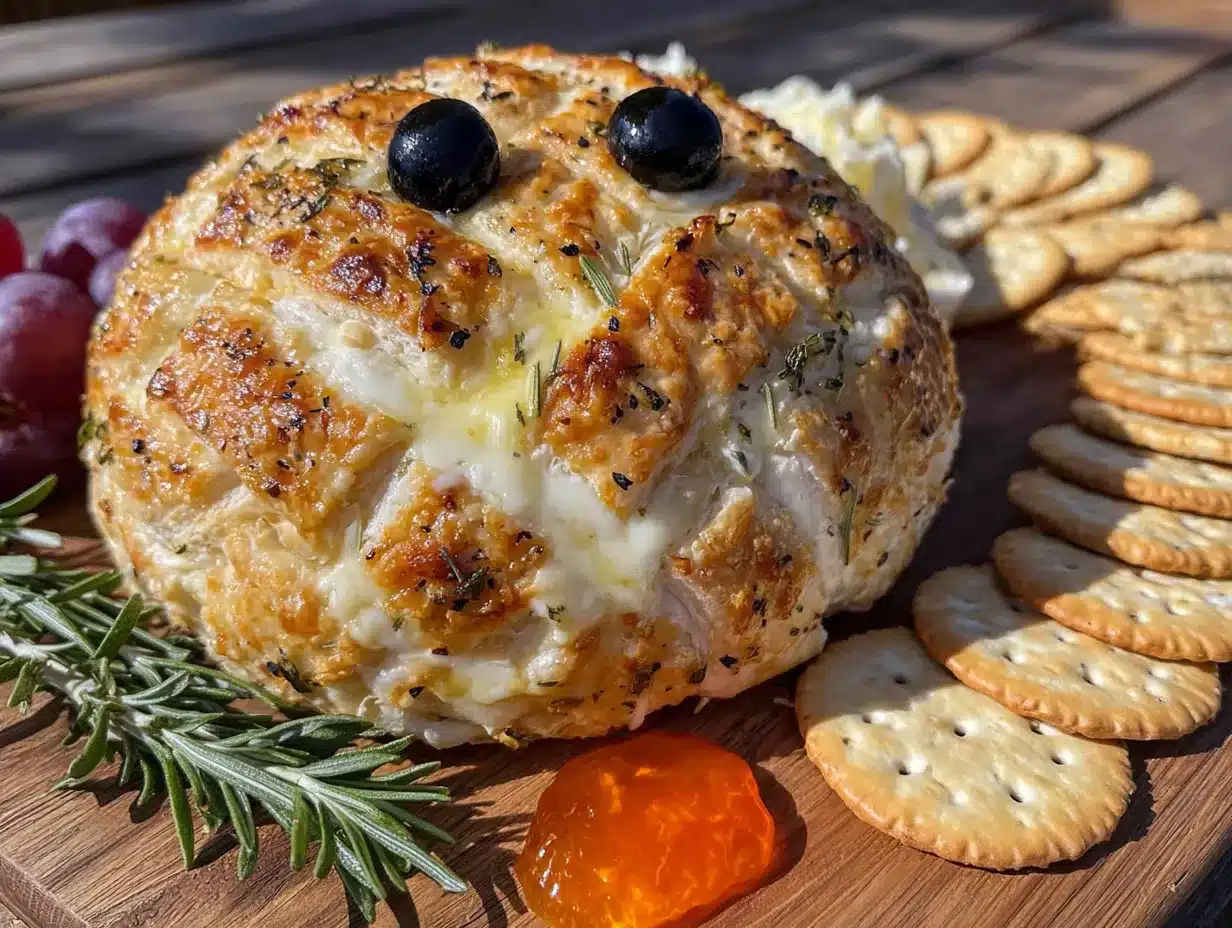
Alright, let’s get to the fun part. Here’s how to make this adorable mummy cheese ball, step by step.
- Soften the Cream Cheese: Take both blocks of cream cheese (16 oz for the base and 8 oz for the bandages) out of the fridge. Let them sit on the counter for 30 minutes. I know it’s tempting to microwave them, but trust me—microwaving can make them too soft and create lumps. Patience pays off here.
- Mix the Base: In your large mixing bowl, add the 16 oz of softened cream cheese, shredded cheddar, shredded Monterey Jack, chopped green onions, garlic powder, onion powder, salt, pepper, and 2 tablespoons of milk. Using your hand mixer on medium speed, beat everything together until it’s smooth and well combined. Stop to scrape down the sides of the bowl with your spatula at least once. You want a uniform mixture with no streaks of cream cheese.
- Shape the Mummy Body: Scoop the cheese mixture onto a large piece of plastic wrap. Using your hands (lightly dampened with water to prevent sticking), shape it into a log or oval shape—think of a mummy’s body. Don’t worry about making it perfect; the bandages will cover any unevenness. Wrap the plastic wrap tightly around the cheese log and twist the ends to secure it. Place it in the refrigerator for at least 2 hours, or up to overnight. This chilling step is crucial—it firms up the cheese so it holds its shape when you add the bandages.
- Prepare the Bandages: About 15 minutes before you’re ready to decorate, take the remaining 8 oz of softened cream cheese out of the fridge. In a small bowl, mix it with 2-3 tablespoons of milk until it reaches a smooth, slightly runny consistency. You want it to be spreadable but not watery. Transfer this mixture to a small piping bag or a zip-top bag. If using a zip-top bag, squeeze the mixture into one corner, then snip off a tiny tip—about 1/8 inch wide. Practice on a piece of parchment paper first to get the hang of it.
- Unwrap and Decorate: Take the chilled cheese log out of the fridge and unwrap it. Place it on your serving platter. Now, here’s where the magic happens. Starting at one end, pipe thin lines of the cream cheese mixture across the log, leaving small gaps between each line to look like mummy bandages. I like to criss-cross a few lines for a more authentic wrapped look. Don’t cover the whole thing—leave a small space at one end for the eyes.
- Add the Eyes: Gently press the two candy eyes (or olive rounds) into the exposed cream cheese at the “head” end of the mummy. If you’re using olives, pat them dry with a paper towel first so they don’t slide off. You can also add a small pretzel stick on each side for arms, but that’s optional.
- Final Chill: Place the decorated mummy cheese ball back in the fridge for another 30 minutes to let the bandages set. This makes it easier to serve without the bandages smearing.
- Serve: Arrange your crackers and vegetable sticks around the mummy on the platter. I like to add a few sprigs of fresh parsley around the base to look like a grassy tomb. Serve immediately, or keep chilled until your guests arrive.
A quick note: if your bandages start to slide off, don’t panic. Just use a butter knife to gently nudge them back into place. The cheese ball is forgiving—it’s supposed to look a little messy, like a real mummy!
Cooking Tips & Techniques
I’ve made this recipe about a dozen times now, and I’ve learned a few things the hard way. Here are my best tips for success.
Don’t skip the chilling time. I know it’s tempting to rush, but a warm cheese ball will just fall apart when you try to pipe the bandages. I once tried to speed things up by putting it in the freezer for 20 minutes, and the outside got too hard while the inside was still soft. Not ideal. Stick to the fridge for at least 2 hours.
Use slightly damp hands for shaping. This is a game-changer. The cheese mixture is sticky, and dry hands will make a mess. Just wet your hands under the tap, shake off the excess, and then shape the log. It’ll be much smoother and less frustrating.
Practice piping on parchment first. The first time I made this, I piped the bandages directly onto the cheese ball and ended up with a thick, goopy mess. Now I always do a few test lines on parchment paper to get the consistency right. If the mixture is too thick, add another splash of milk. If it’s too runny, let it sit in the fridge for 5 minutes to firm up.
Make it ahead of time. This is a lifesaver for busy Halloween nights. You can make the cheese ball base up to 3 days in advance and keep it wrapped in the fridge. Then, on party day, just decorate it with the bandages and eyes. It takes about 15 minutes to finish, and you’ll look like a kitchen wizard.
Keep it cold until serving. Cheese balls are best served cold, not room temperature. If your party runs long, just pop it back in the fridge for 10 minutes to firm up again. Trust me, a warm cheese ball is a sad cheese ball.
Variations & Adaptations
One of the best things about this recipe is how easy it is to adapt. Here are a few ways I’ve changed it up over the years.
Spicy Mummy: Add 1-2 tablespoons of finely chopped jalapeños (from a jar works great) and a pinch of cayenne pepper to the cheese base. The kids won’t notice the heat, but the adults will love the kick. I made this version for a grown-up Halloween party, and it was gone in 20 minutes.
Veggie-Packed Mummy: Finely grate a small carrot and a zucchini, squeeze out the excess moisture with a paper towel, and mix them into the cheese base. The orange and green flecks look great, and it’s a sneaky way to get more vegetables into your kids. My daughter didn’t even notice the carrots until I told her.
Gluten-Free Mummy: This recipe is naturally gluten-free if you skip the pretzel sticks for arms. Just serve it with gluten-free crackers or vegetable sticks. I’ve used rice crackers and cucumber rounds, and both work beautifully.
Dairy-Free Mummy: Use vegan cream cheese and dairy-free shredded cheese. I’ve tried this with a few brands, and the best results come from a firm vegan cream cheese block, not the spreadable kind. The texture will be a bit softer, so you’ll need to chill it for an extra hour.
Pumpkin Mummy: Instead of shaping the cheese into a log, shape it into a small pumpkin. Use the cream cheese bandages to wrap around the “pumpkin,” and add a small pretzel stick on top as the stem. This is perfect for a fall-themed party that isn’t specifically Halloween.
Serving & Storage Suggestions
This mummy cheese ball is best served cold, straight from the fridge. I like to arrange it on a large wooden board or a white platter to make the mummy pop. Surround it with an assortment of crackers—buttery Ritz, sturdy wheat crackers, and savory pretzel thins are my go-to choices. For a healthier option, add carrot sticks, celery, bell pepper strips, and cucumber rounds. The crunch of the vegetables complements the creamy cheese perfectly.
For a full Halloween spread, pair this with some spooky spider deviled eggs and a bowl of creamy pumpkin dip for a complete appetizer table. If you’re serving a crowd, I also love making a batch of witch finger breadsticks to go alongside.
Storage: Leftover mummy cheese ball (if there’s any left!) can be stored in an airtight container in the refrigerator for up to 5 days. The bandages might smudge a little, but it’ll still taste great. To re-wrap it for a second serving, just scrape off the old bandages and pipe fresh ones—it takes 2 minutes.
Freezing: You can freeze the undecorated cheese ball base for up to 2 months. Just wrap it tightly in plastic wrap and then in foil. When you’re ready to use it, thaw it in the refrigerator overnight, then decorate as directed. I’ve done this for a last-minute Halloween party, and it worked like a charm.
Flavor Development: Honestly, this cheese ball tastes even better the next day. The flavors meld together overnight, making it more savory and delicious. So don’t be afraid to make it a day ahead—your taste buds will thank you.
Nutritional Information & Benefits
While this is definitely a treat, it’s not all guilt. Here’s a rough estimate per serving (based on 12 servings, with crackers not included):
| Nutrient | Amount Per Serving |
|---|---|
| Calories | 210 |
| Total Fat | 18g |
| Saturated Fat | 11g |
| Cholesterol | 55mg |
| Sodium | 280mg |
| Carbohydrates | 3g |
| Protein | 8g |
| Calcium | 150mg |
The cream cheese provides a good amount of calcium and protein, which helps keep little bellies full. The green onions add a touch of vitamin K and antioxidants. If you serve it with vegetable sticks, you’re adding fiber and vitamins to the mix. It’s not health food, but it’s a balanced treat that fits perfectly into a Halloween celebration. For those watching their sodium, you can use low-sodium cream cheese and skip the added salt.
Conclusion
This Kid-Friendly Mummy Cheese Ball is more than just a Halloween appetizer—it’s a memory maker. I’ve watched my kids’ faces light up every time I bring it to the table, and honestly, that’s worth more than any complicated recipe. It’s proof that you don’t need fancy ingredients or hours in the kitchen to create something special.
I’d love to hear how your mummy turns out! Did your kids help with the bandages? Did you add your own spooky twist? Drop a comment below and share your creation—I read every single one. And if you’re looking for more Halloween fun, be sure to check out our easy Halloween pizza monster mouths for another kid-friendly hit. Happy haunting, and happy snacking!
Frequently Asked Questions
Can I make this mummy cheese ball without a piping bag?
Absolutely! I’ve done it with a butter knife many times. Just spread the cream cheese mixture into thin strips across the cheese log. It won’t be as precise, but it’ll still look like a mummy. A zip-top bag with a tiny corner cut off works perfectly too.
How far in advance can I make this recipe?
You can make the cheese ball base up to 3 days ahead and keep it wrapped in the fridge. Just decorate it with the bandages and eyes on the day of your party. The decorated mummy can sit in the fridge for up to 24 hours before serving.
Can I use low-fat cream cheese?
You can, but the texture will be softer and less stable. If you use low-fat cream cheese, I recommend adding an extra 1-2 tablespoons of shredded cheese to help it hold its shape. The flavor will still be great, but it might be a bit trickier to shape.
What if I don’t have candy eyes?
No problem! You can use sliced black olives, capers, or even small dots of black food coloring on a piece of cream cheese. I’ve also used chocolate chips in a pinch—just press them in gently so they stay put.
Can I add meat to this cheese ball?
Definitely! Finely chopped cooked bacon or diced ham works wonderfully. Just mix it into the cheese base along with the other ingredients. Keep in mind that meat will shorten the fridge life to about 3 days, so plan accordingly.
Pin This Recipe!
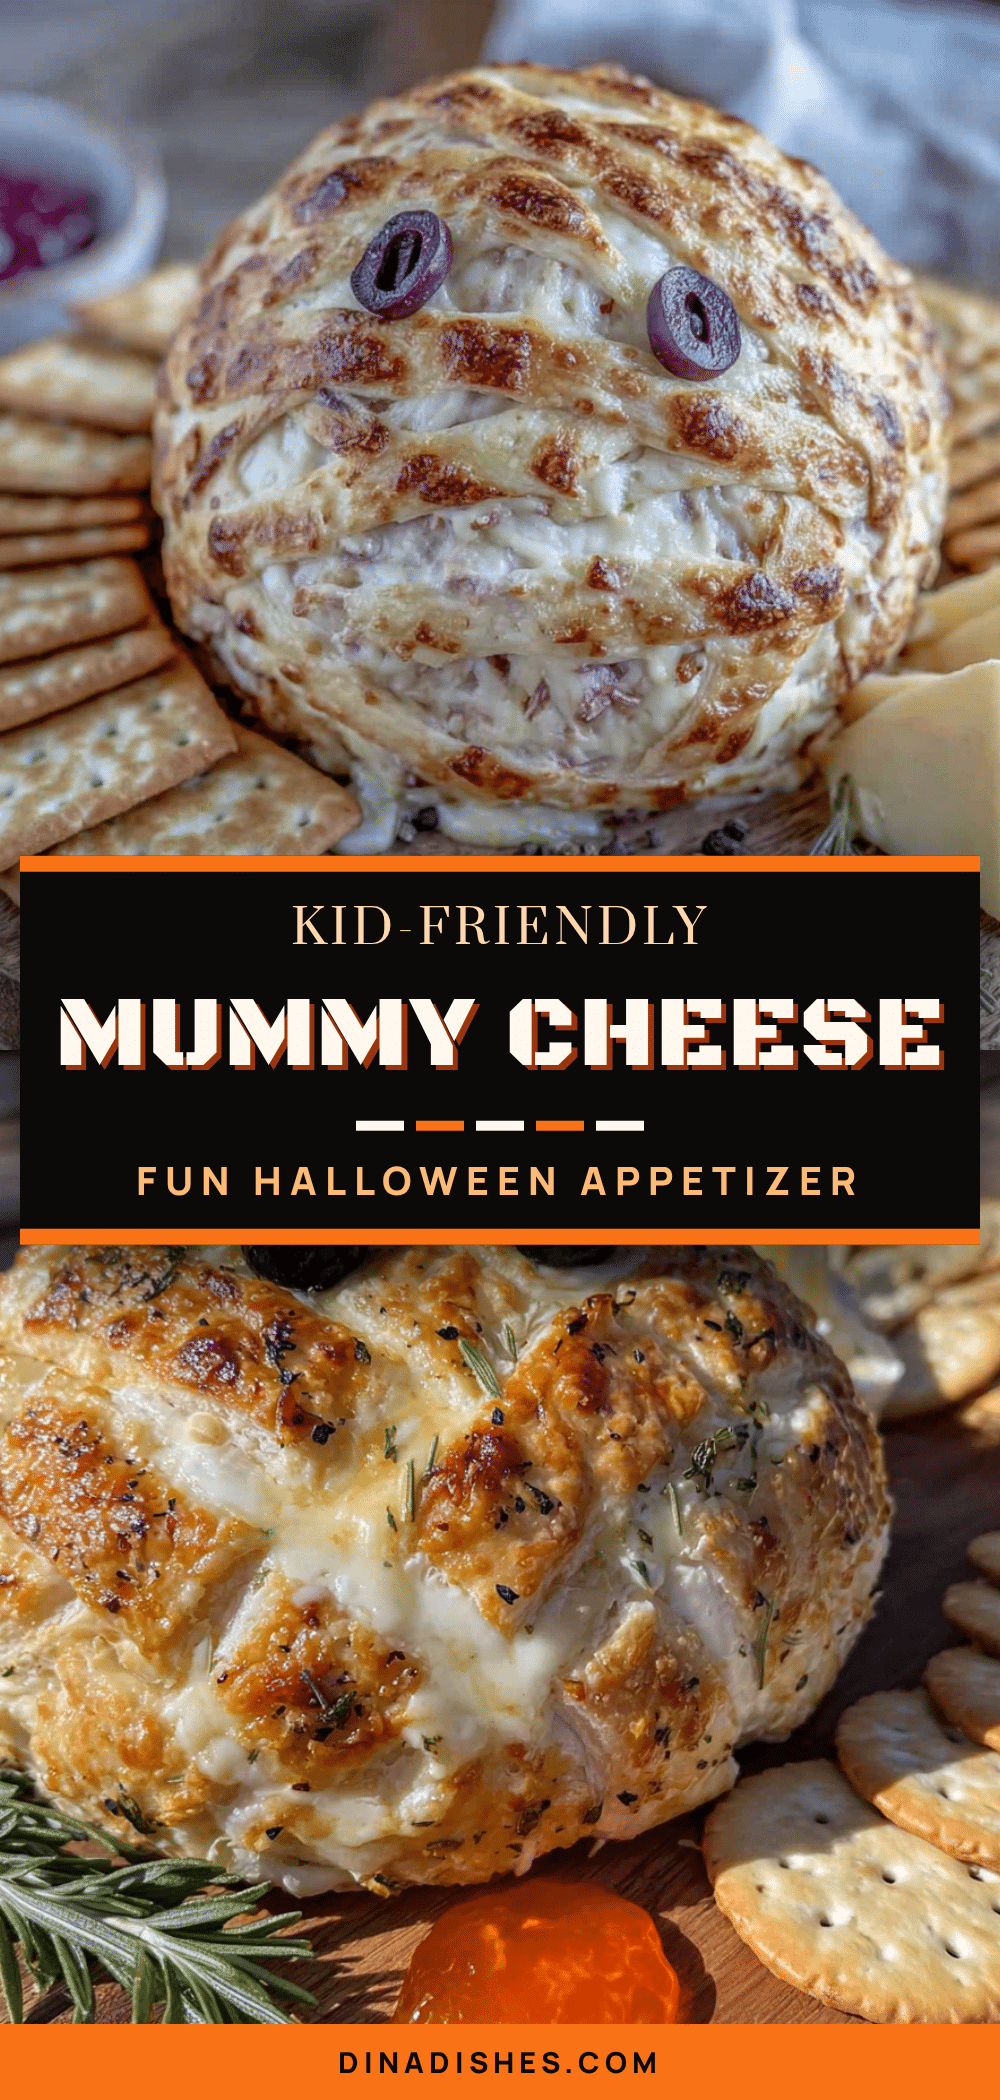
Kid-Friendly Mummy Cheese Ball Best Halloween Appetizer
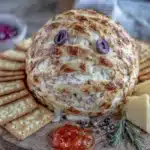
This adorable mummy cheese ball is a crowd-pleasing Halloween appetizer that comes together in under 30 minutes of active prep time. A creamy blend of cream cheese, cheddar, and Monterey Jack is shaped into a mummy and decorated with cream cheese bandages and candy eyes.
- Prep Time: 20 minutes
- Cook Time: 0 minutes
- Total Time: 2 hours 50 minutes (includes chilling)
- Yield: 12 servings 1x
- Category: Appetizer
- Cuisine: American
Ingredients
- 16 oz cream cheese, softened (for the base)
- 1 ½ cups shredded sharp cheddar cheese (about 6 oz)
- ½ cup shredded Monterey Jack cheese
- ¼ cup finely chopped green onions (about 3–4 stalks)
- 1 teaspoon garlic powder
- ½ teaspoon onion powder
- ¼ teaspoon salt
- ¼ teaspoon black pepper
- 2 tablespoons milk
- 8 oz cream cheese, softened (for the bandages)
- 2–3 tablespoons milk (to thin the cream cheese for wrapping)
- 2 candy eyes (or small black olives, cut into rounds)
- 1 small pretzel stick (for the mummy’s arms, optional)
- Fresh parsley or chives (for a grassy base, optional)
- Assorted crackers (for serving)
- Vegetable sticks (carrots, celery, bell peppers, for serving)
- Pretzel sticks (for serving)
Instructions
- Soften the Cream Cheese: Take both blocks of cream cheese (16 oz for the base and 8 oz for the bandages) out of the fridge. Let them sit on the counter for 30 minutes.
- Mix the Base: In a large mixing bowl, add the 16 oz of softened cream cheese, shredded cheddar, shredded Monterey Jack, chopped green onions, garlic powder, onion powder, salt, pepper, and 2 tablespoons of milk. Using a hand mixer on medium speed, beat everything together until smooth and well combined. Scrape down the sides of the bowl at least once.
- Shape the Mummy Body: Scoop the cheese mixture onto a large piece of plastic wrap. Using slightly damp hands, shape it into a log or oval shape. Wrap the plastic wrap tightly around the cheese log and twist the ends to secure it. Refrigerate for at least 2 hours, or up to overnight.
- Prepare the Bandages: About 15 minutes before decorating, take the remaining 8 oz of softened cream cheese out of the fridge. In a small bowl, mix it with 2-3 tablespoons of milk until smooth and slightly runny. Transfer to a small piping bag or a zip-top bag with a tiny corner snipped off.
- Unwrap and Decorate: Take the chilled cheese log out of the fridge and unwrap it. Place on a serving platter. Pipe thin lines of the cream cheese mixture across the log, leaving small gaps between each line to look like mummy bandages. Criss-cross a few lines for a more authentic look. Leave a small space at one end for the eyes.
- Add the Eyes: Gently press the two candy eyes (or olive rounds) into the exposed cream cheese at the ‘head’ end of the mummy. Optionally, add a small pretzel stick on each side for arms.
- Final Chill: Place the decorated mummy cheese ball back in the fridge for another 30 minutes to let the bandages set.
- Serve: Arrange crackers and vegetable sticks around the mummy on the platter. Add fresh parsley around the base if desired. Serve immediately or keep chilled until guests arrive.
Notes
Don’t skip the chilling time—a warm cheese ball will fall apart when piping bandages. Use slightly damp hands for shaping to prevent sticking. Practice piping on parchment first to get the consistency right. The cheese ball base can be made up to 3 days in advance and decorated on party day. Leftovers can be stored in an airtight container in the refrigerator for up to 5 days. The undecorated cheese ball base can be frozen for up to 2 months.
Nutrition
- Serving Size: 1 serving (crackers
- Calories: 210
- Sugar: 1
- Sodium: 280
- Fat: 18
- Saturated Fat: 11
- Carbohydrates: 3
- Protein: 8
Keywords: mummy cheese ball, Halloween appetizer, kid-friendly, cheese ball, Halloween party, cream cheese, cheddar, easy appetizer