The elderly gentleman at the community garden plot next to mine watched me trying to wrangle a sprawling basil plant into a tiny pot. He didn’t say anything at first. Then he just shook his head slowly, reached into his own overflowing patch, and handed me a handful of leaves so fragrant they perfumed my whole bag. His name was Mr. Chen, and over the next few weeks, we communicated mostly through gestures and the occasional broken English phrase. He never gave me a formal recipe—that wasn’t how he operated. But one Tuesday, he brought over a small container of something that smelled absolutely incredible. It was chicken and rice, but not like any I’d ever had. The rice was fluffy and separate, each grain glistening, and the chicken was so tender it practically fell apart. The garlic was there, but it wasn’t harsh—it was mellow and sweet, like it had been coaxed into giving up its best self. I tried to ask how he made it, and he just pointed at his pan, then at the garlic, then made a gentle stirring motion. I nodded like I understood completely, but honestly, I spent the next week trying to recreate that magic in my own kitchen. This Light & Flavorful One-Pan Garlic Butter Chicken and Rice is my best attempt at capturing that moment—a dish that feels both simple and special, healthy and indulgent all at once. It’s become my go-to for those evenings when I want something that tastes like I spent hours in the kitchen but actually comes together in about 40 minutes. Maybe you’ve been there too—standing over the stove, hoping for a meal that delivers comfort without the heavy feeling afterward. This one does exactly that.
Why You’ll Love This Recipe
Let me tell you why this dish has become a permanent fixture in my weekly rotation. It’s the kind of recipe that makes you feel like you’ve hacked the system—maximum flavor, minimum fuss, and zero guilt.
- Quick & Easy: From start to finish, this comes together in about 40 minutes. Most of that time is hands-off, letting the oven do the work while you relax or prep a simple side salad.
- Simple Ingredients: You probably have everything in your kitchen right now. Chicken, rice, garlic, butter, a few spices—no fancy trips to specialty stores required.
- Perfect for Busy Weeknights: This is my secret weapon for those chaotic evenings when everyone’s hungry and you need something reliable. It’s also impressive enough for a casual dinner party.
- Crowd-Pleaser: I’ve served this to picky kids, health-conscious friends, and garlic-loving uncles. Every single person has asked for the recipe.
- Unbelievably Delicious: The garlic butter infuses every grain of rice and every bite of chicken. It’s comfort food that doesn’t weigh you down—light, bright, and deeply satisfying.
What makes this version different from all the other one-pan chicken and rice recipes out there? It’s the technique. Instead of just dumping everything together, we take a few extra minutes to sear the chicken and toast the rice. That little bit of effort pays off big time in flavor. The chicken gets a gorgeous golden crust, and the rice develops a nutty depth that plain boiled rice just can’t match. Plus, we use just enough butter to feel luxurious without going overboard—it’s rich but not greasy. This recipe isn’t just good; it’s the kind that makes you close your eyes after the first bite. It’s comfort food reimagined—healthier, faster, but with the same soul-soothing satisfaction.
What Ingredients You Will Need
This recipe uses simple, wholesome ingredients to deliver bold flavor and satisfying texture without the fuss. Most of these are pantry staples, which makes this dish perfect for those nights when you need dinner on the table without a trip to the store.
- For the Chicken:
- 4 boneless, skinless chicken thighs (about 1.5 lbs or 680g) – Thighs stay juicier than breasts during cooking. You can use breasts, but reduce cooking time by 5-7 minutes.
- 1 teaspoon salt (5g)
- ½ teaspoon black pepper (2g)
- ½ teaspoon paprika (2g) – Adds a subtle warmth and beautiful color. Smoked paprika works wonderfully here.
- 2 tablespoons olive oil (30ml) – For searing. Avocado oil works great too.
- For the Rice:
- 1 ½ cups long-grain white rice (300g) – Basmati or jasmine work beautifully. Avoid short-grain rice, which can get too sticky.
- 2 ½ cups low-sodium chicken broth (590ml) – Homemade is lovely, but store-bought works perfectly. Low-sodium lets you control the salt.
- 4 cloves garlic, minced (about 4 teaspoons or 12g) – Fresh garlic is non-negotiable here. Pre-minced just won’t give you the same sweet, mellow flavor.
- 2 tablespoons unsalted butter (28g) – I prefer unsalted to control the sodium. Kerrygold is my go-to for its rich flavor.
- 1 medium yellow onion, finely diced (about 1 cup or 150g) – Adds sweetness and depth.
- 1 cup frozen peas (150g) – Optional but highly recommended. They add a pop of color and sweetness.
- ½ teaspoon dried thyme (1g) – Or use 1 teaspoon fresh thyme leaves.
- ¼ teaspoon red pepper flakes (0.5g) – Optional, for a tiny kick. Adjust to your tolerance.
- For the Garnish:
- 2 tablespoons fresh parsley, chopped (8g) – Flat-leaf or curly, both work. Adds freshness and color.
- Lemon wedges – A squeeze of lemon right before serving brightens everything up beautifully.
Ingredient Tips: For the best texture, use chicken thighs rather than breasts—they’re more forgiving and stay juicy. If you’re using chicken breasts, pound them to even thickness first. I recommend using a good-quality chicken broth, like Swanson or Pacific Foods, for the best flavor. For a dairy-free version, substitute the butter with a high-quality vegan butter or an additional tablespoon of olive oil.
Equipment Needed
Here’s what you’ll need to make this dish. The beauty of a one-pan recipe is that you don’t need much.
- Large Oven-Safe Skillet: A 12-inch (30cm) skillet with a lid is ideal. Cast iron or stainless steel works best—they hold heat evenly and give you a great sear. I use my trusty Lodge cast iron skillet for this.
- Sharp Knife: For dicing the onion and mincing the garlic. A good chef’s knife makes prep so much easier.
- Cutting Board: Any sturdy board will do.
- Measuring Cups and Spoons: For accuracy. I cannot stress this enough—measuring your rice and broth properly is key to perfect texture.
- Wooden Spoon or Spatula: For stirring and scraping up those flavorful browned bits from the bottom of the pan.
- Aluminum Foil: If your skillet doesn’t have a tight-fitting lid, foil will work in a pinch.
Budget-Friendly Options: Don’t have an oven-safe skillet? You can sear the chicken in a regular skillet, then transfer everything to a baking dish to finish in the oven. It adds one extra dish to wash, but it works perfectly. If you’re investing in one piece of cookware, a good cast-iron skillet is worth every penny—it’ll last a lifetime.
Preparation Method
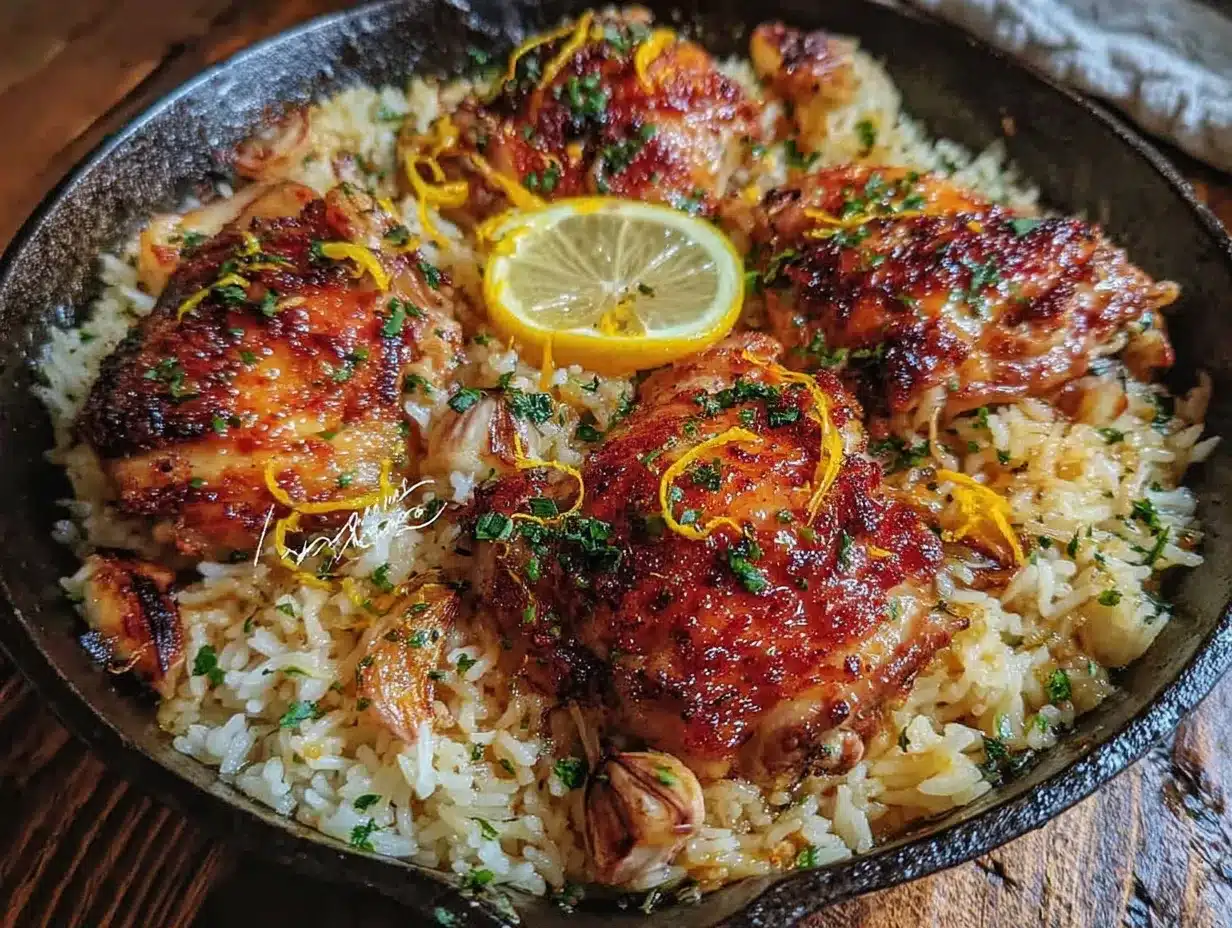
Let’s get cooking! This might look like a lot of steps, but I promise it flows quickly. The key is to have everything prepped before you start—mise en place, as the fancy chefs say.
- Preheat and Prep (5 minutes): Preheat your oven to 375°F (190°C). Pat the chicken thighs dry with paper towels—this is crucial for a good sear. Season them generously on both sides with the salt, pepper, and paprika. Let them sit at room temperature while you prep the other ingredients.
- Sear the Chicken (8-10 minutes): Heat the olive oil in your large oven-safe skillet over medium-high heat until it shimmers. Carefully place the chicken thighs in the pan, skin-side down if they have skin, or just one side down for boneless. Don’t crowd them—work in batches if needed. Cook without moving them for 4-5 minutes, until the bottom is deep golden brown. Flip and cook for another 3-4 minutes. The chicken won’t be fully cooked through yet—that’s fine. Transfer the chicken to a plate and set aside.
- Sauté the Aromatics (3-4 minutes): Reduce the heat to medium. Add the butter to the pan. Once it melts, add the diced onion. Cook for 2-3 minutes, stirring occasionally, until the onion is soft and translucent. Add the minced garlic, thyme, and red pepper flakes (if using). Cook for just 30-60 seconds until fragrant—don’t let the garlic burn, or it’ll turn bitter.
- Toast the Rice (2 minutes): Add the rice to the pan. Stir it around in the butter and onion mixture for about 2 minutes. You’ll notice it starts to smell nutty and some grains turn slightly translucent. This step is what gives the rice that extra layer of flavor.
- Add the Liquid (1 minute): Pour in the chicken broth. Use your wooden spoon to scrape up any browned bits from the bottom of the pan—that’s pure flavor. Bring the liquid to a gentle simmer. Taste the broth and adjust seasoning if needed. Remember, the rice will absorb the liquid, so it should be slightly saltier than you think necessary.
- Return the Chicken and Bake (25-30 minutes): Nestle the seared chicken thighs back into the rice. They should be partially submerged. Cover the skillet with a tight-fitting lid or aluminum foil. Transfer to the preheated oven and bake for 25-30 minutes, until the rice is tender and has absorbed most of the liquid, and the chicken is cooked through (internal temperature of 165°F or 74°C).
- Add Peas and Rest (5 minutes): Remove the skillet from the oven. Carefully remove the lid (watch out for steam!). Sprinkle the frozen peas over the top. Don’t stir them in yet—just let them sit on top. Cover the skillet again and let it rest for 5 minutes. The residual heat will warm the peas perfectly without turning them mushy.
- Fluff and Serve (2 minutes): After resting, use a fork to gently fluff the rice, incorporating the peas as you go. Taste and adjust seasoning with salt and pepper. Garnish with fresh parsley and serve with lemon wedges on the side.
Visual Cues: The rice should be tender but not mushy, with each grain separate. The chicken should be golden brown on top and juicy inside. If the rice looks a bit wet, let it sit uncovered for a few more minutes—the steam will evaporate.
Cooking Tips & Techniques
After making this dish more times than I can count, I’ve learned a few things the hard way. Let me save you the trouble.
Don’t Skip the Searing: I know it’s tempting to just throw everything in the pan and call it a day. But that golden crust on the chicken is where all the flavor lives. Plus, those browned bits you scrape up after searing? That’s called fond, and it’s liquid gold for your rice. I once skipped this step when I was in a rush, and the result was noticeably bland. Never again.
Rice-to-Liquid Ratio is Critical: For long-grain white rice, the magic ratio is 1:1.67 (1 cup rice to 1.67 cups liquid). Our recipe uses 1.5 cups rice to 2.5 cups broth, which gives you perfectly fluffy rice. Too much liquid and you’ll end up with porridge. Too little, and the rice will be crunchy. Trust the measurements.
Let It Rest: That 5-minute rest after baking isn’t optional. It allows the rice to absorb any remaining liquid and the flavors to meld together. If you dig in immediately, the rice might seem wet and the flavors won’t have fully developed. Patience, my friend.
Check Your Oven Temperature: Ovens vary wildly. I learned this when my old oven ran 25°F too hot and kept burning my rice. If your oven runs hot, check the dish at 20 minutes. If it runs cool, you might need 30-35 minutes. An oven thermometer is a cheap investment that pays off.
Multitasking Strategy: While the chicken is searing, dice your onion and mince your garlic. While the rice is baking, make a quick side salad or set the table. This dish really does come together with minimal active time.
Variations & Adaptations
One of the best things about this recipe is how adaptable it is. Here are some of my favorite variations.
- Vegetarian Version: Skip the chicken and use vegetable broth. Add a can of drained chickpeas or white beans along with the broth for protein. Sauté some mushrooms with the onions for extra umami. It’s hearty, satisfying, and completely meatless.
- Spicy Kick: Add a diced jalapeño or serrano pepper along with the onion. Or stir in 1-2 teaspoons of harissa paste or sriracha with the broth. The heat cuts through the richness of the butter beautifully.
- Herb Garden Twist: Swap the thyme for rosemary or oregano. Add a handful of fresh spinach or kale in the last 5 minutes of baking—it wilts down perfectly. Fresh dill stirred in at the end is also incredible.
- Dairy-Free Adaptation: Use olive oil or a high-quality vegan butter instead of regular butter. The flavor profile changes slightly, but it’s still delicious. I’ve used Miyoko’s vegan butter with great results.
- Different Grains: Try this with brown rice—just increase the broth to 3 cups and bake for 45-50 minutes. Or use quinoa for a protein-packed twist (reduce broth to 2 cups and bake for 15-18 minutes).
My Personal Favorite Variation: I once added a tablespoon of harissa paste and a handful of chopped olives along with the broth. The salty olives and spicy harissa transformed the dish into something completely different—like a North African-inspired one-pan wonder. My husband still talks about it.
Serving & Storage Suggestions
This dish is incredibly versatile when it comes to serving. Here’s how to make the most of it.
Serving: Serve the chicken and rice hot, straight from the skillet. The presentation is gorgeous—golden chicken nestled in fluffy rice with pops of green from the peas and parsley. Add a generous squeeze of lemon juice over each serving; it really brightens everything up. I love pairing this with a simple green salad dressed with lemon vinaigrette or some roasted asparagus. For a heartier meal, serve with crusty bread to soak up any remaining juices.
Storage: Store leftovers in an airtight container in the refrigerator for up to 4 days. The flavors actually deepen overnight, making this one of those rare dishes that tastes even better the next day. I often double the recipe just for the leftovers.
Reheating: The best way to reheat is in a skillet over medium-low heat with a splash of broth or water to loosen the rice. Cover and cook for 5-7 minutes, stirring occasionally, until heated through. You can also microwave individual portions—just cover with a damp paper towel to prevent the rice from drying out. Add 30-second bursts, stirring in between.
Freezing: This freezes beautifully for up to 3 months. Let the dish cool completely, then transfer to a freezer-safe container. To thaw, place in the refrigerator overnight. Reheat as directed above. I like to freeze individual portions for easy lunches.
Nutritional Information & Benefits
Here’s the nutritional breakdown per serving (based on 4 servings). Remember, these are estimates and can vary based on specific ingredients used.
| Nutrient | Amount per Serving |
|---|---|
| Calories | 485 |
| Protein | 38g |
| Carbohydrates | 52g |
| Fat | 14g |
| Saturated Fat | 5g |
| Fiber | 3g |
| Sodium | 680mg |
Health Benefits: This dish is packed with lean protein from the chicken, which keeps you full and satisfied. The garlic is a powerhouse of antioxidants and has been linked to supporting immune health. The rice provides steady energy, and the peas add a boost of fiber and vitamins. By using just 2 tablespoons of butter for the whole dish, we keep the saturated fat in check while still getting that rich, satisfying flavor. It’s a balanced meal that doesn’t feel like “diet food”—it’s just good, wholesome eating.
Dietary Considerations: This recipe is naturally nut-free and can be made gluten-free by ensuring your chicken broth is certified gluten-free. For a lower-carb option, swap the rice for cauliflower rice (reduce baking time to 15-20 minutes).
Conclusion
This Light & Flavorful One-Pan Garlic Butter Chicken and Rice has become more than just a recipe in my kitchen—it’s a reliable friend. It’s the dish I turn to when I need a guaranteed win, when I want to impress without stress, and when I crave something that feels both nourishing and indulgent. The flavors are comforting but not heavy, the technique is simple but the results feel special. I hope you give it a try and make it your own. Maybe you’ll add a little extra garlic (I wouldn’t blame you), or throw in some vegetables you have lying around. That’s the beauty of a dish like this—it’s a framework for deliciousness, not a rigid set of rules. When you make it, I’d love to hear how it turned out. Drop a comment below and let me know your favorite variation, or tag me in your photos. Happy cooking!
Frequently Asked Questions
Can I use chicken breasts instead of thighs?
Absolutely! Chicken breasts work well, but they can dry out more easily. To prevent this, pound them to an even thickness and reduce the baking time by about 5-7 minutes. Check for doneness at 20 minutes—they should reach 165°F (74°C) internally.
Why is my rice still crunchy after baking?
This usually happens for one of two reasons: not enough liquid, or the oven temperature was too low. Make sure you’re using exactly 2.5 cups of broth for 1.5 cups of rice. Also, check that your oven is actually reaching 375°F—an oven thermometer is a cheap fix for this common problem.
Can I make this in a slow cooker or Instant Pot?
I haven’t tested this exact recipe in a slow cooker, but for an Instant Pot, you can sauté the chicken and onions using the sauté function, then add the rice and broth. Pressure cook on high for 5 minutes with a natural release. The texture will be slightly different—more porridge-like—but still delicious.
How do I prevent the rice from getting mushy?
Don’t stir the rice too much after adding the broth, and resist the urge to peek during baking. Every time you lift the lid, steam escapes, which can affect the cooking time. Also, make sure you’re using long-grain rice, which holds its shape better than medium or short-grain varieties.
Can I add vegetables to this dish?
Definitely! Diced carrots or bell peppers can be sautéed with the onion. Mushrooms add wonderful umami. For greens, add spinach or kale in the last 5 minutes of baking. Just be mindful not to overcrowd the pan—you want the rice to cook evenly.
Pin This Recipe!
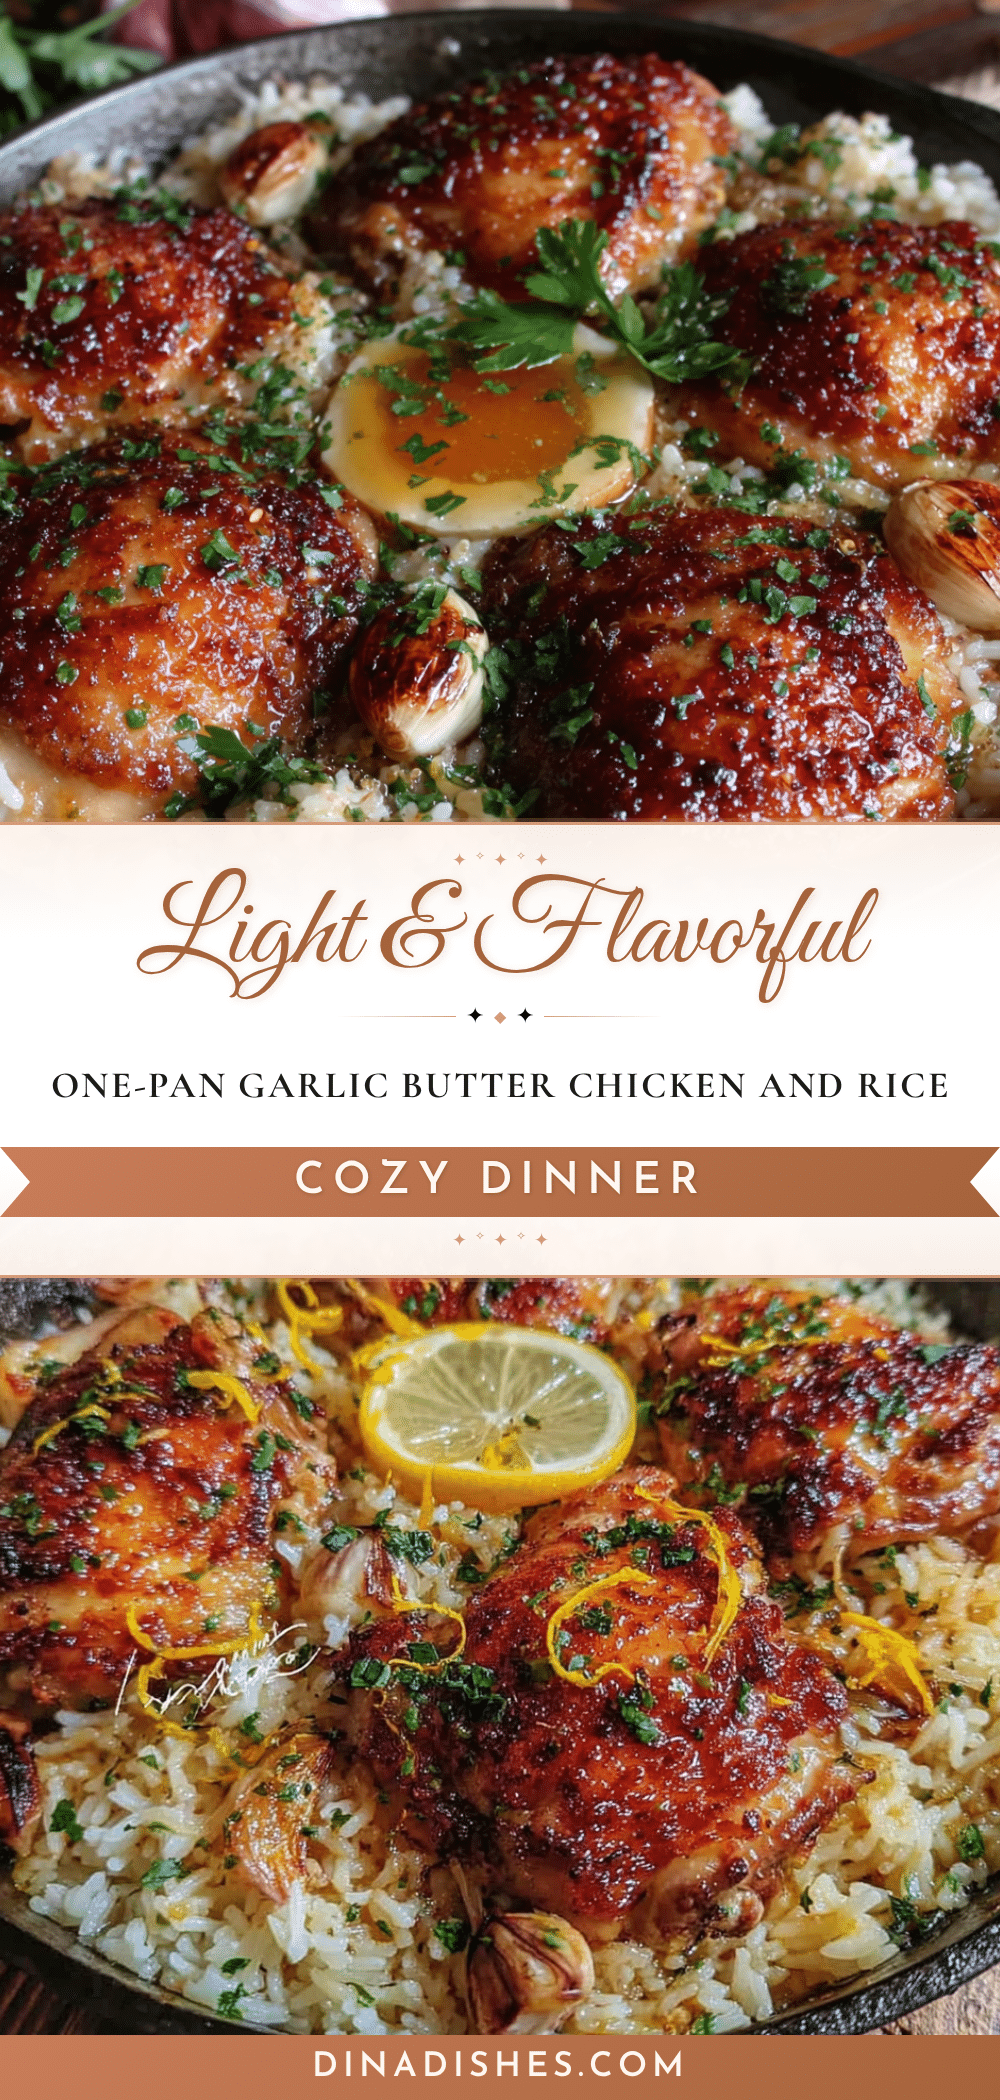
Light & Flavorful One-Pan Garlic Butter Chicken And Rice

This Light & Flavorful One-Pan Garlic Butter Chicken and Rice is my best attempt at capturing that moment—a dish that feels both simple and special, healthy and indulgent all at once. It’s become my go-to for those evenings when I want something that tastes like I spent hours in the kitchen but actually comes together in about 40 minutes.
- Prep Time: 15 minutes
- Cook Time: 30 minutes
- Total Time: 45 minutes
- Yield: 4 servings 1x
- Category: Main Course
- Cuisine: American
Ingredients
- 4 boneless, skinless chicken thighs (about 1.5 lbs or 680g)
- 1 teaspoon salt (5g)
- ½ teaspoon black pepper (2g)
- ½ teaspoon paprika (2g)
- 2 tablespoons olive oil (30ml)
- 1 ½ cups long-grain white rice (300g)
- 2 ½ cups low-sodium chicken broth (590ml)
- 4 cloves garlic, minced (about 4 teaspoons or 12g)
- 2 tablespoons unsalted butter (28g)
- 1 medium yellow onion, finely diced (about 1 cup or 150g)
- 1 cup frozen peas (150g)
- ½ teaspoon dried thyme (1g)
- ¼ teaspoon red pepper flakes (0.5g)
- 2 tablespoons fresh parsley, chopped (8g)
- Lemon wedges
Instructions
- Preheat your oven to 375°F (190°C). Pat the chicken thighs dry with paper towels. Season them generously on both sides with the salt, pepper, and paprika. Let them sit at room temperature while you prep the other ingredients.
- Heat the olive oil in your large oven-safe skillet over medium-high heat until it shimmers. Carefully place the chicken thighs in the pan, skin-side down if they have skin, or just one side down for boneless. Cook without moving them for 4-5 minutes, until the bottom is deep golden brown. Flip and cook for another 3-4 minutes. Transfer the chicken to a plate and set aside.
- Reduce the heat to medium. Add the butter to the pan. Once it melts, add the diced onion. Cook for 2-3 minutes, stirring occasionally, until the onion is soft and translucent. Add the minced garlic, thyme, and red pepper flakes (if using). Cook for just 30-60 seconds until fragrant.
- Add the rice to the pan. Stir it around in the butter and onion mixture for about 2 minutes until it starts to smell nutty and some grains turn slightly translucent.
- Pour in the chicken broth. Use your wooden spoon to scrape up any browned bits from the bottom of the pan. Bring the liquid to a gentle simmer. Taste the broth and adjust seasoning if needed.
- Nestle the seared chicken thighs back into the rice. They should be partially submerged. Cover the skillet with a tight-fitting lid or aluminum foil. Transfer to the preheated oven and bake for 25-30 minutes, until the rice is tender and has absorbed most of the liquid, and the chicken is cooked through (internal temperature of 165°F or 74°C).
- Remove the skillet from the oven. Carefully remove the lid. Sprinkle the frozen peas over the top. Cover the skillet again and let it rest for 5 minutes.
- After resting, use a fork to gently fluff the rice, incorporating the peas as you go. Taste and adjust seasoning with salt and pepper. Garnish with fresh parsley and serve with lemon wedges on the side.
Notes
Don’t skip the searing step—it builds flavor. The rice-to-liquid ratio is critical: 1.5 cups rice to 2.5 cups broth. Let the dish rest for 5 minutes after baking to allow the rice to absorb remaining liquid and flavors to meld. Check your oven temperature with an oven thermometer for best results.
Nutrition
- Serving Size: 1 serving (about 1/4
- Calories: 485
- Sugar: 3
- Sodium: 680
- Fat: 14
- Saturated Fat: 5
- Carbohydrates: 52
- Fiber: 3
- Protein: 38
Keywords: one-pan chicken and rice, garlic butter chicken, easy weeknight dinner, healthy chicken recipe, one skillet meal


