The neighborhood potluck was in six hours and I’d completely forgotten. Not just forgotten—I’d blocked it out, apparently. Everyone else would be bringing their showstoppers: slow-braised short ribs, homemade tiramisu, that seven-layer dip that takes a whole afternoon. I had a package of chicken breasts, a jar of marinara I’d bought on a whim, and about forty-five minutes before I needed to leave. Let me tell you, the panic was real. I mean, I actually stood in front of my open fridge for a solid two minutes, hoping a fully prepared dish would materialize.
Then I remembered a trick my neighbor had mentioned months ago—crushing up whole-grain crackers for a crispy coating instead of breadcrumbs. I grabbed the chicken, pounded it thin (with a wine bottle, honestly, because my mallet was MIA), and threw together this Lighter Crispy Baked Chicken Parmesan. The whole thing came together in a blur of olive oil, Parmesan, and desperate hope. I didn’t even have time to stress about it looking perfect. I just baked it, packed it, and showed up late with a dish that looked suspiciously simple next to everyone else’s labor of love.
Here’s the thing—it won. Not officially, because potlucks aren’t competitions (though we all know they secretly are). But people kept coming back for seconds. Someone asked for the recipe before I’d even sat down. And I stood there, slightly embarrassed, admitting that I’d thrown it together in a panic with ingredients I already had. Maybe you’ve been there—that moment when the simplest thing you make ends up being the thing everyone remembers. That’s this recipe. It’s the one that makes you look like you planned it all along.
Why You’ll Love This Recipe
This isn’t just another chicken Parmesan recipe. After testing this dish at least a dozen times—burning the first batch, under-seasoning the second, finally nailing the technique on a random Tuesday—I can tell you this version is different. It’s lighter, sure, but it doesn’t taste like a compromise. The whole-grain panko and baked method give you that satisfying crunch without the grease, and the flavor? Honestly, it’s even better because every bite tastes clean and bright.
- Quick & Easy: From fridge to table in under 40 minutes. Perfect for those nights when cooking feels like a chore but you still want something homemade.
- Simple Ingredients: No fancy grocery trips. You likely have most of this in your pantry right now. I’ve made it with whatever crackers I had on hand, and it always works.
- Perfect for Busy Weeknights: This is the recipe you turn to on a Wednesday when you need dinner that feels like a treat without the effort. It also travels well for meal prep.
- Crowd-Pleaser: My kids devour this. My picky brother-in-law asked for the recipe. Even my health-conscious friend—who usually brings her own salad to parties—went back for thirds.
- Unbelievably Delicious: The texture is what gets you. That crunchy coating with the tender chicken underneath, all topped with melted mozzarella and warm marinara. It’s comfort food that doesn’t weigh you down.
What makes this version different from the classic? It’s the technique of baking instead of frying, combined with a clever coating that stays crispy without oil. I tested this with regular breadcrumbs, panko, and crushed crackers—and the cracker method won every time. The secret is crushing them just enough so they’re coarse, not powdery. That texture traps the heat and creates a golden crust that actually stays crunchy under the sauce. Plus, using part-skim mozzarella and a light hand with the cheese means you get all the gooey satisfaction without the heavy feeling afterward.
This recipe is the kind that makes you close your eyes after the first bite. It’s comfort food reimagined—healthier, faster, but with the same soul-soothing satisfaction. Perfect for impressing guests without stress, or turning a simple meal into something memorable. Honestly, I’ve made this for Sunday dinners and Tuesday lunches, and it never disappoints.
What Ingredients You Will Need
This recipe uses simple, wholesome ingredients to deliver bold flavor and satisfying texture without the fuss. Most of these are pantry staples, and I’ve included easy substitutions where they work best.
For the Chicken
- 1 ½ pounds boneless, skinless chicken breasts (about 3 medium breasts) – Look for evenly sized breasts so they cook at the same rate. If they’re huge, butterfly them.
- ½ teaspoon salt – I use fine sea salt for even seasoning.
- ¼ teaspoon black pepper – Freshly ground is always better, but pre-ground works in a pinch.
- ½ teaspoon garlic powder – Adds savory depth without fresh garlic burning in the oven.
- ½ teaspoon onion powder – Optional, but I love the subtle sweetness it brings.
For the Coating
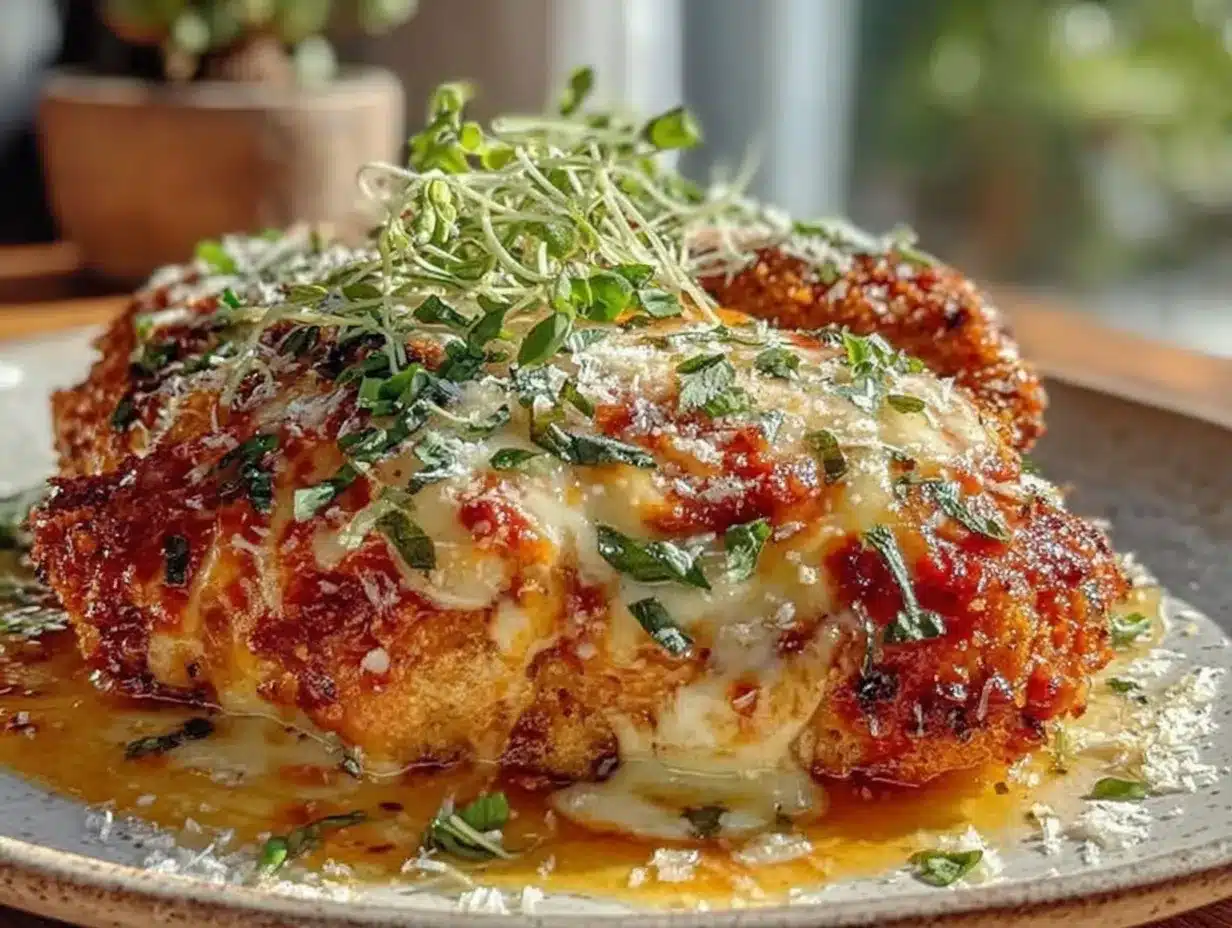
- 1 cup whole-grain panko breadcrumbs – These are lighter and crunchier than regular breadcrumbs. I prefer Ian’s brand for texture.
- ¼ cup grated Parmesan cheese – Use the real stuff, not the green can. Parmigiano-Reggiano adds nutty flavor that makes a difference.
- 1 teaspoon dried oregano – Or Italian seasoning if that’s what you have.
- ½ teaspoon paprika – Smoked paprika adds a lovely warmth, but sweet works too.
- ¼ teaspoon cayenne pepper – Totally optional, but a tiny kick is nice.
- 2 tablespoons olive oil – Helps the coating brown and crisp without frying.
For the Assembly
- 1 cup marinara sauce – Look for one with no added sugar. I like Rao’s for its simple ingredients.
- ¾ cup part-skim shredded mozzarella cheese – Fresh mozzarella works too, but pat it dry first so it doesn’t make the coating soggy.
- 2 tablespoons fresh basil or parsley – For garnish. It adds freshness and color.
Substitutions
- Gluten-free: Use gluten-free panko or crushed gluten-free crackers (like Mary’s Gone Crackers).
- Dairy-free: Omit the Parmesan and use dairy-free mozzarella. The coating won’t be as crispy, but it still tastes great.
- Chicken thighs: Swap breasts for boneless, skinless thighs. They’re more forgiving and stay juicy. Just adjust cooking time by 5 minutes.
Equipment Needed
You don’t need a fancy kitchen for this recipe. Here’s what I use:
- Baking sheet – A rimmed half-sheet pan works best. Line it with parchment paper or a silicone baking mat for easy cleanup. I’ve also used a foil-lined pan in a pinch.
- Wire rack – This is the secret to crispy chicken. Placing the chicken on a rack set inside the baking sheet lets air circulate underneath, so the bottom stays crunchy instead of steaming. If you don’t have one, flip the chicken halfway through baking.
- Meat mallet or rolling pin – For pounding the chicken to even thickness. I’ve used a wine bottle more times than I’d like to admit, and it works fine.
- Three shallow bowls – For the flour, egg wash, and breadcrumb mixture. Pie plates or wide soup bowls work perfectly.
- Tongs – For dipping and transferring the chicken without making a mess.
- Chef’s knife and cutting board – For prepping the chicken and herbs.
Budget-friendly tip: If you don’t have a wire rack, just bake the chicken directly on the parchment-lined sheet and flip it gently after 15 minutes. The bottom won’t be as crispy, but it’ll still be delicious. I’ve done this plenty of times when I couldn’t find my rack.
Preparation Method
Let’s get cooking. This method has been tested and tweaked until it’s practically foolproof. Follow these steps, and you’ll have perfect Lighter Crispy Baked Chicken Parmesan every time.
- Preheat your oven to 425°F (220°C). Place a wire rack on a rimmed baking sheet and spray it lightly with olive oil or nonstick spray. This step is crucial—don’t skip the spray or the chicken might stick.
- Prep the chicken. Place each chicken breast between two sheets of plastic wrap or parchment paper. Pound them to an even thickness of about ½ inch (1.25 cm). I aim for uniform pieces so they cook evenly. Season both sides with salt, pepper, garlic powder, and onion powder. Let them sit for 5 minutes while you set up the coating station.
- Set up your coating bowls. In the first shallow bowl, add ¼ cup all-purpose flour. In the second, whisk 2 large eggs with 1 tablespoon water until frothy. In the third, combine the panko, Parmesan, oregano, paprika, and cayenne. Drizzle the olive oil over the panko mixture and rub it in with your fingers until the crumbs are evenly moistened. This step is what gives you that golden, crispy crust.
- Coat the chicken. Working with one piece at a time, dredge the chicken in the flour, shaking off excess. Dip it into the egg wash, letting the excess drip off. Finally, press it firmly into the panko mixture, making sure both sides are fully coated. I use one hand for the dry ingredients and one for the wet to keep things from getting clumpy.
- Arrange on the rack. Place the coated chicken pieces on the prepared wire rack, leaving a little space between each for air circulation. Don’t overcrowd—if necessary, use two baking sheets or work in batches.
- Bake for 15 minutes. The chicken should be golden and starting to crisp on the edges. Don’t skip this initial bake; it sets the coating so it doesn’t get soggy when you add the sauce.
- Add sauce and cheese. Remove the baking sheet from the oven. Spoon about 2 tablespoons of marinara sauce onto each chicken piece, spreading it gently. Top with shredded mozzarella—about 2-3 tablespoons per piece. Don’t pile it on too thick, or it’ll slide off.
- Finish baking. Return to the oven and bake for another 8-10 minutes, until the cheese is melted and bubbly and the chicken reaches an internal temperature of 165°F (74°C). If you want the cheese more golden, switch to broil for the last 1-2 minutes—but watch it closely so it doesn’t burn.
- Rest and garnish. Let the chicken rest on the rack for 5 minutes. This helps the juices redistribute and keeps the coating crisp. Sprinkle with fresh basil or parsley before serving.
My tip: If the coating looks pale after the first 15 minutes, don’t panic. It will continue browning once the cheese melts. If you’re nervous, give it an extra 2 minutes before adding the sauce.
Cooking Tips & Techniques
I’ve made this recipe enough times to learn what works and what doesn’t. Here are my best tips, learned through trial and error—and a few burnt batches.
Don’t skip pounding the chicken. I know it’s an extra step, but it makes a huge difference. Even thickness means even cooking. The first time I made this, I skipped it, and the thick ends were dry while the thin ends were overcooked. Now I always take the extra 5 minutes. Plus, pounding tenderizes the meat, so it’s more forgiving.
Let the coating rest. After you coat the chicken, let it sit on the rack for 5 minutes before baking. This gives the breading time to adhere to the egg wash, so it doesn’t slide off in the oven. I learned this the hard way when I rushed and ended up with bare spots on my chicken.
Use a wire rack. This is the single most important tip for crispy baked chicken. Without it, the bottom of the chicken sits in its own juices and gets soggy. The rack lets air circulate underneath, so every side gets crispy. If you don’t have one, flip the chicken carefully after 10 minutes of baking.
Watch the cheese. It’s easy to go overboard with mozzarella, but too much makes the coating soggy. Stick to about 2-3 tablespoons per piece. Also, use part-skim mozzarella—it melts beautifully without releasing too much moisture. Fresh mozzarella works but needs to be patted dry first.
Multitask like a pro. While the chicken bakes, I usually boil some pasta or toss a salad. The 15-minute initial bake gives you just enough time to get sides ready. If you’re making this for a crowd, you can prep the chicken earlier in the day and keep it in the fridge, then bake it when you’re ready.
My biggest failure: The time I forgot to spray the rack. The coating stuck so badly I had to scrape it off with a spatula, and half the crust stayed on the wire rack. Learn from my mistake—always give that rack a quick spray.
Variations & Adaptations
This recipe is incredibly versatile. Here are some ways I’ve adapted it for different cravings and dietary needs.
Spicy Arrabbiata Version
Swap the marinara for arrabbiata sauce and add ½ teaspoon red pepper flakes to the panko mixture. The heat cuts through the richness of the cheese beautifully. I made this for a game-day gathering, and it disappeared faster than the regular version.
Eggplant Parmesan (Vegetarian)
Replace the chicken with 1 large eggplant, sliced into ½-inch rounds. Salt the slices and let them sit for 30 minutes to draw out moisture, then pat dry. Follow the same coating and baking method, but reduce the initial bake to 12 minutes. The texture is incredible—meaty and satisfying without any meat at all. This is my go-to when I’m cooking for vegetarian friends.
Gluten-Free Adaptation
Use gluten-free panko (I like the brand Aleia’s) and substitute the flour with almond flour or a gluten-free all-purpose blend. The coating won’t be quite as crunchy, but it’s still delicious. I’ve tested this with my gluten-sensitive cousin, and she couldn’t tell the difference.
Air Fryer Method
Preheat your air fryer to 375°F (190°C). Cook the coated chicken (without sauce or cheese) for 10-12 minutes, flipping halfway. Then add sauce and cheese and cook for another 3-4 minutes until the cheese melts. The air fryer makes the coating extra crispy with even less oil. I’ve done this when I wanted a quicker version, and it works like a charm.
Lighter Creamy Version
Mix 2 tablespoons of light cream cheese into the marinara sauce before spooning it over the chicken. It creates a creamy, tomatoey sauce that feels indulgent but isn’t heavy. I stumbled on this when I had leftover cream cheese, and now it’s my secret indulgence.
Serving & Storage Suggestions
This Lighter Crispy Baked Chicken Parmesan is best served fresh from the oven, but I’ve learned a few tricks for making it work for leftovers too.
Serving: Serve the chicken hot, straight from the oven. I like to plate it on a bed of zucchini noodles or spaghetti squash for a low-carb option, or alongside whole-wheat spaghetti for a more traditional meal. A simple arugula salad with lemon vinaigrette cuts through the richness perfectly. If you’re feeling fancy, add a sprinkle of red pepper flakes and extra fresh basil on top.
Temperature: The chicken is best at serving temperature—hot enough that the cheese is still stretchy but not so hot that it burns your mouth. Let it rest for those 5 minutes, and you’ll be in the sweet spot.
Storage: Store leftovers in an airtight container in the refrigerator for up to 3 days. The coating will soften over time, but it’s still delicious. I’ve reheated it for lunch the next day and enjoyed it just as much.
Reheating: For best results, reheat in a 375°F (190°C) oven or air fryer for 5-7 minutes. Avoid the microwave—it makes the coating soggy and the chicken rubbery. If you’re in a hurry, you can microwave it, but the texture won’t be the same. I’ve done it when I was desperate, and it’s still edible, just not as good.
Freezing: You can freeze the baked chicken (without sauce and cheese) for up to 2 months. Let it cool completely, then wrap individually in plastic wrap and place in a freezer bag. To serve, thaw in the fridge overnight, then bake at 375°F for 10 minutes, add sauce and cheese, and bake another 5 minutes. The coating stays surprisingly crispy this way.
How flavors develop: Honestly, this dish is best fresh. The coating loses its crunch over time, and the chicken can dry out slightly. But if you’re meal-prepping, I recommend storing the components separately—chicken, sauce, and cheese—and assembling just before reheating.
Nutritional Information & Benefits
Here’s the nutritional breakdown for one serving (one chicken breast piece with sauce and cheese). This is based on the recipe as written, using part-skim mozzarella and whole-grain panko.
| Nutrient | Amount per Serving |
|---|---|
| Calories | 385 |
| Protein | 42g |
| Carbohydrates | 18g |
| Fiber | 3g |
| Fat | 16g |
| Saturated Fat | 5g |
| Sodium | 680mg |
This recipe is a great source of lean protein, thanks to the chicken breast. The whole-grain panko adds fiber, which helps keep you full and supports digestion. The marinara sauce provides lycopene, an antioxidant linked to heart health, especially when cooked. And the mozzarella offers calcium for bone health without going overboard on saturated fat.
If you’re watching your sodium, look for a low-sodium marinara sauce and reduce the added salt. For a lower-carb option, serve with roasted vegetables instead of pasta. This recipe fits well into a balanced diet—it’s satisfying enough to feel like a treat but light enough to enjoy regularly.
Dietary considerations: This recipe contains gluten (from the panko) and dairy (from the cheese). For gluten-free, use gluten-free panko. For dairy-free, omit the Parmesan and use dairy-free mozzarella. The recipe is naturally nut-free and egg-free if you skip the egg wash and use a milk or buttermilk dip instead (though the coating won’t stick as well).
Conclusion
This Lighter Crispy Baked Chicken Parmesan has become my go-to for so many reasons. It’s the recipe that saved me during that forgotten potluck, and it’s the recipe I turn to when I want comfort food that doesn’t leave me feeling sluggish. The combination of crispy, crunchy coating with tender chicken and melty cheese is just unbeatable—and knowing it’s baked instead of fried makes it even better.
I hope you give this a try and make it your own. Maybe you’ll add extra spice, swap in eggplant, or serve it over a big bed of arugula. That’s the beauty of this recipe—it’s forgiving, flexible, and always delicious. And honestly, if you forget about a potluck and need something quick, this will save you too.
I’d love to hear how it turns out for you! Drop a comment below and let me know if you tried any variations or if this became a regular in your dinner rotation. Share your photos on Pinterest and tag me—I love seeing your creations. Happy cooking, and remember: sometimes the best recipes come from a little bit of panic and a whole lot of hope!
Frequently Asked Questions
Can I use chicken thighs instead of breasts?
Absolutely! Boneless, skinless chicken thighs work great. They’re more forgiving and stay juicy. Just adjust the cooking time—add about 5 minutes to the initial bake, and check that the internal temperature reaches 165°F (74°C). The coating might not be quite as crispy because thighs release more moisture, but the flavor is amazing.
How do I keep the coating from getting soggy?
The wire rack is your best friend here. It lets air circulate underneath the chicken, so the bottom stays crispy. Also, don’t overload the chicken with sauce—stick to about 2 tablespoons per piece. And let the coated chicken rest for 5 minutes before baking so the breading adheres properly. If you’re reheating leftovers, use the oven or air fryer instead of the microwave.
Can I make this ahead of time?
Yes, with a few tweaks. You can prep the chicken through the coating step and keep it in the fridge for up to 24 hours. When you’re ready to bake, just add 2-3 minutes to the initial bake time. Alternatively, you can bake the chicken completely (without sauce and cheese), let it cool, and refrigerate for up to 3 days. Reheat at 375°F for 10 minutes, then add sauce and cheese and bake another 5 minutes.
What can I use instead of panko?
Crushed whole-grain crackers (like Triscuits or Wheat Thins) work beautifully. You can also use regular breadcrumbs, though they won’t be as crunchy. For a low-carb option, try crushed pork rinds mixed with Parmesan—it’s surprisingly good. Just pulse them in a food processor until they’re coarse, not powdery.
Is this recipe freezer-friendly?
It is! Freeze the baked chicken without sauce and cheese for up to 2 months. Wrap each piece individually in plastic wrap, then place in a freezer bag. To serve, thaw overnight in the fridge, then bake at 375°F for 10 minutes, add sauce and cheese, and bake another 5 minutes. The coating stays crispy, and the chicken stays moist. I’ve done this for meal prep, and it’s a lifesaver on busy nights.
Pin This Recipe!
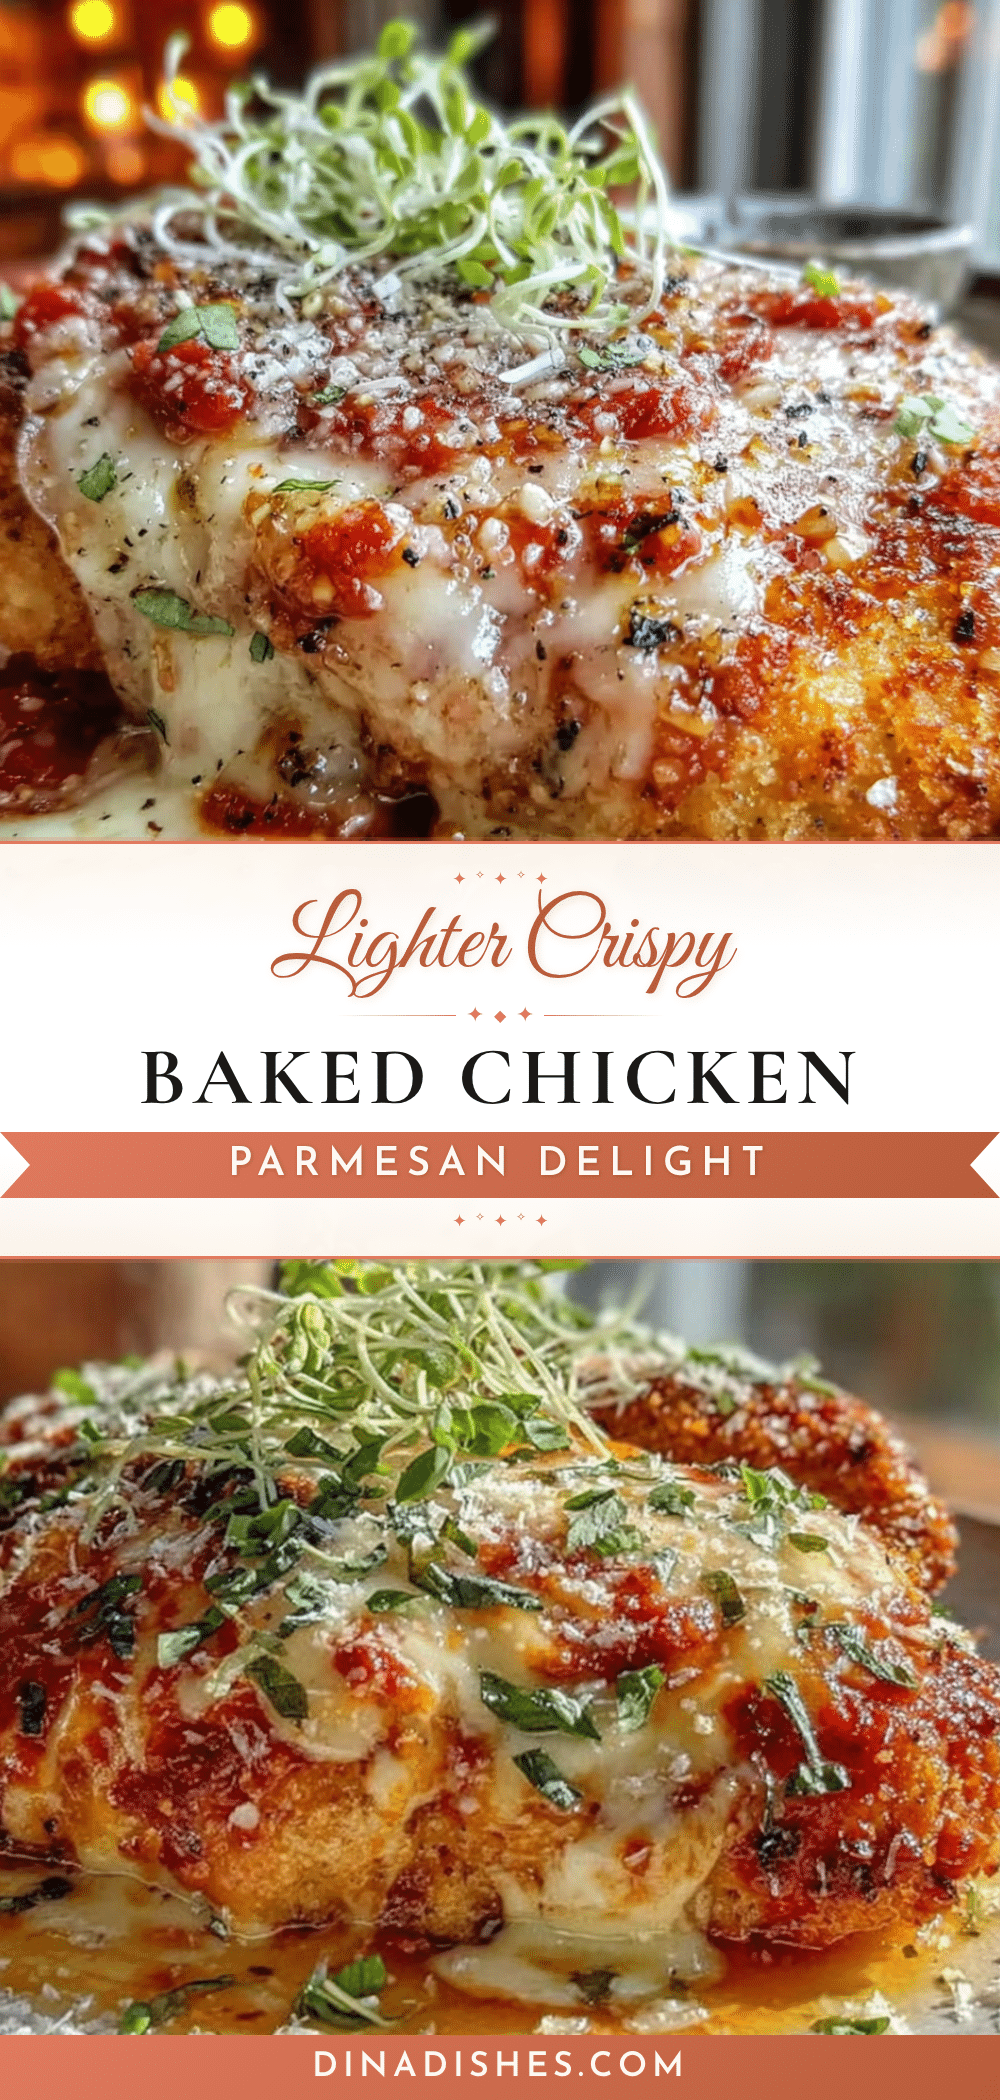
Lighter Crispy Baked Chicken Parmesan
A healthier, baked version of classic chicken Parmesan with a crispy whole-grain panko coating, tender chicken, and melted mozzarella. Perfect for busy weeknights or impressing guests without the fuss.
- Prep Time: 15 minutes
- Cook Time: 25 minutes
- Total Time: 40 minutes
- Yield: 4 servings 1x
- Category: Main Course
- Cuisine: Italian-American
Ingredients
- 1 ½ pounds boneless, skinless chicken breasts (about 3 medium breasts)
- ½ teaspoon salt
- ¼ teaspoon black pepper
- ½ teaspoon garlic powder
- ½ teaspoon onion powder
- 1 cup whole-grain panko breadcrumbs
- ¼ cup grated Parmesan cheese
- 1 teaspoon dried oregano
- ½ teaspoon paprika
- ¼ teaspoon cayenne pepper (optional)
- 2 tablespoons olive oil
- 1 cup marinara sauce
- ¾ cup part-skim shredded mozzarella cheese
- 2 tablespoons fresh basil or parsley (for garnish)
- ¼ cup all-purpose flour (for dredging)
- 2 large eggs (for egg wash)
- 1 tablespoon water (for egg wash)
Instructions
- Preheat your oven to 425°F (220°C). Place a wire rack on a rimmed baking sheet and spray it lightly with olive oil or nonstick spray.
- Place each chicken breast between two sheets of plastic wrap or parchment paper. Pound them to an even thickness of about ½ inch (1.25 cm). Season both sides with salt, pepper, garlic powder, and onion powder. Let them sit for 5 minutes.
- Set up your coating bowls: In the first shallow bowl, add ¼ cup all-purpose flour. In the second, whisk 2 large eggs with 1 tablespoon water until frothy. In the third, combine the panko, Parmesan, oregano, paprika, and cayenne. Drizzle the olive oil over the panko mixture and rub it in with your fingers until the crumbs are evenly moistened.
- Working with one piece at a time, dredge the chicken in the flour, shaking off excess. Dip it into the egg wash, letting the excess drip off. Finally, press it firmly into the panko mixture, making sure both sides are fully coated.
- Place the coated chicken pieces on the prepared wire rack, leaving a little space between each for air circulation.
- Bake for 15 minutes, until the chicken is golden and starting to crisp on the edges.
- Remove the baking sheet from the oven. Spoon about 2 tablespoons of marinara sauce onto each chicken piece, spreading it gently. Top with shredded mozzarella—about 2-3 tablespoons per piece.
- Return to the oven and bake for another 8-10 minutes, until the cheese is melted and bubbly and the chicken reaches an internal temperature of 165°F (74°C). If desired, switch to broil for the last 1-2 minutes for a more golden cheese topping.
- Let the chicken rest on the rack for 5 minutes. Sprinkle with fresh basil or parsley before serving.
Notes
For best results, don’t skip pounding the chicken to even thickness. Let the coated chicken rest for 5 minutes before baking to help the breading adhere. Use a wire rack for maximum crispiness. If you don’t have a wire rack, flip the chicken gently after 10 minutes of baking. For gluten-free, use gluten-free panko and substitute flour with almond flour or gluten-free all-purpose blend. For dairy-free, omit Parmesan and use dairy-free mozzarella.
Nutrition
- Serving Size: 1 chicken breast pie
- Calories: 385
- Sodium: 680
- Fat: 16
- Saturated Fat: 5
- Carbohydrates: 18
- Fiber: 3
- Protein: 42
Keywords: chicken parmesan, baked chicken parmesan, healthy chicken parmesan, crispy chicken, easy chicken recipe, weeknight dinner, lighter chicken parmesan


