I was standing in the middle of the grocery store aisle last Tuesday, staring at a cardboard box of honeynut squash like it held the secrets to the universe. The produce guy must have thought I was losing it. But here’s the thing — the smell of that squash, even raw, hit me with this faint, sweet earthiness, and suddenly I was six years old at my Aunt Carol’s kitchen table in Pittsburgh. She was the only person I ever knew who could make vegetables disappear before anyone realized they were eating them. She’d slide a plate of something golden-brown and glistening in front of me, and I’d inhale it without question. I never even asked what it was. I just knew it was good. She passed away a few years ago, and honestly, I’ve been chasing that feeling ever since — that quiet magic of a vegetable so good it doesn’t need a bribe or a secret sauce. This recipe is the closest I’ve gotten. And the crazy part? My own kids, who normally treat squash like it’s a punishment, cleaned their plates without a single complaint. I mean, I almost cried. You know that feeling when something just works? This is that feeling.
Why You’ll Love This Recipe
Let me tell you why this honeynut squash recipe is about to become your new weeknight secret weapon. I’ve tested this about six times (my family is very patient), and every single time, it delivers.
- Quick & Easy : From cutting board to table in under 30 minutes. No marinating, no complicated steps, no stress.
- Simple Ingredients : You need exactly five main ingredients. I bet you have butter and salt in your kitchen right now.
- Perfect for Family Dinners : This is the kind of side dish that makes everyone at the table happy. Kids don’t know they’re eating a superfood.
- Crowd-Pleaser : I brought this to a potluck last month, and three people asked for the recipe. One guy said it reminded him of dessert.
- Unbelievably Delicious : The brown butter brings this nutty, almost caramel flavor that makes the squash taste like something from a fancy restaurant.
What makes this different from every other roasted squash recipe out there? It’s the brown butter. I know, I know — brown butter gets a lot of hype. But here’s the thing: it actually earns it. The way it coats each piece of squash, turning the edges crispy and the centers creamy… it’s next-level. Plus, honeynut squash is naturally sweeter and creamier than butternut, so you don’t need to add sugar or honey. The butter does all the heavy lifting.
This recipe isn’t just good — it’s the kind that makes you close your eyes after the first bite. I’m serious. It’s comfort food reimagined: faster, simpler, but with the same soul-soothing satisfaction. Perfect for impressing guests without stress, or turning a simple Tuesday dinner into something memorable.
What Ingredients You Will Need
This recipe uses simple, wholesome ingredients to deliver bold flavor and satisfying texture without the fuss. You probably have most of these in your kitchen already, which is exactly how I like to cook.
- Honeynut squash (2 medium) — Look for squash that feels heavy for its size. The skin should be a deep tan-orange with no soft spots. (These are smaller than butternut, sweeter, and cook faster — perfect for busy nights)
- Unsalted butter (4 tablespoons, or 1/2 stick) — I use unsalted so I can control the salt level. Kerrygold is my go-to for brown butter because it has a lower water content and browns more evenly.
- Kosher salt (1/2 teaspoon) — Don’t skip this. Salt balances the sweetness and makes the brown butter pop. I use Diamond Crystal — it’s less salty by volume, so adjust if you use Morton’s.
- Freshly ground black pepper (1/4 teaspoon) — Adds a tiny warmth that keeps the dish from feeling one-note. Freshly ground makes a difference here.
- Fresh sage leaves (8-10 leaves, optional but highly recommended) — Sage and brown butter are a classic pairing for a reason. The leaves get crispy in the butter and add this amazing savory crunch. (If you don’t have sage, don’t worry — it’s still delicious without)
For the optional finishing touch:
- Flaky sea salt (like Maldon) — A sprinkle right before serving adds texture and a little burst of salt that makes the sweetness sing. I do this every time now.
Substitution guidance: If you can’t find honeynut squash, you can use small butternut squash — just cut it into smaller pieces and add 5 minutes to the roasting time. For a dairy-free version, use a high-quality vegan butter (I like Miyoko’s) — it browns surprisingly well. No sage? Try fresh thyme or rosemary instead. Both work beautifully.
Equipment Needed
You don’t need much for this recipe, which is part of why I love it. Here’s what you’ll want:
- Large rimmed baking sheet — A half-sheet pan (18×13 inches) is perfect. Rimmed is important because the brown butter can pool a bit. I bought mine at a restaurant supply store for like $12, and it’s still going strong after five years.
- Parchment paper or silicone baking mat — Makes cleanup a breeze and helps prevent sticking. I’m a parchment paper person myself.
- Small saucepan — For browning the butter. A light-colored pan (stainless steel or enameled) helps you see the color change. Dark pans make it hard to tell when the butter is done.
- Chef’s knife — A sharp one. Honeynut squash is smaller than butternut, but it’s still dense. A dull knife is a recipe for frustration (and potential injury).
- Vegetable peeler — Optional if you want to peel the squash. I don’t bother — the skin is thin and edible once roasted.
- Measuring spoons — For the salt and pepper. Eyeballing works, but measuring keeps it consistent.
If you don’t have a rimmed baking sheet, a 9×13 baking dish works in a pinch — just expect less browning since the pieces will be closer together.
Preparation Method
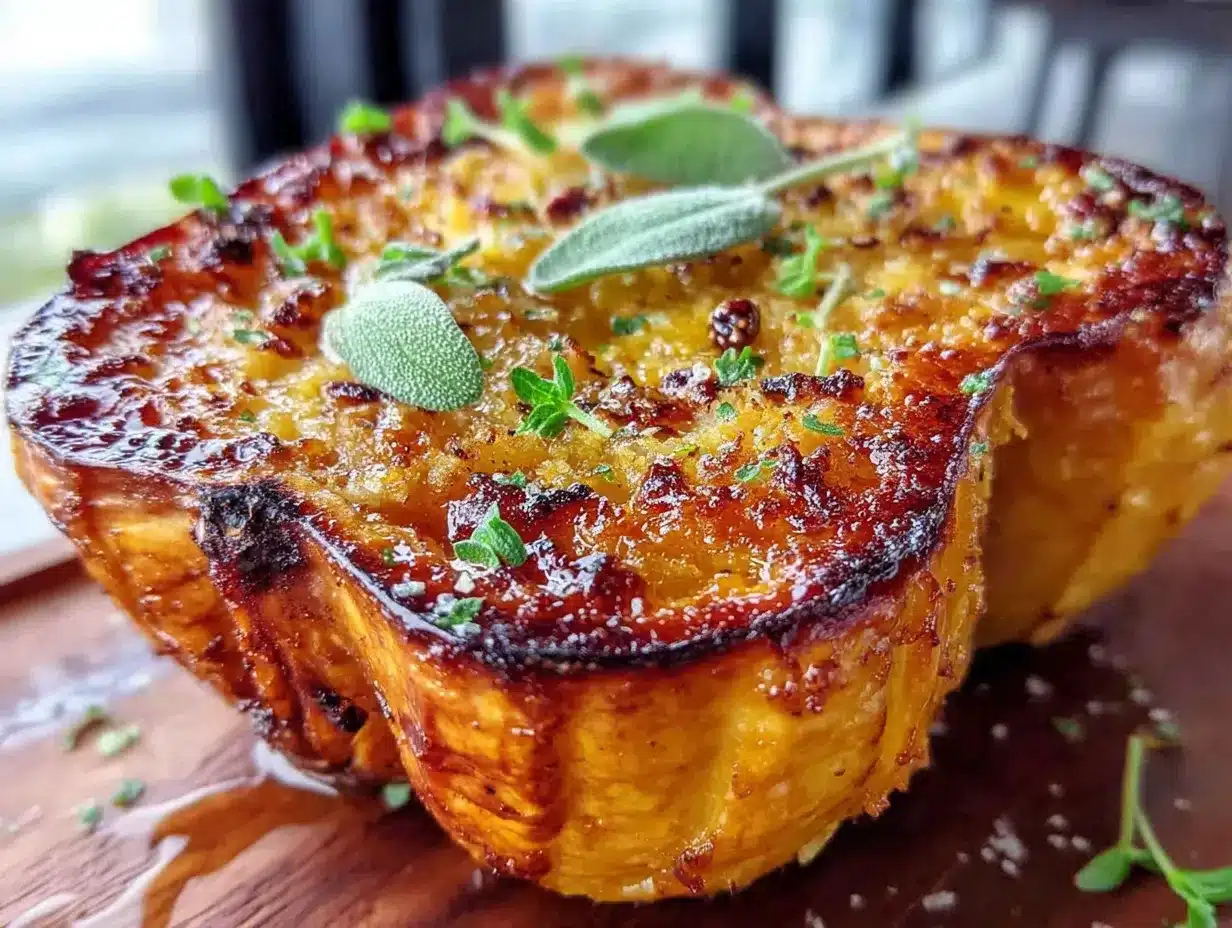
Alright, let’s get cooking. This comes together fast, so I like to have everything prepped before I start.
-
Preheat your oven to 425°F (218°C). Get that oven hot. A hot oven is key for getting those caramelized edges. Position a rack in the middle of the oven.
-
Prep the squash. Wash the honeynut squash well — you’re leaving the skin on, so give it a good scrub. Cut off the stem end and the tip. Slice each squash in half lengthwise. Scoop out the seeds and stringy bits with a spoon. (I use a grapefruit spoon with serrated edges — works perfectly.) Then slice each half into 1/2-inch (1.3 cm) half-moons. Try to keep them uniform in size so they cook evenly. I usually get about 12-16 pieces per squash.
-
Start the brown butter. Place the small saucepan over medium heat. Add the 4 tablespoons of butter. Let it melt completely, then swirl the pan gently. After a minute or two, the butter will start to foam. Keep swirling. You’ll see little brown specks forming at the bottom — that’s the milk solids toasting. This takes about 3-4 minutes total. The butter should smell nutty and look like liquid gold with amber specks. The moment it turns that color, pull it off the heat. (I burned my first batch because I looked away for 10 seconds. Don’t do that. Watch it like a hawk.)
-
Add the sage (if using). Drop the sage leaves into the hot brown butter. They’ll sizzle and crisp up in about 15-20 seconds. Use a fork to transfer them to a paper towel to drain. Set aside.
-
Coat the squash. Place the squash pieces on the baking sheet. Pour the brown butter over them (reserve the crispy sage for later). Use your hands or a spatula to toss everything together until each piece is coated. Spread them in a single layer — no overlapping. Crowding the pan means steaming instead of roasting, and you want those caramelized edges.
-
Season. Sprinkle the kosher salt and black pepper evenly over the squash. Give it one more gentle toss to distribute.
-
Roast. Place the baking sheet in the preheated oven. Roast for 18-22 minutes, flipping the pieces halfway through with a spatula. You’re looking for deep golden-brown edges and a fork-tender center. The squash should be caramelized on the outside and creamy on the inside. At 20 minutes, mine is usually perfect.
-
Finish and serve. Transfer the roasted squash to a serving platter. Crumble the crispy sage leaves over the top. Sprinkle with flaky sea salt if you’re using it. Serve immediately while it’s hot.
Prep note: You can cut the squash up to a day ahead and store it in the fridge in an airtight container. Just bring it to room temperature before roasting so it cooks evenly.
Cooking Tips & Techniques
I’ve made this recipe enough times to learn a few things the hard way. Here’s what I wish someone had told me:
Don’t walk away from the brown butter. I know I said this already, but I burned my first batch while I was answering a text from my sister. The difference between perfect brown butter and burnt butter is about 15 seconds. The butter goes from “smells amazing” to “smells like regret” really fast. Keep your eyes on that pan.
Cut the squash evenly. I know it’s tedious, but taking an extra minute to make sure your pieces are roughly the same size makes a huge difference. Thin pieces will burn before thick pieces are done. I aim for 1/2-inch thick, and I’m not afraid to cut a few pieces in half if they’re too chunky.
Give them space. If your baking sheet is crowded, the squash will steam instead of roast. You want those pieces to have room to breathe. Use two sheets if you need to. (I learned this the hard way when I tried to cram everything onto one sheet and ended up with sad, soggy squash.)
Flip halfway through. Set a timer. Flipping ensures even browning and prevents the bottoms from burning. I use a thin metal spatula for this — it slides under the squash without breaking the pieces.
Let the squash rest for a minute after roasting. The caramelization continues even after it comes out of the oven. Plus, it gives you a moment to arrange everything nicely on the platter.
Variations & Adaptations
This recipe is pretty perfect as-is, but I’ve tried a few variations that turned out great:
Maple-Bourbon Twist: Add 1 tablespoon of maple syrup and 1 teaspoon of bourbon to the brown butter before tossing with the squash. The bourbon cooks off, leaving a warm, smoky sweetness. I made this for Thanksgiving last year, and my brother-in-law (who “doesn’t like squash”) asked for seconds.
Spicy Honey Version: Drizzle the roasted squash with a mixture of 1 tablespoon honey and 1/4 teaspoon cayenne pepper. The heat sneaks up on you and pairs beautifully with the nutty brown butter. My kids actually love this one — I think the honey distracts them from the spice.
Garlic and Parmesan: Add 2 minced garlic cloves to the brown butter in the last 30 seconds of browning (watch it carefully — garlic burns fast). After roasting, sprinkle with 1/4 cup freshly grated Parmesan cheese. The salty, savory kick is amazing.
Air Fryer Adaptation: Cook the squash in an air fryer at 375°F (190°C) for 12-15 minutes, shaking the basket halfway through. You’ll get even crispier edges. I do this when I’m only making a small batch.
For a lower-fat version, you can reduce the butter to 2 tablespoons and add a splash of olive oil. The brown butter flavor will be less intense, but it still works.
Serving & Storage Suggestions
This squash is best served hot, right out of the oven. The edges are crispy, the centers are creamy, and the brown butter is still glossy. I like to arrange the pieces on a warm platter and sprinkle the crispy sage and flaky salt right before serving.
What to serve with it: This pairs beautifully with roasted chicken, pork chops, or a simple seared steak. For a vegetarian meal, serve it over a bed of farro or quinoa with a dollop of Greek yogurt. It also works as a side for holiday dinners — I’ve brought it to both Thanksgiving and Christmas, and it fits right in.
Storage: Leftovers keep in an airtight container in the fridge for up to 4 days. The crispy edges will soften, but the flavor is still fantastic. I actually love eating the leftovers cold, straight from the fridge — weird, I know, but the sweetness concentrates even more.
Reheating: The best way to reheat is in a 350°F (177°C) oven for about 5-7 minutes. You can also use an air fryer at 350°F for 3-4 minutes. The microwave works in a pinch, but the texture gets a bit mushy. If you’re reheating for kids, they won’t care — mine eat it cold or hot without complaint.
The flavors actually develop overnight. I made a batch for meal prep once, and day two was even better. The brown butter soaks into the squash, making every bite richer.
Nutritional Information & Benefits
Here’s the approximate nutritional breakdown per serving (based on 4 servings):
- Calories: 185
- Total Fat: 12g
- Saturated Fat: 7g
- Cholesterol: 30mg
- Sodium: 290mg
- Total Carbohydrates: 18g
- Dietary Fiber: 3g
- Sugars: 6g
- Protein: 2g
Honeynut squash is a nutritional powerhouse. It’s packed with vitamin A (great for eye health and immune function), vitamin C, and potassium. The fiber content helps with digestion and keeps you feeling full. Brown butter does add saturated fat, but a little bit goes a long way in terms of flavor — you really don’t need much to make this dish sing.
This recipe is naturally gluten-free and can be made dairy-free with a good vegan butter. It’s also nut-free and egg-free, making it a safe option for many dietary needs.
Personally, I love that I can serve this to my family and feel good about it. The kids are getting a serving of vegetables without any fuss, and I’m not slaving over a complicated recipe. Win-win.
Conclusion
Look, I know there are a million ways to roast squash out there. But this brown butter honeynut squash recipe is the one I keep coming back to. It’s simple enough for a Tuesday night, special enough for a holiday table, and — most importantly — it actually gets eaten by everyone in the house. No complaints, no negotiations, no hiding vegetables in mac and cheese.
I love this recipe because it reminds me that cooking doesn’t have to be complicated to be good. A few quality ingredients, a little attention, and you’ve got something that feels like a warm hug. That’s what Aunt Carol taught me, even if I didn’t realize it at the time.
Try it this week. Add your own twist — maybe extra sage, maybe a pinch of cinnamon, maybe nothing at all. Let me know how it goes in the comments below. I’d love to hear what your family thinks. And if you make it for a holiday dinner, snap a photo and tag me — I want to see your beautiful squash!
Happy cooking, friends. You’ve got this.
Frequently Asked Questions
Can I use butternut squash instead of honeynut?
Absolutely. Honeynut squash is smaller and sweeter, but butternut works just fine. Cut it into smaller cubes (about 1/2 inch) and add 5-10 minutes to the roasting time. Keep an eye on it — butternut can be a bit drier, so you might want to add an extra tablespoon of butter.
Do I have to peel the squash?
Nope! Honeynut squash has thin, edible skin that softens during roasting. I leave it on for convenience and extra fiber. If you really don’t like the texture, you can peel it with a vegetable peeler before cutting — but honestly, you won’t notice it after roasting.
Can I make this ahead of time?
You can prep the squash up to a day ahead and store it in the fridge. But for the best texture, roast it right before serving. The crispy edges are at their peak fresh out of the oven. Leftovers reheat well, though — see the storage section above.
My brown butter burned. What went wrong?
It happens to the best of us. Brown butter goes from perfect to burnt in seconds. Make sure you’re using a light-colored pan so you can see the color change. Keep the heat at medium (not high), and swirl the pan constantly. The moment you see amber specks and smell that nutty aroma, pull it off the heat immediately.
How do I get my kids to eat this?
Honestly, the brown butter does most of the work — it adds a nutty, almost sweet flavor that kids naturally like. I also call it “butter squash” instead of “vegetables.” And I let my kids sprinkle the flaky salt on top themselves. Giving them a little control makes them more willing to try it. If they’re still hesitant, serve it alongside something they already love, like roasted chicken or pasta.
Pin This Recipe!
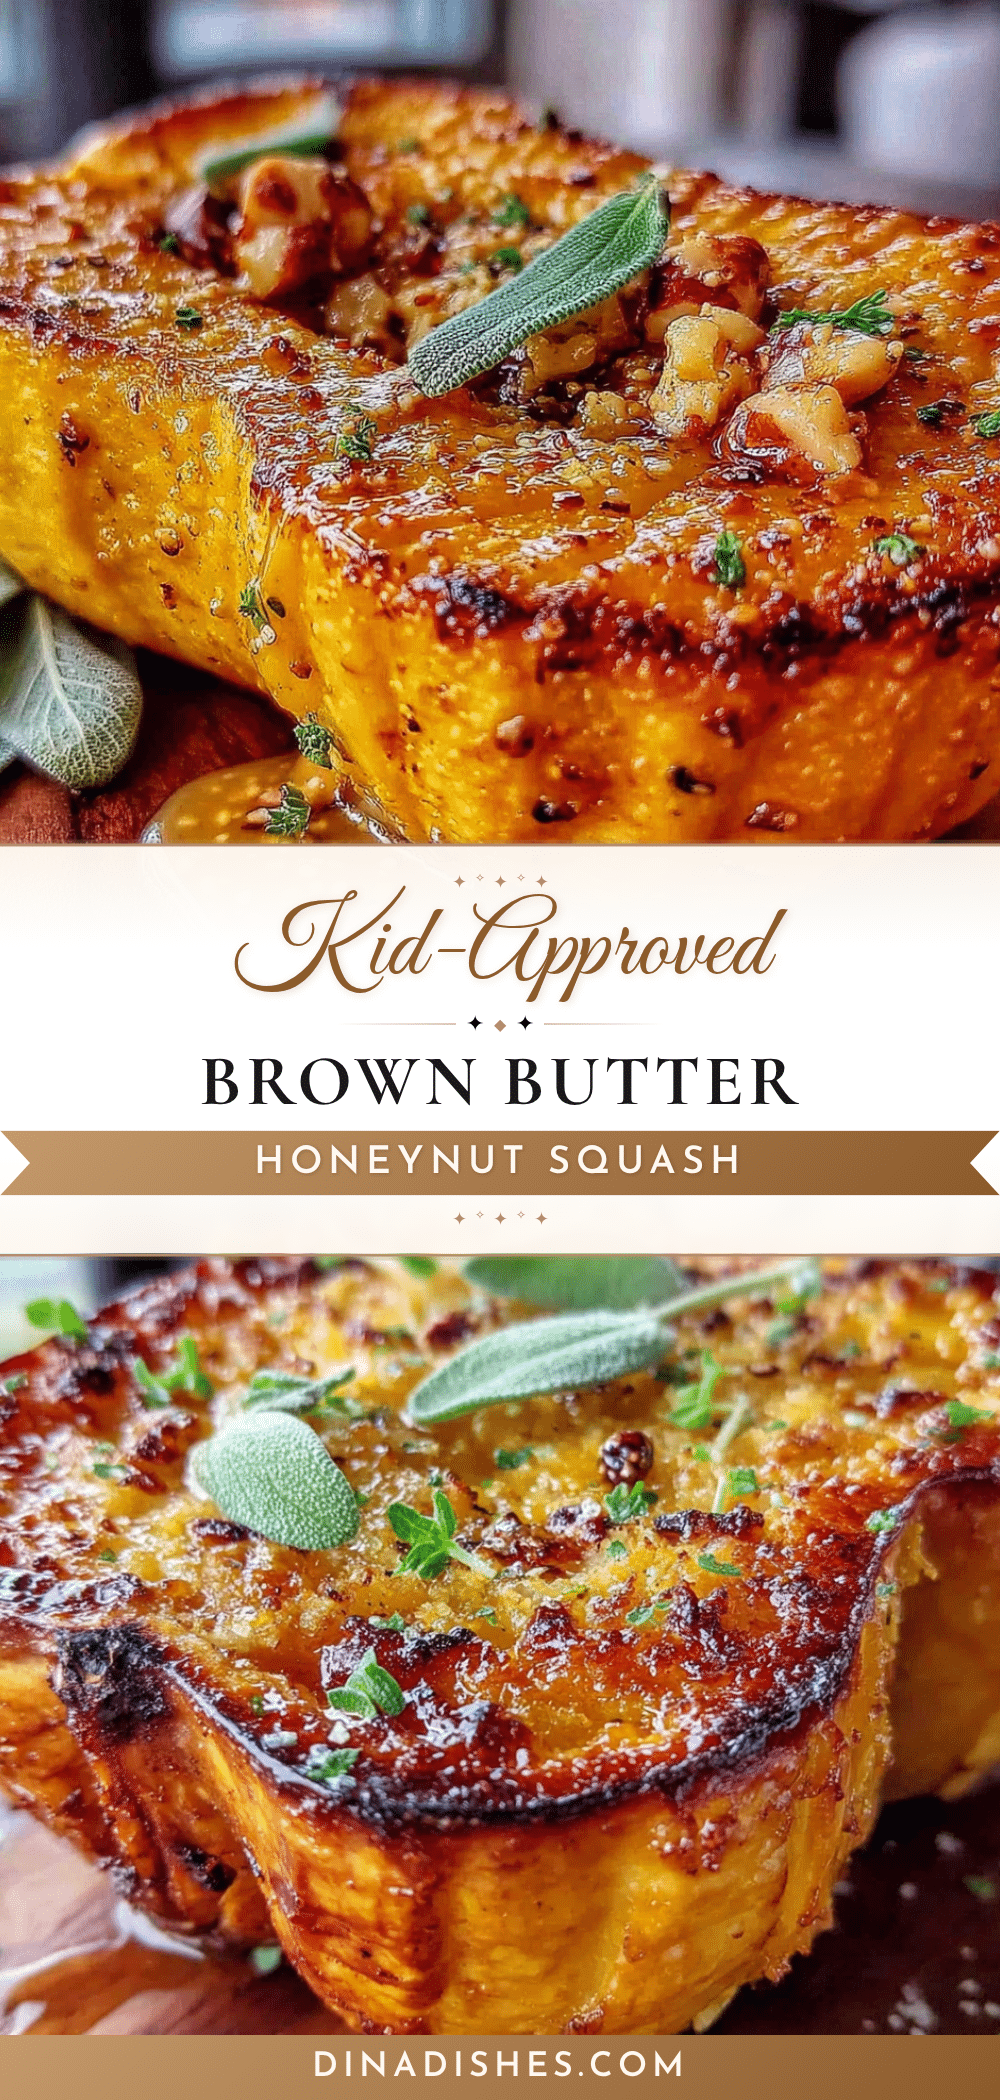
Perfect 30-Minute Kid-Approved Brown Butter Honeynut Squash

This quick and easy honeynut squash recipe features nutty brown butter and crispy sage, delivering a caramelized, creamy side dish that even kids will love. Ready in under 30 minutes with just five main ingredients.
- Prep Time: 10 minutes
- Cook Time: 20 minutes
- Total Time: 30 minutes
- Yield: 4 servings 1x
- Category: Side Dish
- Cuisine: American
Ingredients
- 2 medium honeynut squash
- 4 tablespoons unsalted butter (1/2 stick)
- 1/2 teaspoon kosher salt
- 1/4 teaspoon freshly ground black pepper
- 8–10 fresh sage leaves (optional but highly recommended)
- Flaky sea salt (like Maldon, for finishing, optional)
Instructions
- Preheat your oven to 425°F (218°C). Position a rack in the middle of the oven.
- Wash the honeynut squash well. Cut off the stem end and the tip. Slice each squash in half lengthwise. Scoop out the seeds and stringy bits with a spoon. Slice each half into 1/2-inch (1.3 cm) half-moons. Try to keep them uniform in size.
- Place a small saucepan over medium heat. Add the 4 tablespoons of butter. Let it melt completely, then swirl the pan gently. After a minute or two, the butter will start to foam. Keep swirling until you see little brown specks forming at the bottom and the butter smells nutty (about 3-4 minutes total). Immediately pull it off the heat.
- If using sage, drop the sage leaves into the hot brown butter. They’ll sizzle and crisp up in about 15-20 seconds. Use a fork to transfer them to a paper towel to drain. Set aside.
- Place the squash pieces on a large rimmed baking sheet. Pour the brown butter over them (reserve the crispy sage for later). Use your hands or a spatula to toss everything together until each piece is coated. Spread them in a single layer without overlapping.
- Sprinkle the kosher salt and black pepper evenly over the squash. Give it one more gentle toss to distribute.
- Roast for 18-22 minutes, flipping the pieces halfway through with a spatula. Look for deep golden-brown edges and a fork-tender center.
- Transfer the roasted squash to a serving platter. Crumble the crispy sage leaves over the top. Sprinkle with flaky sea salt if using. Serve immediately while hot.
Notes
Don’t walk away from the brown butter—it can burn in seconds. Cut squash evenly for consistent cooking. Give the pieces space on the baking sheet to avoid steaming. Flip halfway through for even browning. Let the squash rest for a minute after roasting. For a dairy-free version, use a high-quality vegan butter like Miyoko’s. If you can’t find honeynut squash, use small butternut squash, cut into smaller pieces, and add 5 minutes to the roasting time. Leftovers keep in an airtight container in the fridge for up to 4 days; reheat in a 350°F oven for 5-7 minutes or in an air fryer at 350°F for 3-4 minutes.
Nutrition
- Serving Size: 1 serving (about 1/4
- Calories: 185
- Sugar: 6
- Sodium: 290
- Fat: 12
- Saturated Fat: 7
- Carbohydrates: 18
- Fiber: 3
- Protein: 2
Keywords: honeynut squash, brown butter, roasted squash, quick side dish, kid-friendly, fall recipe, Thanksgiving side, easy vegetable side


