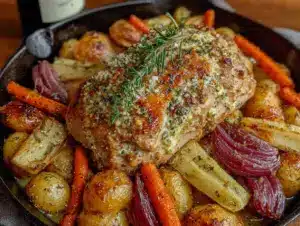
It was 11:47 PM on a quiet Wednesday in early November, and I couldn’t sleep. Not because of caffeine or stress, but because a very specific thought had lodged itself in my brain: what if my Thanksgiving turkey this year was actually dry? I’d been roasting birds for over a decade, and sure, they’d always been fine. But fine wasn’t what I wanted. I wanted that jaw-dropping, juice-running-down-your-chin kind of turkey that makes everyone at the table go quiet for a second.
I didn’t have a fancy brining kit or a food-grade bucket. I didn’t have cheesecloth or any of that stuff the fancy blogs swear you need. But I had a big pot, a half-gallon of apple cider that was about to expire, and this wild idea that maybe—just maybe—the answer was already in my fridge. I mean, apple cider and Thanksgiving go together like butter and rolls, right? So why not soak the bird in it?
Honestly, I wasn’t sure it would work. I sat there on my kitchen floor, leaning against the cabinet, scrolling through my phone for validation. A few folks on cooking forums had tried something similar, but nobody seemed to have a solid, foolproof recipe. So I just… went for it. I grabbed some kosher salt, brown sugar, a few spices from the back of the pantry, and started experimenting. The result? Let me tell you, it was the best turkey I’d ever made. That brine changed everything. The meat was so tender and flavorful, my uncle actually asked if I’d secretly ordered catering. Maybe you’ve been there—staring at your fridge late at night, wondering if a simple swap could make your holiday cooking legendary. This is that swap.
Why You’ll Love This Recipe
After testing this brine on three separate turkeys (and one very confused chicken), I can confidently say this is the only turkey brine recipe you’ll ever need. It hits every single mark—flavor, moisture, simplicity—without making you hunt down weird ingredients or buy special equipment.
- Incredibly Juicy Meat: The apple cider combined with salt works magic on a cellular level. It breaks down proteins and locks in moisture, so your turkey stays succulent even if you accidentally overcook it by a few minutes. Trust me, I’ve done that.
- Simple Pantry Ingredients: You probably have most of these items already. Apples, brown sugar, salt, peppercorns, and a few herbs. No need to visit three different stores or spend forty dollars on specialty items.
- Perfect for Thanksgiving: This brine was made for the big day. It complements all the classic sides—mashed potatoes, stuffing, cranberry sauce—without overpowering them. The apple flavor is subtle, not sweet, and it makes the whole kitchen smell like autumn heaven.
- Crowd-Pleaser Guaranteed: I’ve served this to picky eaters, health-conscious relatives, and kids who usually only eat the rolls. Every single one of them went back for seconds. It’s that good.
- Stress-Free Process: You literally just combine everything in a pot, simmer, cool, and soak the turkey. No complicated steps, no constant monitoring. It’s the kind of recipe that makes you look like a pro with minimal effort.
What sets this apart from other brines is the balance. Some recipes are too salty, some are too sweet, and some just taste like wet herbs. This one uses the natural acidity of apple cider to tenderize the meat while the brown sugar adds just a whisper of sweetness. The peppercorns and bay leaves bring warmth without heat. It’s not just another brine—it’s your best version of Thanksgiving turkey.
What Ingredients You Will Need
This recipe uses simple, wholesome ingredients to create a brine that delivers bold flavor and incredible moisture without any fuss. Most of these are pantry staples or easy to find at any grocery store during the fall season.
- Apple Cider (8 cups / 1.9 liters): The star of the show. Use fresh, unfiltered apple cider if you can find it—it has more flavor than the filtered stuff. I prefer local cider from farmers markets when possible. The natural sugars and acidity are what make this brine special.
- Water (8 cups / 1.9 liters): Cold tap water is fine. You’ll use half for dissolving the ingredients and half as ice water to cool the brine down later.
- Kosher Salt (1 cup / 300 grams): Don’t use table salt here. Kosher salt dissolves cleanly and doesn’t have the bitter additives found in iodized salt. Diamond Crystal is my go-to brand because it’s less salty by volume, giving you more control.
- Brown Sugar (1 cup / 200 grams, packed): Light or dark brown sugar works. Dark brown sugar has more molasses flavor, which adds a deeper, almost caramel-like note to the brine. I’ve used both and honestly can’t pick a favorite—they’re both fantastic.
- Black Peppercorns (2 tablespoons / 12 grams): Whole peppercorns, not ground. They infuse the brine with a gentle warmth that complements the apple without making things spicy. Toast them in a dry pan for 30 seconds if you want a more intense flavor.
- Bay Leaves (4 large or 6 small): Dried bay leaves are perfectly fine here. They add an earthy, floral note that rounds out the sweetness of the cider. Crumble them slightly before adding to release more flavor.
- Fresh Thyme (6 sprigs): Or 2 teaspoons dried thyme. Fresh is better if you have it, but dried works in a pinch. The thyme adds a subtle herbal quality that pairs beautifully with poultry.
- Fresh Rosemary (3 sprigs): Another herb that loves turkey. Rosemary can be strong, so don’t go overboard. Three sprigs is the sweet spot. Strip the leaves off the woody stems before adding.
- Garlic Cloves (6 cloves, smashed): Smash them with the flat side of your knife to release their oils. Garlic adds a savory depth that balances the sweetness of the cider and brown sugar.
- Whole Cloves (1 teaspoon / 2 grams, optional): This is my secret weapon. Just a tiny bit of clove adds a warm, almost spicy note that screams “holiday.” Skip it if you’re not a fan, but I think it makes the brine unforgettable.
Equipment Needed
You don’t need a professional kitchen to make this brine work. Here’s what you’ll actually use:
- Large Stockpot (8-10 quarts / 8-10 liters): For simmering the brine ingredients. Any large pot works—I’ve used my grandmother’s old enamel pot for years. It holds heat well and doesn’t react with the acidic cider.
- Brine Container (5-gallon / 19-liter bucket or large cooler): You need something big enough to hold the turkey and the brine completely submerged. A food-grade plastic bucket from the hardware store works perfectly. I use a clean cooler because it keeps the brine cold without taking up fridge space.
- Measuring Cups and Spoons: Standard kitchen staples. Accuracy matters with salt, so use proper measuring tools.
- Whisk: For dissolving the salt and sugar into the hot liquid. A wooden spoon works too, but a whisk is faster.
- Sharp Knife and Cutting Board: For smashing garlic and prepping herbs. Nothing fancy needed.
- Plastic Wrap or Heavy-Duty Trash Bag (food-grade): To cover the brining container and keep everything clean. I use unscented, food-safe bags.
- Instant-Read Thermometer: Not strictly for the brine, but essential for cooking the turkey afterward. A good thermometer is the difference between perfect and dry turkey.
Budget-friendly tip: If you don’t have a large cooler, you can brine the turkey in a deep roasting pan covered with foil. Just make sure the bird is fully submerged by weighing it down with a plate.
Preparation Method
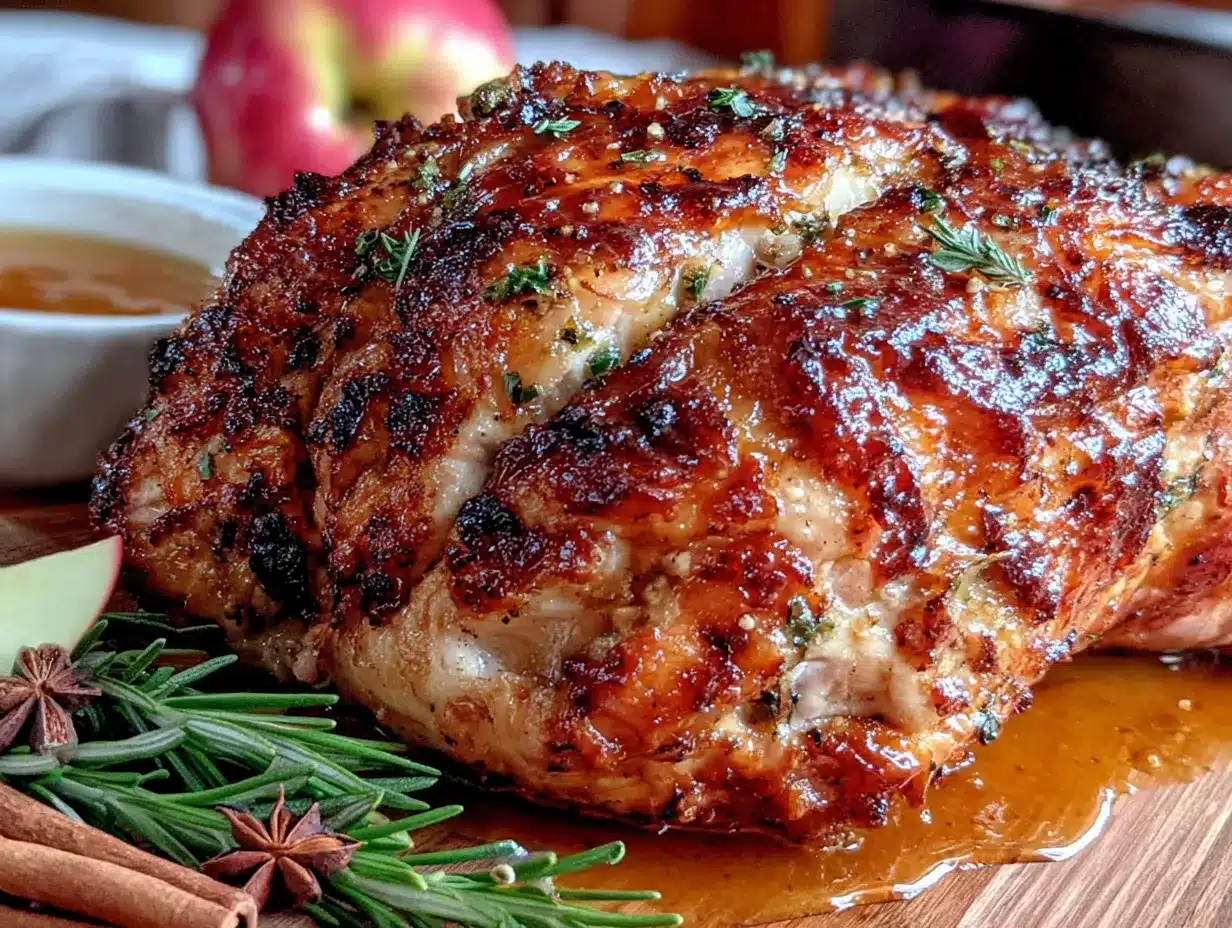
Let’s walk through this step by step. The whole process takes about 30 minutes of active work, plus cooling and brining time. Plan ahead—your turkey needs to soak for at least 12 hours.
- Combine the Base (5 minutes): In your large stockpot, pour in 8 cups of apple cider and 4 cups of water. Add the kosher salt and packed brown sugar. Place the pot over medium-high heat. Whisk occasionally until the salt and sugar are completely dissolved. You’ll see the liquid turn slightly cloudy at first, then clear up as everything dissolves. Don’t let it come to a full boil—just get it hot enough to dissolve the solids. This usually takes about 5-7 minutes.
- Add the Aromatics (2 minutes): Once the salt and sugar are dissolved, toss in the black peppercorns, bay leaves, fresh thyme sprigs, rosemary sprigs, smashed garlic cloves, and whole cloves (if using). Stir everything together. The kitchen will start smelling incredible at this point—like a cozy fall candle, but edible.
- Simmer to Infuse (15 minutes): Reduce the heat to low and let the mixture simmer gently for 15 minutes. Don’t rush this step. The simmering allows the herbs and spices to release their flavors into the liquid. You’ll notice the color deepening to a rich amber. If you’re using fresh herbs, they’ll soften and release their oils. The garlic will mellow out and become sweet instead of sharp.
- Cool the Brine Completely (30-45 minutes): Remove the pot from heat. Pour in the remaining 4 cups of cold water to start the cooling process. Let the brine sit at room temperature until it’s completely cool. This is crucial—adding warm brine to raw turkey can promote bacterial growth. I usually set the pot on a trivet and stir occasionally to speed things up. If you’re in a hurry, you can place the pot in an ice bath, but don’t add ice directly or it’ll dilute the brine.
- Prepare the Turkey (5 minutes): While the brine cools, remove the turkey from its packaging. Take out the giblets and neck from the cavity—save those for making gravy later. Rinse the turkey inside and out with cold water. Pat it completely dry with paper towels. A dry bird absorbs brine better than a wet one.
- Brine the Turkey (12-24 hours): Place the turkey in your clean brine container. Pour the completely cooled brine over the bird, making sure it’s fully submerged. If the turkey floats, weigh it down with a heavy plate or a sealed bag of ice. Cover the container with plastic wrap or a lid. Refrigerate for 12 to 24 hours. I’ve found that 18 hours is the sweet spot—enough time for the brine to work its magic without making the meat too salty. Don’t go over 24 hours, or the texture can become mushy.
- Rinse and Dry Before Roasting (10 minutes): When you’re ready to cook, remove the turkey from the brine. Discard the brine—don’t reuse it. Rinse the turkey thoroughly under cold running water to remove excess salt from the surface. Pat it bone-dry with paper towels. This step is non-negotiable. A dry surface means crispy skin. Let the turkey sit uncovered in the fridge for an hour or two if you have time—this dries out the skin even more for that perfect golden-brown finish.
Sensory Cue: When the brine is ready, it should smell like a warm apple orchard with herbal undertones. The liquid will be a deep amber color, and you’ll see tiny specks of herbs and peppercorns floating in it. The garlic will have softened and turned translucent.
Personal Tip: I once forgot to rinse the turkey well enough and ended up with salty gravy. Learn from my mistake—rinse thoroughly, inside and out, for at least two full minutes under running water.
Cooking Tips & Techniques
Over the years, I’ve learned a few things the hard way. Let me save you some trouble.
Don’t Skip the Cooling Step: I know it’s tempting to speed things up, but pouring warm brine over raw turkey is a food safety risk. The brine needs to be below 40°F (4°C) before it touches the bird. I learned this after a particularly stressful Thanksgiving when I was running late. The turkey turned out fine, but I spent the whole meal worrying about it. Not worth it.
Patience with Patting Dry: The secret to crispy turkey skin is a bone-dry surface. After rinsing, use paper towels to blot every inch of the bird, including the wings and legs. Then let it sit uncovered in the fridge for 1-2 hours. This allows the skin to dry out further. I once skipped this step and ended up with soggy, pale skin. Never again.
Timing Is Everything: Start brining exactly 18 hours before you plan to roast. That gives you enough time for the brine to work, plus a couple of hours for the turkey to dry in the fridge afterward. I set a timer on my phone so I don’t lose track. Thanksgiving morning is chaotic enough without math.
Use a Brine Bag for Easy Cleanup: Instead of dealing with a heavy pot of liquid, place the turkey in a large, food-grade plastic bag, pour in the brine, and seal it. Put the bag in a roasting pan to catch any leaks. This makes cleanup a breeze and uses less brine since you don’t need to fill a whole bucket.
Don’t Overcrowd the Fridge: A brining turkey takes up a lot of space. Clear a shelf in your fridge the day before. If you’re using a cooler, you can keep the turkey cold with ice packs instead. Just check the temperature periodically to make sure it stays below 40°F.
My Biggest Failure: The first time I tried this recipe, I used table salt instead of kosher salt. The turkey was so salty it was practically inedible. We ended up ordering pizza on Thanksgiving. It was humiliating. That’s why I’m so insistent about using kosher salt—it’s much more forgiving.
Variations & Adaptations
This brine is flexible. Here are some ways to make it your own:
- Herb Swap: Not a fan of rosemary? Use sage instead. Sage and apple are a classic combination. Replace the rosemary with 4-5 fresh sage leaves. The flavor will be more earthy and traditional.
- Spicy Twist: Add 1-2 dried chiles (like arbol or guajillo) to the brine for a subtle heat. The spice won’t make the turkey spicy—it’ll just add a warm, complex undertone. I tried this last year and my brother-in-law, who loves hot sauce, was thrilled.
- Citrus Infusion: Add the peel of one orange and one lemon (no white pith, it’s bitter) to the simmering brine. The citrus brightens the apple flavor and adds a fresh note. This is my go-to variation when I want a more complex taste.
- Maple Substitute: Replace the brown sugar with 3/4 cup of pure maple syrup. Maple and apple are a natural pair, and the syrup adds a different kind of sweetness—less molasses, more woodsy. Reduce the salt slightly to balance the sweetness.
- Dairy-Free and Gluten-Free: This recipe is naturally dairy-free and gluten-free. Just make sure your kosher salt doesn’t contain anti-caking agents (most don’t). Everything else is safe.
Personal Variation: I once added a cinnamon stick to the brine on a whim. The result was subtle but lovely—like a whisper of apple pie in every bite. I now do it every year. Break the cinnamon stick in half before adding to release more flavor.
Serving & Storage Suggestions
Once your turkey is roasted to golden perfection, here’s how to make the most of it:
Serving Temperature: Let the turkey rest for at least 20-30 minutes after roasting before carving. This allows the juices to redistribute. Serve it warm, not piping hot. The meat will be more tender and flavorful at a slightly lower temperature.
Presentation: Arrange the carved turkey on a large platter with fresh herbs and apple slices around the edges. It’s a simple touch that makes the table look festive. I like to garnish with a few fresh thyme sprigs and halved cranberries for color.
Complementary Sides: This turkey pairs beautifully with classic Thanksgiving sides. Mashed potatoes, roasted Brussels sprouts, green bean casserole, and cornbread stuffing all work. The apple flavor in the turkey complements sweet potato casserole especially well. For beverages, a crisp white wine like Sauvignon Blanc or a hard apple cider is perfect.
Storage: Store leftover turkey in an airtight container in the refrigerator for up to 4 days. The meat will stay moist thanks to the brine. For longer storage, slice the turkey and freeze it in a single layer on a baking sheet, then transfer to a freezer bag. It’ll keep for up to 3 months.
Reheating: The best way to reheat turkey without drying it out is to place slices in a baking dish, add a splash of turkey broth or apple cider, cover with foil, and warm in a 300°F (150°C) oven for 10-15 minutes. Avoid the microwave—it makes the meat rubbery. I’ve learned this the hard way more than once.
Flavor Development: Here’s a secret—the turkey actually tastes better the next day. The flavors continue to meld overnight. Cold turkey sandwiches with leftover cranberry sauce are one of my favorite parts of Thanksgiving weekend.
Nutritional Information & Benefits
While brine itself isn’t eaten, it does affect the nutritional profile of the turkey. Here’s what you should know:
Estimated Values (per 4-ounce / 113g serving of roasted turkey breast):
- Calories: 180
- Protein: 25g
- Fat: 8g
- Sodium: 480mg (from the brine)
- Carbohydrates: 1g (trace amounts from the cider)
Health Benefits: Turkey is an excellent source of lean protein, which supports muscle health and keeps you full. The brine adds minimal calories but does increase sodium content. If you’re watching your salt intake, reduce the brining time to 12 hours and rinse thoroughly. The apple cider in the brine provides a small amount of antioxidants, though most of it is discarded.
Dietary Considerations: This recipe is naturally gluten-free, dairy-free, and low-carb. The brine itself has no significant fat or sugar content after discarding. The brown sugar and cider are used primarily for flavor and are not absorbed in large quantities by the meat.
Allergens: This recipe is free of the top eight allergens. However, if you add any variations (like maple syrup), check for potential allergens. Always inform guests if you’ve made substitutions.
Personal Wellness Perspective: I love that this brine lets me enjoy a flavorful, juicy turkey without relying on heavy butter or oil. It’s a healthier way to get amazing results. Plus, the process itself is meditative—simmering herbs and spices, watching the colors change. It’s self-care disguised as cooking.
Conclusion
This apple cider turkey brine isn’t just a recipe—it’s the thing that turned me from a nervous Thanksgiving host into someone who actually looks forward to the big day. It’s forgiving, it’s flavorful, and it makes you look like you spent hours in the kitchen when really, you just let science do the work. I mean, what’s not to love?
I want you to make this your own. Adjust the herbs, play with the spices, find the version that makes your family’s eyes light up. That’s the beauty of cooking—it’s never really finished. It just gets better every time you try.
So here’s my challenge to you: try this brine for your next holiday meal. Whether it’s Thanksgiving, Christmas, or just a random Sunday roast, I promise you’ll taste the difference. And when your guests ask for your secret, just smile and tell them it was a late-night kitchen experiment that somehow worked out. They don’t need to know about the 11:47 PM epiphany or the salty turkey disaster from years ago. That’s between us.
Drop a comment below and let me know how it turned out! Did you add a cinnamon stick? Swap the rosemary for sage? I’d love to hear your twist on this recipe. Happy cooking, friend.
Frequently Asked Questions
Can I brine a frozen turkey?
No, you should never brine a frozen turkey. The turkey must be fully thawed before brining so the salt solution can penetrate the meat evenly. Thaw your turkey in the refrigerator for 24 hours per 4-5 pounds (1.8-2.3 kg). Once thawed, proceed with the brine.
How long should I brine my turkey?
For best results, brine your turkey for 12 to 24 hours. I recommend 18 hours as the sweet spot. Less than 12 hours won’t give the brine enough time to work, and more than 24 hours can make the meat too salty and mushy.
Do I need to rinse the turkey after brining?
Yes, absolutely. Rinse the turkey thoroughly under cold running water for at least two minutes to remove excess salt from the surface. Then pat it completely dry with paper towels. Skipping this step will result in an overly salty turkey.
Can I use this brine for chicken or other poultry?
Absolutely! This brine works beautifully on chicken, Cornish hens, and even duck. Just adjust the brining time—chicken only needs 8-12 hours, and smaller birds like Cornish hens need 4-6 hours. The flavors are versatile enough for any poultry.
What if I don’t have a container big enough for brining?
No problem! Use a clean, food-grade plastic bag (like a large oven bag or a heavy-duty garbage bag) placed inside a roasting pan. Add the turkey and brine, seal the bag, and refrigerate. This method uses less brine and makes cleanup much easier. Just make sure the bag doesn’t leak.
Pin This Recipe!
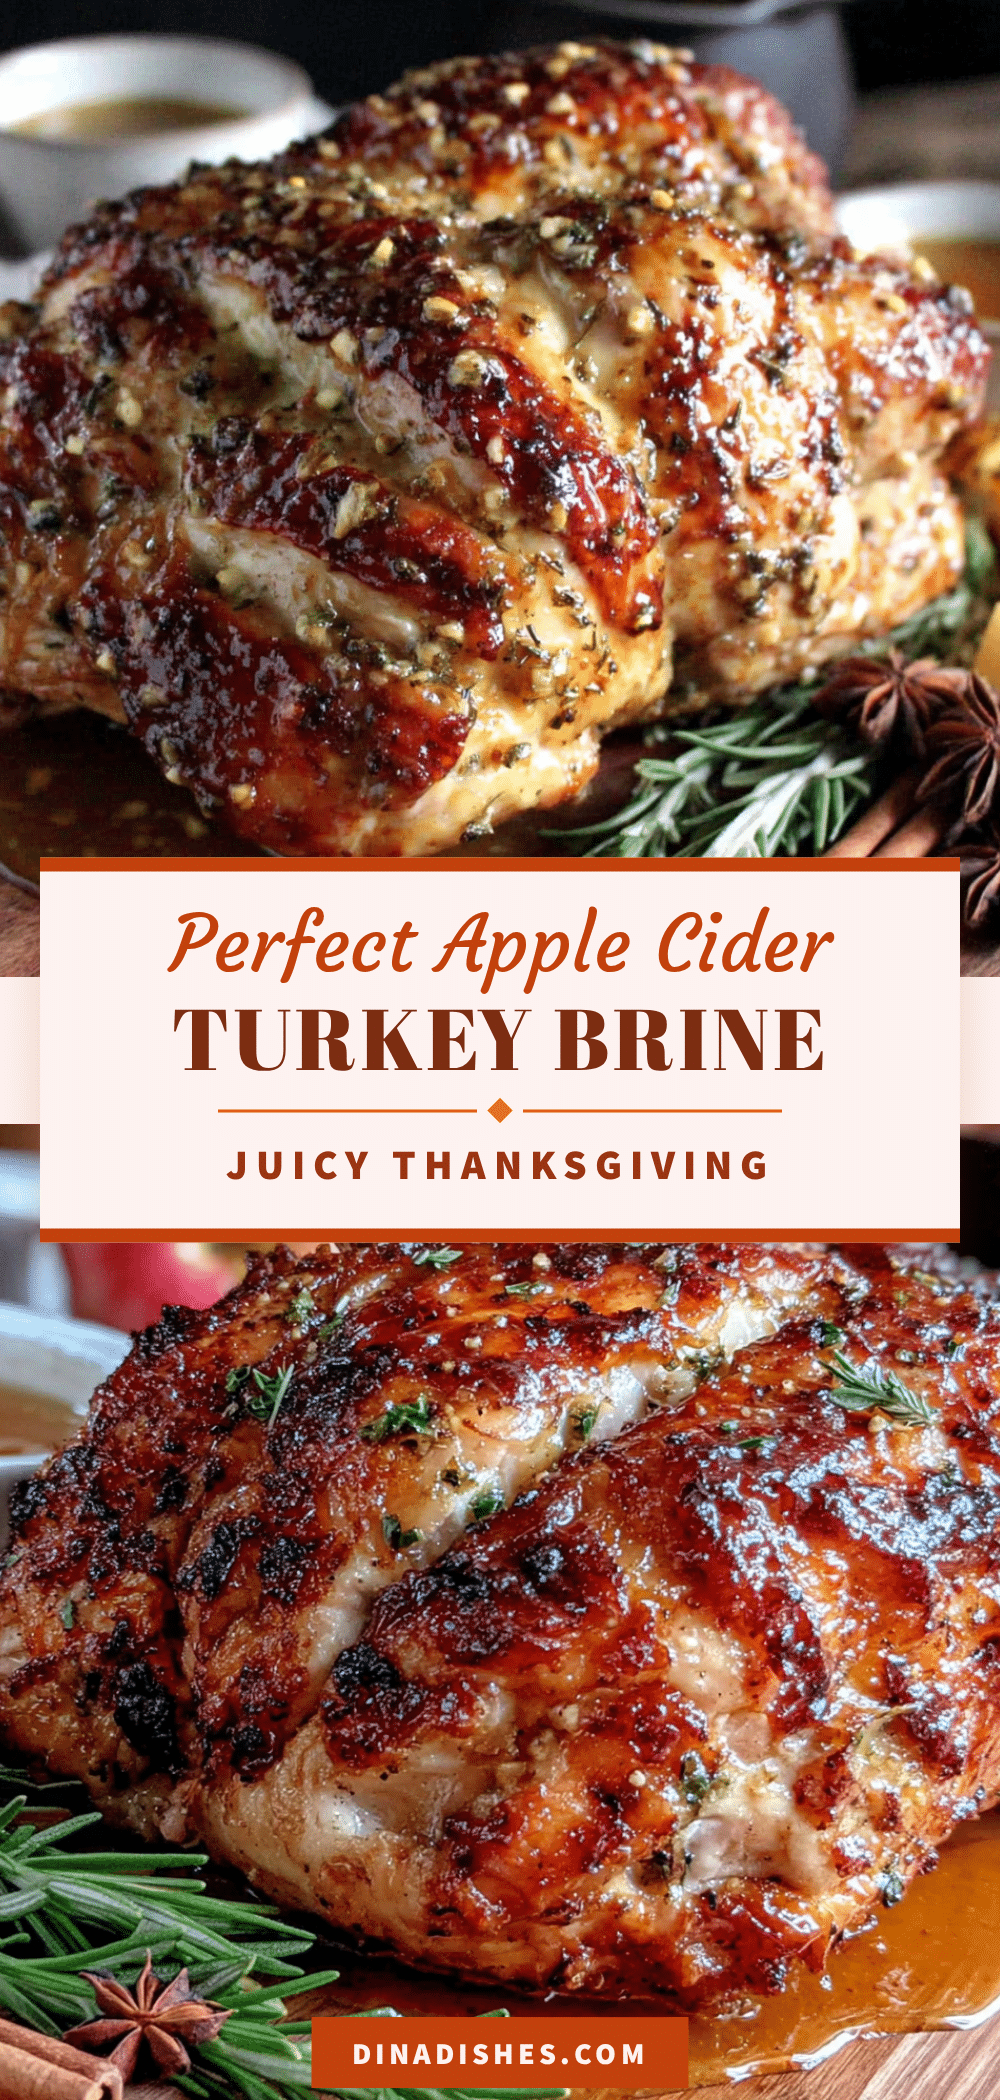
Perfect Apple Cider Turkey Brine for Juicy Thanksgiving
This apple cider turkey brine delivers incredibly juicy, flavorful meat with simple pantry ingredients. It’s the only brine recipe you’ll need for a stress-free, crowd-pleasing Thanksgiving turkey.
- Prep Time: 30 minutes
- Cook Time: 15 minutes
- Total Time: 45 minutes (plus 12-24 hours brining time)
- Yield: 1 turkey (12-14 pounds) 1x
- Category: Main Course
- Cuisine: American
Ingredients
- 8 cups (1.9 liters) apple cider
- 8 cups (1.9 liters) water, divided
- 1 cup (300 grams) kosher salt
- 1 cup (200 grams, packed) brown sugar
- 2 tablespoons (12 grams) black peppercorns
- 4 large or 6 small bay leaves
- 6 sprigs fresh thyme (or 2 teaspoons dried)
- 3 sprigs fresh rosemary
- 6 cloves garlic, smashed
- 1 teaspoon (2 grams) whole cloves (optional)
Instructions
- In a large stockpot, combine 8 cups apple cider and 4 cups water. Add kosher salt and brown sugar. Place over medium-high heat and whisk until salt and sugar are completely dissolved (about 5-7 minutes). Do not let it come to a full boil.
- Once dissolved, add black peppercorns, bay leaves, thyme, rosemary, garlic, and cloves (if using). Stir to combine.
- Reduce heat to low and simmer gently for 15 minutes to infuse flavors. The liquid will deepen to a rich amber color.
- Remove from heat and add remaining 4 cups cold water to start cooling. Let brine cool completely at room temperature (30-45 minutes). Do not use warm brine on raw turkey.
- While brine cools, remove turkey from packaging, remove giblets and neck, rinse inside and out with cold water, and pat dry with paper towels.
- Place turkey in a clean brine container (5-gallon bucket or large cooler). Pour completely cooled brine over turkey, ensuring it is fully submerged. Weigh down with a plate if needed. Cover and refrigerate for 12-24 hours (18 hours is ideal).
- When ready to cook, remove turkey from brine and discard brine. Rinse turkey thoroughly under cold running water for at least 2 minutes. Pat bone-dry with paper towels. For extra crispy skin, let turkey sit uncovered in the refrigerator for 1-2 hours before roasting.
Notes
Don’t skip cooling the brine completely before adding turkey. Rinse turkey thoroughly after brining to avoid salty gravy. For best results, brine for 18 hours. Use kosher salt, not table salt.
Nutrition
- Serving Size: 4 ounces (113g) roas
- Calories: 180
- Sugar: 1
- Sodium: 480
- Fat: 8
- Saturated Fat: 2
- Carbohydrates: 1
- Protein: 25
Keywords: turkey brine, apple cider brine, Thanksgiving turkey, juicy turkey, holiday turkey brine