The church bake sale was in six hours and I’d completely forgotten. Everyone else would be bringing their grandmother’s famous pound cakes, perfectly layered trifles, and those intricate decorated sugar cookies that look like they belong in a bakery window. I had a stick of butter, a bag of chocolate chips, and honestly, a mild sense of panic setting in.
Then I remembered a trick I’d read about ages ago — browning the butter. It sounded fancy, like something a professional baker would do, but it’s really just melting butter until it turns nutty and golden. I figured it was my only shot at making something that didn’t scream “I ran out of time.” So I stood there, watching that butter bubble and foam, stirring it around in a pan I’d forgotten to wipe clean from breakfast. The whole kitchen started smelling incredible, like toasted caramel and warm nuts.
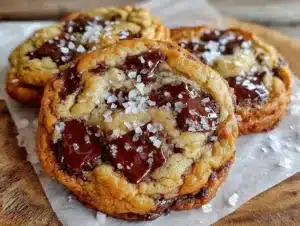
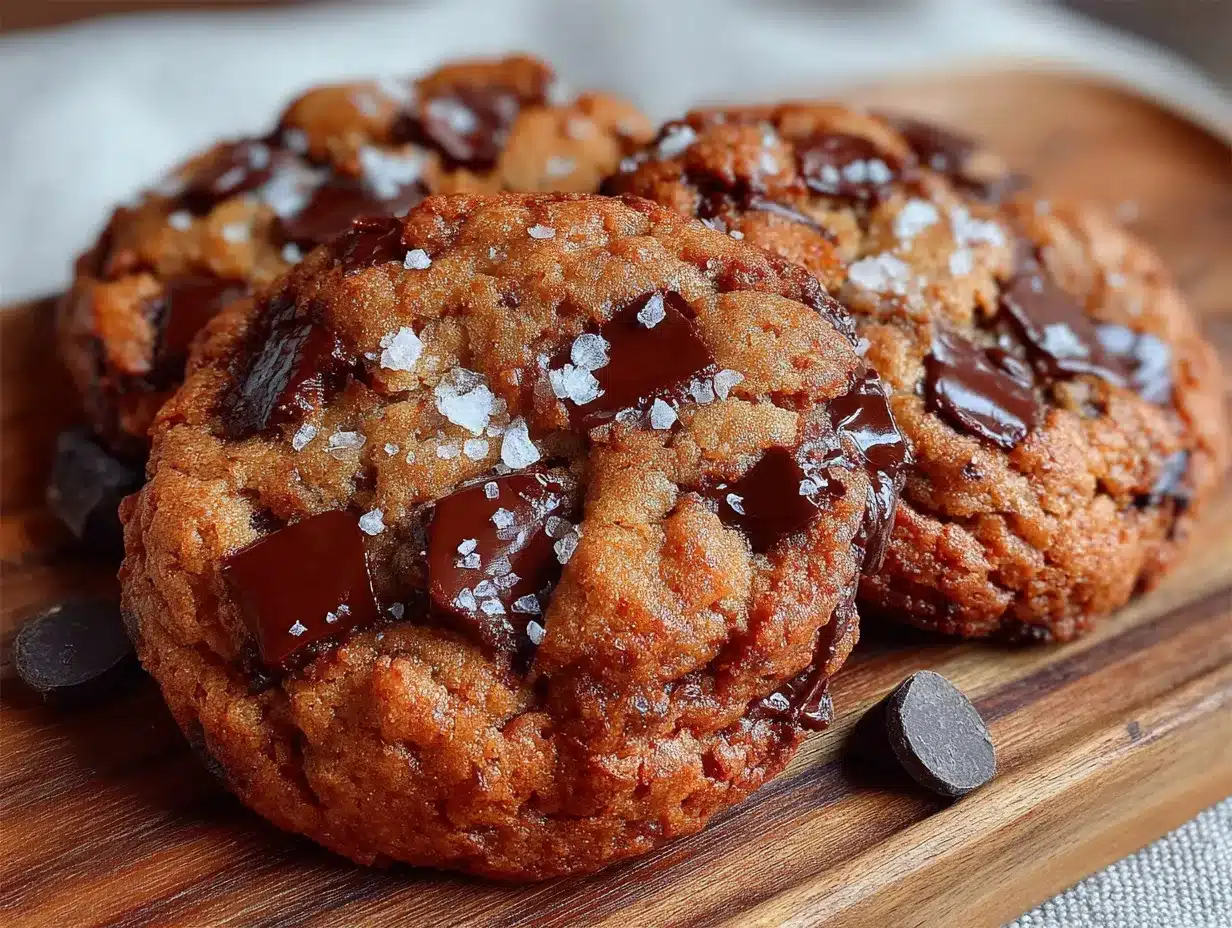
I threw the dough together in a frenzy, scooped it onto the baking sheets, and shoved them in the oven. They came out looking a little lopsided — I was rushing and the scoops weren’t even — but that golden-brown color and the way the edges were all crinkly and perfect? I knew I had something. I practically sprinted to the church with a Tupperware container, still warm.
Here’s the thing that still makes me laugh: that simple, panicked batch of cookies won the bake sale. Not the fancy layered cakes, not the decorated sugar cookies. My lopsided, brown butter chocolate chip cookies. People kept coming up to me asking for the recipe, and I had to admit it was basically the one on the back of the chocolate chip bag, just with that one little trick. Maybe you’ve been there — that moment when you accidentally make something amazing because you had no other choice.
That day changed how I bake forever. I never make chocolate chip cookies without browning the butter now. It takes an extra five minutes, but the depth of flavor it adds is honestly ridiculous. These perfect chewy brown butter chocolate chip cookies have become my signature, and I love that they started from a moment of pure panic and a forgotten bake sale.
Why You’ll Love This Recipe
Let me tell you why these cookies are different from every other chocolate chip cookie recipe you’ve tried. I’ve tested this dozens of times, tweaking the ratios and the technique until I got it just right. The secret is in the brown butter and a specific chilling step that makes all the difference.
- Unbelievably Chewy Texture: The combination of melted brown butter and an extra egg yolk creates a cookie that stays soft and chewy for days. No cakey, puffy cookies here.
- Deep, Nutty Flavor: Browning the butter adds a caramel-like, toasty flavor that regular butter just can’t match. It’s like your cookies got a flavor upgrade without any extra effort.
- Simple Pantry Ingredients: You probably have everything you need already. Butter, sugar, eggs, flour, chocolate chips — that’s it. No fancy extracts or specialty flours required.
- Perfect for Family Baking: This recipe makes a generous batch, perfect for after-school snacks, weekend baking with the kids, or taking to a potluck. They reheat beautifully, too.
- Crowd-Pleaser Guaranteed: I’ve brought these to countless family gatherings and they disappear every single time. Kids love them, adults love them, everyone loves them.
What makes this my best version? It’s the attention to detail. Browning the butter until it’s just right, measuring the flour correctly (spoon and level, never scoop), and that crucial chill time that lets the flavors meld. This isn’t just another cookie recipe — it’s the one you’ll come back to again and again. It’s comfort food at its finest, the kind that makes you close your eyes after the first bite and just savor it.
What Ingredients You Will Need
This recipe uses simple, wholesome ingredients to deliver that signature chewy texture and deep brown butter flavor. Most of these are pantry staples, which is exactly what you want when a cookie craving hits.
- 1 cup (226g) unsalted butter: The star of the show. I always use unsalted so I can control the salt level. Land O’Lakes or Kerrygold are my go-tos for consistent results.
- 1 ¼ cups (250g) packed light brown sugar: Brown sugar adds moisture and that deep molasses flavor that pairs perfectly with brown butter. Pack it firmly into your measuring cup.
- ¼ cup (50g) granulated sugar: A little white sugar helps with spreading and gives the edges that slight crispness.
- 2 large eggs, room temperature: Room temperature eggs incorporate more evenly into the batter. If you’re in a rush, place them in a bowl of warm water for 5 minutes.
- 1 large egg yolk: This is my secret weapon for extra chewiness. The extra yolk adds richness and tenderness without making the cookies cakey.
- 2 teaspoons vanilla extract: Pure vanilla extract is worth the splurge here. It enhances the brown butter flavor beautifully. I like Nielsen-Massey.
- 2 ¼ cups (281g) all-purpose flour: Spoon and level your flour — don’t scoop directly from the bag. Too much flour makes dry, dense cookies.
- 1 teaspoon baking soda: Helps the cookies spread just the right amount and gives them that slightly craggy top.
- 1 teaspoon kosher salt: Salt balances the sweetness and brings out the nutty notes in the brown butter. If using table salt, use ¾ teaspoon.
- 2 cups (340g) semi-sweet chocolate chips: I prefer Ghirardelli or Guittard for their rich flavor and good melt. You can also chop up a chocolate bar for bigger puddles of chocolate.
- Flaky sea salt for finishing (optional but highly recommended): A tiny sprinkle on top right out of the oven takes these cookies to another level. Maldon is my favorite.
Substitution Guidance: If you only have salted butter, reduce the added salt to ½ teaspoon. For a dairy-free version, you can use a high-quality vegan butter stick, but the browning step might not work as well — just melt it instead. You can swap the semi-sweet chips for milk chocolate or dark chocolate depending on your preference. And if you’re out of brown sugar, you can make your own by mixing 1 cup of granulated sugar with 2 tablespoons of molasses.
Equipment Needed
You don’t need a lot of fancy tools for this recipe, which is part of its charm. Here’s what you’ll need:
- Medium saucepan: For browning the butter. A light-colored pan helps you see the color change more easily. I use my trusty stainless steel one.
- Large mixing bowl: A good-sized bowl for mixing the dough. Glass or stainless steel works best.
- Whisk: For combining the wet ingredients. A sturdy whisk makes quick work of it.
- Rubber spatula or wooden spoon: For folding in the dry ingredients and chocolate chips. A spatula is gentler on the dough.
- Baking sheets: Two large baking sheets work well. I prefer light-colored aluminum sheets for even browning. Dark sheets can over-brown the bottoms.
- Parchment paper or silicone baking mats: Non-stick is essential for easy cleanup and preventing burnt bottoms.
- Cookie scoop (about 2 tablespoons): For evenly sized cookies. A #40 scoop is perfect. If you don’t have one, use two spoons.
- Cooling rack: Lets air circulate around the cookies so they cool evenly without getting soggy on the bottom.
If you don’t have a cookie scoop, just use a tablespoon measure and your hands to roll the dough into balls. It’s a little less uniform but the cookies will still taste amazing. I actually kind of like the rustic look of hand-rolled cookies.
Preparation Method
Let’s get baking! This recipe comes together in about 30 minutes of active time, plus at least 30 minutes of chilling. Trust me, the chilling step is non-negotiable for the best texture.
- Brown the butter: Place the 1 cup of unsalted butter in a medium saucepan over medium heat. Stir frequently as it melts. It will start to foam and bubble — that’s normal. Keep stirring and watch carefully. After about 5-7 minutes, you’ll see golden brown specks forming at the bottom and the butter will smell nutty and amazing. As soon as it turns a deep amber color and smells fragrant, remove it from the heat immediately. Pour it into a heat-safe bowl (including all those little brown bits — that’s pure flavor) and let it cool for about 10 minutes. Don’t skip the cooling or your eggs will scramble.
- Combine the sugars and butter: In your large mixing bowl, add the cooled brown butter, 1 ¼ cups packed brown sugar, and ¼ cup granulated sugar. Whisk them together until they’re well combined and look like wet sand. This should take about 1 minute. The mixture will be glossy and smell incredible already.
- Add the eggs and vanilla: Crack in the 2 large eggs and the extra egg yolk. Add the 2 teaspoons of vanilla extract. Whisk vigorously for about 2 minutes until the mixture is smooth, pale, and slightly thickened. You want it to look like a light caramel sauce. This step is important for creating that chewy texture.
- Mix the dry ingredients: In a separate medium bowl, whisk together the 2 ¼ cups all-purpose flour, 1 teaspoon baking soda, and 1 teaspoon kosher salt. Make sure there are no lumps. I like to use a fork for this — it’s quick and effective.
- Combine wet and dry: Gradually add the dry ingredients to the wet mixture. Use your rubber spatula to fold them together gently. Stir just until you no longer see streaks of flour. Overmixing at this stage will make your cookies tough. A few tiny flour spots are okay — they’ll disappear as you fold in the chocolate chips.
- Fold in the chocolate chips: Add the 2 cups of semi-sweet chocolate chips. Fold them in with your spatula until they’re evenly distributed throughout the dough. The dough will be thick and slightly sticky — that’s perfect. If it feels too soft, that’s okay; the chilling will firm it up.
- Chill the dough: This is the hardest part — waiting. Cover the bowl with plastic wrap and refrigerate for at least 30 minutes, but 1 hour is even better. Chilling solidifies the brown butter, which prevents the cookies from spreading too much in the oven. It also lets the flavors meld together. I’ve chilled it overnight before and the cookies were incredible the next day.
- Preheat and prepare: After the dough has chilled, preheat your oven to 350°F (175°C). Line your baking sheets with parchment paper or silicone mats. This ensures the cookies won’t stick and the bottoms won’t burn.
- Scoop and shape: Use your cookie scoop to portion out rounded tablespoons of dough (about 1.5 tablespoons each). Place them about 2 inches apart on the prepared baking sheets. I usually fit 8-9 cookies per sheet. If you want those picture-perfect round cookies, gently roll each scoop into a ball between your palms.
- Bake: Bake one sheet at a time for 10-12 minutes. The edges should be golden brown and set, but the centers will still look slightly soft and puffy. That’s exactly what you want — they’ll continue to set as they cool. For softer, chewier cookies, pull them out at 10 minutes. For slightly crisper edges, go to 12 minutes.
- Cool and finish: Let the cookies cool on the baking sheet for 5 minutes. This allows them to set up properly. Then transfer them to a wire cooling rack. While they’re still warm, sprinkle a tiny pinch of flaky sea salt on top of each cookie if you’re using it. That salty-sweet combo is just perfection.
Cooking Tips & Techniques
Over the years, I’ve learned a few things the hard way so you don’t have to. Here are my best tips for perfect chewy brown butter chocolate chip cookies every single time.
Don’t walk away from the browning butter. I learned this lesson when I almost burned a whole batch. Butter goes from perfectly browned to burnt in about 30 seconds. Keep your eyes on it and stir constantly. The moment it smells nutty and looks amber, pull it off the heat. If you see black specks, you’ve gone too far — start over.
Cool the butter completely. I know it’s tempting to rush, but hot butter will partially cook your eggs and ruin the texture. Let it sit for a full 10 minutes after browning. If it’s still warm to the touch, give it another 5 minutes. The mixture should feel like warm caramel, not hot.
Measure your flour correctly. This is probably the most common mistake I see. Scooping directly from the bag packs in way too much flour, resulting in dry, crumbly cookies. Use a spoon to fluff the flour, then spoon it into your measuring cup and level it off with a knife. It takes an extra 10 seconds and makes a huge difference.
Chill the dough — seriously. I know you want cookies right now. But skipping the chill means your cookies will spread into flat, thin discs. The cold butter solidifies and holds the cookies up as they bake, giving you that perfect thick, chewy texture. Even 30 minutes makes a difference. I often make the dough the night before and bake fresh cookies the next day.
Use a cookie scoop for even baking. Uniform size means uniform baking. Some cookies will be done while others are still raw if you eyeball it. A #40 scoop (about 1.5 tablespoons) is my favorite size for these cookies.
Rotate your baking sheet halfway through. Ovens have hot spots. Halfway through baking, spin the sheet 180 degrees. This ensures even browning on all your cookies. I learned this after one batch came out with half perfect and half too dark.
Variations & Adaptations
This recipe is wonderfully versatile. Here are some of my favorite ways to change it up depending on what I’m in the mood for or what I have on hand.
Chocolate Lover’s Dream: Swap ½ cup of the semi-sweet chips for dark chocolate chunks or chopped bittersweet chocolate. The bigger pieces create pools of melted chocolate in every bite. I also like to add a handful of white chocolate chips for contrast.
Nutty Brown Butter Cookies: Toast ½ cup of chopped pecans or walnuts in a dry skillet over medium heat for 3-4 minutes until fragrant. Let them cool, then fold them in along with the chocolate chips. The toasted nuts add a wonderful crunch and complement the brown butter flavor beautifully.
Sea Salt & Caramel: After scooping the dough, press a soft caramel candy (like a Werther’s or Kraft caramel) into the center of each cookie ball, making sure it’s completely covered. Bake as directed. The caramel melts into gooey pockets. Finish with flaky sea salt.
Gluten-Free Adaptation: Substitute the all-purpose flour with a good quality 1:1 gluten-free baking flour blend (I like King Arthur’s or Bob’s Red Mill). The cookies will be slightly more delicate but still deliciously chewy. Add an extra tablespoon of flour if the dough seems too sticky.
Double Chocolate: Replace ¼ cup of the all-purpose flour with ¼ cup of unsweetened cocoa powder. Use dark chocolate chips instead of semi-sweet. You get a rich, chocolatey cookie with that same chewy texture and brown butter depth.
Serving & Storage Suggestions
These cookies are best enjoyed warm, straight from the oven, with a tall glass of cold milk. But they’re also fantastic at room temperature the next day — if they last that long.
Serving Temperature: I love serving them slightly warm. If you’re baking ahead, just pop them in a 300°F oven for 3-4 minutes before serving. They’ll soften up and the chocolate will get all melty again. For a special treat, sandwich two cookies with a scoop of vanilla ice cream.
Storage Instructions: Store baked cookies in an airtight container at room temperature for up to 5 days. Place a slice of plain bread in the container — it absorbs excess moisture and keeps the cookies soft. Replace the bread every day if you’re storing them longer.
Freezing Instructions: These cookies freeze beautifully. You have two options. Freeze the baked cookies in a single layer on a baking sheet, then transfer to a freezer bag for up to 3 months. Or freeze the raw dough balls on a baking sheet, then transfer to a freezer bag. Bake frozen dough balls straight from the freezer — just add 2-3 minutes to the baking time.
Flavor Development: Here’s a little secret: the flavors actually get better after a day or two. The brown butter flavor deepens and the cookies become even chewier. I sometimes intentionally make them a day ahead for that reason. Just don’t tell anyone — they’ll think you baked them fresh that morning.
Nutritional Information & Benefits
Let’s be honest — these are cookies, not health food. But knowing what’s in them can help you enjoy them mindfully. Here’s the estimated nutritional breakdown per cookie (based on 36 cookies):
- Calories: Approximately 165 per cookie
- Fat: 9g (5g saturated)
- Carbohydrates: 21g (14g sugar)
- Protein: 2g
- Fiber: 1g
- Sodium: 95mg
Health Benefits of Key Ingredients: Dark chocolate (at least 70% cocoa) is rich in antioxidants and can support heart health. Butter from grass-fed cows contains more conjugated linoleic acid (CLA), which has been linked to various health benefits. The brown sugar provides a small amount of minerals like calcium and potassium. And honestly, the biggest benefit might be the joy of sharing something homemade with the people you love.
Dietary Considerations: This recipe contains gluten, dairy, and eggs. For a gluten-free version, see the variations section above. For a dairy-free version, use a high-quality vegan butter stick but note that it won’t brown the same way — just melt it instead.
Conclusion
These perfect chewy brown butter chocolate chip cookies are more than just a recipe — they’re a little piece of baking magic that started from a moment of panic and turned into something I’m genuinely proud of. The brown butter adds a depth of flavor that makes these cookies taste like you spent hours on them, when really it’s just one simple extra step.
I love that this recipe is forgiving enough for a beginner baker but impressive enough to win over a crowd. Whether you’re baking for a family gathering, a school event, or just because it’s Tuesday and you deserve something delicious, these cookies deliver every single time.
Please don’t be afraid to make them your own. Add different mix-ins, adjust the salt level, or experiment with the chill time. Baking is about joy and sharing, and these cookies are made for both. I’d love to hear how they turn out for you — drop a comment below and tell me about your batch. Did you add nuts? Use dark chocolate? Forget to chill the dough and learn the hard way? Share it all. Happy baking, friends!
Frequently Asked Questions
Can I use salted butter instead of unsalted?
Yes, you can. Just reduce the added kosher salt in the recipe to ½ teaspoon. The cookies will still be delicious, but watch the salt level so they don’t come out too salty.
Why did my cookies spread too much?
This usually happens for one of three reasons: the dough wasn’t chilled long enough, the butter was too warm when you mixed it, or you used too little flour. Make sure to chill the dough for at least 30 minutes and measure your flour correctly by spooning and leveling.
Can I make the dough ahead of time?
Absolutely! You can refrigerate the dough for up to 72 hours before baking. In fact, the flavors develop even more over time. You can also freeze the dough balls for up to 3 months and bake them straight from the freezer — just add a couple of minutes to the baking time.
How do I get that crinkly, bakery-style top?
The secret is in the chilling and the extra egg yolk. Chilling the dough solidifies the butter, which creates those beautiful cracks as the cookies bake. And the extra egg yolk adds structure that helps the tops wrinkle up perfectly.
Can I use milk chocolate chips instead of semi-sweet?
You can, but the cookies will be significantly sweeter. I recommend reducing the sugar by 2 tablespoons if you’re using milk chocolate. Dark chocolate or semi-sweet is ideal for balancing the sweetness of the brown butter and brown sugar.
Pin This Recipe!
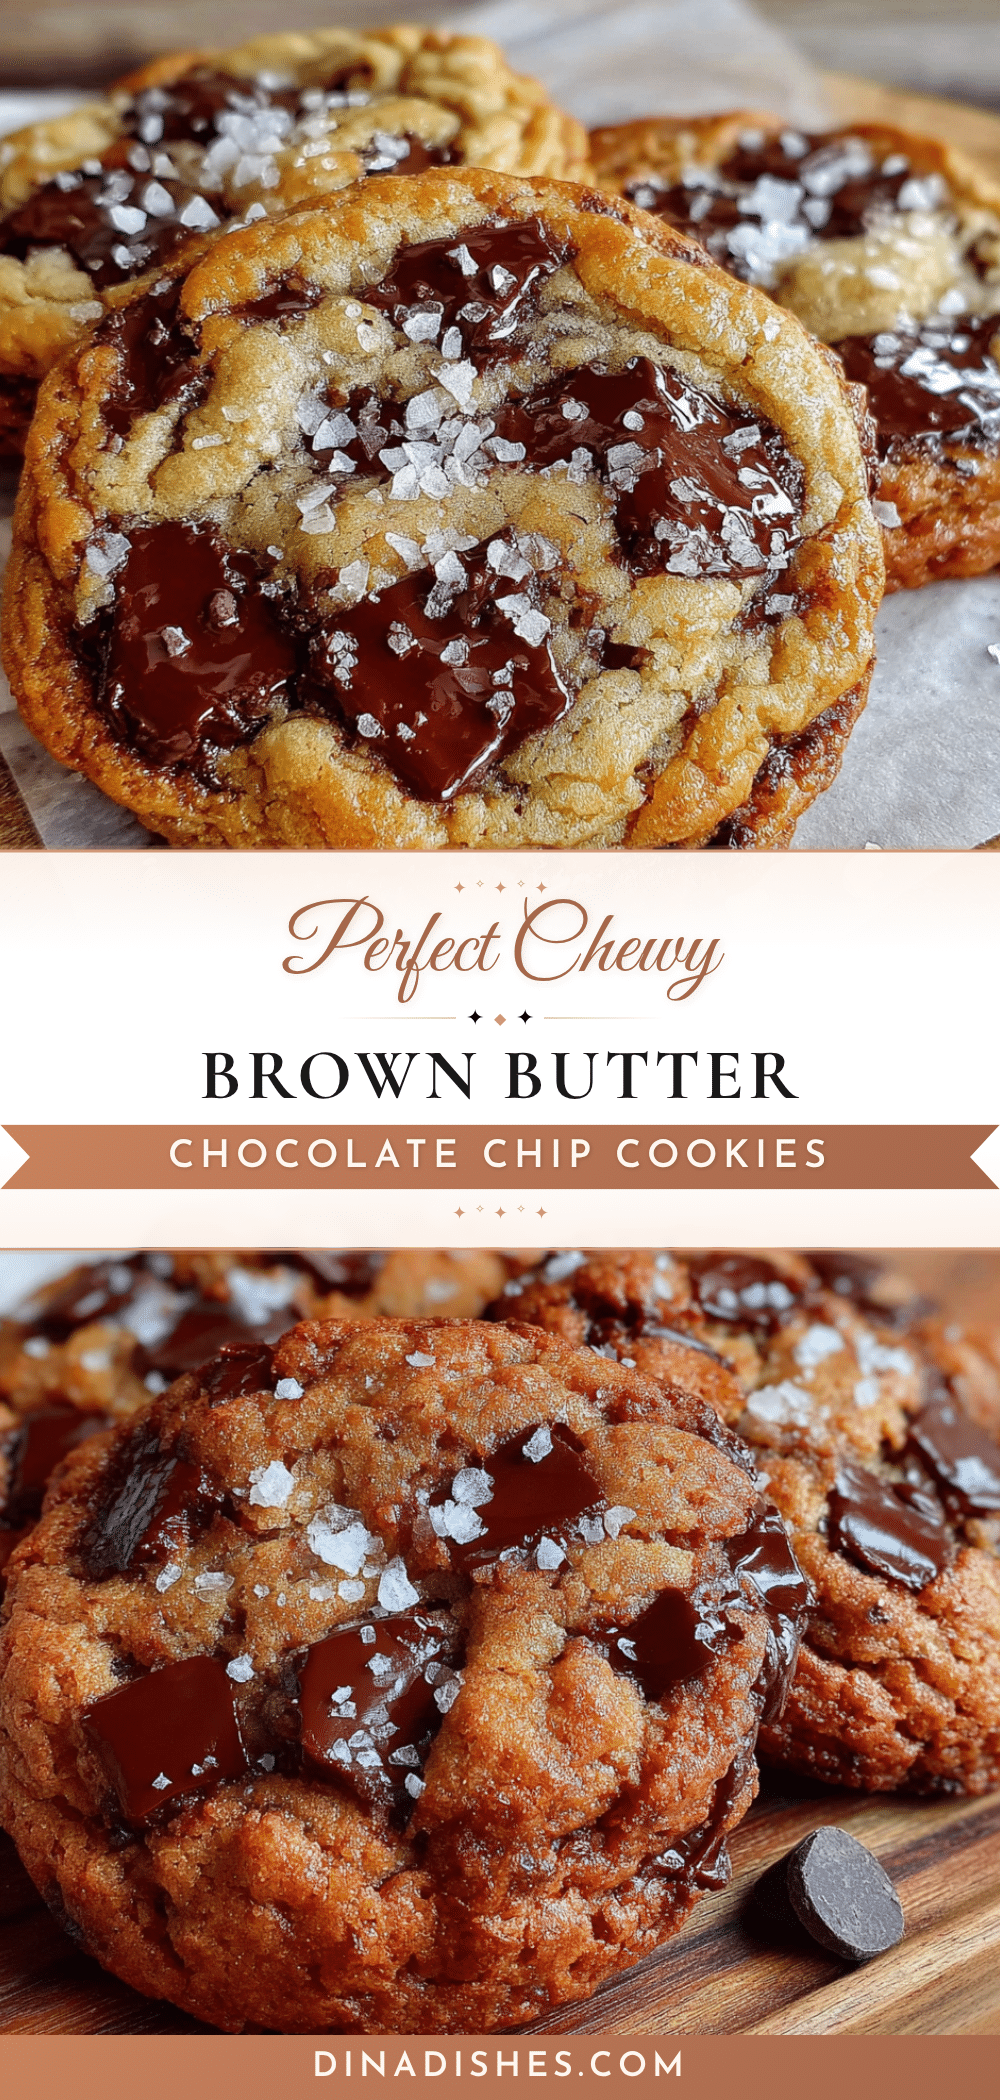
Perfect Chewy Brown Butter Chocolate Chip Cookies
These chewy brown butter chocolate chip cookies are made with a simple trick—browning the butter—for a deep, nutty flavor. They’re soft, chewy, and perfect for any occasion.
- Prep Time: 15 minutes
- Cook Time: 12 minutes
- Total Time: 1 hour 27 minutes (including chilling)
- Yield: 36 cookies 1x
- Category: Dessert
- Cuisine: American
Ingredients
- 1 cup (226g) unsalted butter
- 1 ¼ cups (250g) packed light brown sugar
- ¼ cup (50g) granulated sugar
- 2 large eggs, room temperature
- 1 large egg yolk
- 2 teaspoons vanilla extract
- 2 ¼ cups (281g) all-purpose flour
- 1 teaspoon baking soda
- 1 teaspoon kosher salt
- 2 cups (340g) semi-sweet chocolate chips
- Flaky sea salt for finishing (optional)
Instructions
- Brown the butter: Place the 1 cup of unsalted butter in a medium saucepan over medium heat. Stir frequently as it melts. It will start to foam and bubble. Keep stirring and watch carefully. After about 5-7 minutes, you’ll see golden brown specks forming at the bottom and the butter will smell nutty. As soon as it turns a deep amber color and smells fragrant, remove it from the heat immediately. Pour it into a heat-safe bowl (including all those little brown bits) and let it cool for about 10 min…
- Combine the sugars and butter: In your large mixing bowl, add the cooled brown butter, 1 ¼ cups packed brown sugar, and ¼ cup granulated sugar. Whisk them together until they’re well combined and look like wet sand. This should take about 1 minute.
- Add the eggs and vanilla: Crack in the 2 large eggs and the extra egg yolk. Add the 2 teaspoons of vanilla extract. Whisk vigorously for about 2 minutes until the mixture is smooth, pale, and slightly thickened.
- Mix the dry ingredients: In a separate medium bowl, whisk together the 2 ¼ cups all-purpose flour, 1 teaspoon baking soda, and 1 teaspoon kosher salt.
- Combine wet and dry: Gradually add the dry ingredients to the wet mixture. Use your rubber spatula to fold them together gently. Stir just until you no longer see streaks of flour.
- Fold in the chocolate chips: Add the 2 cups of semi-sweet chocolate chips. Fold them in with your spatula until they’re evenly distributed throughout the dough.
- Chill the dough: Cover the bowl with plastic wrap and refrigerate for at least 30 minutes, but 1 hour is even better.
- Preheat and prepare: After the dough has chilled, preheat your oven to 350°F (175°C). Line your baking sheets with parchment paper or silicone mats.
- Scoop and shape: Use your cookie scoop to portion out rounded tablespoons of dough (about 1.5 tablespoons each). Place them about 2 inches apart on the prepared baking sheets.
- Bake: Bake one sheet at a time for 10-12 minutes. The edges should be golden brown and set, but the centers will still look slightly soft and puffy.
- Cool and finish: Let the cookies cool on the baking sheet for 5 minutes. Then transfer them to a wire cooling rack. While they’re still warm, sprinkle a tiny pinch of flaky sea salt on top of each cookie if using.
Notes
Don’t walk away from the browning butter; it can burn quickly. Cool the butter completely before adding eggs. Measure flour correctly by spooning and leveling. Chilling the dough is essential for the best texture. Rotate the baking sheet halfway through for even browning.
Nutrition
- Serving Size: 1 cookie
- Calories: 165
- Sugar: 14
- Sodium: 95
- Fat: 9
- Saturated Fat: 5
- Carbohydrates: 21
- Fiber: 1
- Protein: 2
Keywords: brown butter chocolate chip cookies, chewy cookies, chocolate chip cookies, easy cookie recipe, bake sale cookies