My friend Jen asked why I couldn’t just use store-bought pie crust and skip the whole flour-on-the-counter mess. We were standing in my kitchen, a can of pumpkin puree in her hand, and she looked genuinely confused. I started to explain why that wouldn’t work — the flakiness, the butter-to-flour ratio, the way a homemade crust just tastes like effort and love. Then I stopped. I had never actually tested my perfect pumpkin pie against a store-bought version side-by-side. So, last Thanksgiving, I did exactly that. I made two pies: one with my all-butter crust and one with the refrigerated kind from the grocery store. Guess which one disappeared first? Honestly, I was a little embarrassed by how smug I felt. But here’s the thing — Jen was right that it takes more time. She just wasn’t right about the result being the same. There’s a warmth to a from-scratch pie that you can’t fake. The crust shatters when you cut into it, and the filling is this velvety, spiced hug on a plate. Maybe you’ve been there, staring at the pie crust aisle, wondering if anyone would notice. I get it. But let me tell you, the first time you pull a golden, perfectly set pumpkin pie out of the oven and your kitchen smells like a holiday candle, you’ll know why I keep doing it.
The secret, I’ve learned, isn’t some complicated technique. It’s patience — letting the butter stay cold, letting the filling rest, and trusting the process. I once tried to rush the crust and ended up with something that tasted like a cracker. Not my finest moment. But now, I’ve got a system. This perfect pumpkin pie recipe is the one I bring to every Friendsgiving, every family dinner, and every “I just need to bake something to feel better” Tuesday. It’s reliable. It’s forgiving. And honestly, it makes you look like a hero. So, let’s get into it — I promise it’s easier than you think.
Why You’ll Love This Recipe
This isn’t just another pumpkin pie recipe floating around the internet. I’ve tested this version more times than I care to count — tweaking the spice blend, adjusting the bake time, and even swapping in different types of butter. The result? A pie that’s consistently perfect, every single time. Here’s why this one stands out:
- Flaky, All-Butter Crust: No shortening or weird ingredients. Just butter, flour, salt, and ice water. It shatters beautifully and tastes like a buttery croissant.
- Perfectly Spiced Filling: Not too sweet, not too heavy. The cinnamon, ginger, nutmeg, and cloves are balanced so the pumpkin flavor still shines through.
- Set-and-Forget Method: No constant checking or fiddling. The pie bakes low and slow, giving you time to prep the rest of your meal.
- Crowd-Pleaser: I’ve served this to kids, grandparents, and picky eaters. It always gets the “this is the best pumpkin pie I’ve ever had” comment.
- Make-Ahead Friendly: You can prep the crust a day in advance and the filling a few hours before. It actually tastes better after resting overnight.
What makes this recipe different from the rest? It’s the technique. Most recipes rush the crust or overbake the filling. I’ve nailed down the exact temperature and timing so you get a silky, custard-like center every time. Plus, I’ve included a trick for preventing a soggy bottom crust — it’s a game-changer. This isn’t just another version; it’s the version you’ll come back to year after year. Trust me, when you take that first bite and the crust crumbles against the smooth filling, you’ll close your eyes and smile. That’s the kind of moment this pie was made for.
What Ingredients You Will Need
This recipe uses simple, pantry-friendly ingredients to create something truly special. The magic lies in the quality and temperature of each component. Let’s break it down.
For the All-Butter Crust
- 2 ½ cups (312g) all-purpose flour — I prefer King Arthur Flour for its consistent protein content. Spoon and level your flour; don’t scoop directly from the bag.
- 1 teaspoon salt — Fine sea salt works best. It dissolves evenly without leaving salty pockets.
- 1 tablespoon granulated sugar — Just a touch for flavor. It also helps with browning.
- 1 cup (226g) unsalted butter, very cold — Cut into small cubes and freeze for 10 minutes before using. I like Kerrygold for its high butterfat content, which makes the crust extra flaky.
- 6-8 tablespoons ice water — Add one tablespoon at a time. You might not need all of it.
For the Pumpkin Filling
- 1 can (15 oz) pumpkin puree — Not pumpkin pie filling. Libby’s is my go-to for its consistent thickness and deep flavor. Look for 100% pure pumpkin.
- ¾ cup (150g) granulated sugar — You can reduce this to ½ cup if you prefer a less sweet pie.
- ¼ cup (50g) packed light brown sugar — Adds moisture and a hint of molasses depth.
- 2 large eggs — Room temperature. This helps the filling emulsify smoothly.
- 1 large egg yolk — The extra yolk gives the filling a richer, creamier texture.
- 1 ½ cups (355ml) heavy cream — For the silkiest texture. Half-and-half works in a pinch, but the pie won’t be as luxurious.
- 2 teaspoons ground cinnamon — I use Vietnamese cinnamon for its bold, sweet heat.
- 1 teaspoon ground ginger — Adds a gentle warmth. Freshly ground is best if you have it.
- ½ teaspoon ground nutmeg — Freshly grated makes a world of difference. Just a few swipes on a microplane.
- ¼ teaspoon ground cloves — A little goes a long way. Be careful not to overdo it.
- ½ teaspoon salt — Balances the sweetness and brightens the spices.
Substitution Guidance
If you’re dairy-free, you can use cold vegan butter (like Miyoko’s) for the crust and full-fat coconut cream for the heavy cream. The texture will be slightly different but still delicious. For a gluten-free crust, swap the all-purpose flour for a 1:1 gluten-free baking blend. Just note that the crust will be more tender and less flaky. And if you’re out of heavy cream, evaporated milk works surprisingly well — just don’t use skim milk or the filling will be watery.
Equipment Needed
You don’t need a fancy kitchen to make this pie, but having the right tools makes the process smoother. Here’s what I recommend:
- 9-inch pie dish — A glass or ceramic dish works best for even heat distribution. I use a Pyrex deep-dish pie plate. Avoid metal pans, as they can cause the crust to brown too quickly.
- Rolling pin — A standard wooden rolling pin is fine. If you don’t have one, a wine bottle works in a pinch. Just chill it first.
- Pastry cutter or food processor — For cutting the butter into the flour. A pastry cutter gives you more control, but a food processor is faster. Just pulse, don’t blend.
- Large mixing bowls — One for the crust, one for the filling.
- Whisk — For smoothing out the filling without overmixing.
- Parchment paper and pie weights — For blind baking the crust. Dried beans or rice work as cheap alternatives.
- Cooling rack — Essential for letting the pie cool evenly. Don’t skip this, or the bottom will get soggy.
I’ve made this pie with both a $10 rolling pin and a fancy marble one. Honestly? The cheap one worked just fine. Focus on technique, not tools.
Preparation Method
Let’s walk through this step by step. Take your time — rushing is the enemy of a perfect pie.
Step 1: Make the Crust
In a large bowl, whisk together the flour, salt, and sugar. Add the cold butter cubes and toss to coat them in the flour. Using a pastry cutter (or your fingertips), cut the butter into the flour until you have pea-sized crumbs with some larger flakes. Don’t overwork it — you want visible butter pieces for flakiness. Drizzle 6 tablespoons of ice water over the mixture and stir with a fork until the dough just comes together. If it feels dry, add the remaining water one tablespoon at a time. Turn the dough out onto a floured surface, shape it into a disk, wrap it in plastic, and refrigerate for at least 1 hour. This rest is non-negotiable — it relaxes the gluten and keeps the crust tender.
Step 2: Blind Bake the Crust
Preheat your oven to 375°F (190°C). On a floured surface, roll the chilled dough into a 12-inch circle, about ⅛-inch thick. Carefully transfer it to your pie dish, gently pressing it into the bottom and up the sides. Trim the excess dough, leaving a ½-inch overhang, then fold it under and crimp the edges with your fingers or a fork. Prick the bottom of the crust all over with a fork (this prevents air bubbles). Line the crust with parchment paper and fill it with pie weights or dried beans. Bake for 15 minutes, then remove the parchment and weights. Bake for another 10 minutes, until the bottom looks dry and lightly golden. Set aside to cool slightly. This step ensures your crust stays crisp, not soggy.
Step 3: Make the Filling
Reduce the oven temperature to 350°F (175°C). In a large bowl, whisk together the pumpkin puree, granulated sugar, and brown sugar until smooth. Add the eggs and egg yolk one at a time, whisking well after each addition. Stir in the heavy cream, cinnamon, ginger, nutmeg, cloves, and salt. Whisk until everything is fully combined and silky. Don’t overmix — you don’t want to incorporate too much air, which can cause cracks. The filling should be thick but pourable. If it looks curdled, you’ve overmixed; just let it rest for 5 minutes and stir gently.
Step 4: Assemble and Bake
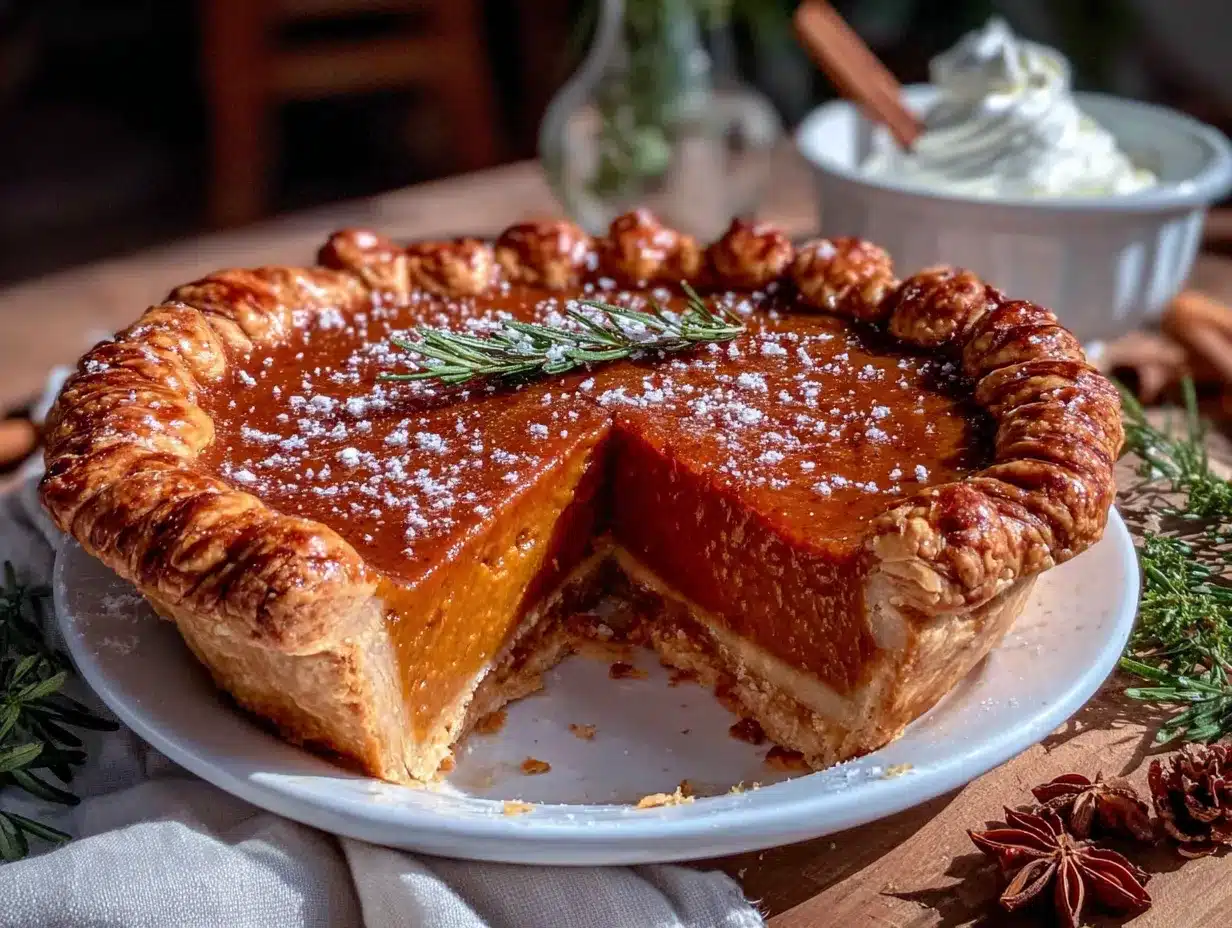
Place the blind-baked crust on a baking sheet (this catches any drips and makes it easier to handle). Pour the filling into the crust, spreading it evenly. Bake for 50-60 minutes, until the edges are set but the center still jiggles slightly when you gently shake the pan. The internal temperature should reach 175°F (80°C). If the crust edges start browning too quickly, tent them with aluminum foil halfway through. Let the pie cool completely on a wire rack — at least 2 hours. The filling will continue to set as it cools. Resist the urge to cut into it warm; it’ll be runny and messy.
Step 5: Chill and Serve
Once the pie is at room temperature, transfer it to the refrigerator and chill for at least 4 hours, or overnight. This step firms up the filling and makes slicing much cleaner. Serve cold or at room temperature, with a dollop of whipped cream or a scoop of vanilla ice cream. The first slice might not be perfect, but that’s just the cook’s tax.
Cooking Tips & Techniques
Over the years, I’ve made every mistake you can imagine with pumpkin pie. Here’s what I’ve learned so you don’t have to.
- Keep everything cold: For the flakiest crust, your butter, water, and even your flour should be cold. I pop my flour in the freezer for 10 minutes before starting. Warm butter melts into the dough, making it tough instead of flaky.
- Don’t overwork the dough: When you’re cutting in the butter, stop when you still see visible flakes. Overmixing develops gluten, which leads to a tough, cracker-like crust. A few lumps are perfectly fine.
- Blind bake is mandatory: I know it’s an extra step, but skipping it results in a soggy bottom. The pre-baked crust creates a barrier that keeps the filling from seeping in. Trust me, your future self will thank you.
- Check your oven temperature: Ovens run hot or cold. I use an oven thermometer to make sure I’m at the right temp. If your pie is browning too fast on top but still jiggly in the center, lower the temp by 25°F.
- Let it rest: I once cut into a pie after just 30 minutes of cooling. It was a soupy disaster. The filling needs time to set — at least 2 hours on the counter, then 4 hours in the fridge. Patience pays off.
One more thing: if your crust cracks when you roll it out, don’t panic. Just patch it with a little extra dough and press it together. It’s homemade — it’s supposed to look a little rustic.
Variations & Adaptations
This recipe is a great base, but feel free to make it your own. Here are some variations I’ve tried and loved.
- Spiced-Up Version: Add ½ teaspoon of cardamom and a pinch of black pepper to the filling. The pepper adds a subtle warmth that pairs beautifully with the pumpkin. I tried this after a friend suggested it, and now it’s my go-to for fall gatherings.
- Dairy-Free Adaptation: Use cold vegan butter for the crust and full-fat coconut cream for the heavy cream. The coconut flavor is very mild, so it won’t overpower the pumpkin. Just make sure the coconut cream is well-chilled before whipping.
- Gluten-Free Option: Swap the all-purpose flour with a 1:1 gluten-free baking blend. I like Bob’s Red Mill for its consistency. The crust will be more crumbly, so handle it gently. You might need an extra tablespoon of ice water.
- Maple Pumpkin Pie: Replace the granulated sugar with ¾ cup of pure maple syrup. Reduce the heavy cream to 1 ¼ cups to account for the extra liquid. The maple flavor is subtle but adds a lovely autumnal depth.
- Mini Pies: Use a muffin tin instead of a pie dish. Roll the dough, cut out circles, and press them into the wells. Fill each about ¾ full and bake for 20-25 minutes. Perfect for parties or portion control.
Serving & Storage Suggestions
This pie is at its best when served cold or at room temperature. I like to take it out of the fridge about 30 minutes before serving to take the chill off. A dollop of lightly sweetened whipped cream or a drizzle of caramel sauce is the perfect finishing touch. For a dinner party, I serve it alongside a cup of hot coffee or a glass of bourbon — the warmth of the alcohol complements the spices beautifully.
Leftovers (if you have any) can be stored in the refrigerator, covered, for up to 4 days. The crust will soften slightly, but the flavor actually deepens overnight. To freeze, wrap the cooled pie tightly in plastic wrap and then foil. Freeze for up to 3 months. Thaw in the refrigerator overnight before serving. I’ve also frozen individual slices for quick desserts — just wrap each slice in plastic and pop them in a freezer bag.
One note: don’t leave the pie out at room temperature for more than 2 hours, especially if it’s warm. The dairy-based filling can spoil. If you’re serving it at a potluck, keep it on ice or in a cooler.
Nutritional Information & Benefits
Per slice (based on 8 servings), this pie contains approximately 380 calories, 22g fat, 44g carbohydrates, 5g protein, and 3g fiber. The exact numbers will vary depending on your ingredients and portion size. Pumpkin is a nutritional powerhouse — it’s rich in vitamin A (for eye health), vitamin C (for immune support), and fiber (for digestion). The cinnamon and ginger also have anti-inflammatory properties. While this isn’t a health food, it’s a more wholesome dessert option compared to many holiday treats. I like to think of it as a vegetable pie in disguise. For a lighter version, you can reduce the sugar to ½ cup and use half-and-half instead of heavy cream. The texture will be less rich, but still satisfying.
Conclusion
This perfect pumpkin pie recipe is more than just a dessert — it’s a tradition in the making. The flaky, all-butter crust paired with the silky, spiced filling is a combination that never gets old. I’ve made this pie for quiet Tuesday nights and loud holiday feasts, and it always delivers the same warmth and comfort. The best part? You can customize it to fit your taste, your dietary needs, or whatever ingredients you have on hand. Don’t be afraid to experiment — that’s how the best recipes are born.
I’d love to hear how yours turns out. Did you try a variation? Did your family fight over the last slice? Drop a comment below and let me know. And if you snap a photo, tag me on Pinterest — I’m always looking for new baking buddies. Until next time, keep your butter cold and your oven preheated. Happy baking!
Frequently Asked Questions
Can I use a store-bought crust for this recipe?
You absolutely can, but the texture won’t be as flaky. If you’re short on time, go for a refrigerated crust rather than a frozen one. Just blind bake it first to avoid a soggy bottom.
Why did my pumpkin pie crack on top?
Cracks usually happen from overbaking or overmixing the filling. The center should still jiggle slightly when you take it out of the oven. Also, cooling the pie slowly on a wire rack helps prevent sudden temperature changes that cause cracks.
Can I make this pie ahead of time?
Yes! This pie actually tastes better after resting overnight. You can make it up to 2 days in advance and store it in the refrigerator. Just cover it loosely with plastic wrap once it’s fully chilled.
How do I know when the pie is done baking?
The edges should be set and slightly puffed, while the center should wobble like Jell-O when you gently shake the pan. If you have an instant-read thermometer, the internal temperature should be 175°F (80°C).
Can I freeze this pumpkin pie?
Yes, you can freeze the baked pie for up to 3 months. Wrap it tightly in plastic wrap and then foil. Thaw it overnight in the refrigerator before serving. The crust will be slightly softer, but the flavor will still be great.
Pin This Recipe!
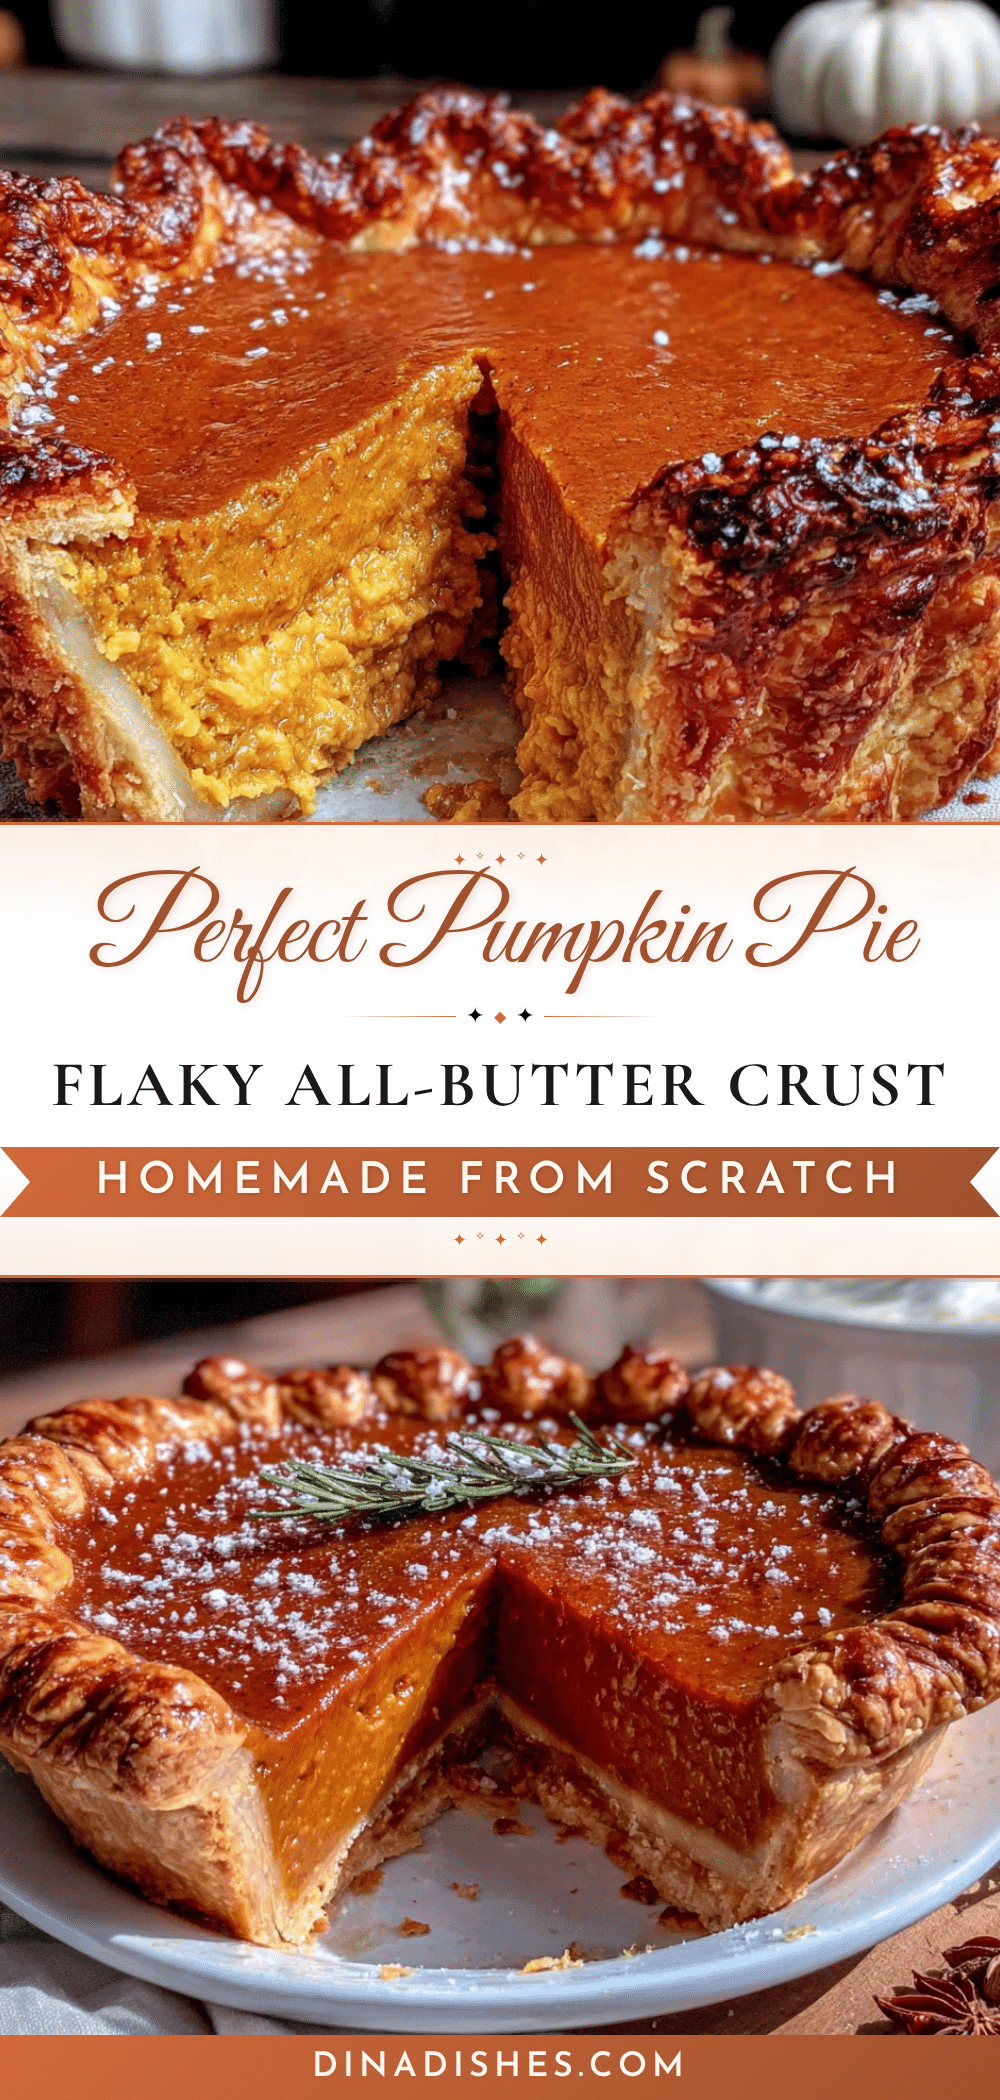
Perfect Pumpkin Pie: Best From-Scratch Recipe
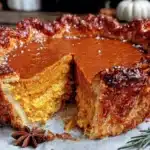
This perfect pumpkin pie features a flaky all-butter crust and a velvety, spiced filling. It’s a reliable, crowd-pleasing dessert that’s make-ahead friendly and tastes like a warm hug on a plate.
- Prep Time: 30 minutes
- Cook Time: 1 hour 10 minutes
- Total Time: 5 hours 40 minutes (includes chilling)
- Yield: 8 servings 1x
- Category: Dessert
- Cuisine: American
Ingredients
- 2 ½ cups (312g) all-purpose flour
- 1 teaspoon salt
- 1 tablespoon granulated sugar
- 1 cup (226g) unsalted butter, very cold and cubed
- 6–8 tablespoons ice water
- 1 can (15 oz) pumpkin puree
- ¾ cup (150g) granulated sugar
- ¼ cup (50g) packed light brown sugar
- 2 large eggs, room temperature
- 1 large egg yolk
- 1 ½ cups (355ml) heavy cream
- 2 teaspoons ground cinnamon
- 1 teaspoon ground ginger
- ½ teaspoon ground nutmeg
- ¼ teaspoon ground cloves
- ½ teaspoon salt
Instructions
- Make the crust: In a large bowl, whisk together flour, salt, and sugar. Add cold butter cubes and toss to coat. Using a pastry cutter or fingertips, cut butter into flour until pea-sized crumbs form with some larger flakes. Drizzle 6 tablespoons ice water over mixture and stir with a fork until dough just comes together. Add more water if needed. Turn dough onto floured surface, shape into a disk, wrap in plastic, and refrigerate for at least 1 hour.
- Blind bake the crust: Preheat oven to 375°F (190°C). Roll chilled dough into a 12-inch circle, about ⅛-inch thick. Transfer to a 9-inch pie dish, trim and crimp edges. Prick bottom with fork. Line with parchment paper and fill with pie weights. Bake for 15 minutes, remove parchment and weights, then bake for another 10 minutes until lightly golden. Set aside to cool slightly.
- Make the filling: Reduce oven temperature to 350°F (175°C). In a large bowl, whisk together pumpkin puree, granulated sugar, and brown sugar until smooth. Add eggs and egg yolk one at a time, whisking well after each. Stir in heavy cream, cinnamon, ginger, nutmeg, cloves, and salt. Whisk until fully combined and silky. Do not overmix.
- Assemble and bake: Place blind-baked crust on a baking sheet. Pour filling into crust and spread evenly. Bake for 50-60 minutes, until edges are set but center jiggles slightly. Internal temperature should reach 175°F (80°C). Tent edges with foil if browning too quickly. Cool completely on a wire rack for at least 2 hours.
- Chill and serve: Once at room temperature, refrigerate for at least 4 hours or overnight. Serve cold or at room temperature with whipped cream or vanilla ice cream.
Notes
Keep all ingredients cold for flakiest crust. Blind baking is mandatory to prevent soggy bottom. Let pie cool completely before slicing. Pie tastes better after resting overnight. For dairy-free, use cold vegan butter and full-fat coconut cream. For gluten-free, use 1:1 gluten-free baking blend.
Nutrition
- Serving Size: 1 slice
- Calories: 380
- Sugar: 28
- Sodium: 380
- Fat: 22
- Saturated Fat: 13
- Carbohydrates: 44
- Fiber: 3
- Protein: 5
Keywords: pumpkin pie, from scratch, all-butter crust, Thanksgiving, fall dessert, homemade pie