Lindsey wasn’t trying to impress anyone. I’d stopped by her place on a random Tuesday to drop off a book I’d borrowed, and the smell hit me before I even got my coat off. Ginger, cinnamon, cloves—that whole warm, spicy cloud that makes you feel like Christmas just walked in the door. She was standing at her kitchen counter in an old sweater, flour dusted across her cheek, rolling out dough like it was no big deal.
“Oh, it’s just the gingerbread for the kids’ school project,” she said when I asked. Just. She said it like she wasn’t creating something that smelled like pure holiday magic. I watched her transfer a cut-out star to the baking sheet, and the dough didn’t budge. No warping, no spreading, no losing its shape. It just sat there, perfect and crisp-edged, exactly as she’d cut it. I think I stared a little too long.
She laughed and handed me a piece of raw dough to taste—spicy, sweet, sturdy enough to hold its own. “You want the recipe?” she asked. I mean, did I ever. She scribbled it on a sticky note, talking about how she’d messed it up three times before getting the flour-to-butter ratio just right. That first batch? Total pancake situation. But this version? It’s the one she uses every single year, and honestly, it’s the only gingerbread dough I’ve used since.
Maybe you’ve been there—standing over a baking sheet, watching your carefully cut gingerbread man turn into a blob with stubby arms. That’s exactly why this recipe exists. It’s quick, it’s sturdy, and it doesn’t spread. Not even a little. And the best part? It tastes amazing, which isn’t always the case with no-spread doughs. This one delivers on both fronts.
I’ve made it every holiday season since that Tuesday afternoon. It’s become my go-to for house-building, cookie decorating, and even just snacking on the scraps (don’t judge). What Lindsey treated like an ordinary Tuesday has become a tradition I look forward to all year.
Why You’ll Love This Recipe
Let me tell you why this gingerbread dough is different from every other recipe you’ve tried. I’ve tested more versions than I care to admit, and this one wins every single time.
- No Spread, No Drama : Your cookies will hold their shape perfectly. Stars stay star-shaped, people stay people-shaped, and gingerbread houses actually stay standing. No surprises.
- Quick to Make : From mixing bowl to rolling pin in under 15 minutes. No chilling required before rolling—though I’ll get to that later. Perfect for those last-minute baking emergencies.
- Simple Ingredients : You probably already have everything in your pantry. Butter, sugar, molasses, flour, spices. Nothing fancy, nothing hard to find.
- Sturdy Enough for Houses : This dough bakes up firm and strong. Your walls won’t crack, your roof won’t sag, and your house will actually look like a house.
- Tastes Like Christmas : It’s not just a structural dough—it actually tastes good. Spicy, sweet, with that deep molasses flavor that makes gingerbread so special.
I’ve brought this dough to cookie swaps, used it for classroom projects, and made it with my niece who has the attention span of a goldfish. It works every single time. The key is in the technique—getting the butter cold enough, the flour ratio just right, and handling the dough with confidence. Once you’ve made it once, you’ll never go back to those fragile, spread-prone recipes again.
This isn’t just another gingerbread recipe. It’s the one you’ll reach for year after year, the one that makes you look like a baking pro even if you’re just getting started. And honestly? It’s the kind of recipe that makes you close your eyes after that first bite.
What Ingredients You Will Need
This recipe uses simple, everyday ingredients to create a dough that’s both workable and sturdy. No specialty items required—just good old-fashioned baking staples.
- Unsalted butter (1 cup / 226 grams), cold and cut into small cubes. Cold butter is crucial here—it helps prevent spreading. I use Kerrygold for its rich flavor, but any good-quality unsalted butter works.
- Brown sugar (1 cup / 200 grams), packed. Light or dark both work. Dark brown sugar gives deeper flavor and more moisture, which helps the dough come together without being sticky.
- Molasses (1 cup / 340 grams). Use unsulphured molasses, not blackstrap. Blackstrap is too bitter and will throw off the flavor. Grandma’s or Brer Rabbit are my go-to brands.
- All-purpose flour (4 cups / 500 grams), plus more for dusting. Don’t substitute with whole wheat or gluten-free blends unless you’ve tested them—the structure changes significantly.
- Ground ginger (2 teaspoons). Freshly ground if you can find it, but regular ground ginger works perfectly. This is where most of the warmth comes from.
- Ground cinnamon (2 teaspoons). I prefer Saigon cinnamon for its intense flavor, but any cinnamon works.
- Ground cloves (1 teaspoon). A little goes a long way. If you don’t have cloves, you can substitute with allspice.
- Baking soda (1 teaspoon). This helps with browning and gives the cookies a slight lift—but not too much, since we want them sturdy.
- Salt (1/2 teaspoon). Balances the sweetness and enhances the spices. I use fine sea salt.
- Egg (1 large), room temperature. The egg binds everything together. If your egg is cold, let it sit in warm water for 5 minutes before using.
- Vanilla extract (1 teaspoon). Pure vanilla, not imitation. It adds depth to the spice profile.
That’s it. Ten ingredients, most of which you probably already have. The magic is in how they come together. I’ve made this dough with margarine in a pinch, and it worked okay—but the flavor wasn’t as rich. Stick with butter if you can.
One tip I learned from Lindsey: use a kitchen scale if you have one. Flour measurement can vary wildly between scooping methods, and for a no-spread dough, precision matters. If you’re measuring by cups, fluff your flour first, then spoon it into the cup and level it off. No scooping directly into the bag—that packs the flour and gives you too much.
Equipment Needed
You don’t need a lot of fancy equipment for this recipe, which is part of why I love it. Here’s what you’ll need:
- Stand mixer or hand mixer : A stand mixer with the paddle attachment makes quick work of creaming the butter and sugar. A hand mixer works too—you’ll just need to be patient. I’ve even made it by hand with a wooden spoon, and it works, but your arm will get a workout.
- Large mixing bowl : For combining dry ingredients. Any big bowl works.
- Whisk : For mixing the dry ingredients together evenly.
- Rolling pin : A standard rolling pin is fine. If you have a French rolling pin (the tapered kind), it gives you more control. I actually prefer my wooden one over the fancy marble one I bought—the dough doesn’t stick as much.
- Baking sheets : Heavy-duty ones work best. Thin, cheap sheets can warp in the oven and cause uneven baking. I use Nordic Ware—they’re affordable and last forever.
- Parchment paper or silicone baking mats : Parchment is cheaper and works great. Silicone mats are reusable and non-stick. Both prevent sticking without adding extra flour.
- Cookie cutters : For gingerbread houses, you’ll want a set with straight edges. I found a basic house cutter set on Amazon for $12 that’s lasted me years.
- Offset spatula : For transferring cut dough to baking sheets. Not essential, but it makes life easier.
- Cooling rack : Wire racks allow air to circulate so your cookies cool evenly. If you don’t have one, you can cool them on the baking sheet—they’ll just take longer.
- Plastic wrap : For wrapping the dough. Reusable beeswax wraps work too.
That’s really it. No special gadgets, no expensive tools. I’ve made this dough in a tiny apartment kitchen with a hand mixer and a warped baking sheet, and it still turned out perfectly. Don’t let a lack of fancy equipment stop you.
Preparation Method
Let me walk you through this step by step. I’ve included all the little details I wish someone had told me the first time I made it.
- Prep your ingredients. Cut your cold butter into small cubes—about the size of your thumbnail. Let your egg sit out for 10 minutes to come to room temperature. Measure all your dry ingredients into a bowl and whisk them together. This makes the process smoother and prevents you from realizing halfway through that you’re out of cinnamon.
- Cream the butter and sugar. In your stand mixer bowl (or a large bowl if using a hand mixer), beat the cold butter and brown sugar together on medium speed for about 3 minutes. You’re not looking for it to be light and fluffy—just well combined. It will look a bit grainy, and that’s fine. Scrape down the sides of the bowl once during this process.
- Add the wet ingredients. With the mixer running on low, add the molasses in a slow stream. Then add the egg and vanilla extract. Mix until everything is combined, about 30 seconds. The mixture will look a little curdled at this point—don’t panic. That’s normal. It will come together once you add the flour.
- Add the dry ingredients. With the mixer on low, gradually add the flour mixture. I add it in three additions, mixing just until each addition is incorporated. After the last addition, mix for about 15 seconds—no longer. Overmixing develops gluten, which can make your cookies tough.
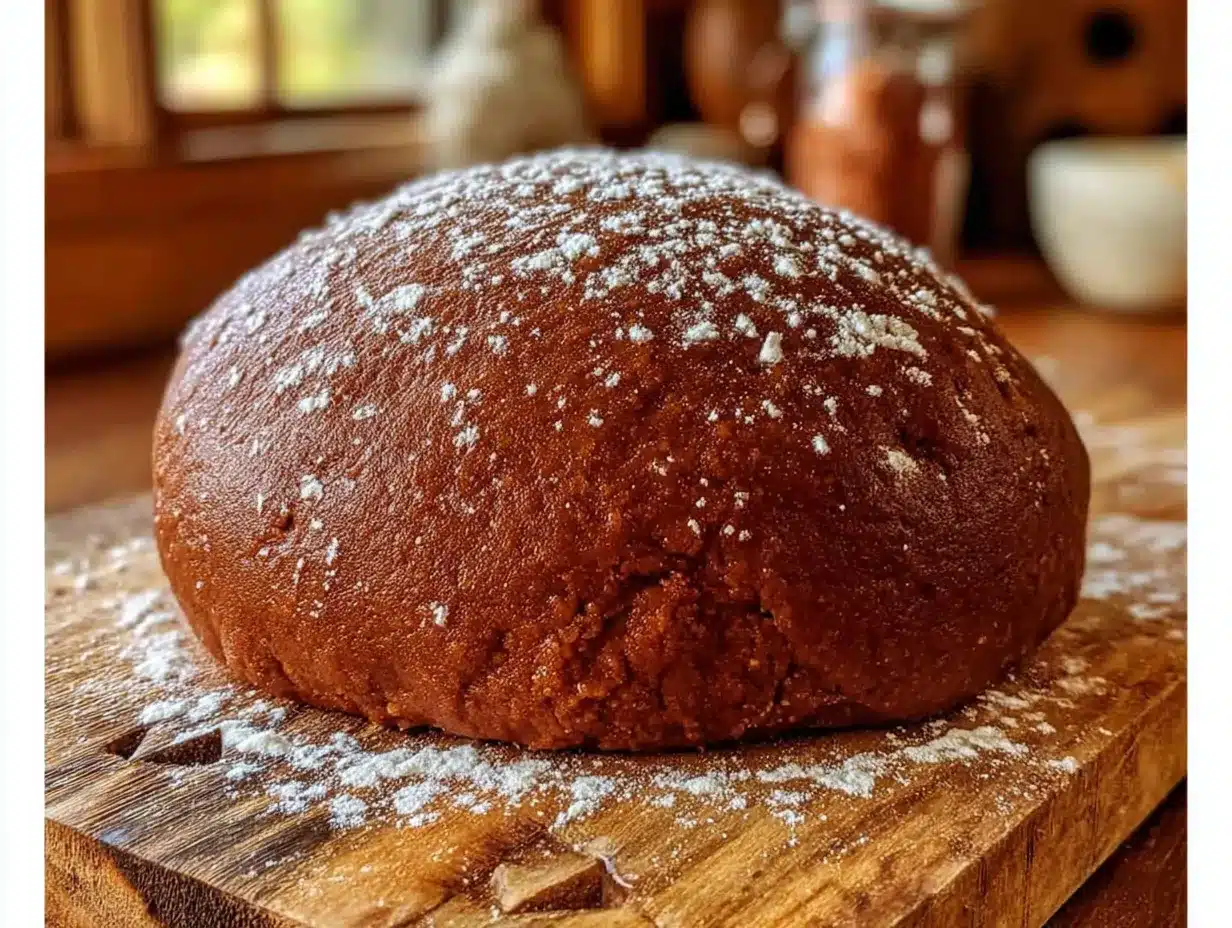
- Check the consistency. The dough should be stiff but not dry. It should hold together when you squeeze a handful, but not feel sticky. If it’s too sticky, add a tablespoon of flour and mix briefly. If it’s too dry and crumbly, add a teaspoon of cold water and mix again.
- Divide and wrap. Turn the dough out onto a lightly floured surface and divide it into two discs. Wrap each disc tightly in plastic wrap. Here’s where the timing gets flexible—you can refrigerate it for at least 2 hours (up to 3 days) or use it right away if you’re in a hurry. For the sturdiest results, I recommend at least 30 minutes of chilling.
- Preheat your oven. Set your oven to 350°F (175°C). Line your baking sheets with parchment paper or silicone mats. If you only have one baking sheet, that’s fine—you’ll just bake in batches.
- Roll out the dough. Lightly flour your work surface and rolling pin. Roll the dough to about 1/4-inch thickness for cookies, or 3/8-inch for house pieces. For houses, you want them thick enough to be sturdy but not so thick that they take forever to bake. Roll from the center outward, turning the dough occasionally to prevent sticking. Add more flour as needed, but go easy—too much flour makes the dough dry.
- Cut your shapes. Dip your cookie cutters in flour before each cut to prevent sticking. Press straight down—don’t twist. Twisting seals the edges and can cause uneven baking. For house pieces, use a ruler to measure if needed. Transfer cut pieces to your prepared baking sheets using an offset spatula. Leave about 1 inch between pieces for air circulation.
- Bake. Bake for 10-12 minutes for cookies, or 12-15 minutes for thicker house pieces. The edges should be just barely golden—the centers will look slightly underdone. They’ll continue to set as they cool. If you’re baking multiple sheets, rotate them halfway through for even baking.
- Cool completely. Let the cookies cool on the baking sheet for 5 minutes, then transfer to a wire rack to cool completely. Do not attempt to move them while they’re still warm—they’re fragile at this stage. Once completely cool, they’ll be rock solid.
A few things I’ve learned the hard way: don’t skip the cooling step on the baking sheet. I once tried to move a batch too early and ended up with a gingerbread puzzle instead of a house. Also, if your kitchen is warm, the dough can get sticky. Just pop it back in the fridge for 10 minutes and you’re good to go.
Cooking Tips & Techniques
Over the years, I’ve made every mistake you can imagine with gingerbread dough. Let me save you some trouble.
Keep everything cold. This is the single most important tip. Cold butter, cold dough, cold baking sheets if possible. Warm dough spreads. If your dough feels soft or sticky at any point, refrigerate it for 15 minutes. I’ve had to do this mid-rolling more times than I care to admit.
Don’t overwork the dough. When you’re rerolling scraps, handle them as little as possible. Each time you reroll, the dough gets tougher. I try to get as many cuts as possible from the first roll. For house pieces, I plan my layout before cutting to maximize space.
Use a ruler for house pieces. Eyeballing it never works. I learned this after building a house with one wall noticeably shorter than the others. Measure twice, cut once. I keep a small ruler in my utensil drawer just for this purpose.
Bake on the same day you plan to assemble. Freshly baked pieces are easier to work with. If you bake them days ahead, they can become brittle. That said, I’ve successfully assembled houses with pieces baked up to a week ahead—just store them in an airtight container at room temperature.
Test a single cookie first. Before cutting all your house pieces, bake one test cookie to check for spreading. If it spreads, your dough is too warm or your butter was too soft. Chill the dough for 30 minutes and try again. This has saved me more than once.
Use a food processor for cutting in butter. If you have one, it makes the process even faster. Pulse the flour mixture with the cold butter until it resembles coarse meal, then add the wet ingredients. Just be careful not to over-process.
One of my biggest failures: I once forgot the molasses. Just completely blanked on it. The dough was pale, dry, and tasted like spiced cardboard. I had to start over from scratch. Now I always double-check my ingredients before I start mixing. Learn from my absent-mindedness.
Variations & Adaptations
This recipe is forgiving enough for all kinds of tweaks. Here are some I’ve tried and loved:
Gluten-free version: Substitute the all-purpose flour with a 1:1 gluten-free baking blend that contains xanthan gum. I’ve used Bob’s Red Mill with good results. The dough will be slightly more fragile, so handle it gently. Bake for the same amount of time, but check at the 10-minute mark.
Spice it up: Add 1/2 teaspoon of cardamom or nutmeg for a different flavor profile. I made a batch with cardamom last year for a friend who loves chai, and it was incredible. You could also add a pinch of black pepper for warmth—trust me, it works.
Chocolate gingerbread: Replace 1/4 cup of the flour with unsweetened cocoa powder. Reduce the cinnamon to 1 teaspoon. This version is amazing for houses—the dark color looks dramatic against white icing. Just be careful not to overbake, as chocolate can burn more easily.
Vegan adaptation: Use vegan butter (I like Miyoko’s) and replace the egg with a flax egg (1 tablespoon ground flaxseed mixed with 3 tablespoons water, let sit for 5 minutes). The dough will be a bit softer, so chill it for at least an hour before rolling. It works surprisingly well.
Spiced orange gingerbread: Add the zest of one orange to the dough along with the wet ingredients. The citrus cuts through the molasses beautifully. I made this version for a holiday party and got asked for the recipe three times.
Extra sturdy for large houses: If you’re building a big gingerbread house (like, really big), increase the flour by 1/4 cup. The dough will be harder to roll, but the baked pieces will be almost indestructible. I used this version for a two-foot-tall house last year, and it survived being transported in the back of my car.
I personally love the cardamom variation. It adds this unexpected warmth that makes the house smell even more amazing. Just don’t go overboard—cardamom is potent, and a little goes a long way.
Serving & Storage Suggestions
These gingerbread pieces are meant to be assembled into houses, but they’re also delicious on their own. Here’s how to handle both.
For eating: Serve the cookies at room temperature. They’re perfect with a cup of coffee, hot chocolate, or mulled cider. I like to dip them in melted white chocolate for a quick treat. They’re also great crumbled over ice cream—seriously, try it.
For house assembly: Let all pieces cool completely before you start building. Use royal icing as your “glue”—it dries hard and holds everything together. Pipe a thick line along the edges of each piece and press them together firmly. Hold each joint for about 30 seconds to let the icing set. I usually assemble the walls first, let them dry for an hour, then add the roof.
Storage for baked pieces: Store unfrosted pieces in an airtight container at room temperature for up to 2 weeks. Separate layers with parchment paper to prevent sticking. Do not refrigerate—the moisture can make them soft.
Storage for dough: Wrapped tightly in plastic wrap, the dough keeps in the refrigerator for up to 5 days. You can also freeze it for up to 3 months. Thaw overnight in the refrigerator before using. I always keep a batch in the freezer during the holidays—you never know when you’ll need emergency gingerbread.
Reheating: If your baked pieces have gone a bit soft, pop them in a 300°F oven for 5 minutes. They’ll crisp right back up. Let them cool completely before decorating.
The flavors actually deepen over time. Gingerbread baked a day or two before assembly tastes even better than fresh-baked. Something about the spices settling in. I’ve learned to plan my baking a day ahead just for this reason.
Nutritional Information & Benefits
Let’s be honest—gingerbread isn’t health food. But it does have some redeeming qualities worth mentioning.
| Nutrient | Per Cookie (1/4-inch thick, 3-inch round) |
|---|---|
| Calories | 145 |
| Total Fat | 5g |
| Saturated Fat | 3g |
| Carbohydrates | 24g |
| Sugar | 14g |
| Protein | 2g |
| Fiber | 1g |
| Sodium | 95mg |
Ginger has anti-inflammatory properties and can help with digestion. Cinnamon is packed with antioxidants and may help regulate blood sugar. Molasses contains iron, calcium, and magnesium—more than you’d expect from a sweetener. So while these aren’t exactly a health food, they’re not completely empty calories either.
This recipe contains gluten, dairy, and eggs. For allergen-friendly versions, check the variations section above. If you’re watching your sugar intake, you can reduce the brown sugar by 1/4 cup, but the texture will be slightly different—less tender, more crisp.
I personally love that this recipe uses whole ingredients. No preservatives, no artificial flavors, nothing you can’t pronounce. It’s real food, made with real ingredients. That counts for something, even if it’s a treat.
Conclusion
This gingerbread dough has become a staple in my kitchen, and I think it will become one in yours too. It’s quick, reliable, and produces the kind of results that make people think you spent hours in the kitchen—when really, you were done in under an hour.
What I love most about this recipe is how forgiving it is. Mess up the rolling? Reroll it. Cut a piece too small? Bake it anyway and use it for a window. The dough doesn’t judge, and it always works. That kind of reliability is rare in baking, and I treasure it.
I hope you make this recipe your own. Add your favorite spices, try different shapes, build an elaborate house or just bake a batch of simple stars. However you use it, I promise it will deliver. And if you have questions along the way, drop them in the comments. I read every single one, and I’m always happy to help troubleshoot.
Now go make some gingerbread. Your kitchen is about to smell amazing.
Frequently Asked Questions
Can I make this dough ahead of time?
Absolutely. The dough keeps in the refrigerator for up to 5 days, or in the freezer for 3 months. Just wrap it tightly in plastic wrap and then in foil. Thaw overnight in the fridge before using. I always make my dough a day or two before I plan to bake—the flavors develop beautifully.
My dough is too sticky. What do I do?
Don’t add more flour right away. First, try chilling the dough for 20-30 minutes. If it’s still sticky after that, dust your work surface and rolling pin with flour, and work quickly. If all else fails, add a tablespoon of flour at a time until the consistency feels right. Remember, sticky dough is better than dry, crumbly dough.
Why did my gingerbread spread in the oven?
Usually, spreading happens when the dough is too warm. Make sure your butter is cold when you start, and chill the rolled-out dough for 10-15 minutes before baking. Also check that your oven temperature is accurate—an oven that’s too cool can cause spreading. An oven thermometer is a cheap investment that makes a huge difference.
Can I use this dough for cookies, not just houses?
Yes! This dough makes excellent cut-out cookies. They hold their shape perfectly and taste delicious. For cookies, roll the dough a bit thinner—about 1/4 inch—and bake for 10-12 minutes. They’re perfect for decorating with royal icing or just eating plain.
How do I keep my gingerbread house from collapsing?
The key is patience. Let each section dry completely before adding the next. I assemble the walls and let them dry for at least an hour before adding the roof. Use plenty of royal icing—it’s stronger than you think. And make sure your base is level. I’ve had houses collapse because of a slightly warped base board. A level foundation makes all the difference.
Pin This Recipe!
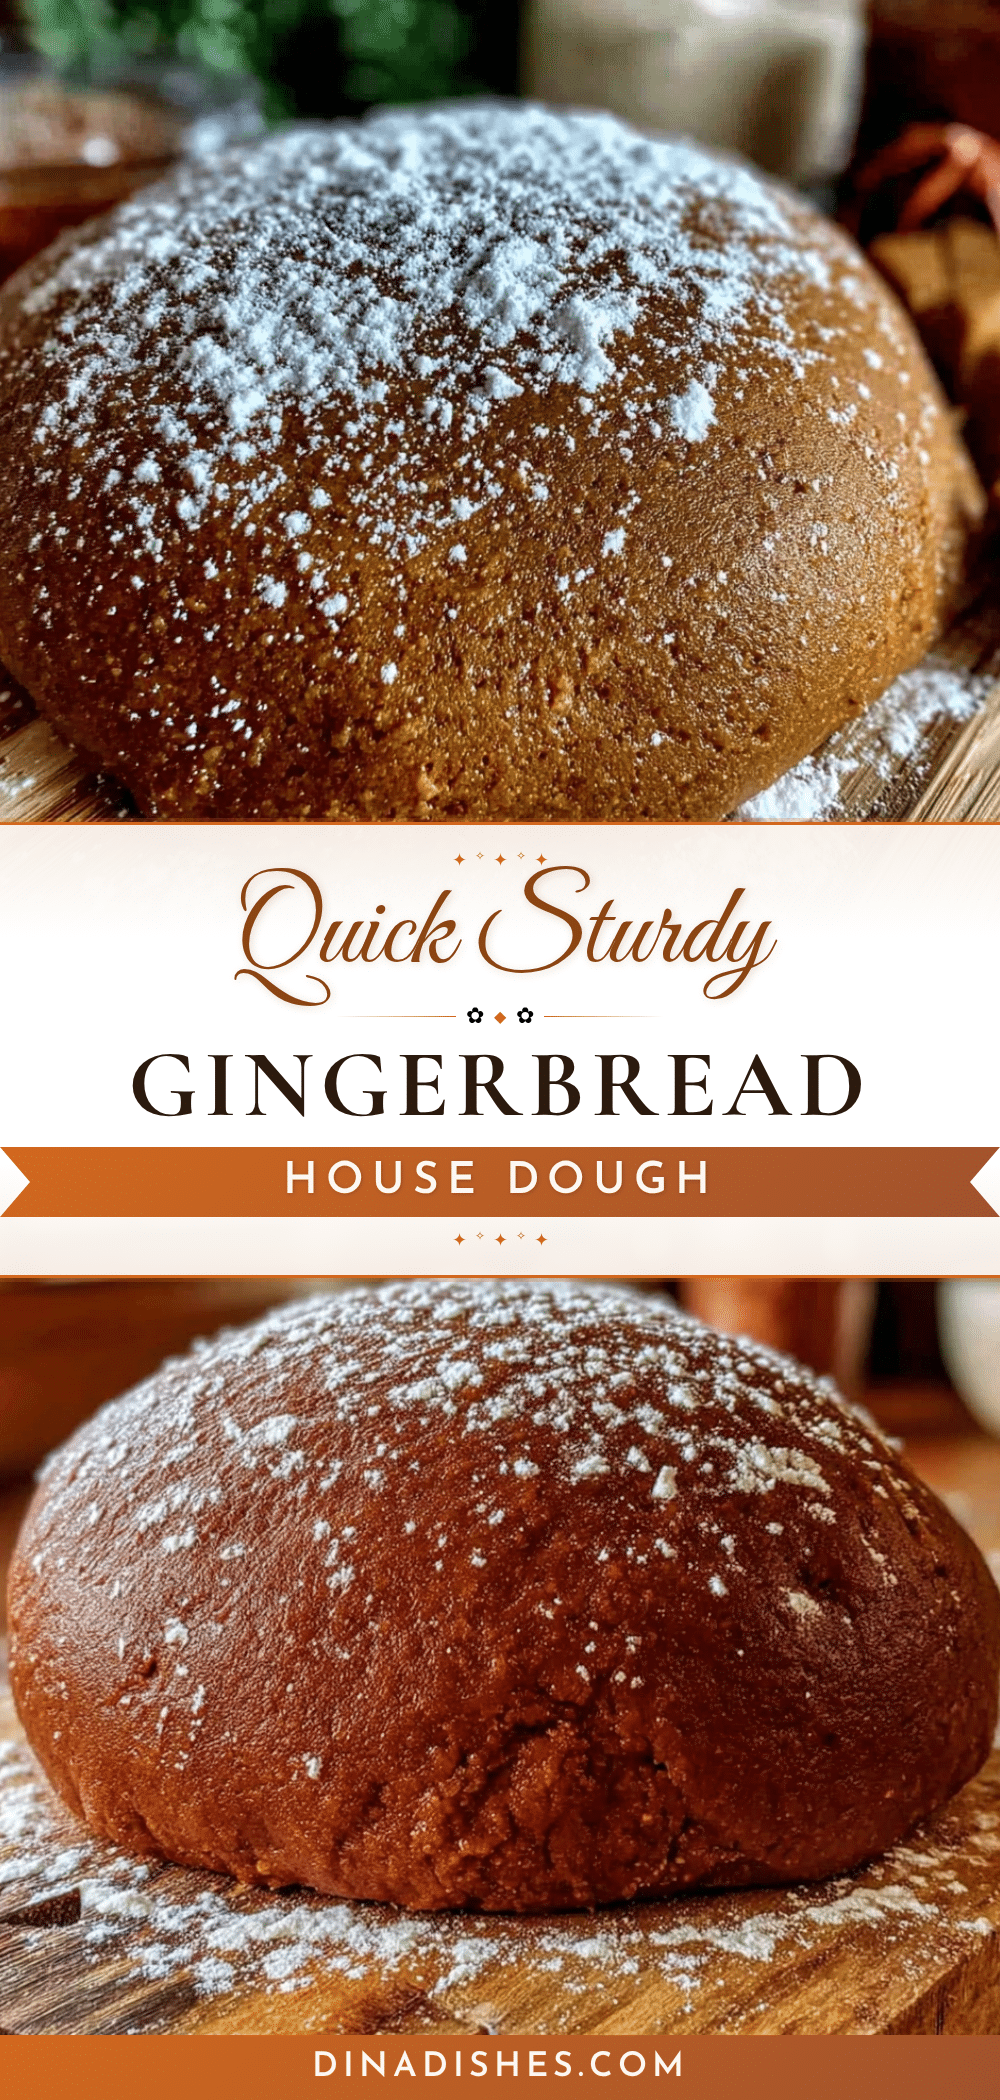
Perfect Sturdy No-Spread Gingerbread Dough Recipe
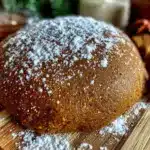
This gingerbread dough holds its shape perfectly, making it ideal for cut-out cookies and gingerbread houses. It’s quick to make, uses simple ingredients, and delivers amazing flavor without any spreading.
- Prep Time: 15 minutes
- Cook Time: 12 minutes
- Total Time: 27 minutes
- Yield: 24 servings 1x
- Category: Dessert
- Cuisine: American
Ingredients
- 1 cup (226 grams) unsalted butter, cold and cut into small cubes
- 1 cup (200 grams) brown sugar, packed
- 1 cup (340 grams) unsulphured molasses
- 4 cups (500 grams) all-purpose flour, plus more for dusting
- 2 teaspoons ground ginger
- 2 teaspoons ground cinnamon
- 1 teaspoon ground cloves
- 1 teaspoon baking soda
- 1/2 teaspoon fine sea salt
- 1 large egg, room temperature
- 1 teaspoon pure vanilla extract
Instructions
- Prep your ingredients: Cut cold butter into small cubes. Let egg sit out for 10 minutes to come to room temperature. Whisk together all dry ingredients in a bowl.
- Cream the butter and sugar: In a stand mixer or large bowl, beat cold butter and brown sugar on medium speed for about 3 minutes until well combined but still grainy. Scrape down sides once.
- Add the wet ingredients: With mixer on low, slowly add molasses, then egg and vanilla. Mix until combined, about 30 seconds. Mixture may look curdled.
- Add the dry ingredients: With mixer on low, gradually add flour mixture in three additions, mixing just until incorporated after each. After last addition, mix for about 15 seconds—do not overmix.
- Check consistency: Dough should be stiff but not dry, holding together when squeezed but not sticky. If too sticky, add 1 tablespoon flour; if too dry, add 1 teaspoon cold water.
- Divide and wrap: Turn dough onto lightly floured surface, divide into two discs, wrap tightly in plastic wrap. Refrigerate at least 2 hours (up to 3 days) or use right away; for sturdiest results, chill at least 30 minutes.
- Preheat oven to 350°F (175°C). Line baking sheets with parchment paper or silicone mats.
- Roll out dough: Lightly flour work surface and rolling pin. Roll to 1/4-inch thickness for cookies or 3/8-inch for house pieces. Roll from center outward, turning dough occasionally.
- Cut shapes: Dip cookie cutters in flour before each cut. Press straight down without twisting. Transfer cut pieces to prepared baking sheets using an offset spatula, leaving 1 inch between pieces.
- Bake: For cookies, bake 10-12 minutes; for thicker house pieces, 12-15 minutes. Edges should be just barely golden. If baking multiple sheets, rotate halfway through.
- Cool completely: Let cookies cool on baking sheet for 5 minutes, then transfer to wire rack to cool completely. Do not move while warm.
Notes
Keep everything cold to prevent spreading. Don’t overwork the dough when rerolling scraps. For house pieces, use a ruler for accuracy. Bake on the same day you plan to assemble for best results. Test a single cookie first to check for spreading. Dough can be refrigerated up to 5 days or frozen up to 3 months.
Nutrition
- Serving Size: 1 cookie (1/4-inch t
- Calories: 145
- Sugar: 14
- Sodium: 95
- Fat: 5
- Saturated Fat: 3
- Carbohydrates: 24
- Fiber: 1
- Protein: 2
Keywords: gingerbread dough, no-spread gingerbread, sturdy gingerbread, gingerbread cookies, gingerbread house, Christmas cookies, holiday baking