My sister swore she hated hot cocoa. For years. Every Christmas Eve, when the rest of us would crowd around the stove waiting for the milk to steam, she’d make a show of sipping her plain black tea with this little look of superiority. I mean, honestly, who hates hot cocoa? But she was adamant. “It’s always too sweet,” she’d say, “and that powdery taste ruins it.” So I let it go. I stopped offering.
Then last December, I was putting together these mason jar gifts for neighbors, and I had one extra. I’d made a batch with dark chocolate powder and crushed candy cane mixed right in, and honestly, I just wanted to see what she’d say. I left it on her porch with a note that said, “Try it. No pressure.” She texted me a photo an hour later. Empty mug, little red candy cane crumbs on the saucer. “Okay,” she wrote. “This is different.” That was it. She never admitted she was wrong, but last week she asked me for the recipe. So here we are.
Maybe you’ve got someone like that in your life, or maybe you’re just tired of those store-bought packets that taste like sugar and regret. Either way, this quick DIY hot cocoa mix is the answer. It comes together in about five minutes, uses stuff you probably already have, and the crushed candy cane on top? It melts into the cream and turns the whole thing into something special. Let me tell you, there’s nothing quite like watching someone take that first sip and realizing they were wrong about hot cocoa their whole life.
Why You’ll Love This Recipe
This isn’t just another hot cocoa mix. I tested this thing six times before I got it right. The first batch was too gritty, the second was too sweet, and the third had a weird aftertaste from cheap cocoa powder. But this version? It’s the one I keep coming back to, and I think you will too.
- Quick & Easy : Five minutes of measuring and shaking, and you’ve got a dozen servings ready to go. Perfect for those nights when you want something warm but don’t have the energy for a whole production.
- Simple Ingredients : No weird stabilizers or artificial flavors. Just cocoa, sugar, milk powder, and a few pantry staples you probably already have.
- Perfect for Gifting : Layer it in a mason jar with crushed candy cane on top, and you’ve got a hostess gift, teacher gift, or neighbor gift that actually gets used. No more regifted candles.
- Crowd-Pleaser : Kids love the candy cane crunch, adults love the rich chocolate flavor, and everyone loves that it’s not too sweet. My sister-proof seal of approval right there.
- Unbelievably Delicious : The combination of dark cocoa powder and real milk powder creates this creamy, velvety texture that store-bought mixes just can’t touch. And the crushed candy cane adds a subtle mint that doesn’t overpower the chocolate.
What makes this recipe different? It’s the ratios. Most DIY mixes use way too much sugar to mask cheap cocoa. I use a blend of Dutch-processed and natural cocoa powder for depth, plus a tiny pinch of sea salt that makes the chocolate taste more chocolatey. It’s a chef trick I picked up years ago, and it works every time.
This isn’t just good hot cocoa. It’s the kind that makes you close your eyes after the first sip. It’s comfort in a mug, but faster and easier than you’d expect. Perfect for those busy December nights when you need something warm but don’t have time to fuss.
What Ingredients You Will Need
This recipe uses simple, wholesome ingredients to deliver bold chocolate flavor and satisfying creaminess without any fuss. Most of these are pantry staples, so you probably don’t need a special trip to the store.
- 1 cup powdered milk (whole milk powder works best for creaminess, but nonfat is fine too)
- 3/4 cup Dutch-processed cocoa powder (I prefer Droste for its smooth, deep flavor)
- 1/4 cup natural unsweetened cocoa powder (adds brightness and complexity)
- 1 1/2 cups powdered sugar (sifted if it’s lumpy)
- 1/2 cup granulated sugar (helps balance the cocoa bitterness)
- 1/4 teaspoon fine sea salt (trust me on this one, it makes the chocolate pop)
- 1/2 cup crushed candy canes (about 4-5 regular-sized candy canes, crushed)
- Optional: 1/4 cup mini chocolate chips (for extra richness when serving)
Ingredient Selection Tips: Look for Dutch-processed cocoa that’s dark in color and smells intensely chocolatey. I’ve found that cheaper brands can taste flat, so spend a little extra here. For the candy canes, the classic peppermint ones work best, but you can use any flavor you like. Just avoid the ones with fillings or swirls, they don’t crush evenly.
Substitution Guidance: If you’re dairy-free, you can use coconut milk powder instead of regular powdered milk. It adds a subtle coconut flavor that actually pairs beautifully with the mint. For a vegan version, use vegan chocolate chips and coconut milk powder. If you don’t have candy canes, you can substitute with peppermint extract added to the milk when you prepare the drink, but the texture won’t be quite the same.
Equipment Needed
You don’t need much for this recipe, which is part of why I love it. Here’s what you’ll need:
- Mason jars (16 oz or 32 oz, depending on how much mix you’re making)
- Fine-mesh strainer or sifter (for sifting the powdered sugar and cocoa if they’re lumpy)
- Whisk (for combining everything evenly)
- Funnel (makes pouring into jars much less messy)
- Rolling pin or food processor (for crushing candy canes)
- Ziplock bag (for the candy cane crushing method)
- Measuring cups and spoons
If you don’t have a food processor, the ziplock bag and rolling pin method works great. Just put the candy canes in a bag, seal it, and go to town with the rolling pin. It’s oddly satisfying and a good way to work out some frustration. I’ve also used a meat mallet in a pinch, just be careful not to punch through the bag.
Preparation Method

This mix comes together in about five minutes. I’m not kidding. Here’s how to do it:
- Crush the candy canes (2 minutes). Put the candy canes in a ziplock bag and seal it, squeezing out as much air as possible. Use a rolling pin or heavy pan to crush them into small pieces. You want a mix of fine powder and tiny chunks. Not too fine, you want some texture, but not so big that they’re hard to drink. Aim for pieces about the size of small peas. Set aside.
- Sift the dry ingredients (1 minute). In a large bowl, combine the powdered milk, both cocoa powders, powdered sugar, granulated sugar, and sea salt. Use a fine-mesh strainer or sifter to sift everything together. This step is important because powdered sugar and cocoa can get lumpy, and nobody wants a lumpy hot cocoa. If you don’t sift, you’ll be fishing out white clumps later.
- Whisk everything together (1 minute). Use a whisk to combine the sifted ingredients thoroughly. Make sure there are no streaks of white or dark. The mixture should be a uniform dark brown color. This is also a good time to taste a tiny pinch. It should be chocolatey with a hint of salt, not overwhelmingly sweet.
- Add the crushed candy canes (30 seconds). Gently fold in the crushed candy canes. Don’t overmix, or the candy cane pieces will start to dissolve and turn everything sticky. You want them distributed evenly but still distinct.
- Layer in the mason jar (1 minute). If you’re gifting this, layer the mix in the jar for a pretty presentation. Start with a layer of plain mix, then a layer of candy cane pieces, then more mix, alternating until the jar is full. Finish with a generous layer of candy cane pieces on top. If you’re just making it for yourself, you can dump it all in at once.
- Attach serving instructions (optional, 30 seconds). Write the instructions on a tag or sticker and attach it to the jar. Something simple like: “Add 3 tablespoons of mix to 8 oz of hot milk. Stir well. Enjoy!”
Important Note: When you’re ready to make a cup, use hot milk, not water. Water makes it thin and sad. Whole milk gives the creamiest result, but 2% works fine too. If you’re dairy-free, oat milk is my favorite here, it’s naturally sweet and creamy. Heat the milk on the stove or in the microwave until it’s steaming but not boiling, then whisk in 3 tablespoons of the mix. Stir until everything is dissolved and smooth. Top with marshmallows or extra crushed candy cane if you’re feeling fancy.
Cooking Tips & Techniques
I learned some of these the hard way. Like the time I used a food processor to crush the candy canes and ended up with peppermint dust everywhere. Or the time I forgot to sift the powdered sugar and had to fish out clumps with a fork while my kids watched impatiently.
Crush candy canes in batches. If you’re making multiple jars, crush all the candy canes at once and store them in an airtight container. They’ll stay crunchy for about a week. After that, they start to absorb moisture and get sticky.
Use a funnel for the jar. I know it seems obvious, but I’ve cleaned cocoa powder off my counter more times than I care to admit. A small funnel makes the whole process much cleaner and faster.
Don’t skip the salt. I know it sounds weird in sweet hot cocoa, but salt is a flavor enhancer. It cuts the bitterness of the cocoa and makes the chocolate taste more chocolatey. Use fine sea salt, not table salt, which can taste metallic.
Double the recipe. Honestly, this mix disappears fast. I usually make a double batch and keep one jar for myself. It’s perfect for those nights when you want something warm but don’t have the energy to make a whole dessert.
Toast the milk powder first. This is a pro tip I picked up from a pastry chef friend. Spread the powdered milk on a baking sheet and toast it at 350°F for about 5 minutes, until it’s lightly golden. It adds a nutty, caramel flavor that takes the hot cocoa to another level. Just let it cool completely before using.
Variations & Adaptations
This recipe is super flexible, and I’ve tried several variations over the years. Here are a few of my favorites:
Spiced Hot Cocoa Mix: Add 1 teaspoon of cinnamon, 1/2 teaspoon of nutmeg, and a pinch of cayenne pepper to the dry mix. It’s like Mexican hot chocolate in a jar. The cayenne doesn’t make it spicy, just warm. I made this for a holiday party and it was the first thing to disappear.
Dark Chocolate Orange: Add 1 tablespoon of dried orange zest to the mix. The citrus pairs beautifully with the dark chocolate, and the candy cane adds a cool minty finish. Use a microplane to zest the orange, then dry the zest on a paper towel for a few hours before adding it.
Vegan Version: Use coconut milk powder instead of regular powdered milk, and skip the candy canes (some brands use bone char in the coloring). Instead, add a few drops of peppermint extract to the milk when you prepare the drink. It’s not quite the same texture, but the flavor is spot on.
Low-Sugar Version: Substitute the powdered sugar with a powdered monk fruit sweetener or erythritol. The texture will be slightly different, but it still works. I’ve tested this with Swerve and it’s pretty good, just a little less creamy.
Extra Chocolatey: Add 1/4 cup of mini chocolate chips to the mix. They’ll melt into the hot milk and make it even richer. This is my personal favorite for those really cold nights when you need something decadent.
Serving & Storage Suggestions
This mix is best served hot, obviously. But there are a few ways to make it feel special:
How to serve: Heat 8 ounces of milk (whole milk is best, but oat milk works great too) until it’s steaming but not boiling. Whisk in 3 tablespoons of the mix until completely dissolved. Pour into a mug and top with marshmallows, whipped cream, or extra crushed candy cane. The presentation matters here, especially if you’re serving guests.
What to serve with it: This hot cocoa pairs beautifully with shortbread cookies, gingerbread, or a simple butter cookie. The buttery sweetness balances the rich chocolate. For a grown-up version, add a splash of peppermint schnapps or bourbon. Just don’t tell the kids.
Storage instructions: Store the mix in an airtight mason jar at room temperature for up to 3 months. Keep it away from direct sunlight and heat, which can cause the cocoa to clump. The candy cane pieces will stay crunchy for about 2 weeks, then they’ll start to soften. If you’re making this for gifting, add the candy cane layer right before giving it.
Reheating tips: If your hot cocoa gets cold, just microwave it for 30 seconds and stir. The texture stays smooth. Don’t boil it, or the milk proteins will separate and it’ll get grainy.
Flavor development: The mix actually gets better after about a week. The flavors meld together and the salt and cocoa become more balanced. So if you’re making it ahead of time, that’s perfect.
Nutritional Information & Benefits
Here’s the honest truth: this is a treat. It’s not health food, and I’m not going to pretend it is. But it’s made with real ingredients, which is more than you can say for most store-bought mixes.
Per serving (3 tablespoons mix, prepared with 8 oz whole milk):
- Calories: approximately 280
- Fat: 10g
- Carbohydrates: 42g
- Protein: 10g
- Sugar: 35g
- Sodium: 200mg
Health benefits: Cocoa powder is actually rich in antioxidants called flavonoids, which can help reduce inflammation and improve heart health. The milk provides calcium and vitamin D, and the candy cane adds a little joy, which honestly counts for something. If you use oat milk, you’ll get some fiber too.
Dietary considerations: This recipe contains dairy and sugar. For a dairy-free version, use coconut milk powder. For a vegan version, use coconut milk powder and skip the candy canes (or find vegan ones). It’s naturally gluten-free, but double-check your cocoa powder if you have celiac disease, as some brands process it on shared equipment.
Potential allergens: Dairy, and possibly traces of soy or nuts depending on your cocoa powder brand. I use Droste, which is processed in a nut-free facility.
My personal take? This is a treat, and treats are part of a balanced life. I’d rather have one cup of real hot cocoa made with good ingredients than three cups of the artificially flavored stuff. Quality over quantity, you know?
Conclusion
This quick DIY hot cocoa mix is one of those recipes that feels like a secret weapon. It’s simple enough to throw together on a busy Tuesday, but special enough to give as a gift. The crushed candy cane adds that little something extra that makes people stop and say, “Wait, what’s in this?”
I love that it’s customizable too. You can make it spiced, or orange, or extra chocolatey depending on your mood. And the mason jar presentation? It’s just fun. There’s something satisfying about seeing those layers of dark cocoa and red candy cane pieces.
So go ahead and make a batch. Keep one for yourself, give one to your neighbor, and maybe leave one on your sister’s porch with a note that says “Try it. No pressure.” You never know who you might convert.
I’d love to hear how yours turns out. Did you try a variation? Did someone in your life finally admit they were wrong about hot cocoa? Drop a comment below and let me know. And if you’re looking for another quick gift idea, check out our easy homemade vanilla extract recipe or these 5-minute chocolate fudge three ways for more last-minute holiday magic.
Frequently Asked Questions
Can I use this mix with water instead of milk?
You can, but I wouldn’t recommend it. Water makes the cocoa thin and watery. Milk gives it that creamy, velvety texture that makes this mix special. If you’re dairy-free, oat milk or almond milk work great.
How long does the mix stay fresh?
Stored in an airtight mason jar at room temperature, it stays fresh for about 3 months. The candy cane pieces will start to soften after 2 weeks, so if you’re making it for gifting, add the candy cane layer right before giving it.
Can I use this mix for baking?
I wouldn’t use it as a substitute for regular cocoa powder in baking, because it has sugar and milk powder already added. But you can use it to make chocolate milk, or stir it into coffee for a mocha. I’ve also used it to make hot cocoa cookies, and those turned out amazing.
How do I crush the candy canes without making a mess?
Put them in a ziplock bag, squeeze out the air, and use a rolling pin or heavy pan to crush them. The bag contains the mess. Just be careful not to punch through the bag. If you’re making a big batch, a food processor works too, just pulse gently so you don’t end up with dust.
Can I make this without candy canes?
Absolutely. The mix is delicious on its own. You can add a few drops of peppermint extract to the milk when you prepare the drink, or just leave it plain. The candy cane is mostly for presentation and that little crunch factor. Some people prefer it without, and that’s totally fine.
Pin This Recipe!
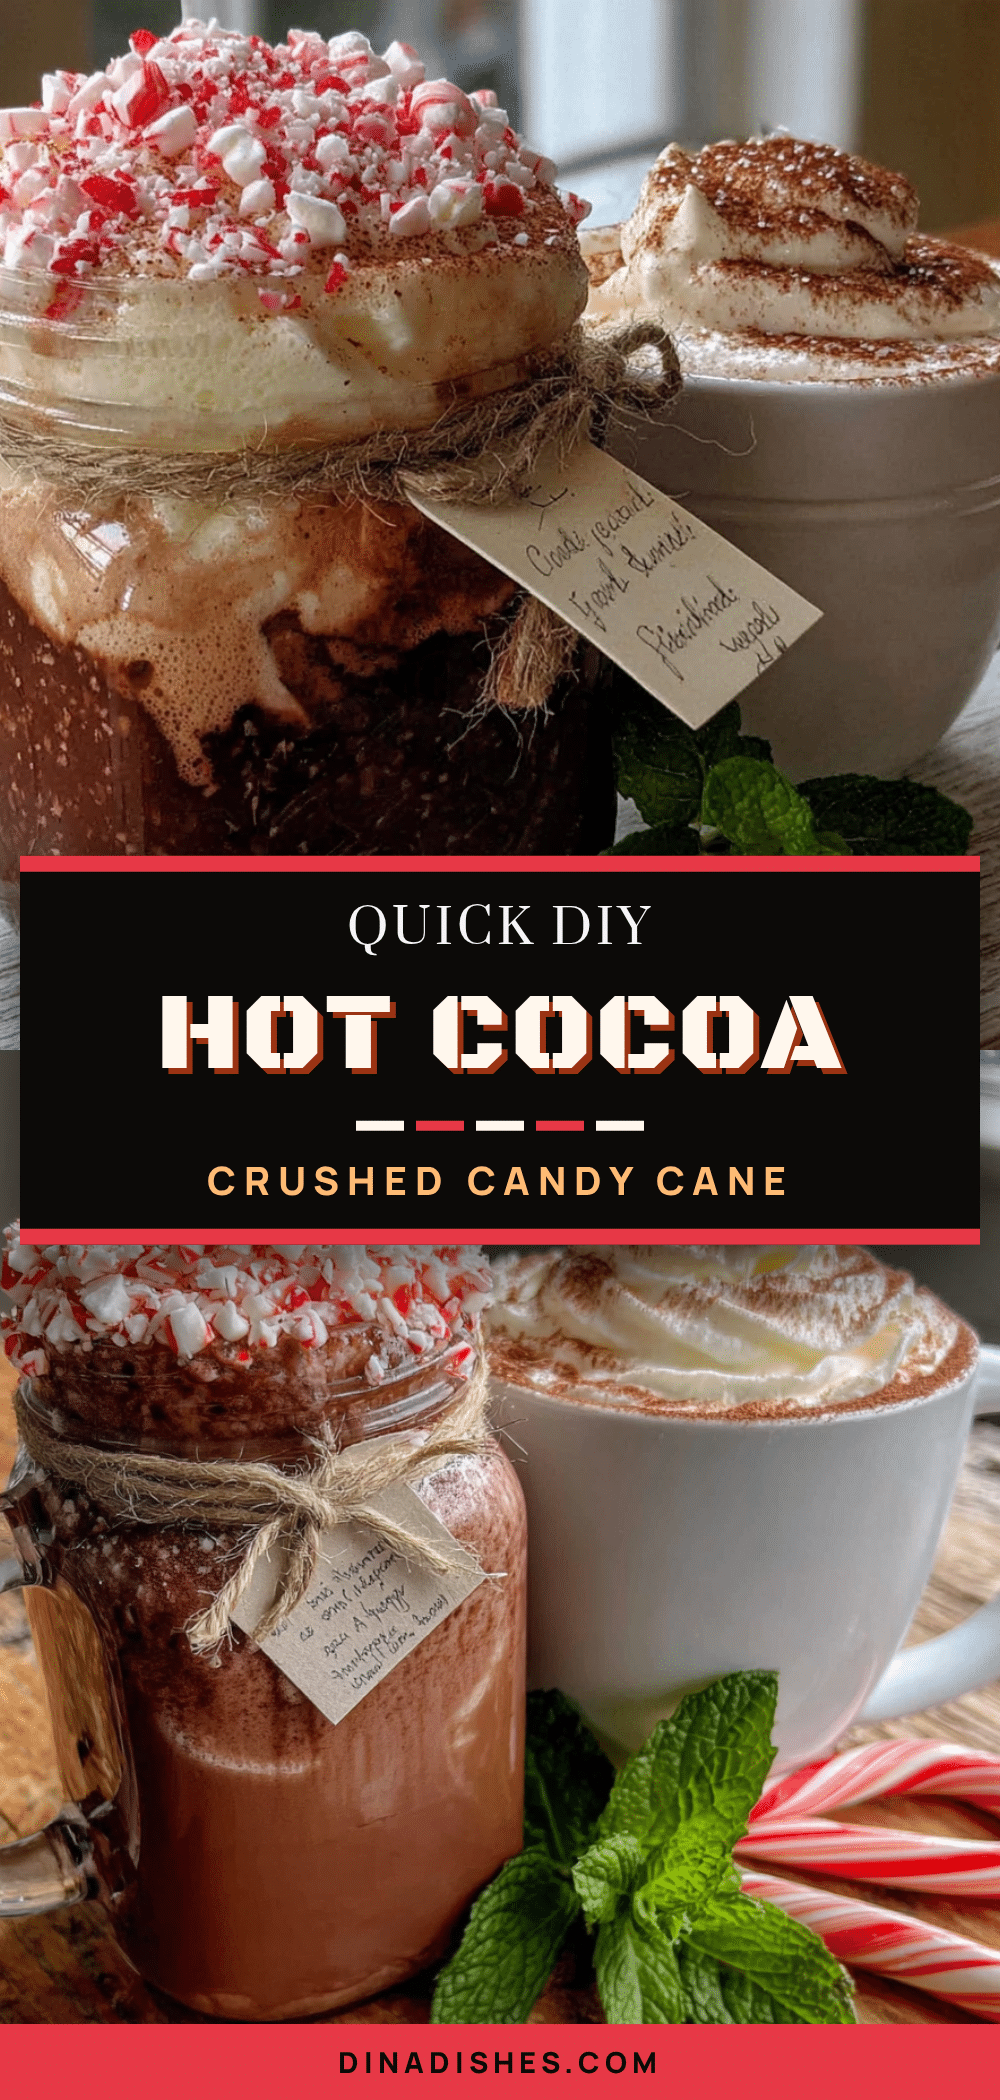
Quick DIY Hot Cocoa Mix in a Mason Jar

This quick DIY hot cocoa mix comes together in about five minutes using simple pantry staples. With crushed candy cane for a festive touch, it’s perfect for cozy nights or gifting in a mason jar.
- Prep Time: 5 minutes
- Cook Time: 0 minutes
- Total Time: 5 minutes
- Yield: 12 servings 1x
- Category: Beverage
- Cuisine: American
Ingredients
- 1 cup powdered milk (whole milk powder works best for creaminess, but nonfat is fine too)
- 3/4 cup Dutch-processed cocoa powder
- 1/4 cup natural unsweetened cocoa powder
- 1 1/2 cups powdered sugar (sifted if lumpy)
- 1/2 cup granulated sugar
- 1/4 teaspoon fine sea salt
- 1/2 cup crushed candy canes (about 4–5 regular-sized candy canes, crushed)
- Optional: 1/4 cup mini chocolate chips (for extra richness when serving)
Instructions
- Crush the candy canes: Put the candy canes in a ziplock bag and seal it, squeezing out as much air as possible. Use a rolling pin or heavy pan to crush them into small pieces. Aim for pieces about the size of small peas. Set aside.
- Sift the dry ingredients: In a large bowl, combine the powdered milk, both cocoa powders, powdered sugar, granulated sugar, and sea salt. Use a fine-mesh strainer or sifter to sift everything together.
- Whisk everything together: Use a whisk to combine the sifted ingredients thoroughly until the mixture is a uniform dark brown color.
- Add the crushed candy canes: Gently fold in the crushed candy canes until distributed evenly but still distinct.
- Layer in the mason jar: If gifting, layer the mix in the jar for a pretty presentation. Start with a layer of plain mix, then a layer of candy cane pieces, then more mix, alternating until the jar is full. Finish with a generous layer of candy cane pieces on top. If making for yourself, you can dump it all in at once.
- Attach serving instructions (optional): Write the instructions on a tag or sticker and attach it to the jar: ‘Add 3 tablespoons of mix to 8 oz of hot milk. Stir well. Enjoy!’
Notes
Use hot milk, not water, for the creamiest result. Whole milk works best, but 2% or oat milk are good alternatives. The mix can be stored in an airtight mason jar at room temperature for up to 3 months. The candy cane pieces will stay crunchy for about 2 weeks. For a dairy-free version, use coconut milk powder. For a vegan version, use coconut milk powder and vegan candy canes or peppermint extract. Toasting the powdered milk at 350°F for 5 minutes before using adds a nutty, caramel flavor.
Nutrition
- Serving Size: 1 serving (3 tablesp
- Calories: 280
- Sugar: 35
- Sodium: 200
- Fat: 10
- Saturated Fat: 6
- Carbohydrates: 42
- Fiber: 3
- Protein: 10
Keywords: hot cocoa mix, DIY hot cocoa, mason jar gift, candy cane hot cocoa, homemade hot chocolate, easy gift, Christmas gift, peppermint hot cocoa