The Halloween potluck at my son’s school was in twelve hours and I’d completely forgotten. Not just forgotten to prepare something—I’d forgotten the potluck existed entirely until I saw the flyer taped to his backpack at 9 PM the night before. Everyone else would be bringing elaborate themed treats: cupcakes with perfect spiderwebs, cauldrons of bubbling punch, cookies decorated to look like ghosts. I had a package of hot dogs, some crescent roll dough, and about fifteen minutes of energy left in my day. Honestly, I almost just sent him with a bag of chips.
But then I remembered these little mummy things I’d seen online somewhere. You know the ones—where you wrap strips of dough around mini hot dogs to look like bandages, and you add tiny dots for eyes. It seemed almost too simple to work. I mean, could something that took ten minutes actually compete with the Pinterest-worthy spreads everyone else was bringing? I wrapped those little guys up, threw them in the oven, and crossed my fingers. I didn’t even have mustard for the eyes, so I used ketchup. Desperate times.
The next day, I dropped them off on the snack table feeling a little embarrassed by how basic they looked next to everything else. But let me tell you, by the time I came back from helping with the costume parade, the platter was completely empty. A mom actually came up to me and asked for the recipe. I laughed and told her it was hot dogs wrapped in dough. She didn’t believe me. That’s when I realized these spooky easy mummy pigs in a blanket had something special—they’re fun, they’re fast, and they genuinely look like little Halloween mummies without any fancy skills required. Maybe you’ve been there, scrambling for a last-minute party contribution. If so, this one’s for you.
Why You’ll Love This Recipe
Look, I’ve tested a lot of Halloween recipes over the years. Some are way too complicated for what they deliver. Others taste great but look nothing like the photo. These mummy pigs in a blanket hit that sweet spot where adorable meets actually doable. Here’s why they’ve become my go-to for every Halloween gathering:
- Quick & Easy: From fridge to table in under 20 minutes. That’s faster than most store-bought appetizers, and way more impressive.
- Simple Ingredients: You need exactly three things—hot dogs, crescent roll dough, and something for the eyes. That’s it. No special trip to a fancy grocery store.
- Perfect for Halloween Parties: Whether it’s a classroom celebration, a neighborhood block party, or your own spooky gathering, these little guys fit right in. They’re kid-friendly and adult-approved.
- Crowd-Pleaser: I’ve brought these to three different Halloween events now, and every single time, they disappear first. Kids love the mummy look, and adults love that they actually taste good.
- Unbelievably Delicious: There’s something about that flaky, buttery crescent dough wrapped around a savory hot dog that just works. Add the visual fun of the mummy stripes, and you’ve got a winner.
What makes this recipe different from the hundreds of other pigs in a blanket out there? It’s the wrapping technique. Most recipes just wrap the dough in a spiral and call it a day. But I figured out that leaving small gaps between the dough strips makes the mummy look way more authentic. Plus, positioning the eyes at different heights on each mummy gives them actual personality. One looks surprised, one looks grumpy, one looks like it’s plotting something. It’s those little details that make people smile.
This recipe isn’t just good—it’s the kind that makes you feel like a Halloween hero with almost zero effort. It’s comfort food dressed up for a party, and honestly, that’s my favorite kind of recipe.
What Ingredients You Will Need
This recipe uses simple, everyday ingredients to create something that looks way more complicated than it actually is. Most of these are probably already in your kitchen, which is exactly the point.
- Mini hot dogs or cocktail sausages (1 package, about 24-30 pieces) – These are the “mummies” themselves. I prefer the beef mini hot dogs from Nathan’s for their snappy texture, but any brand works. You can also use regular hot dogs cut into thirds.
- Crescent roll dough (2 cans, 8 ounces each) – This is the bandage material. I’ve tested this with Pillsbury original crescent rolls and the butter flake version. Both work great, but the butter flake version gives a slightly richer flavor and more golden color. Let the dough sit at room temperature for about 5 minutes before unrolling—it makes cutting the strips way easier.
- Mustard or ketchup for eyes (2 tablespoons) – You need something to make those tiny mummy eyes. Yellow mustard gives the best contrast against the golden dough, but I’ve used ketchup in a pinch. You can also use mayonnaise mixed with a drop of black food coloring for a spookier look.
- Egg wash (1 egg + 1 tablespoon water, beaten) – This is optional but highly recommended. Brushing the dough with egg wash before baking gives the mummies that beautiful golden-brown finish. Without it, the dough stays pale and doesn’t look as appetizing.
- Sesame seeds or poppy seeds (1 tablespoon, optional) – These add little texture spots that look like mummy dust or ancient sand. Totally optional, but my kids love the crunch.
- Everything bagel seasoning (1 teaspoon, optional) – I tried this once on a whim, and honestly, it was incredible. The garlic and onion flavors pair surprisingly well with the hot dog and dough.
Ingredient Selection Tips: If you’re making these for a party, look for mini hot dogs that are all roughly the same size. Uneven hot dogs mean uneven cooking times. For the dough, I’ve tried store-brand crescent rolls before, and honestly, stick with Pillsbury. The texture and flavor are noticeably better, and for a recipe this simple, every ingredient counts.
Substitution Guidance: Need a gluten-free option? Use gluten-free crescent roll dough—it’s available at most major grocery stores now. For a vegetarian version, swap the hot dogs for vegetarian cocktail sausages or even cheese sticks cut into pieces. Just note that cheese sticks will melt differently, so keep an eye on them in the oven.
Equipment Needed
You don’t need much for this recipe, which is part of the beauty. Here’s what you’ll want to have on hand:
- Baking sheet (1 large, rimmed) – A standard half-sheet pan works perfectly. Line it with parchment paper for easy cleanup. I learned this the hard way after scraping burnt dough off a pan for twenty minutes.
- Parchment paper or silicone baking mat – Silicone mats are my favorite because the dough slides right off, but parchment paper works just fine.
- Sharp knife or pizza cutter – You need something to cut the crescent dough into strips. A pizza cutter gives cleaner edges than a knife, but either works. I actually use kitchen shears sometimes—they’re surprisingly effective.
- Pastry brush – For applying the egg wash. If you don’t have one, a clean paper towel or even your fingers work in a pinch. I’ve done both.
- Small bowl – For beating the egg wash.
- Toothpicks – Optional, but helpful for applying the mustard eyes. You can also use a squeeze bottle or just dip the end of a toothpick in mustard and dot it on.
Budget-Friendly Tip: Don’t have a pizza cutter? A butter knife works fine for cutting the dough strips. The strips don’t need to be perfectly straight—in fact, uneven strips make the mummies look more authentic, like real bandages.
Preparation Method
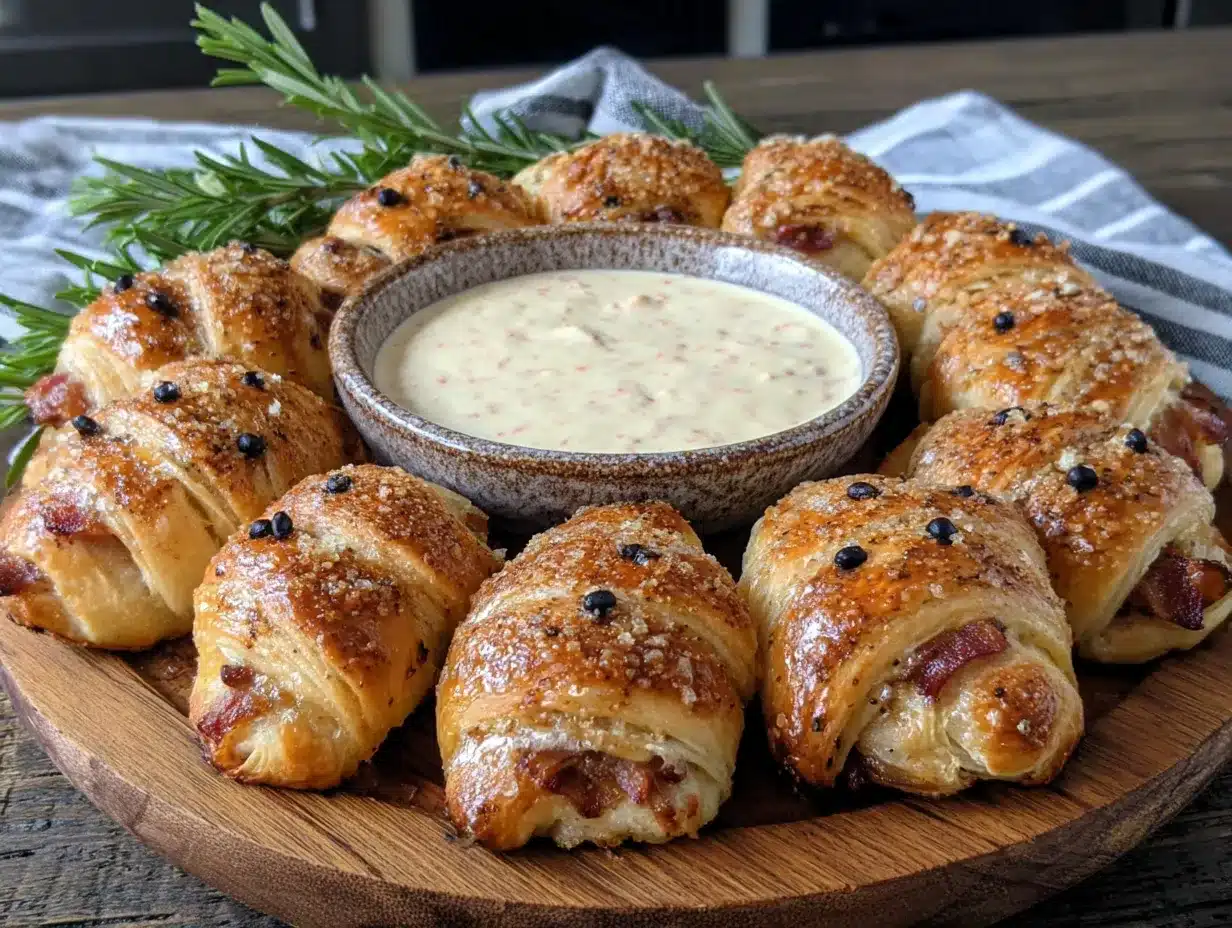
Alright, let’s make some mummies. This is the fun part. I’ll walk you through every step so you get perfect little bandaged hot dogs every time.
- Preheat your oven to 375°F (190°C). Line your baking sheet with parchment paper or a silicone mat. Getting the oven hot before you start is key—you want that dough to start puffing immediately when it hits the heat.
- Prepare your dough. Open the cans of crescent roll dough and unroll them onto a cutting board. You’ll notice the dough is pre-perforated into triangles. Don’t separate them along those lines. Instead, use your pizza cutter or knife to cut the entire sheet of dough into thin strips, about 1/4 inch (6mm) wide. I usually get about 8-10 strips per triangle sheet. The strips don’t need to be perfect—uneven strips actually look better for the mummy effect.
- Wrap the mummies. Take one mini hot dog and start wrapping a dough strip around it, leaving small gaps between each wrap. Think about how you’d wrap a bandage—you want some overlap but also some exposed spots. Start at one end and work your way to the other, leaving a small space near the top for the eyes. Press the end of the dough strip gently to seal it against the wrapped portion. Each mummy takes about 2-3 strips depending on how tight you wrap.
- Position the eyes. Place the wrapped mummies on your prepared baking sheet, spacing them about 1 inch apart. Now comes the personality part. Use a toothpick dipped in mustard to create two small dots for eyes. Here’s my trick: place the eyes at slightly different heights on each mummy. One high, one low, one crooked—it gives each mummy a different expression. I’ve made mummies that look confused, angry, and one that looked genuinely terrified. It’s hilarious.
- Apply the egg wash. In your small bowl, beat the egg with one tablespoon of water until smooth. Using your pastry brush, gently brush each mummy with the egg wash. Be careful not to smear the eyes. If you’re using sesame seeds or everything bagel seasoning, sprinkle them on now while the egg wash is still wet.
- Bake. Place the baking sheet in the preheated oven and bake for 10-12 minutes, or until the dough is golden brown and puffed. The hot dogs should be heated through. Every oven runs a little different, so start checking at 10 minutes. You want that beautiful golden color but not dark brown.
- Cool and serve. Let the mummies cool on the baking sheet for 2-3 minutes before transferring them to a serving platter. This gives the dough time to set so it doesn’t fall apart when you pick them up. Serve warm or at room temperature.
Sensory Cues: When the mummies are done, the kitchen should smell like buttery, baked dough with a hint of savory hot dog. The dough should be puffed and golden, with slightly darker edges where the strips overlap. If you tap one gently, it should feel firm but not hard. The mustard eyes will have darkened slightly in the oven, giving the mummies an even more authentic ancient look.
Troubleshooting Tip: If your dough strips are sticking to the cutting board, dust the board lightly with flour. If the dough tears while you’re wrapping, don’t worry—just press the torn ends together and keep going. Mummies aren’t supposed to look perfect. I’ve had mummies that looked like they’d been through a battle, and honestly, those were the ones people loved most.
Cooking Tips & Techniques
After making these mummy pigs in a blanket for three Halloweens in a row, I’ve picked up a few tricks that make the process smoother and the results better. Let me share what I’ve learned the hard way so you don’t have to.
Don’t overwork the dough. Crescent roll dough is delicate. The more you handle it, the tougher it gets. When you’re cutting strips and wrapping mummies, work quickly and gently. If the dough starts feeling warm and sticky, pop it in the fridge for five minutes. I once tried to rush through this step and ended up with dough that wouldn’t hold its shape. The mummies looked more like blobs than bandaged creatures.
Leave gaps in the wrapping. This is the most important visual tip. If you wrap the dough too tightly with no gaps, it just looks like a hot dog in a dough tube. The gaps are what make it look like a mummy. Aim for about 1/8 inch (3mm) of space between each wrap. You want to see little bits of hot dog peeking through.
Use a toothpick for the eyes. I tried using a squeeze bottle for the mustard eyes the first time, and it was a disaster. The dots were too big and they ran down the sides of the mummies. A toothpick gives you perfect control. Just dip the tip in mustard and gently dot it onto the dough. If you mess up, wipe it off with a damp paper towel and try again.
Bake from cold. If you have time, refrigerate the assembled mummies on the baking sheet for 10-15 minutes before baking. Cold dough puffs up better in the oven because the butter takes longer to melt, creating more steam and flakier layers. I stumbled onto this trick when I got distracted by a phone call and left the tray in the fridge. The mummies came out noticeably fluffier.
Watch the last two minutes. These mummies go from perfectly golden to overdone very quickly. Set a timer for 10 minutes, then check them every minute after that. The ideal color is a warm golden brown—like a perfectly toasted marshmallow. Any darker and the dough starts tasting dry.
Variations & Adaptations
One of the best things about this recipe is how easy it is to change up. Here are some variations I’ve tried and loved:
- Spicy Mummies: Use spicy jalapeño hot dogs or add a tiny smear of sriracha under the dough before wrapping. The heat pairs surprisingly well with the buttery dough. I made these for a Halloween party and they were gone before the regular ones.
- Cheesy Mummies: Cut small cheese sticks into pieces and wrap them just like the hot dogs. Mozzarella works best because it melts into gooey strings that look like mummy bandages unraveling. Just watch them carefully in the oven—cheese melts faster than hot dogs heat up.
- Breakfast Mummies: Swap the hot dogs for breakfast sausages and serve them at a Halloween morning party. The smaller sausages are actually easier to wrap and look adorable. I made these for a Halloween brunch once and they were a huge hit with both kids and adults.
- Veggie Mummies: Use carrot sticks or green beans blanched until tender instead of hot dogs. Wrap them the same way and bake. These are great for guests who don’t eat meat. I’ll be honest, they’re not as satisfying as the original, but they’re a nice option to have.
- Sweet Mummies: This one sounds weird but trust me. Use banana pieces instead of hot dogs, and drizzle with a little honey before wrapping. Bake as directed, then dust with powdered sugar. They taste like little banana rolls and look hilariously like sweet mummies.
Dietary Adaptations: For a gluten-free version, use gluten-free crescent roll dough. For a dairy-free version, skip the egg wash and brush with a little olive oil instead. The texture won’t be exactly the same, but they’ll still be delicious.
Serving & Storage Suggestions
These mummy pigs in a blanket are best served warm, right out of the oven. The dough is at its flakiest and the hot dogs are perfectly heated through. But they’re also great at room temperature, which makes them perfect for parties where food sits out for a while.
Presentation Ideas: Arrange the mummies on a dark platter or black serving board to make the golden dough pop. Add a few plastic spiders or fake cobwebs around the platter for extra Halloween flair. I like to serve them with a small bowl of ketchup and mustard for dipping—the red and yellow colors fit the Halloween theme perfectly.
What to Serve With Them: These mummies pair well with other finger foods. Try them alongside a creepy spinach dip or some spooky deviled eggs for a full Halloween spread. For drinks, apple cider or a punch with floating gummy worms works great.
Storage Instructions: If you have leftovers (which rarely happens, but just in case), store them in an airtight container in the refrigerator for up to 3 days. The dough will soften slightly, but they’re still tasty. To reheat, pop them in a 350°F (175°C) oven for 5-7 minutes, or until warmed through. Avoid the microwave—it makes the dough soggy and sad.
Freezer Instructions: You can freeze the assembled but unbaked mummies. Place them on a baking sheet and freeze until solid, then transfer to a freezer bag. When you’re ready to bake, add 2-3 minutes to the baking time. This is a great make-ahead option for busy Halloween weeks.
Nutritional Information & Benefits
Let’s be real—these are not health food. They’re hot dogs wrapped in dough. But I believe in knowing what you’re eating so you can make informed choices. Here’s the breakdown for one mummy pig in a blanket (based on using standard mini hot dogs and crescent roll dough):
- Calories: Approximately 110-130 calories per mummy
- Protein: 4-5 grams (from the hot dog)
- Carbohydrates: 10-12 grams (from the dough)
- Fat: 7-8 grams (from both the hot dog and dough)
- Sodium: 350-400 mg (hot dogs are naturally high in sodium)
Health Considerations: If you’re watching your sodium intake, look for low-sodium hot dogs or turkey dogs. For a slightly healthier version, use whole wheat crescent roll dough and turkey hot dogs. The taste is a little different, but the mummy effect is the same. I’ve also made these with chicken apple sausages, which have a better nutritional profile and add a nice sweetness that contrasts with the dough.
Allergen Note: This recipe contains wheat (gluten), dairy (in the crescent roll dough), and eggs (in the egg wash). For allergen-friendly versions, see the variations section above.
Conclusion
Look, I know Halloween recipes can be intimidating. There are so many elaborate creations out there that look amazing but require hours of work and a degree in pastry arts. These spooky easy mummy pigs in a blanket are the opposite of that. They’re simple, they’re fast, and they’re genuinely fun to make and eat. The first time I made them, I was just trying to avoid showing up empty-handed to a potluck. Now they’re a Halloween tradition in my house.
What I love most about this recipe is how it brings people together. Kids love helping wrap the mummies and giving them different expressions. Adults love the nostalgic comfort food taste. And everyone loves how cute they look on the platter. It’s one of those rare recipes that checks every box: easy, delicious, and visually fun.
I’d love to hear how your mummies turn out! Did you give them funny expressions? Try a weird variation? Burn the first batch and start over? (I’ve been there.) Drop a comment below and share your Halloween mummy adventures. And if you’re looking for more spooky snack ideas, check out our Halloween snack collection for more last-minute party heroes. Happy Halloween, and happy wrapping!
Frequently Asked Questions
Can I make these mummy pigs in a blanket ahead of time?
Absolutely! You can assemble them up to 24 hours in advance. Just place the wrapped mummies on a baking sheet, cover with plastic wrap, and refrigerate. Bake them right before serving for the best texture. If you’re bringing them to a party, you can also bake them at home and reheat them in a 350°F oven for 5 minutes once you arrive.
What can I use instead of mustard for the eyes?
Ketchup works in a pinch, but it’s thinner and can run. I’ve also used mayonnaise, sour cream, or even cream cheese mixed with a little black food coloring. For a totally different look, use tiny black sesame seeds or poppy seeds pressed gently into the dough before baking. They stay put and look like little mummy eyes.
Can I use puff pastry instead of crescent roll dough?
Yes, but it changes the texture. Puff pastry is flakier and less tender than crescent roll dough. If you use puff pastry, cut it into thin strips just like the crescent dough, but bake at 400°F (200°C) for 12-15 minutes. The result is a more elegant, buttery mummy. I’ve done this for adult parties where I wanted something a little fancier.
How do I keep the dough strips from sticking together?
Work with one strip at a time and keep the rest covered with a damp paper towel. Crescent roll dough is sticky, especially if it gets warm. If the strips are sticking to each other, dust them lightly with flour. You can also refrigerate the cut strips for 5 minutes before wrapping—it makes them much easier to handle.
Can I use regular-sized hot dogs instead of mini ones?
You can, but you’ll need to cut them into smaller pieces first. I recommend cutting each regular hot dog into three equal pieces. The mummies look best when they’re bite-sized, so aim for pieces that are about 2 inches long. You’ll also need more dough strips to wrap the larger pieces, so plan accordingly.
Pin This Recipe!
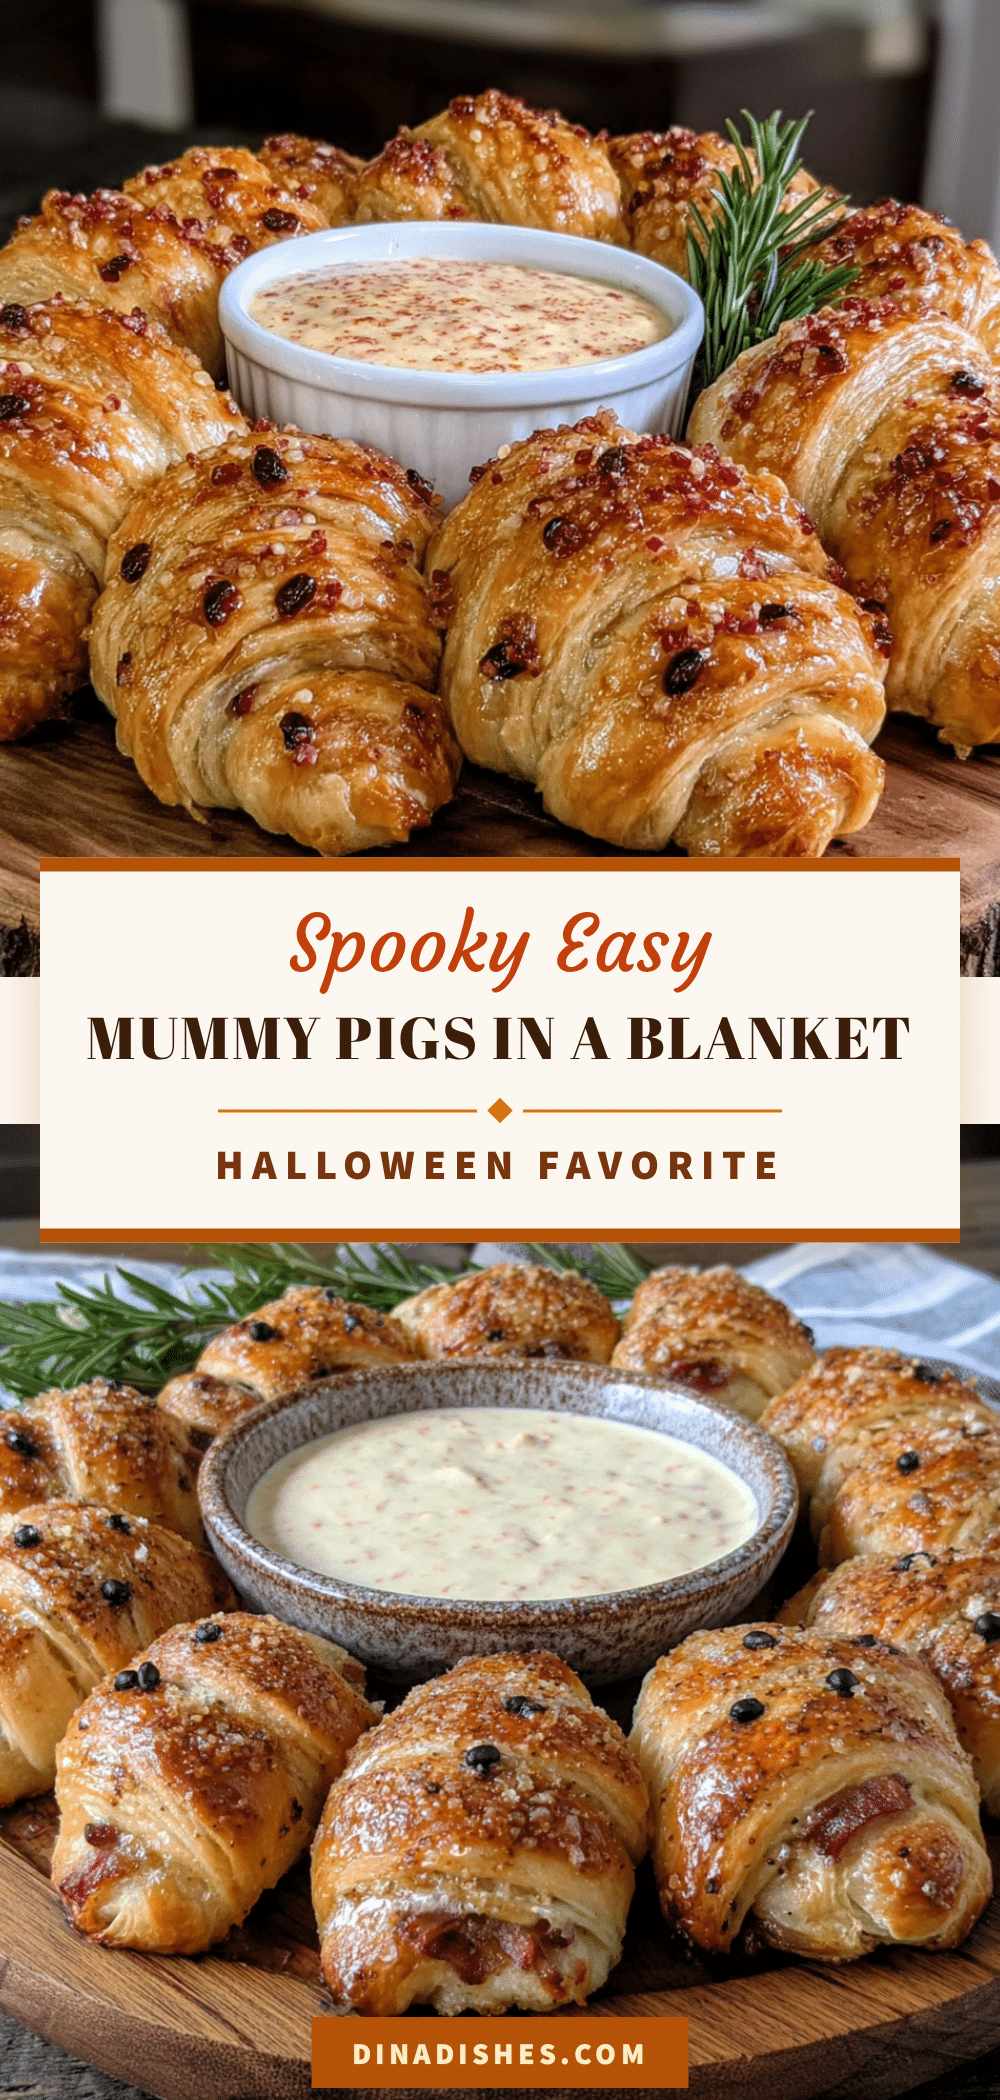
Spooky Easy Mummy Pigs in a Blanket: Best Halloween Recipe

These spooky easy mummy pigs in a blanket are a quick and fun Halloween appetizer made with mini hot dogs wrapped in crescent roll dough strips to look like bandaged mummies. Perfect for last-minute parties, they’re ready in under 20 minutes and always a crowd-pleaser.
- Prep Time: 10 minutes
- Cook Time: 12 minutes
- Total Time: 22 minutes
- Yield: 24-30 servings 1x
- Category: Appetizer
- Cuisine: American
Ingredients
- 1 package (about 24–30) mini hot dogs or cocktail sausages
- 2 cans (8 ounces each) crescent roll dough
- 2 tablespoons mustard or ketchup for eyes
- 1 egg + 1 tablespoon water (for egg wash)
- 1 tablespoon sesame seeds or poppy seeds (optional)
- 1 teaspoon everything bagel seasoning (optional)
Instructions
- Preheat your oven to 375°F (190°C). Line your baking sheet with parchment paper or a silicone mat.
- Open the cans of crescent roll dough and unroll them onto a cutting board. Using a pizza cutter or knife, cut the entire sheet of dough into thin strips, about 1/4 inch (6mm) wide. You should get about 8-10 strips per triangle sheet.
- Take one mini hot dog and start wrapping a dough strip around it, leaving small gaps between each wrap. Start at one end and work your way to the other, leaving a small space near the top for the eyes. Press the end of the dough strip gently to seal. Each mummy takes about 2-3 strips.
- Place the wrapped mummies on your prepared baking sheet, spacing them about 1 inch apart. Use a toothpick dipped in mustard to create two small dots for eyes, placing them at slightly different heights on each mummy for different expressions.
- In a small bowl, beat the egg with one tablespoon of water until smooth. Using a pastry brush, gently brush each mummy with the egg wash, being careful not to smear the eyes. If using, sprinkle sesame seeds or everything bagel seasoning on top while the egg wash is still wet.
- Bake for 10-12 minutes, or until the dough is golden brown and puffed. Start checking at 10 minutes.
- Let the mummies cool on the baking sheet for 2-3 minutes before transferring to a serving platter. Serve warm or at room temperature.
Notes
For best results, refrigerate assembled mummies on the baking sheet for 10-15 minutes before baking to help the dough puff up. Leave gaps in the wrapping to make the mummies look authentic. Use a toothpick for precise mustard eyes. Watch the last two minutes of baking to avoid over-browning.
Nutrition
- Serving Size: 1 mummy
- Calories: 120
- Sugar: 2
- Sodium: 375
- Fat: 7.5
- Saturated Fat: 2.5
- Carbohydrates: 11
- Protein: 4.5
Keywords: Halloween, mummy pigs in a blanket, easy appetizer, hot dog recipe, crescent roll recipe, party food, kid-friendly


