The Halloween potluck was in six hours and I’d completely forgotten. Everyone else would be bringing those elaborate themed treats you see on Pinterest — you know, the ones that look like they took three days and a pastry degree. I had a bag of bell peppers, some ground beef, and a block of mozzarella staring back at me from the fridge. Honestly, I almost just grabbed a bag of chips on the way. But then I looked at those peppers and thought… they kind of look like little heads already, don’t they? And that’s when the idea hit me. I wrapped them in strips of provolone, dotted on some olive eyes, and threw them in the oven hoping for the best. Let me tell you, they were gone in fifteen minutes. The neighbor in the werewolf costume actually asked for the recipe. These spooky mummy stuffed peppers with melted cheese ribbons saved me that night, and now they’re my go-to for every Halloween gathering. Maybe you’ve been in that same panic — staring at the calendar, realizing you forgot to plan. Trust me, I’ve been there.
Why You’ll Love This Recipe
These spooky mummy stuffed peppers with melted cheese ribbons are the kind of recipe that makes you look like a Halloween hero without actually trying that hard. I’ve tested this about six times now — tweaking the cheese thickness, adjusting the bake time — and I can say with confidence that this version is the one.
- Quick & Easy: Comes together in under 45 minutes, which is perfect when you’re scrambling last minute (or just don’t want to spend all day in the kitchen).
- Simple Ingredients: No fancy grocery trips needed. You likely already have everything in your kitchen except maybe the provolone.
- Perfect for Halloween: Great for potlucks, kid-friendly dinners, or that office party where everyone goes overboard. These fit right in.
- Crowd-Pleaser: Kids think they’re fun, adults think they’re delicious. I’ve never brought home leftovers.
- Unbelievably Delicious: The melted cheese ribbons get all crispy and golden on the edges while the filling stays juicy. It’s next-level comfort food with a spooky twist.
What makes these different from every other stuffed pepper recipe? It’s the cheese wrapping technique. Instead of just melting cheese on top, you actually wrap the peppers like mummies — creating those crispy, cheesy bands that hold everything together. It’s not just another stuffed pepper. It’s your best version.
This recipe is the kind that makes you close your eyes after the first bite. It’s comfort food reimagined — spookier, cheesier, but with the same soul-soothing satisfaction. Perfect for impressing guests without stress, or turning a simple Tuesday dinner into something memorable.
What Ingredients You Will Need
This recipe uses simple, wholesome ingredients to deliver bold flavor and that spooky mummy look. Most of these are pantry staples, which makes this perfect for last-minute Halloween plans.
For the Peppers & Filling
- 4 large bell peppers (orange or yellow work best — the color contrasts nicely with the white cheese ribbons; green works too but looks less “mummy-like”)
- 1 lb ground beef (80/20 works well; you can also use ground turkey or plant-based crumbles)
- 1 cup cooked white rice (leftover rice works perfect here; or use quinoa for extra protein)
- 1 small yellow onion, finely diced
- 3 cloves garlic, minced
- 1 can (15 oz) diced tomatoes, drained (I prefer fire-roasted for deeper flavor)
- 1 tsp dried oregano
- 1 tsp smoked paprika
- ½ tsp cumin
- Salt and black pepper to taste
- 1 tbsp olive oil
For the Mummy Wraps & Decorations
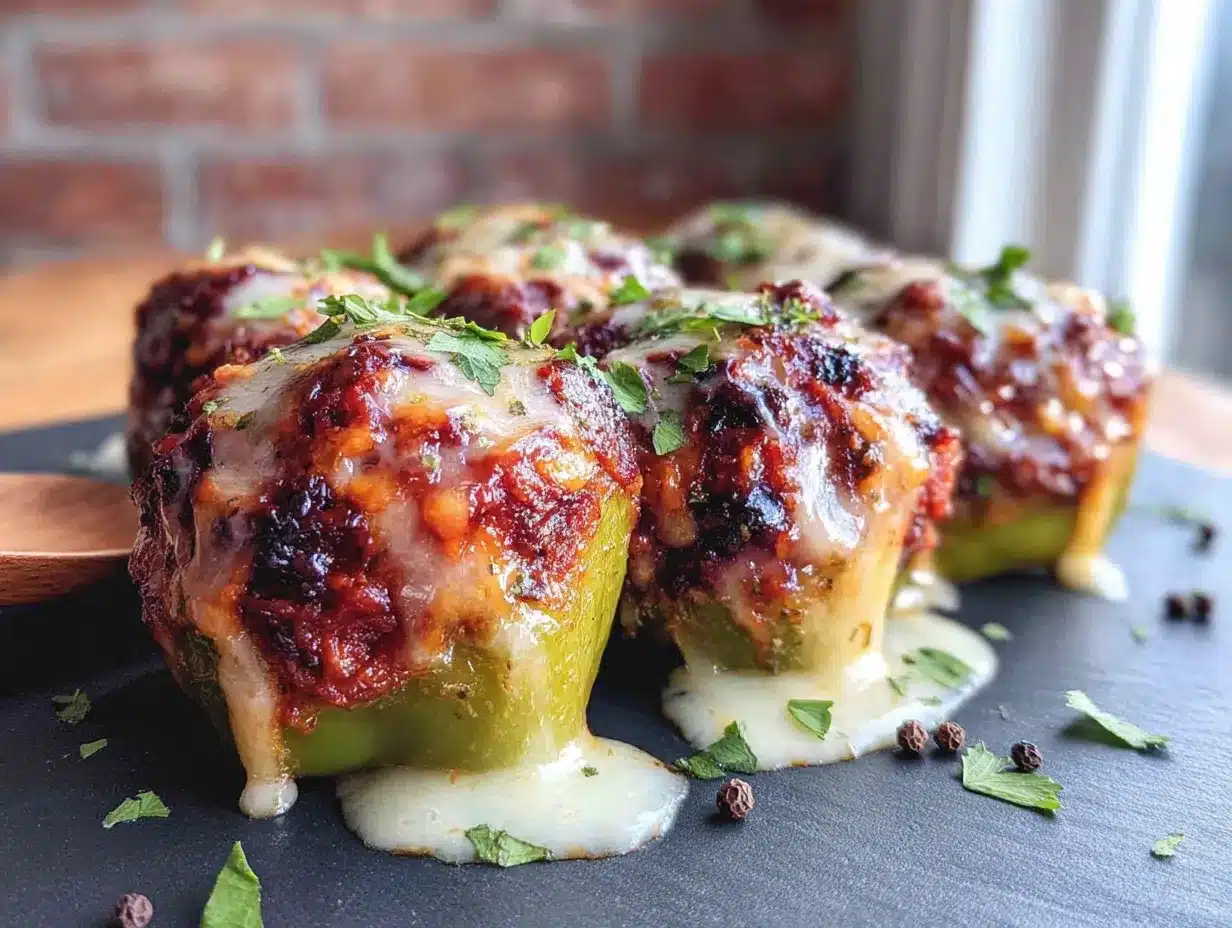
- 8-10 slices provolone cheese (low-moisture part-skim works best — it melts without getting too greasy; I recommend Sargento or Boar’s Head)
- 12-16 black olive slices (canned is fine; pat them dry so they stick better)
- Optional: ¼ cup shredded mozzarella for extra cheesiness inside the filling
Ingredient Selection Tips: Look for peppers that are squat and round — they stand up better in the baking dish and look more like little mummy heads. If your peppers are tall and skinny, they tend to tip over. I learned that the hard way. For the cheese, avoid fresh mozzarella slices — they release too much water and your mummy wraps will slide right off.
Substitution Guidance: Use almond flour or cauliflower rice instead of white rice for a low-carb option. Swap the beef with cooked lentils for a vegetarian version. If you don’t have provolone, use sliced mozzarella or even white cheddar — just make sure it’s thinly sliced so it wraps easily.
Equipment Needed
You don’t need anything fancy for these spooky mummy stuffed peppers with melted cheese ribbons. Here’s what you’ll need:
- Large skillet for browning the meat and cooking the filling
- 9×13 baking dish (a glass or ceramic one works great; metal is fine too but watch the cooking time)
- Sharp knife and cutting board
- Mixing bowl for combining the filling
- Small spoon for stuffing the peppers (a teaspoon works perfectly)
- Tongs for handling the peppers without breaking them
- Aluminum foil for covering the dish during baking
Budget-Friendly Options: If you don’t have a 9×13 dish, use a cast iron skillet or even a deep pie plate. Just arrange the peppers snugly so they support each other. I’ve also used a muffin tin in a pinch — it holds individual peppers upright perfectly. Just make sure to spray it well so nothing sticks.
Preparation Method
Let me walk you through how to make these spooky mummy stuffed peppers with melted cheese ribbons. I’ve broken it down so even a last-minute panicked cook (like I was) can pull this off.
- Preheat your oven to 375°F (190°C). While it’s heating, bring a large pot of water to a boil.
- Prepare the peppers. Cut the tops off each bell pepper (about ½ inch from the top). Scoop out all the seeds and membranes with a small spoon. If the peppers wobble, slice a tiny bit off the bottom to make them flat — but don’t cut through! You want them to stand up. Drop the peppers into the boiling water for 3 minutes. This softens them just enough so they cook through in the oven without getting mushy. Drain them upside down on paper towels.
- Cook the filling. Heat 1 tablespoon olive oil in your large skillet over medium heat. Add the diced onion and cook for 3-4 minutes until it’s translucent and starting to brown. Add the minced garlic and cook for 30 seconds — don’t let it burn or it gets bitter. Add the ground beef, breaking it up with a wooden spoon. Cook for 6-8 minutes until fully browned. Drain any excess fat (I usually tilt the pan and spoon it out).
- Season and combine. Stir in the drained diced tomatoes, cooked rice, oregano, smoked paprika, cumin, and salt and pepper. Let it cook together for 2-3 minutes so the flavors meld. Taste it — this is important! Adjust the salt if needed. If you’re using the optional mozzarella, stir it in now so it melts into the filling.
- Stuff the peppers. Place the blanched peppers upright in your baking dish. Using a small spoon, fill each pepper with the meat mixture. Pack it in gently but firmly — you want them full but not bursting. I usually mound a little extra on top because it looks nice.
- Create the mummy wraps. This is the fun part. Take your provolone slices and cut them into strips about 1 inch wide. Starting at the bottom of each pepper, wrap a cheese strip around the pepper, overlapping slightly. Continue wrapping upward, leaving a small gap near the top for the “eyes.” You want it to look like bandages, so don’t wrap too perfectly — some gaps are good. Tuck the ends of the cheese strips under the pepper to hold them in place.
- Add the eyes. Press two black olive slices onto the exposed pepper near the top, positioning them like eyes. If they don’t stick, dab a tiny bit of cheese underneath them to hold them in place.
- Bake. Cover the baking dish loosely with aluminum foil. Bake for 20 minutes. Then remove the foil and bake for another 10-15 minutes until the cheese is melted, bubbly, and starting to turn golden brown at the edges. The peppers should be tender when pierced with a fork.
- Rest and serve. Let the peppers sit for 5 minutes before serving. This lets the cheese set slightly so it doesn’t slide off when you pick them up. Trust me, I’ve learned this the hard way — they’re much easier to handle after a short rest.
Sensory Cues: When the filling is ready, it should smell smoky and savory. The peppers should be bright in color after blanching, and they’ll soften to a deeper shade in the oven. The cheese will bubble and sizzle — that’s when you know it’s getting good. When you pierce a pepper with a fork, it should meet gentle resistance but slide through easily.
Cooking Tips & Techniques
After making these spooky mummy stuffed peppers with melted cheese ribbons more times than I’d like to admit, I’ve picked up a few tricks that make a real difference.
Don’t skip the blanching step. I tried skipping it once because I was in a hurry, and the peppers came out crunchy while the filling was perfect. The 3-minute blanch is your insurance policy for tender peppers that cook evenly with the filling.
Pat your olives dry. This sounds silly, but wet olives slide right off the peppers. I blot mine on a paper towel before pressing them into the cheese. If you want extra security, press them into a tiny dab of cheese first.
Watch your cheese thickness. I used thick-cut provolone once thinking it would be more dramatic. It just slid off in one big clump. Stick with regular thin slices. If your cheese is too thick, it won’t wrap nicely and it won’t melt into those pretty ribbons.
Multitasking strategy: While the peppers are blanching, start cooking the onion and garlic. While the meat is browning, cook your rice if you haven’t already. By the time the meat is done, the rice should be ready to stir in. This whole thing comes together in about 30 minutes of active time.
Common mistake alert: Don’t overstuff the peppers. I know it’s tempting to cram as much filling in as possible, but an overstuffed pepper is harder to wrap and more likely to split during baking. Leave about ¼ inch of space at the top for the cheese to settle.
Variations & Adaptations
These spooky mummy stuffed peppers with melted cheese ribbons are surprisingly flexible. Here are some ways I’ve adapted them:
- Vegetarian Version: Replace the ground beef with 1½ cups cooked black beans or lentils. Add an extra ¼ cup of rice and a splash of vegetable broth to keep it moist. I made this for my vegetarian sister and she said it was better than the original — though I’m not sure I agree!
- Spicy Mummy: Add 1 finely chopped jalapeño to the filling along with ½ teaspoon cayenne pepper. Use pepper jack cheese for the wraps instead of provolone. The heat contrasts beautifully with the sweet bell peppers.
- Low-Carb Option: Skip the rice entirely and double the ground meat. Add ½ cup finely chopped mushrooms to the filling for extra volume without the carbs. Use cauliflower rice if you want something rice-like.
- Cheese Variation: Try using thinly sliced white cheddar or gouda instead of provolone. Each cheese gives a slightly different flavor — gouda adds a smoky sweetness that’s incredible with the paprika.
- Different Meat: Ground chicken or turkey works great here. Just add an extra tablespoon of olive oil to the pan since lean poultry can dry out. I’ve also used leftover shredded chicken in a pinch — just warm it through with the seasonings.
Serving & Storage Suggestions
These spooky mummy stuffed peppers with melted cheese ribbons are best served warm, right after that 5-minute rest. The cheese is perfectly melted and stretchy, and the peppers are tender but still hold their shape.
How to Serve: Place each pepper on a plate with the eyes facing forward — they look hilarious lined up on a platter. For a full Halloween meal, serve with a side of roasted potatoes or a simple green salad. I sometimes add a small bowl of marinara sauce for dipping, which makes them feel even more indulgent.
What to Drink: A crisp white wine like Sauvignon Blanc cuts through the richness nicely. For kids (or non-drinkers), apple cider is the perfect fall pairing — the sweetness balances the savory filling.
Storage: Leftover peppers keep in an airtight container in the refrigerator for up to 4 days. The cheese will lose some of its crispy edges, but the flavor is still fantastic. I actually think they taste even better the next day after the flavors have melded overnight.
Reheating: Reheat in a 350°F oven for 10-12 minutes to restore some of the cheese texture. The microwave works in a pinch (2 minutes on high), but the cheese won’t be as pretty. If you’re meal-prepping, assemble the peppers completely but don’t bake them. Cover and refrigerate for up to 24 hours, then bake as directed — just add 5 minutes to the covered baking time.
Freezing: These freeze beautifully. Wrap each baked and cooled pepper individually in plastic wrap, then place in a freezer bag. They’ll keep for up to 3 months. Thaw in the fridge overnight and reheat in the oven.
Nutritional Information & Benefits
Here’s the approximate nutritional breakdown for one spooky mummy stuffed pepper (using 80/20 ground beef and provolone cheese):
| Nutrient | Amount per Serving |
|---|---|
| Calories | 385 |
| Protein | 28g |
| Carbohydrates | 22g |
| Fiber | 4g |
| Fat | 19g |
| Saturated Fat | 9g |
| Sodium | 620mg |
Health Benefits: Bell peppers are packed with vitamin C — actually, one medium pepper has more vitamin C than an orange. They’re also rich in vitamin A and antioxidants. The protein from the beef and cheese will keep you full for hours. If you swap in lean ground turkey and low-fat cheese, you can cut the calories and fat significantly without losing the spooky factor.
Dietary Considerations: This recipe is naturally gluten-free (just double-check your spice blends). For a dairy-free version, use dairy-free cheese slices and skip the mozzarella in the filling. The provolone can be replaced with vegan provolone-style slices, though the melt won’t be quite as dramatic. This recipe contains dairy and nightshades (peppers, tomatoes).
Conclusion
These spooky mummy stuffed peppers with melted cheese ribbons are proof that Halloween dinner doesn’t have to be complicated to be memorable. They’re fun, they’re delicious, and honestly, they’re a little bit silly — which is exactly what Halloween should be. Whether you’re scrambling last minute like I was, or planning ahead like a responsible adult, this recipe delivers every time.
I love that I can make these for a casual family dinner or bring them to a party where everyone’s trying to outdo each other with elaborate treats. They always get the same reaction — laughter, then silence as everyone digs in. That’s the kind of recipe worth keeping around.
Now I want to hear from you! Have you tried these spooky mummy stuffed peppers with melted cheese ribbons? Did you add your own twist? Drop a comment below and let me know how they turned out. And if you loved them, share this recipe with a friend who needs a last-minute Halloween win. Happy cooking, and happy Halloween!
Frequently Asked Questions
Can I make these spooky mummy stuffed peppers ahead of time?
Absolutely! You can assemble the peppers completely (including the cheese wraps and olive eyes) up to 24 hours in advance. Just cover and refrigerate. When you’re ready to bake, add about 5-10 minutes to the covered baking time since they’ll be starting from cold.
What if my cheese wraps slide off during baking?
This happens sometimes, especially if the cheese is too thick or the peppers are too tall. Make sure your cheese strips are thin and wrap them snugly around the pepper. Tucking the ends under the pepper helps hold everything in place. If they still slide, don’t worry — just arrange the cheese strips back on top after baking. They’ll still look great!
Can I use different colored bell peppers?
Yes, but orange and yellow peppers give the best contrast against the white cheese wraps. Red peppers work too, but the color is closer to the cheese so the mummy effect is less dramatic. Green peppers are fine flavor-wise, but they look a bit more like a monster than a mummy — which honestly might be even better for Halloween!
How do I get the cheese to look like mummy bandages?
The key is cutting your provolone into strips about 1 inch wide and wrapping them around the pepper with slight overlaps. Don’t wrap too perfectly — a few gaps here and there actually make it look more like authentic mummy bandages. The cheese will melt and settle into the gaps during baking, creating that bandaged effect naturally.
Can I make these in an air fryer?
Yes! Preheat your air fryer to 350°F. Place the stuffed and wrapped peppers in the basket (don’t overcrowd — work in batches if needed). Cook for 12-15 minutes, checking at the 10-minute mark. The cheese gets extra crispy in the air fryer, which is honestly amazing. Just make sure your peppers fit upright and don’t tip over during cooking.
Pin This Recipe!
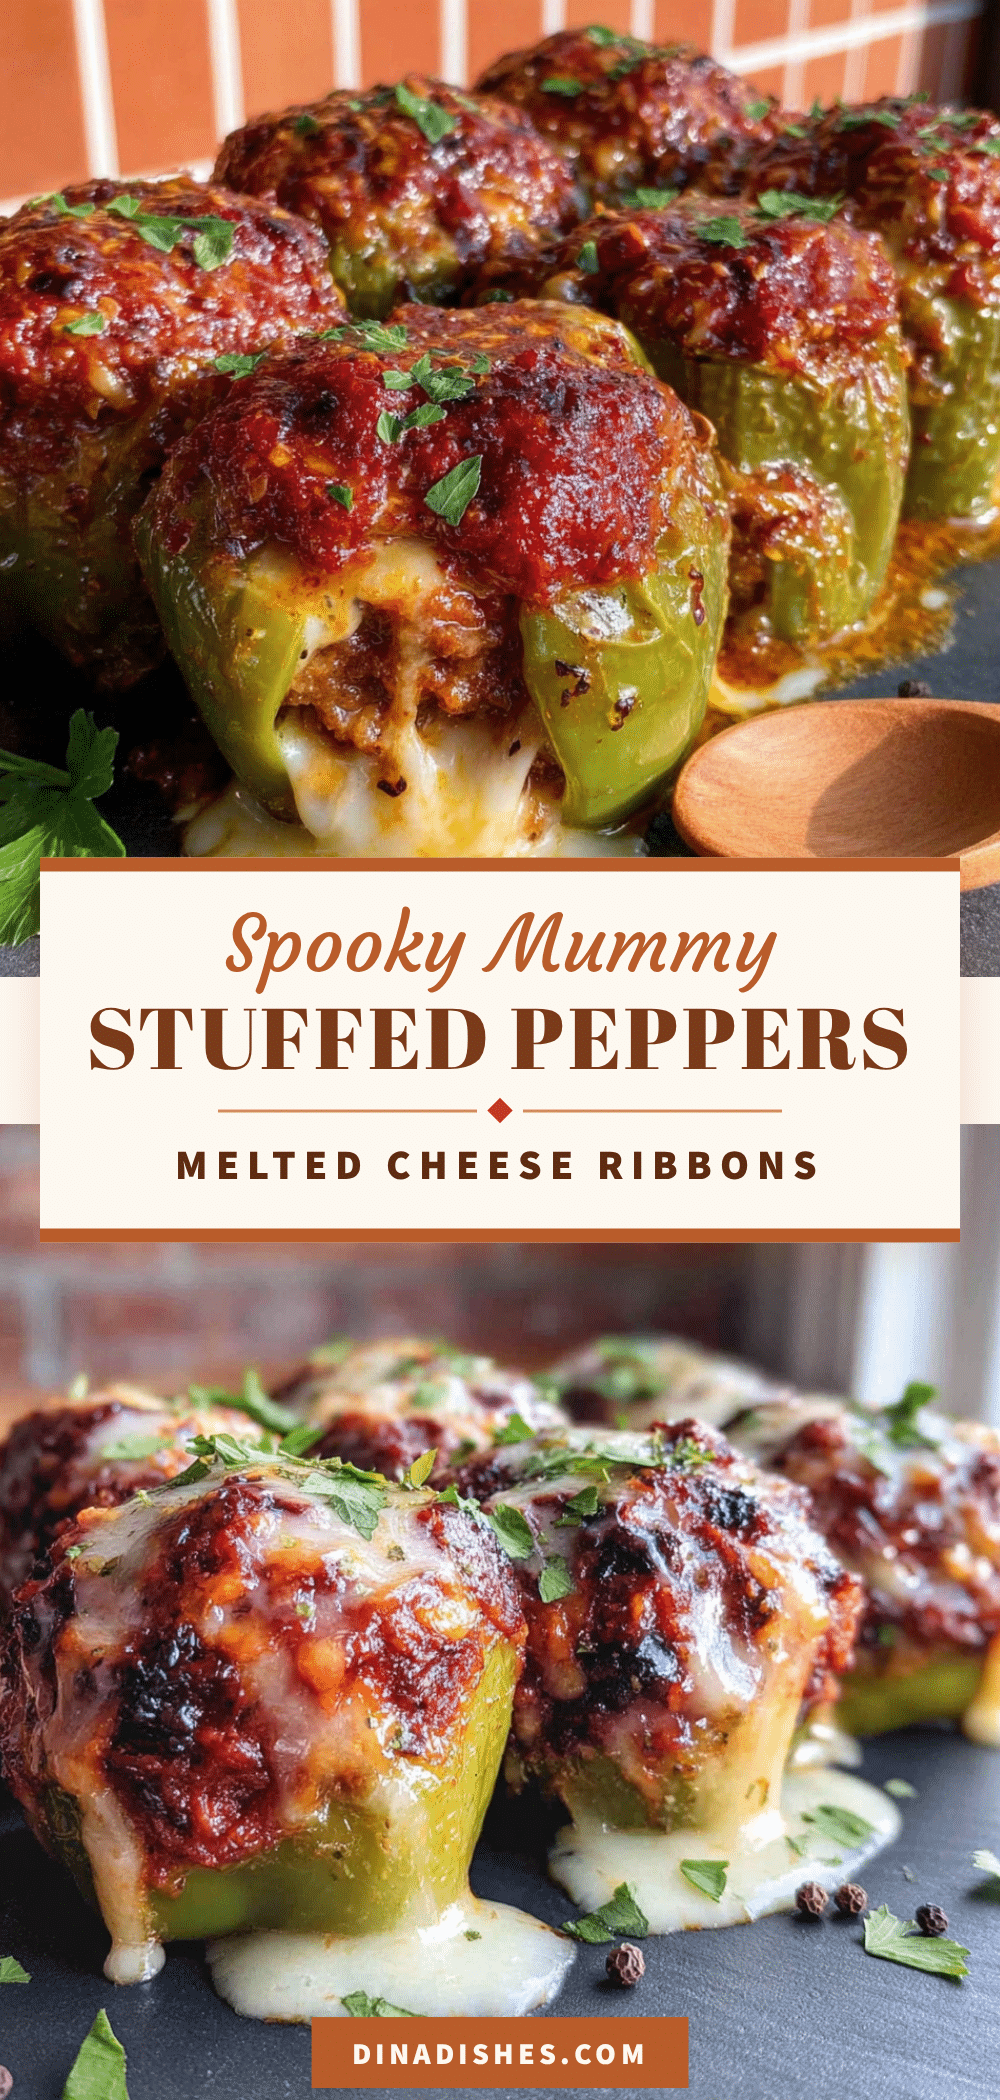
Spooky Mummy Stuffed Peppers with Melted Cheese Ribbons
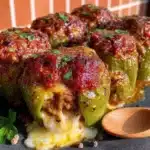
These spooky mummy stuffed peppers with melted cheese ribbons are a quick and easy Halloween dinner that looks impressive without the stress. Bell peppers are stuffed with a savory beef and rice filling, then wrapped in provolone cheese strips and baked until golden and bubbly.
- Prep Time: 15 minutes
- Cook Time: 30 minutes
- Total Time: 45 minutes
- Yield: 4 servings 1x
- Category: Main Course
- Cuisine: American
Ingredients
- 4 large bell peppers (orange or yellow work best)
- 1 lb ground beef (80/20)
- 1 cup cooked white rice
- 1 small yellow onion, finely diced
- 3 cloves garlic, minced
- 1 can (15 oz) diced tomatoes, drained (fire-roasted preferred)
- 1 tsp dried oregano
- 1 tsp smoked paprika
- ½ tsp cumin
- Salt and black pepper to taste
- 1 tbsp olive oil
- 8–10 slices provolone cheese (low-moisture part-skim)
- 12–16 black olive slices
- Optional: ¼ cup shredded mozzarella
Instructions
- Preheat your oven to 375°F (190°C). Bring a large pot of water to a boil.
- Prepare the peppers: Cut the tops off each bell pepper (about ½ inch from the top). Scoop out all seeds and membranes. If peppers wobble, slice a tiny bit off the bottom to make them flat. Drop peppers into boiling water for 3 minutes. Drain upside down on paper towels.
- Cook the filling: Heat 1 tbsp olive oil in a large skillet over medium heat. Add diced onion and cook 3-4 minutes until translucent. Add minced garlic and cook 30 seconds. Add ground beef, breaking it up, and cook 6-8 minutes until browned. Drain excess fat.
- Season and combine: Stir in drained diced tomatoes, cooked rice, oregano, smoked paprika, cumin, salt, and pepper. Cook 2-3 minutes. Taste and adjust salt. If using optional mozzarella, stir it in now.
- Stuff the peppers: Place blanched peppers upright in a 9×13 baking dish. Fill each pepper with the meat mixture, packing gently but firmly. Mound a little extra on top.
- Create the mummy wraps: Cut provolone slices into 1-inch-wide strips. Starting at the bottom of each pepper, wrap a cheese strip around, overlapping slightly. Continue wrapping upward, leaving a small gap near the top for eyes. Tuck ends under the pepper.
- Add the eyes: Press two black olive slices onto the exposed pepper near the top for eyes. If needed, dab a tiny bit of cheese underneath to hold them.
- Bake: Cover the dish loosely with aluminum foil. Bake for 20 minutes. Remove foil and bake another 10-15 minutes until cheese is melted, bubbly, and golden at edges, and peppers are tender.
- Rest and serve: Let peppers sit for 5 minutes before serving.
Notes
Don’t skip blanching the peppers—it ensures they cook evenly. Pat olives dry so they stick better. Use thin provolone slices for best wrapping. Let peppers rest 5 minutes after baking to set the cheese. For a vegetarian version, replace beef with 1½ cups cooked black beans or lentils. For a low-carb option, skip the rice and add finely chopped mushrooms.
Nutrition
- Serving Size: 1 stuffed pepper
- Calories: 385
- Sugar: 6
- Sodium: 620
- Fat: 19
- Saturated Fat: 9
- Carbohydrates: 22
- Fiber: 4
- Protein: 28
Keywords: Halloween dinner, stuffed peppers, mummy peppers, easy Halloween recipe, cheesy stuffed peppers, spooky dinner, kid-friendly Halloween